KnoWay Out Walkthrough
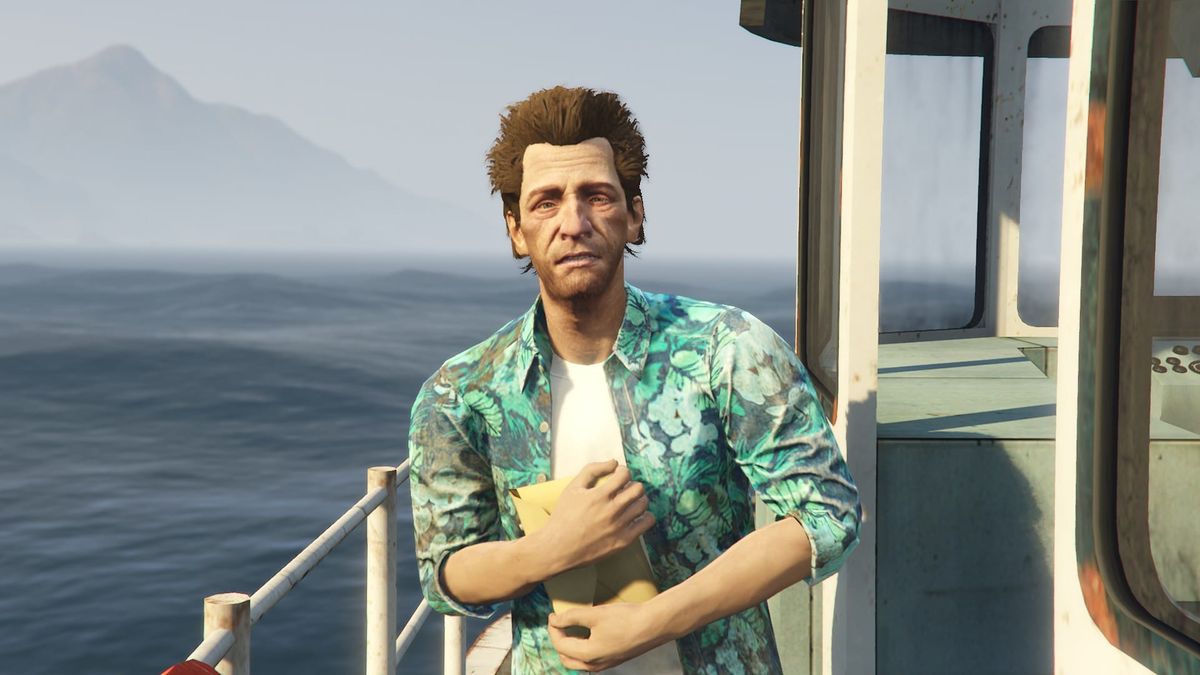
Table of Contents
Introduction
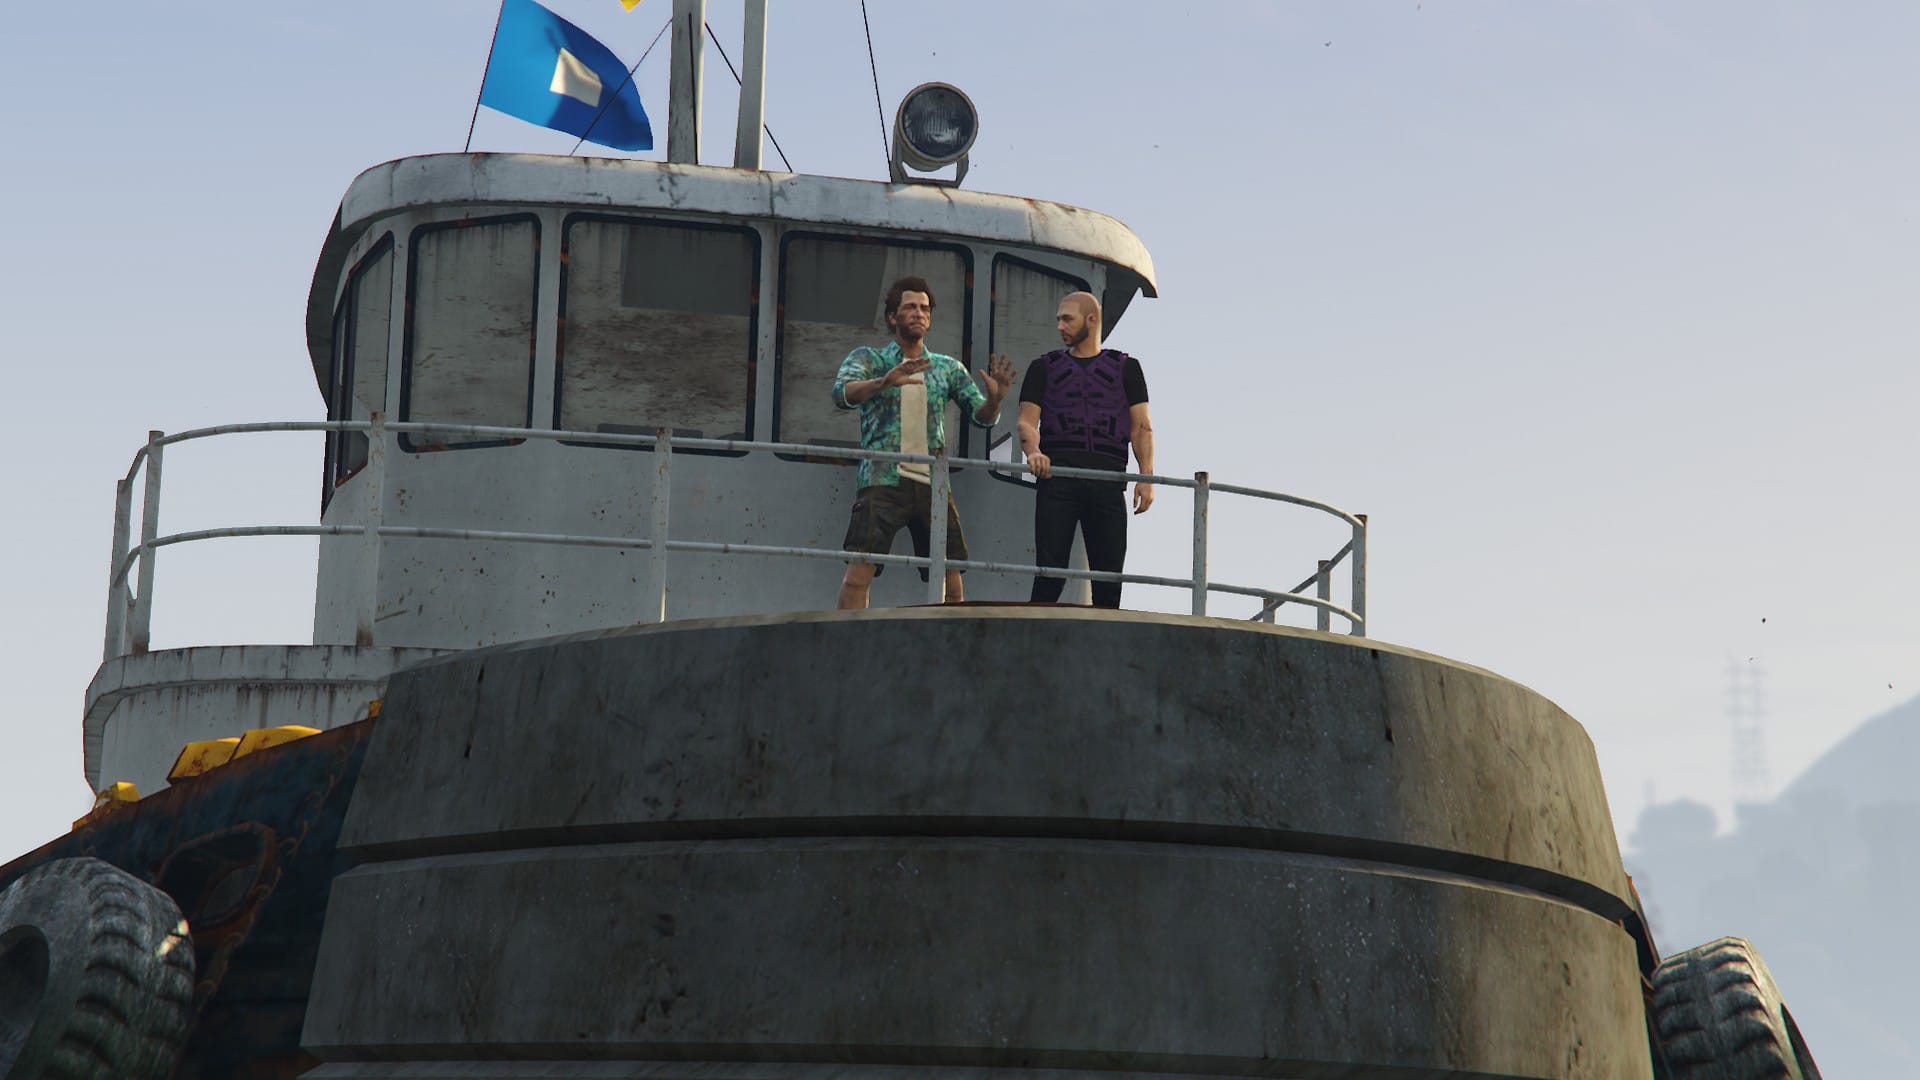
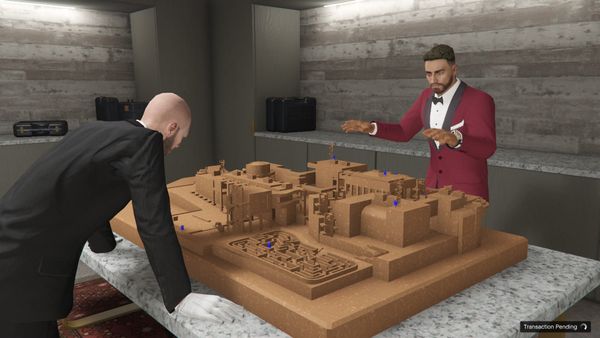
Introduced in the Safehouse in the Hills update, KnoWay Out follows Avi and his plan to take down the autonomous ride share company, KnoWay. There are five missions that can be completed in roughly 60 minutes and will pay:
- Normal Difficulty: $455,700 when completing for the first time during the week and $245,000 for subsequent replays until the weekly reset.
- Hard Difficulty: $525,000, or $625,000 if you complete the Elite Challenge.
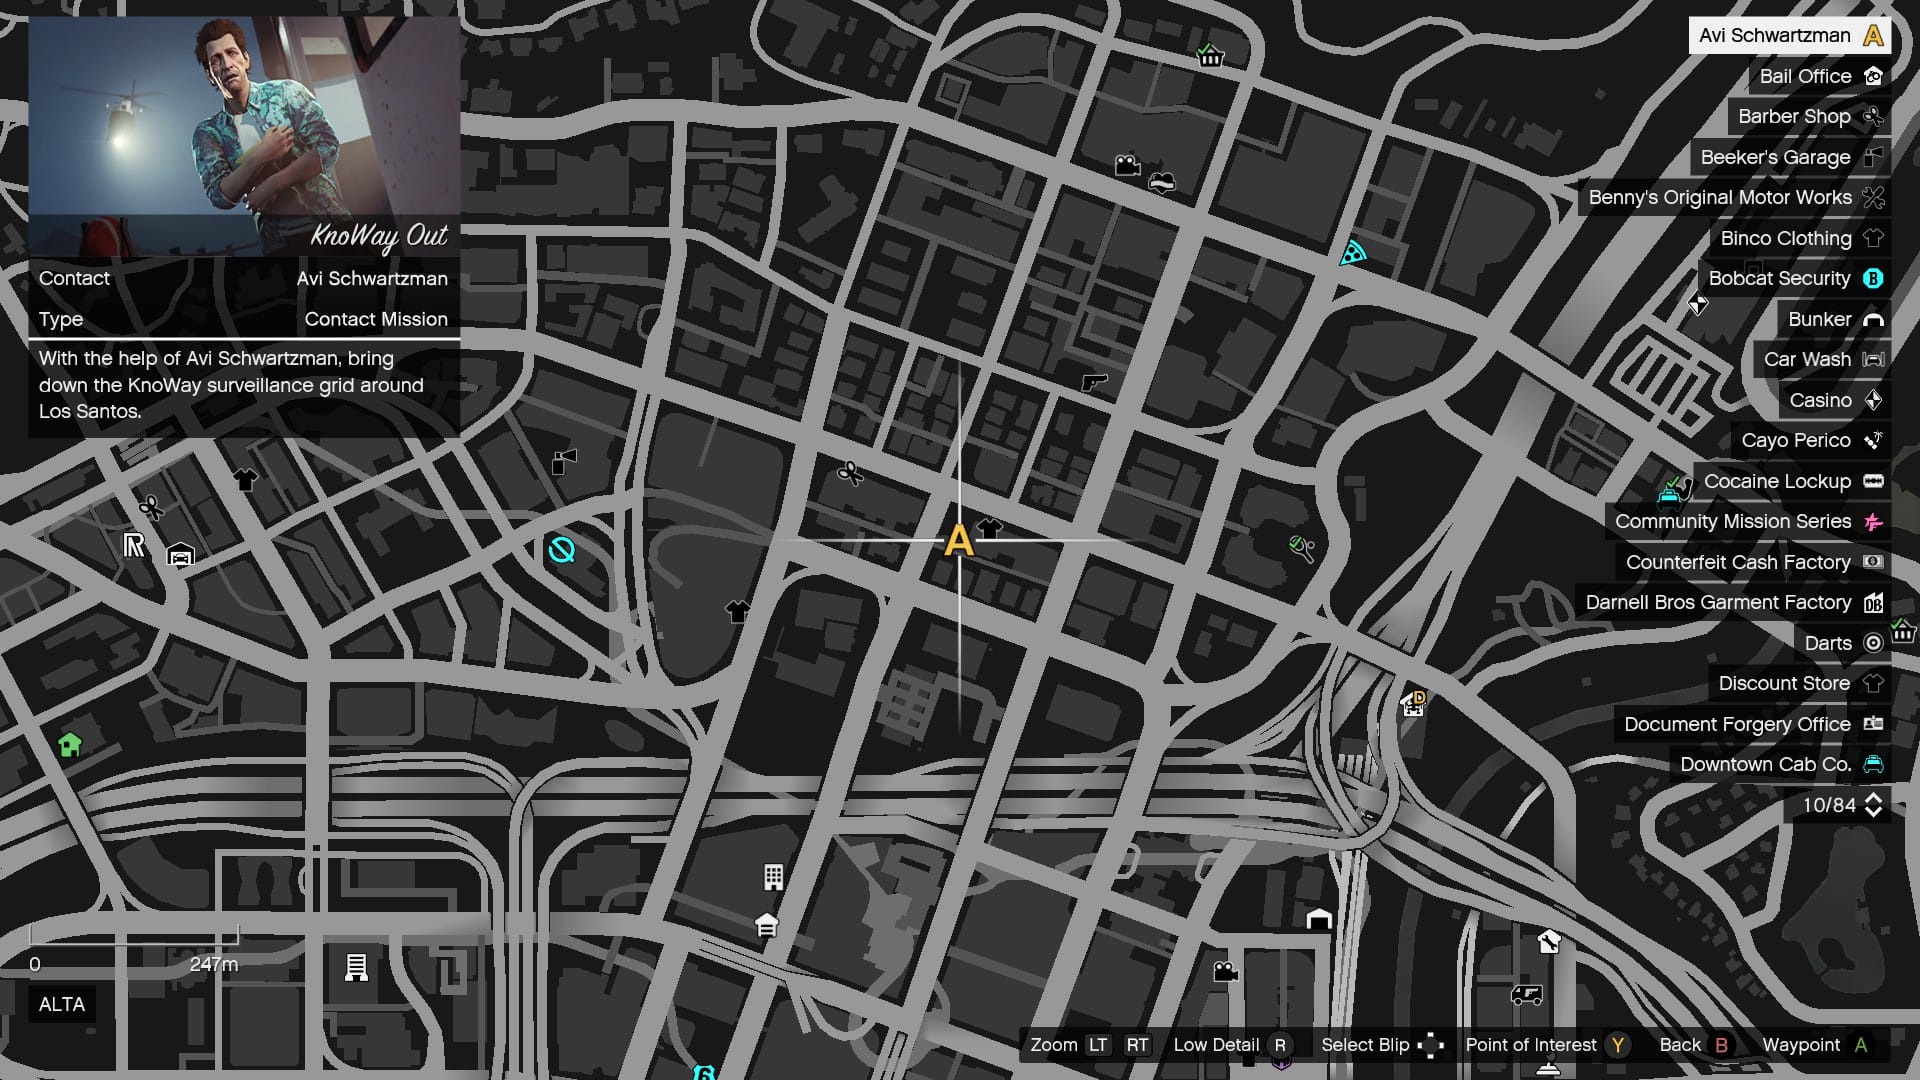
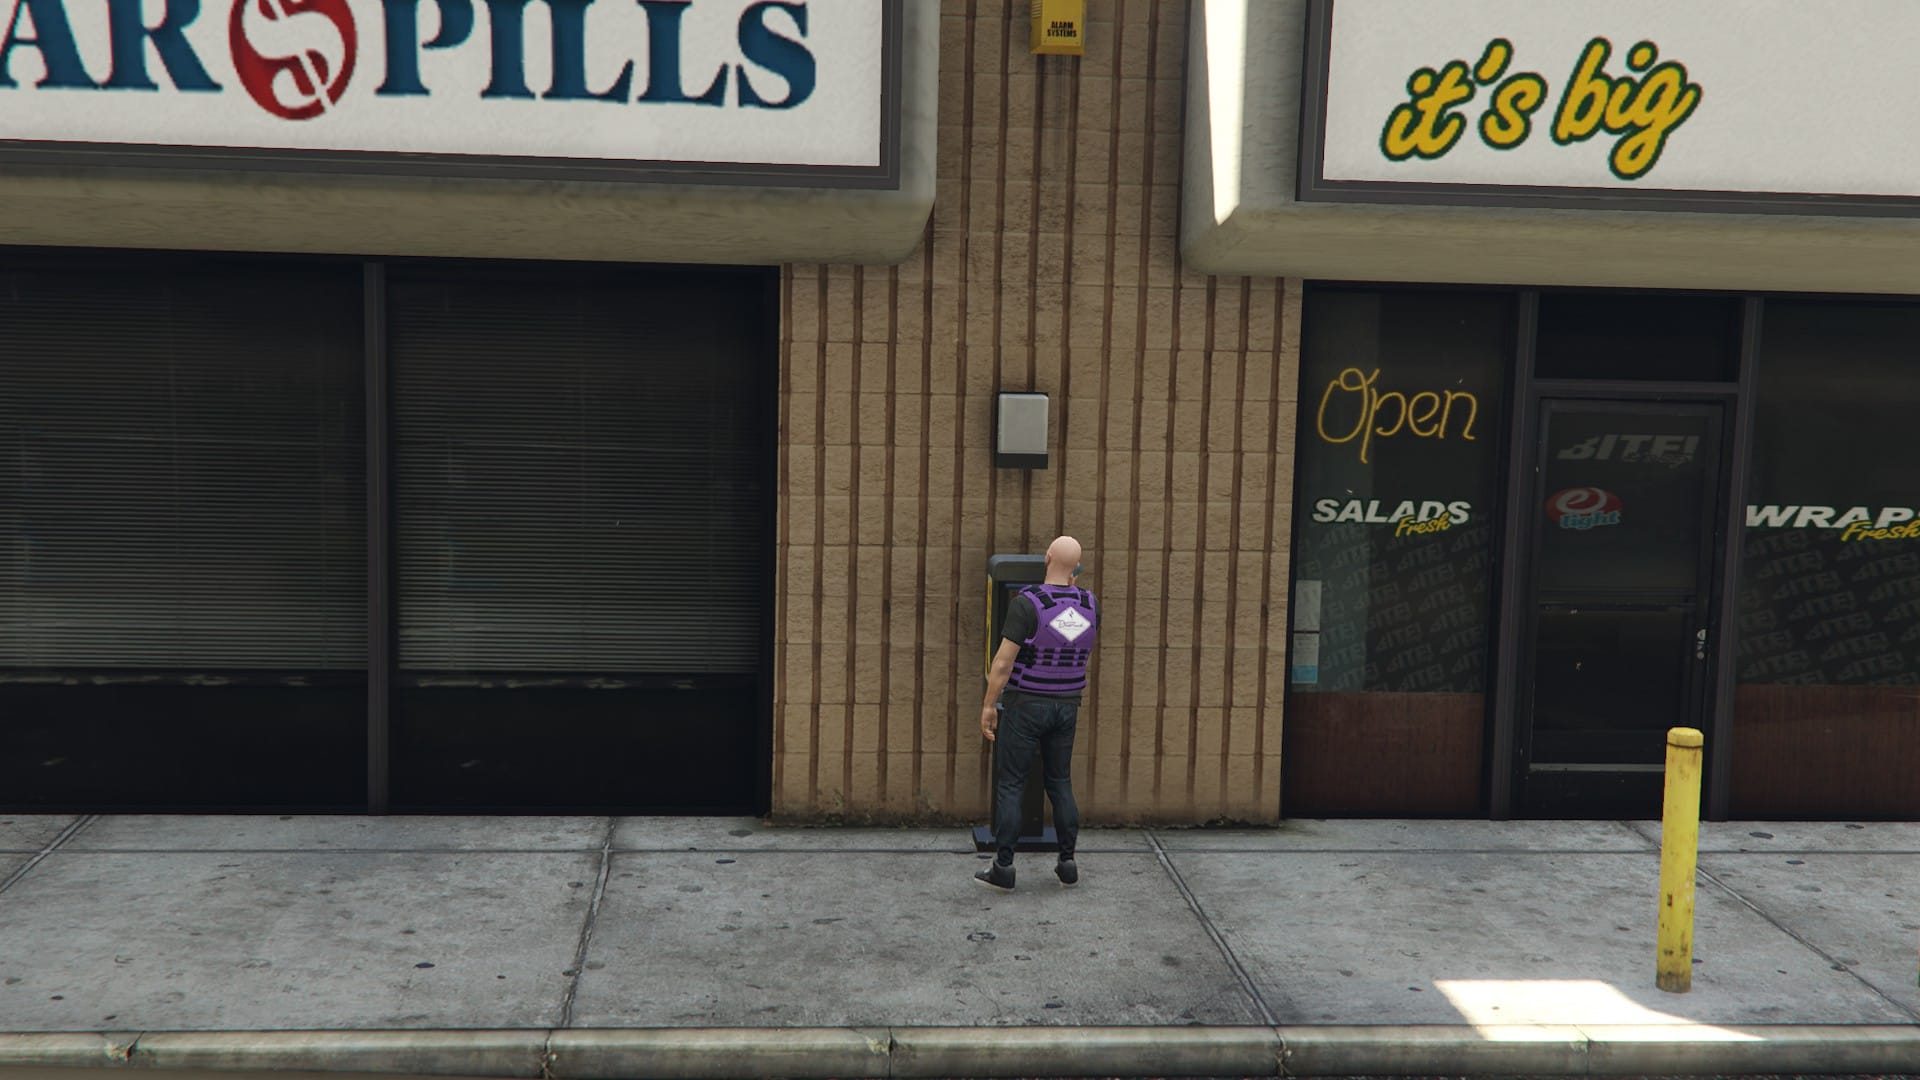
KnoWay Out can be started from the ringing payphone adjacent to Suburban, at the yellow 'A'.
Negative Press
KnoWay Out Mission #1
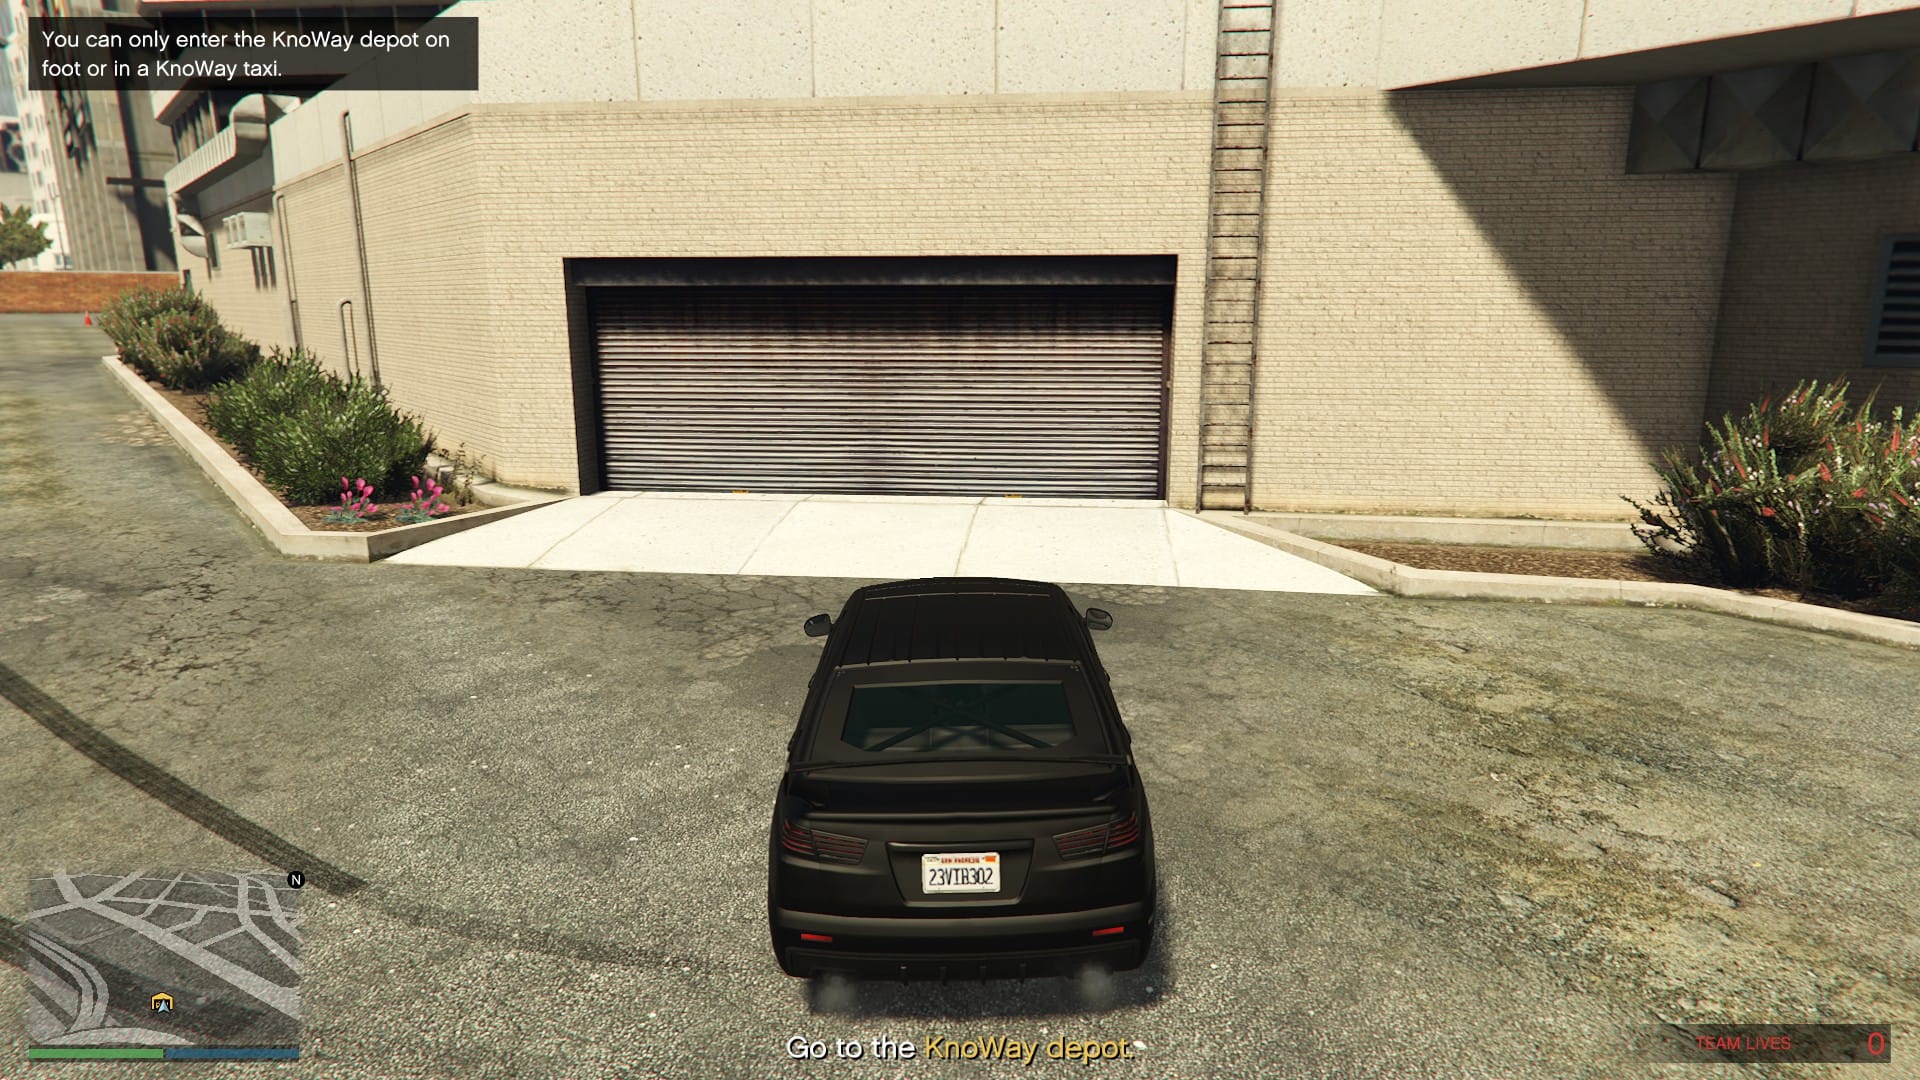
Negative Press is a fairly simple mission that involves trashing KnoWay Out's reputation. After being briefed from Avi, head to the KnoWay depot and enter by foot or with a KnoWay Taxi, it is always easier to just run in.
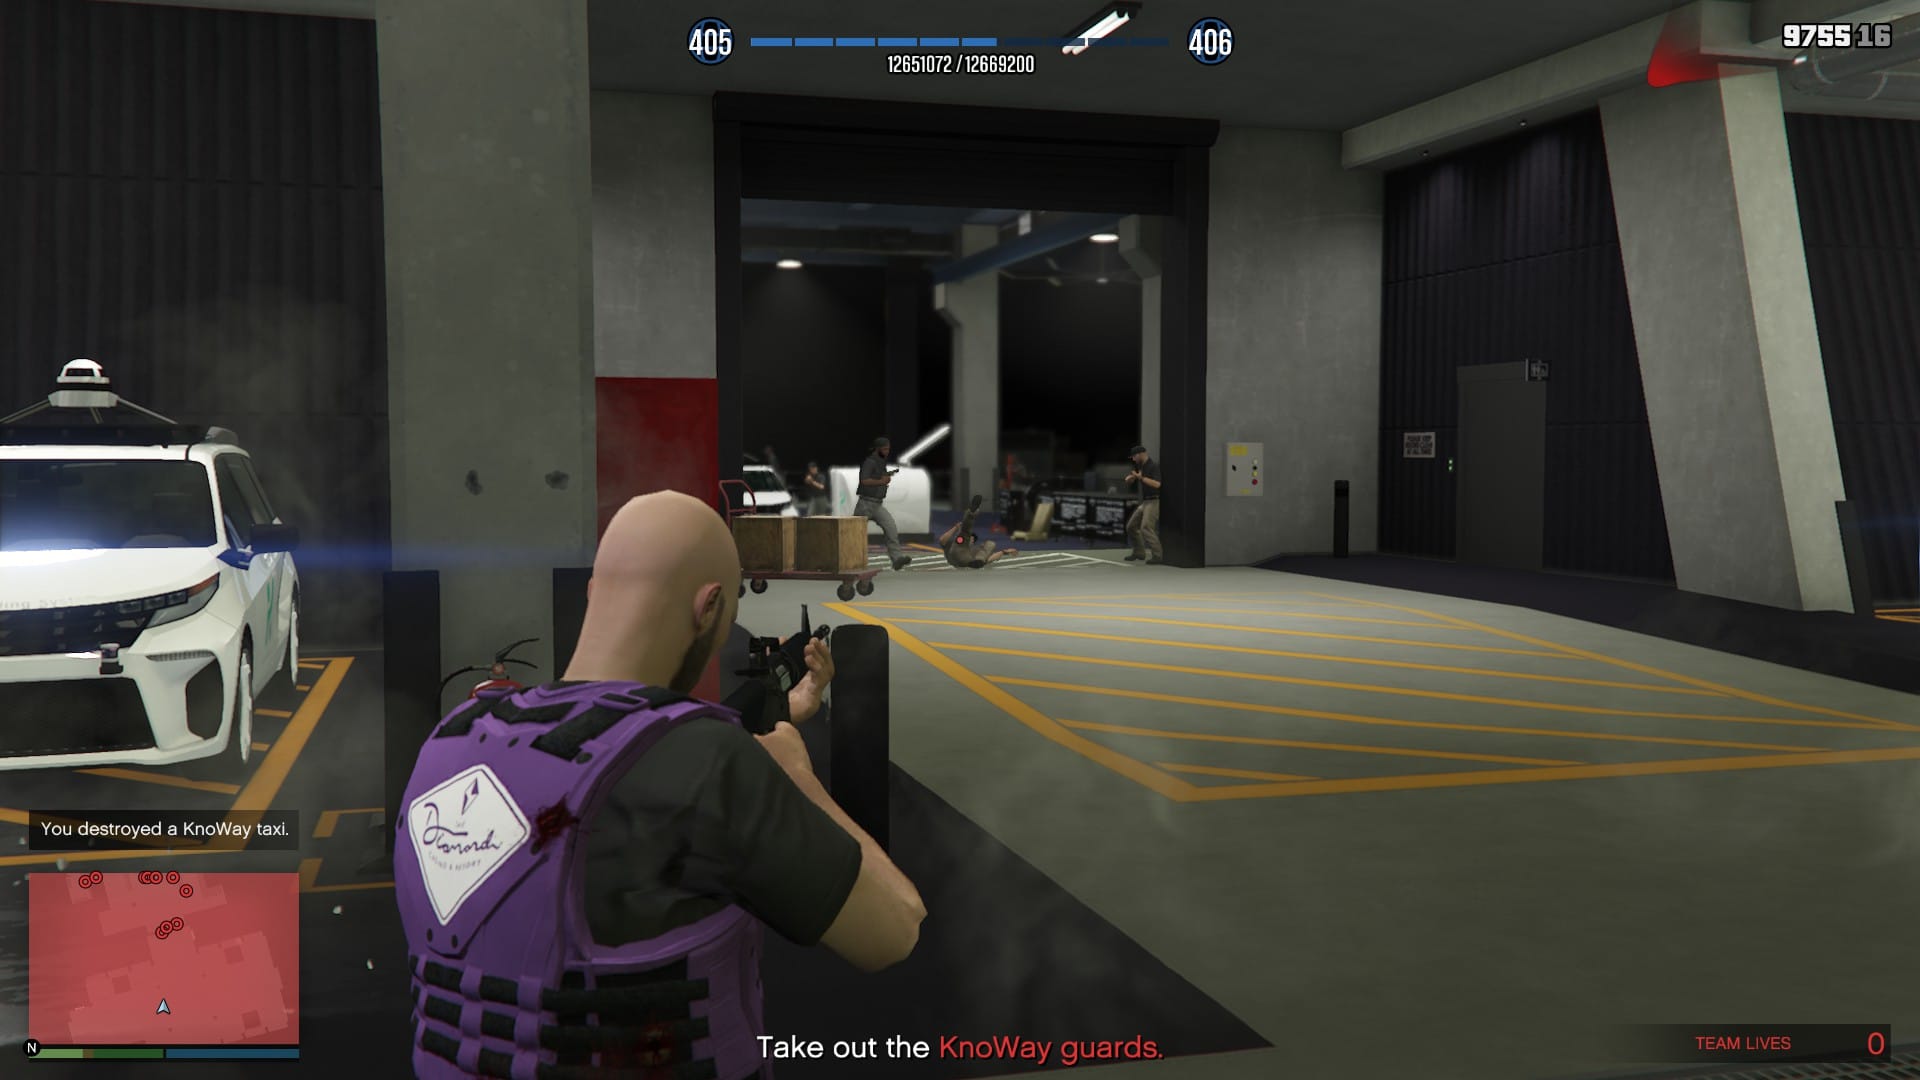
Once inside, clear out everything and everyone. Start making your way through all the guards and start blowing up all the taxis except for one. After the rooms are clear, enter the pod next to the remaining taxi and take control.
The taxi view will always be in first person and can't be changed. You will have three random tasks to complete, each is fairly simple, and could consist of driving fast, hitting signal lights, running down pedestrians, among other things. Once you have completed the three tasks, you will be given a second set of tasks to do. You can either complete these tasks in the taxi or you can leave the pod and finish the tasks in your personal vehicle. I would recommend swapping to your personal vehicle to better manage the tasks.
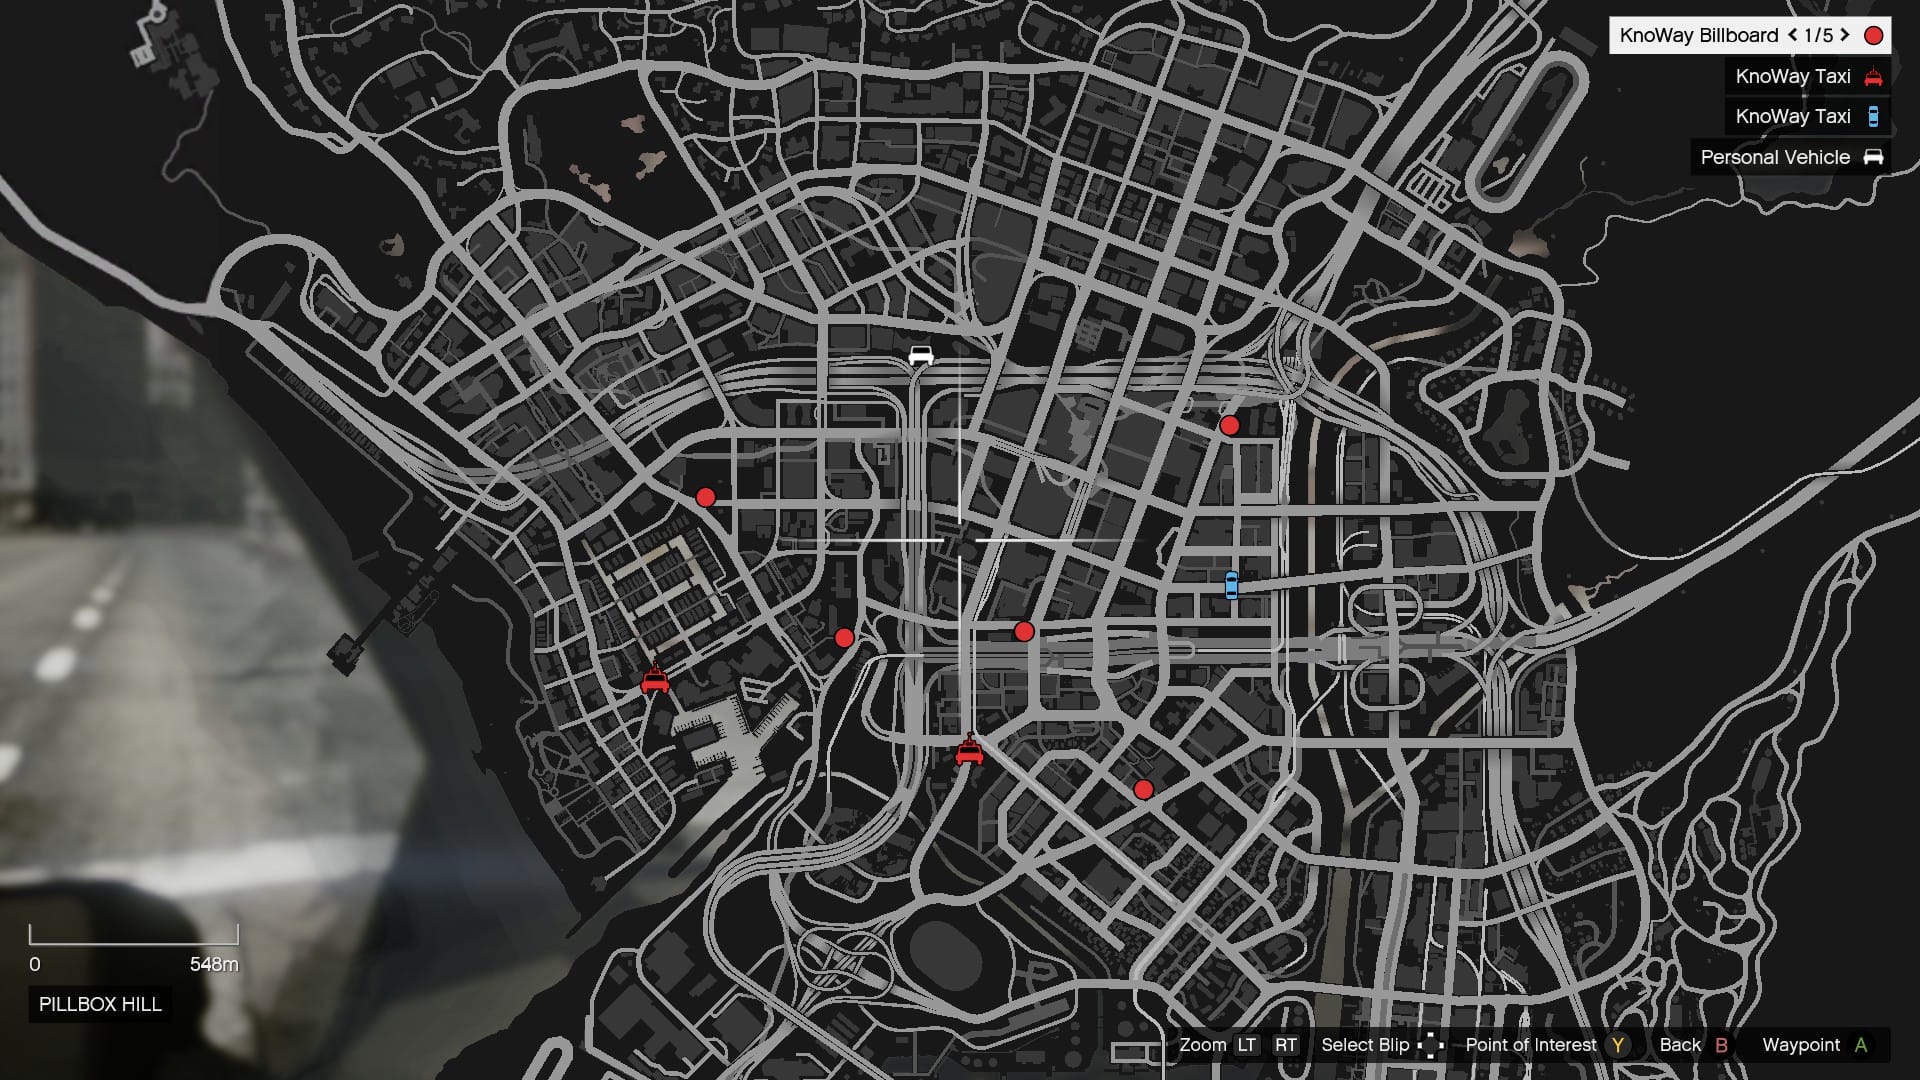
As you can see, the tasks are always in the same location, and can be planned ahead. The tasks are simple, use your car/taxi to crash through the billboards, or get out of your personal vehicle and blow the billboards up with explosives. The taxis can simply be rammed to make them spin out and complete the task.
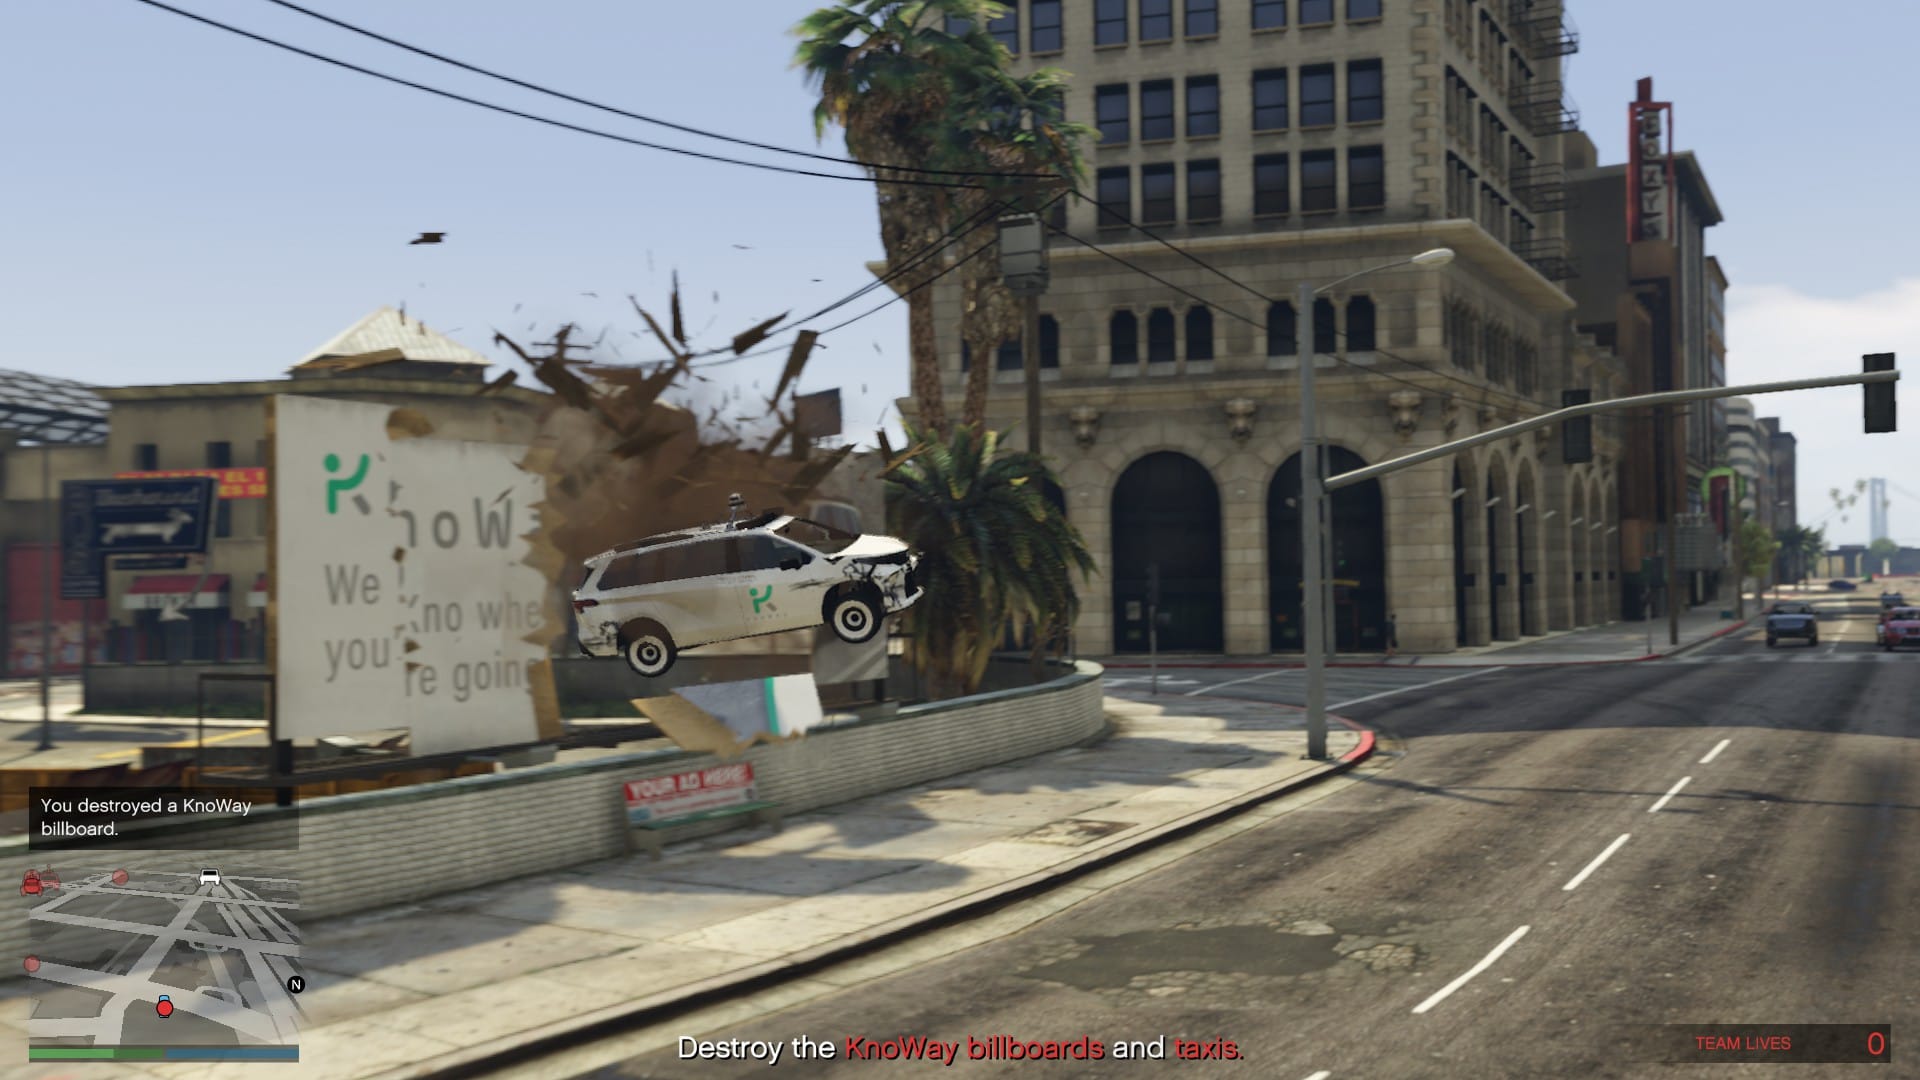
After you have destroyed the billboards and rammed the taxis, you will need to lose your wanted level and head to the docks. If you continued to use the taxi, blow it up before you leave the depot and continue to the docks. Once you reach the docks, open the trunk of the car, collect your money and answer the payphone to finish this mission up.
Inside Job
KnoWay Out Mission #2
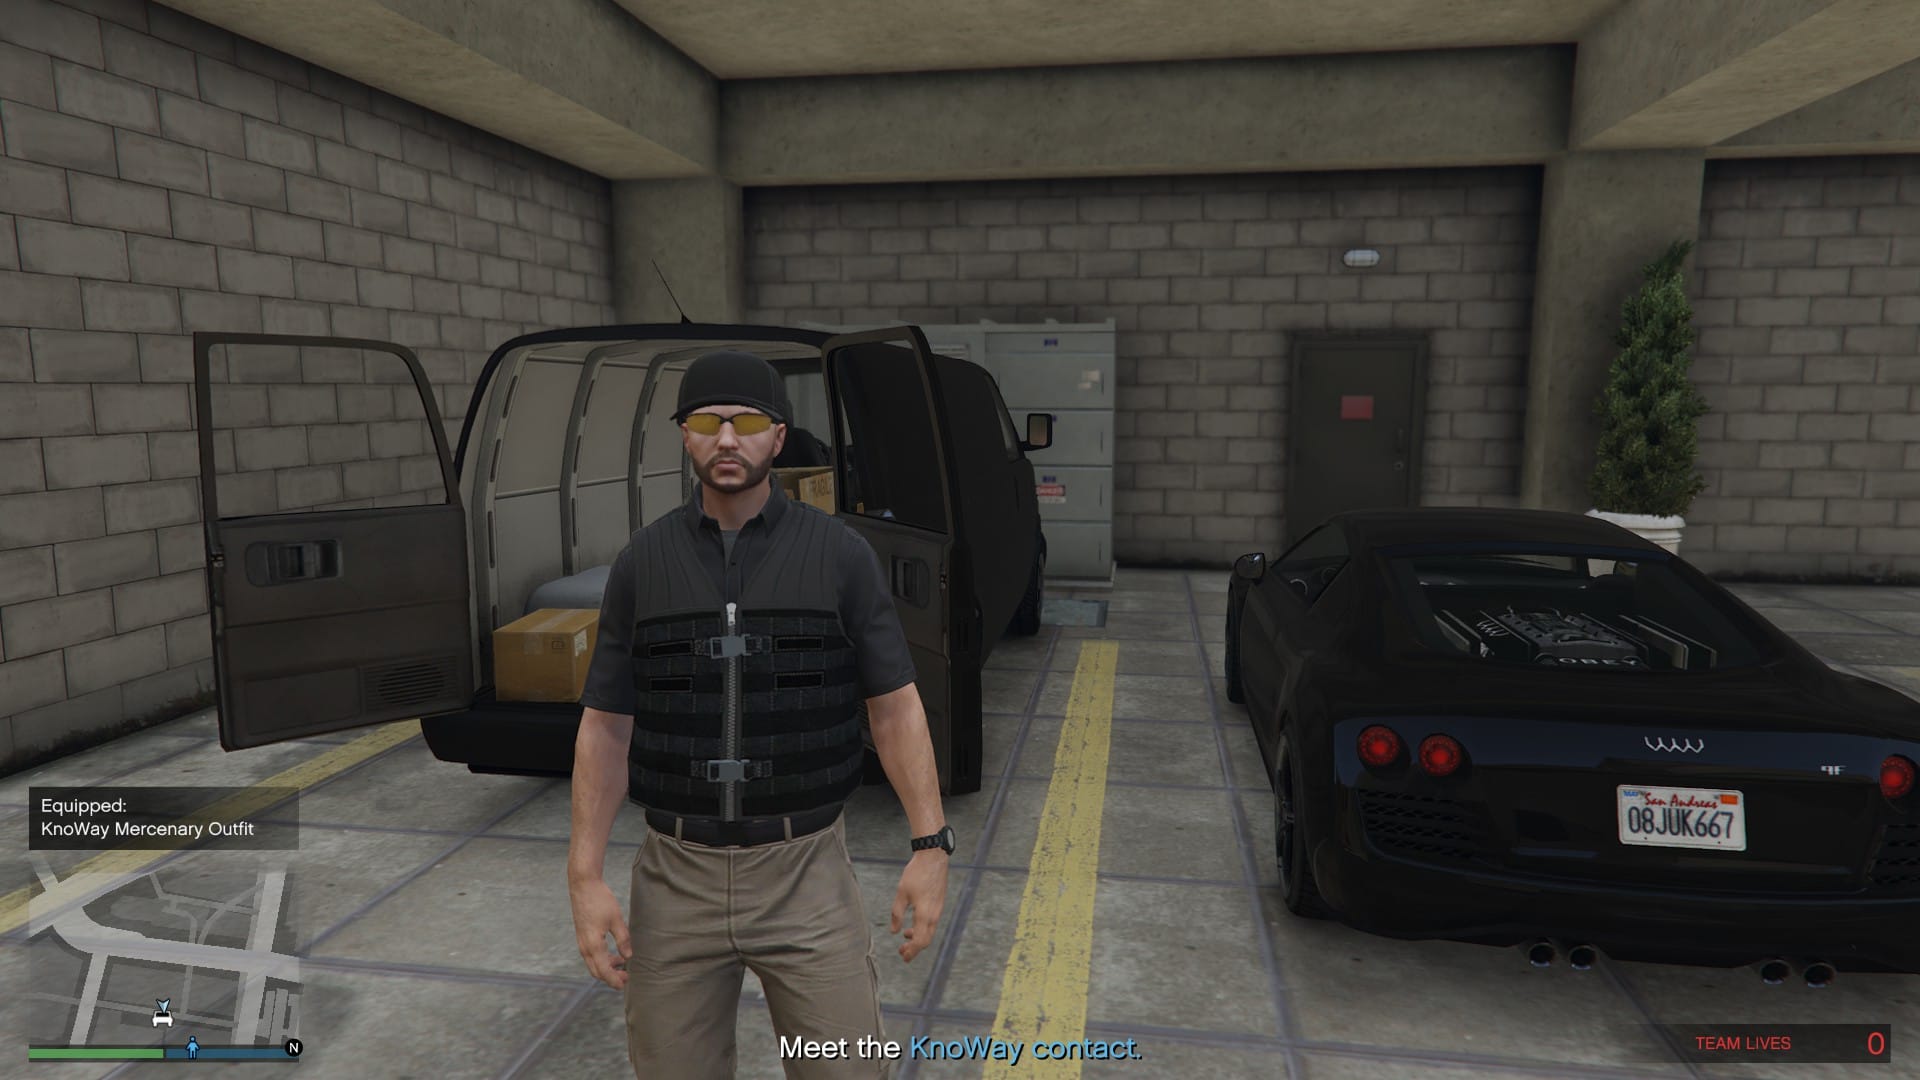
The second mission will have you become a double agent to locate sensitive data on KnoWay's operations. It is a fairly easy mission and shouldn't take too long with the right gear. Donned in your KnoWay Mercenary Outfit, head to the marker and find the KnoWay contact. Jump in his car and head to Downtown Cab Co., here the contact will do his thing and re-join you in the car. Drive off and watch the fireworks. BOOM. Lose the cops and head to the next location.
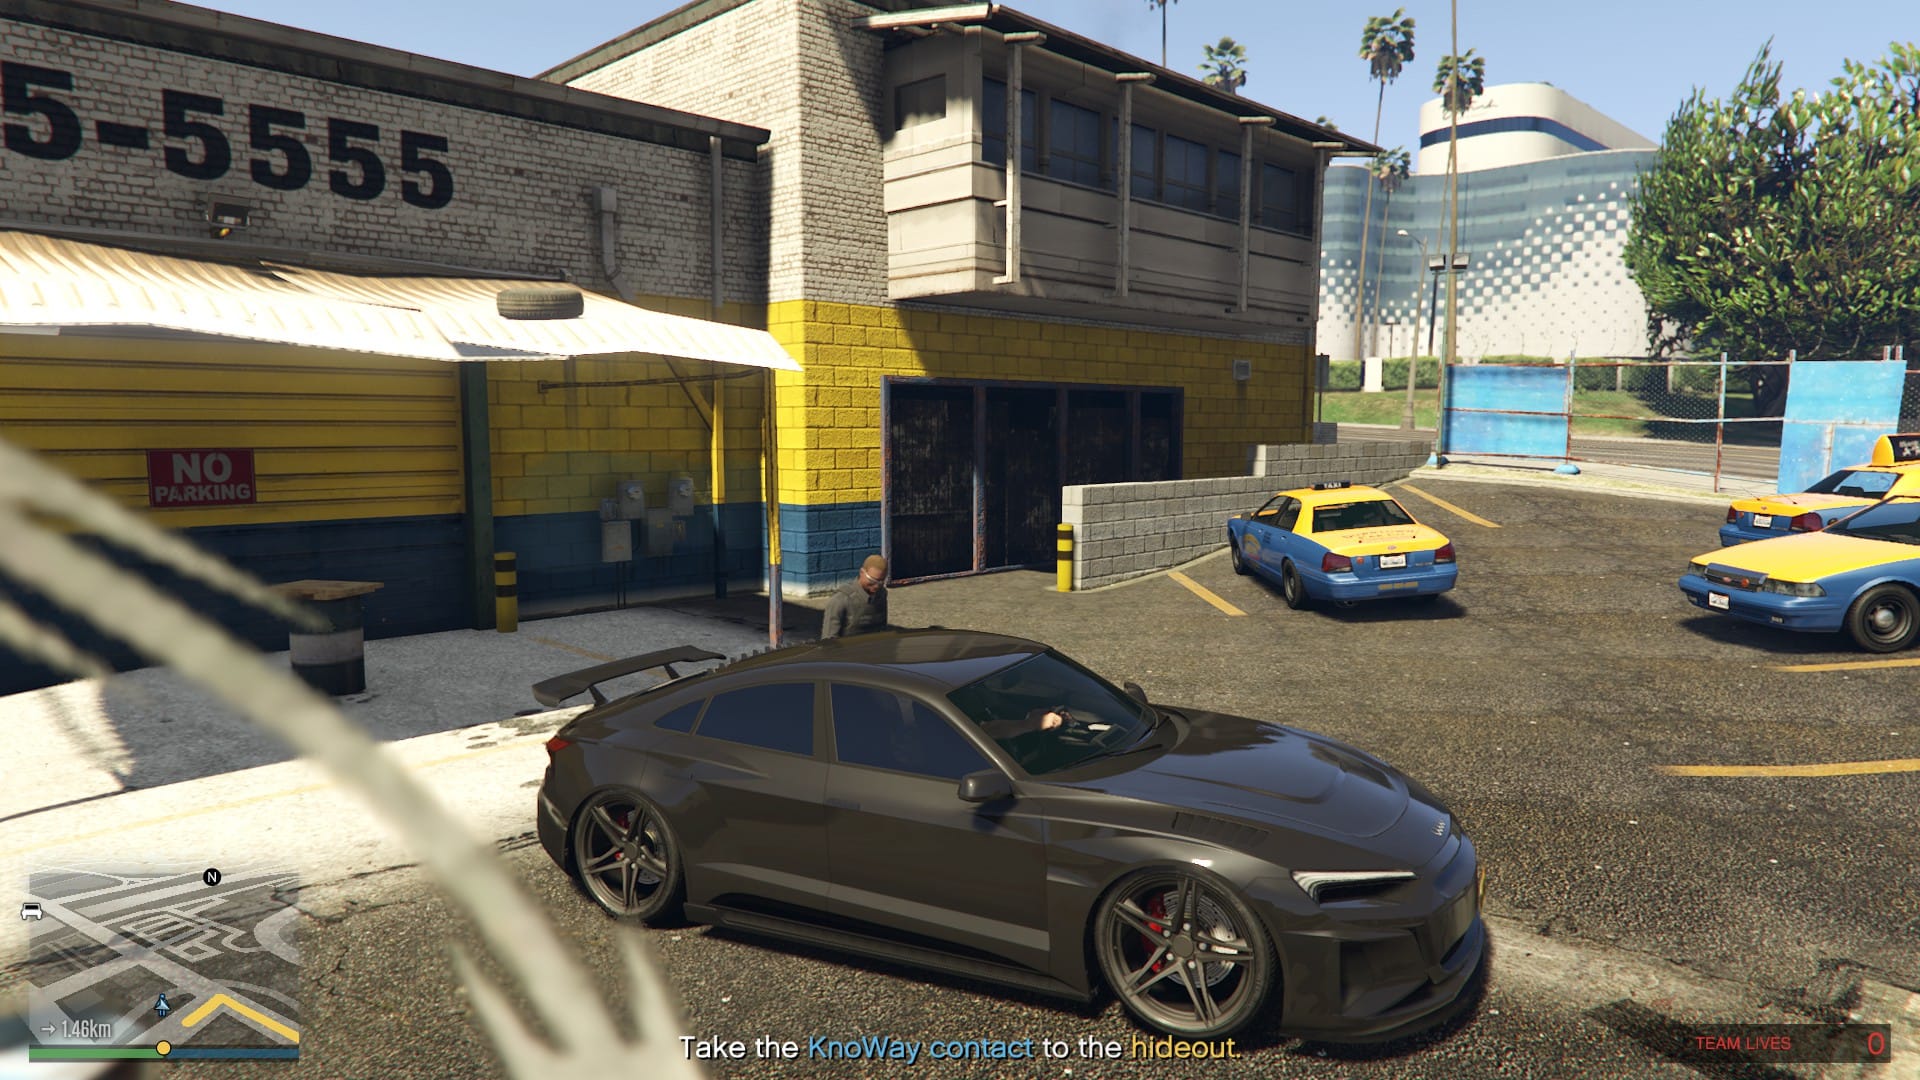
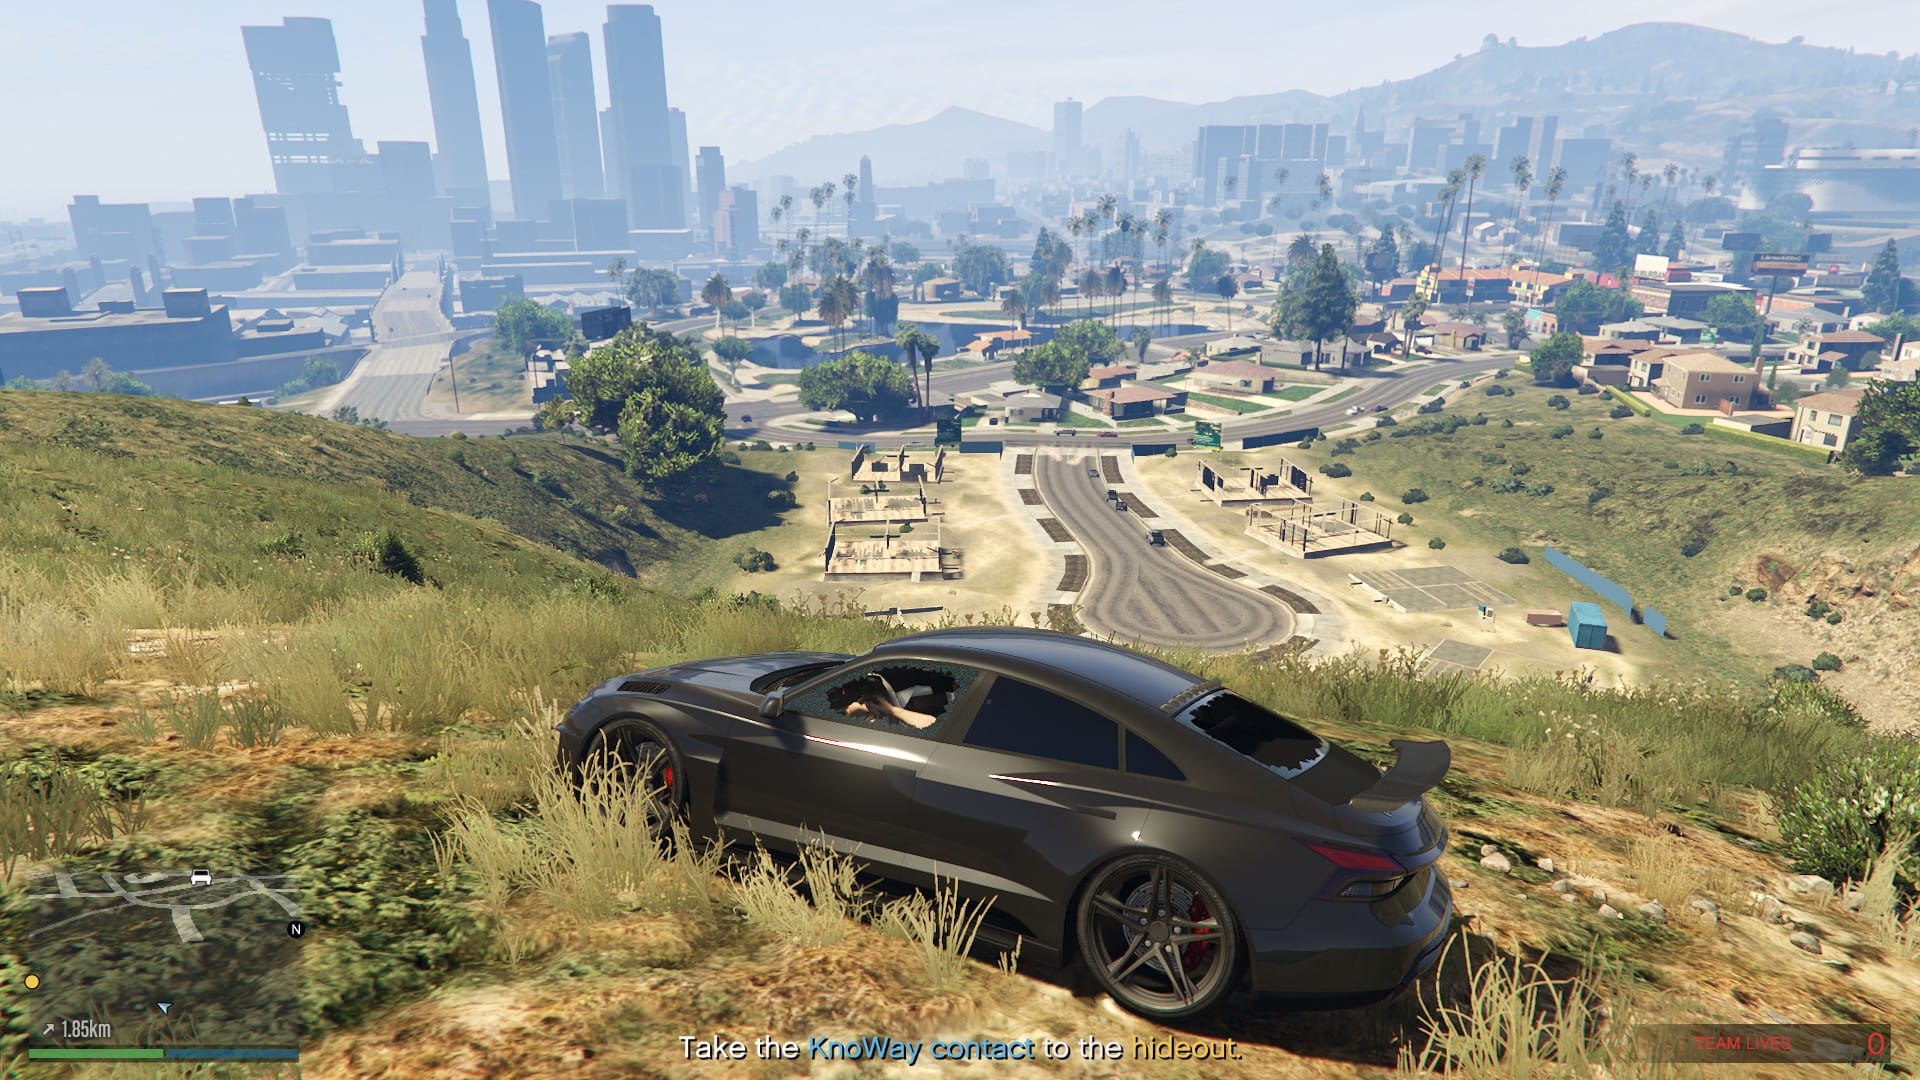
If you need help losing the cops, head east along the main road and detour onto the mountain range. The cops will not follow you up and they should lose interest pretty quickly. Once they are gone, get back on the main road and head to the hideout.
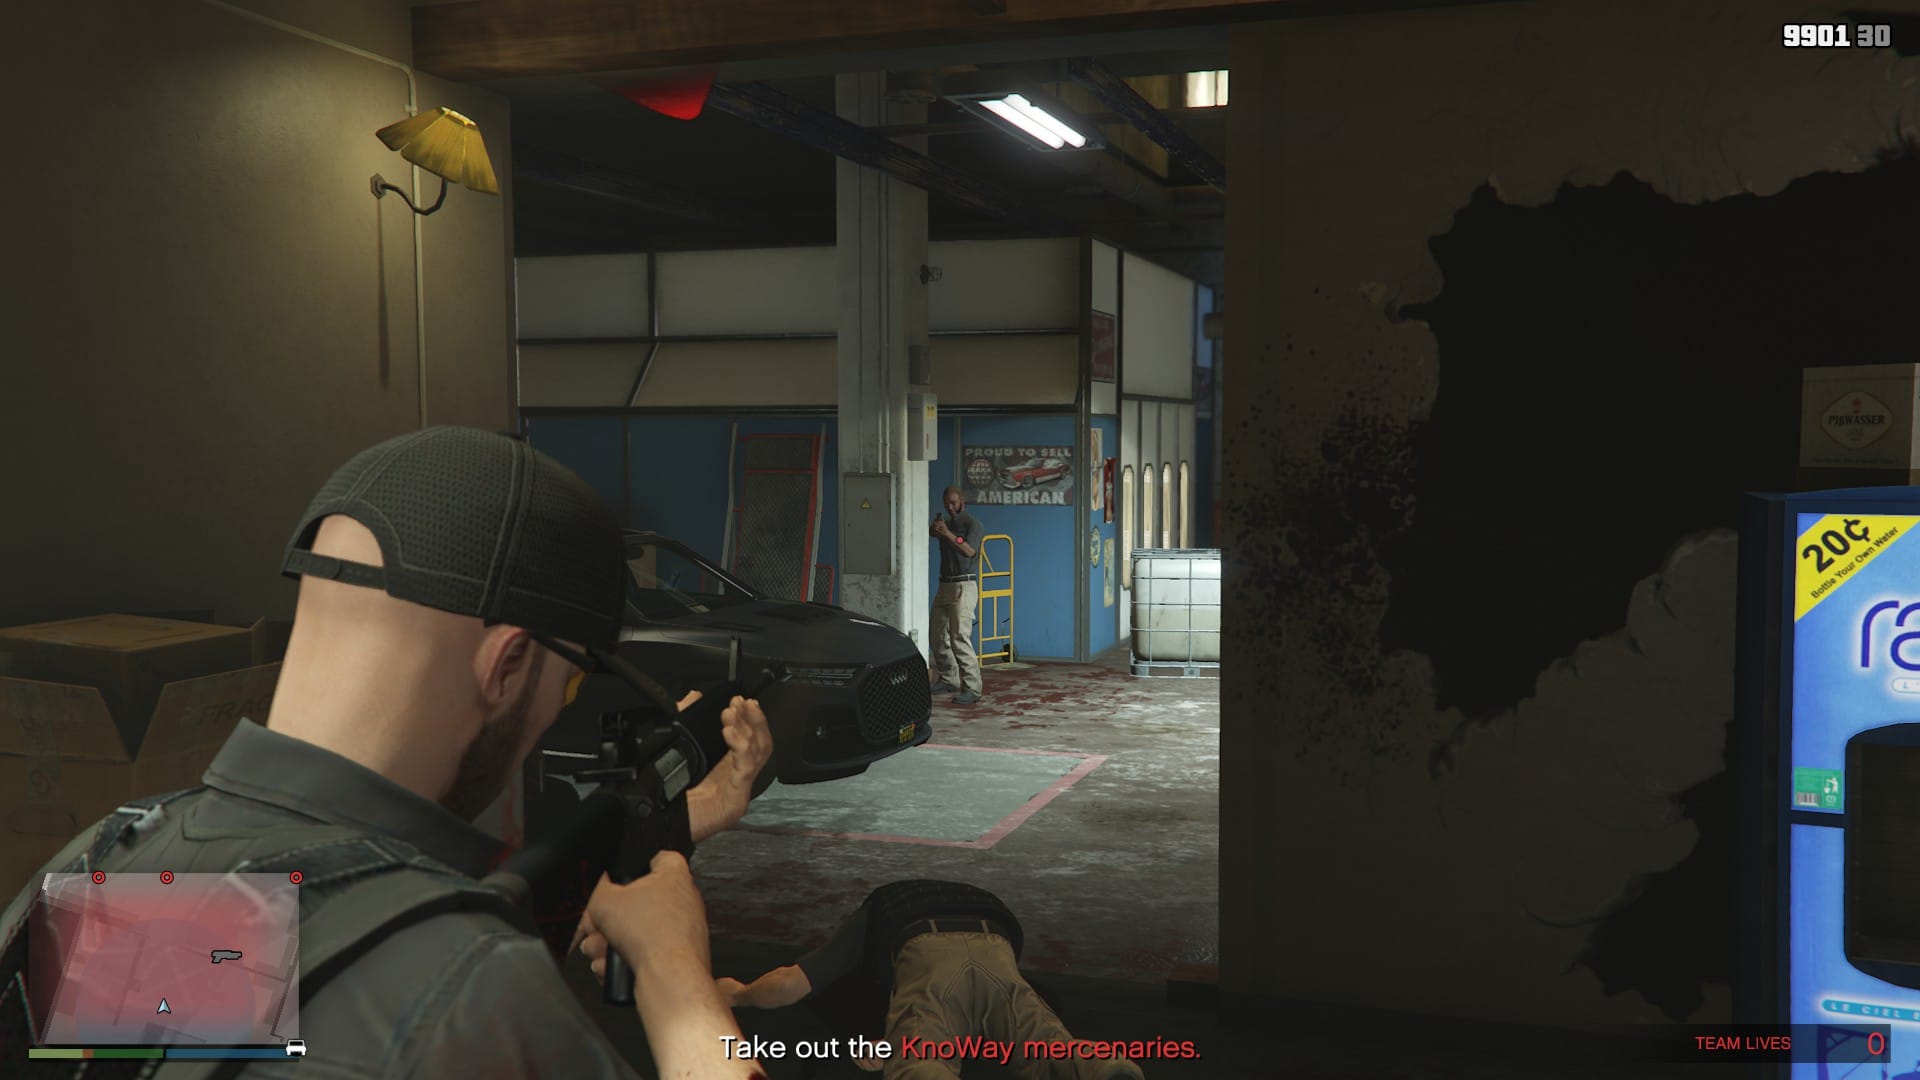
When you arrive at the hideout, it will automatically send you inside. Follow the agent to the briefing room and wait for the FIB agent to give his update. After you receive the text about your cover, equip your weapon of choice and eliminate everyone in the hideout. After taking everyone out, head outside, your personal vehicle will be out front, get in and drive to the data center.
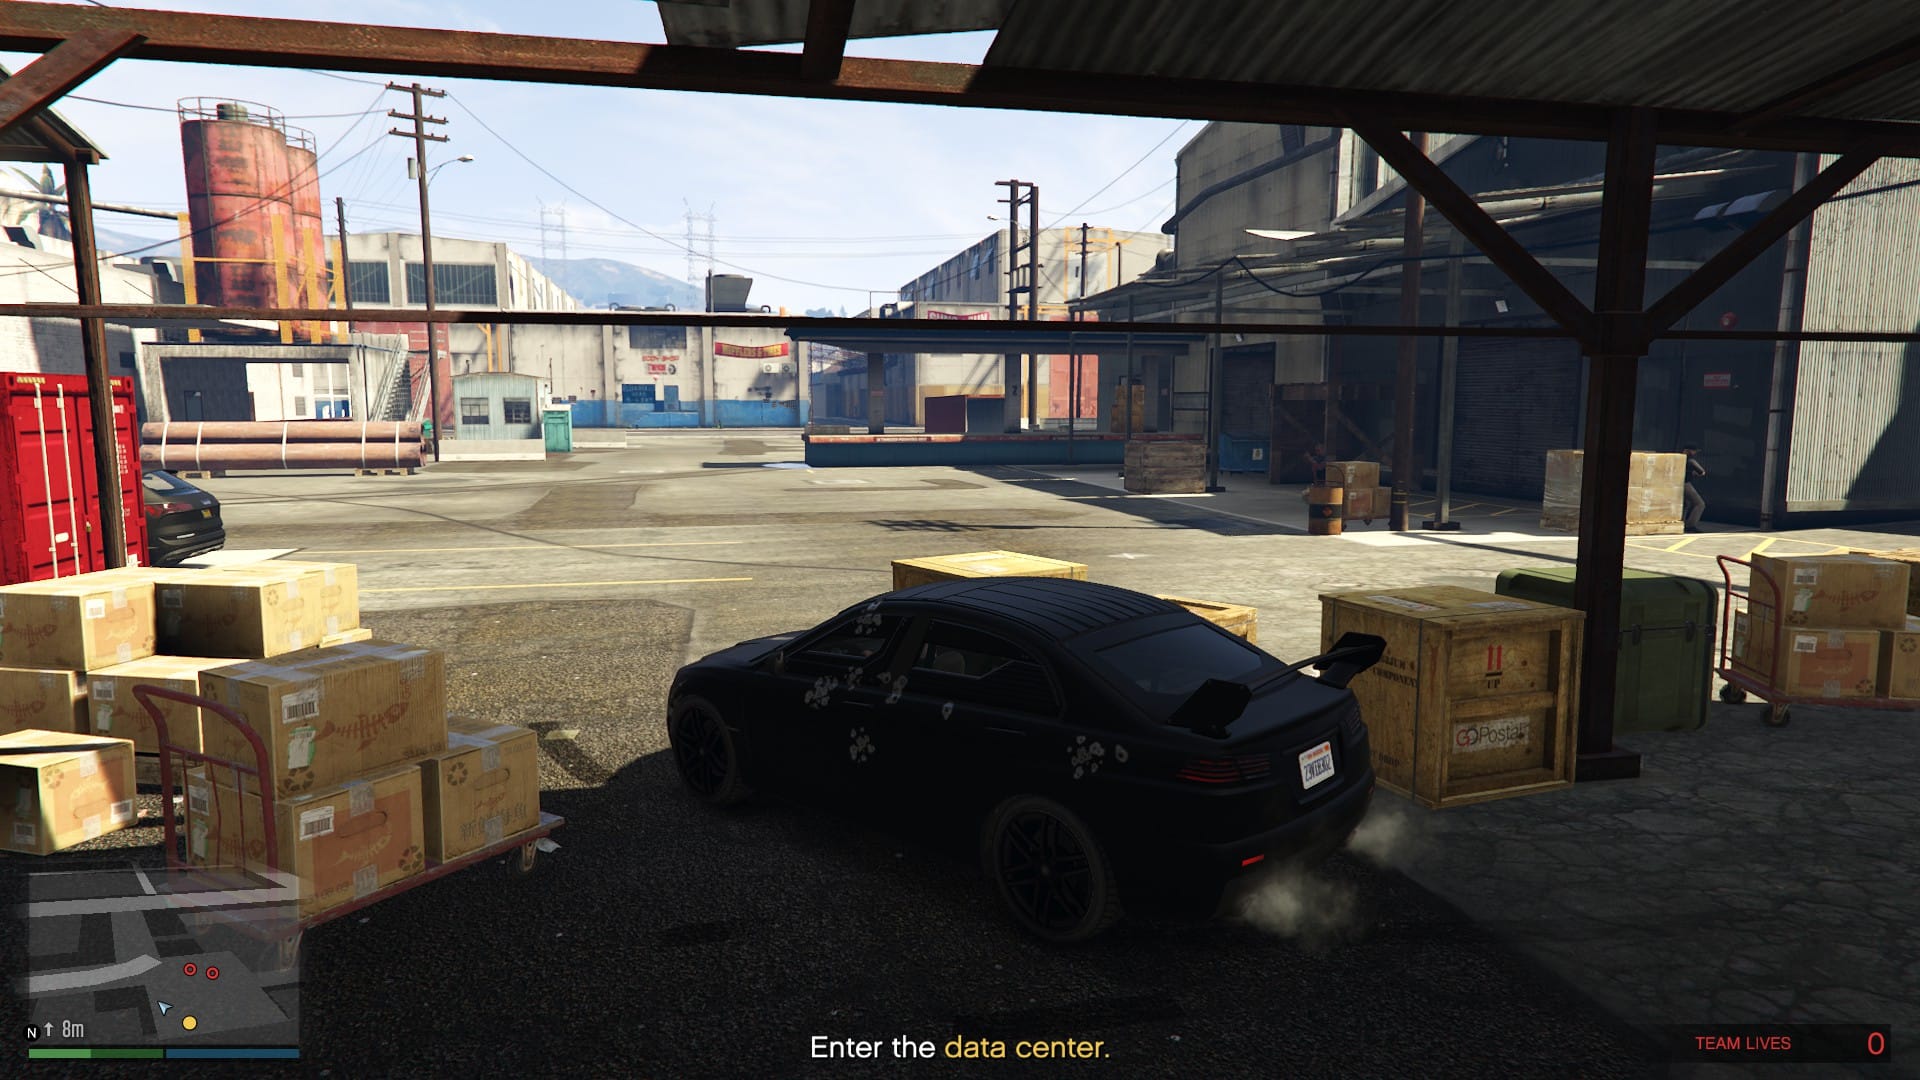
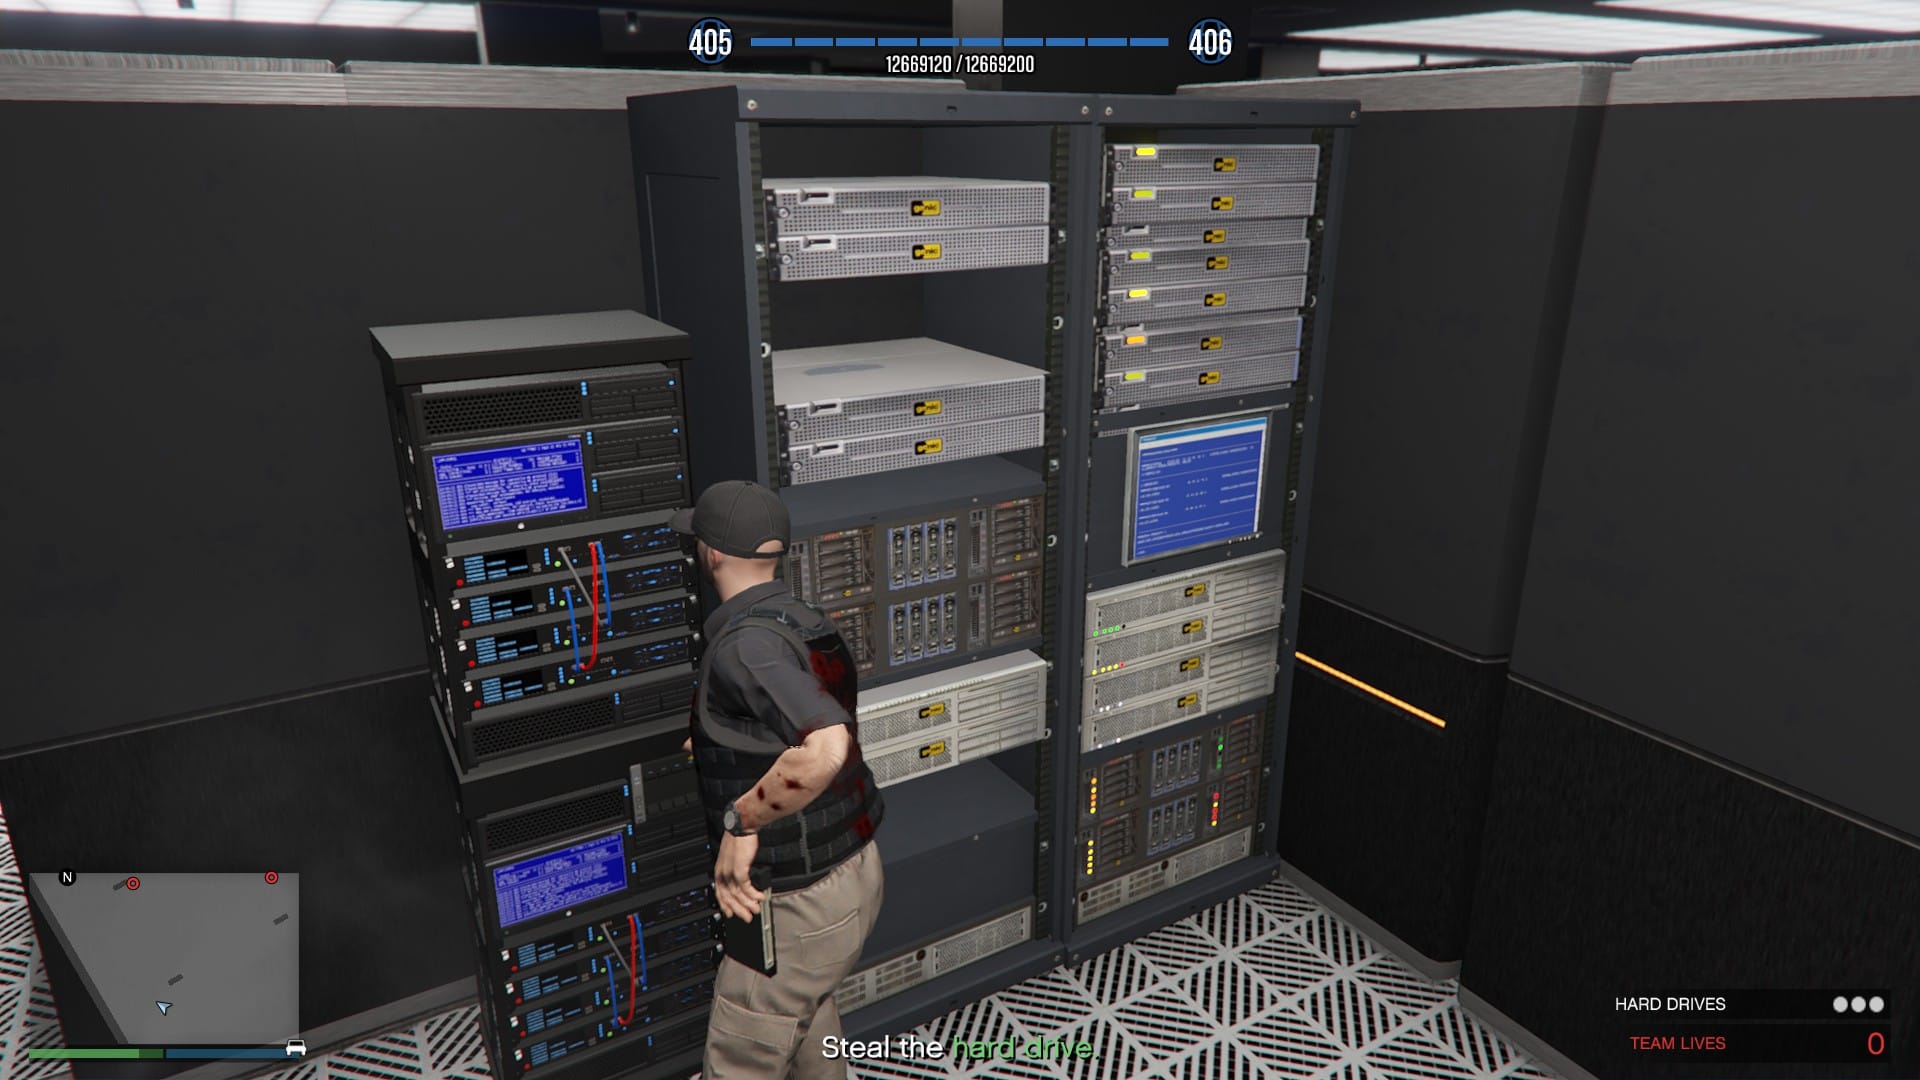
This is where having an armoured vehicle will come in handy. Park it just outside the door (as seen below), take out the front door security and head inside. Take everyone out in the data center and collect the three hard drives.
The three hard drives will be located downstairs and are easy to grab. Once finished, head back up and prepare to escape.
When you come out, there will be several hostile vehicles and a Menacer with a mounted gunner. Having the armoured vehicle parked in that spot means you can quickly escape without fighting or the risk of dying. You do not need to lose the tail or kill anyone, just floor it to the dead drop location to wrap this mission up.
Tunnel Vision
KnoWay Out Mission #3
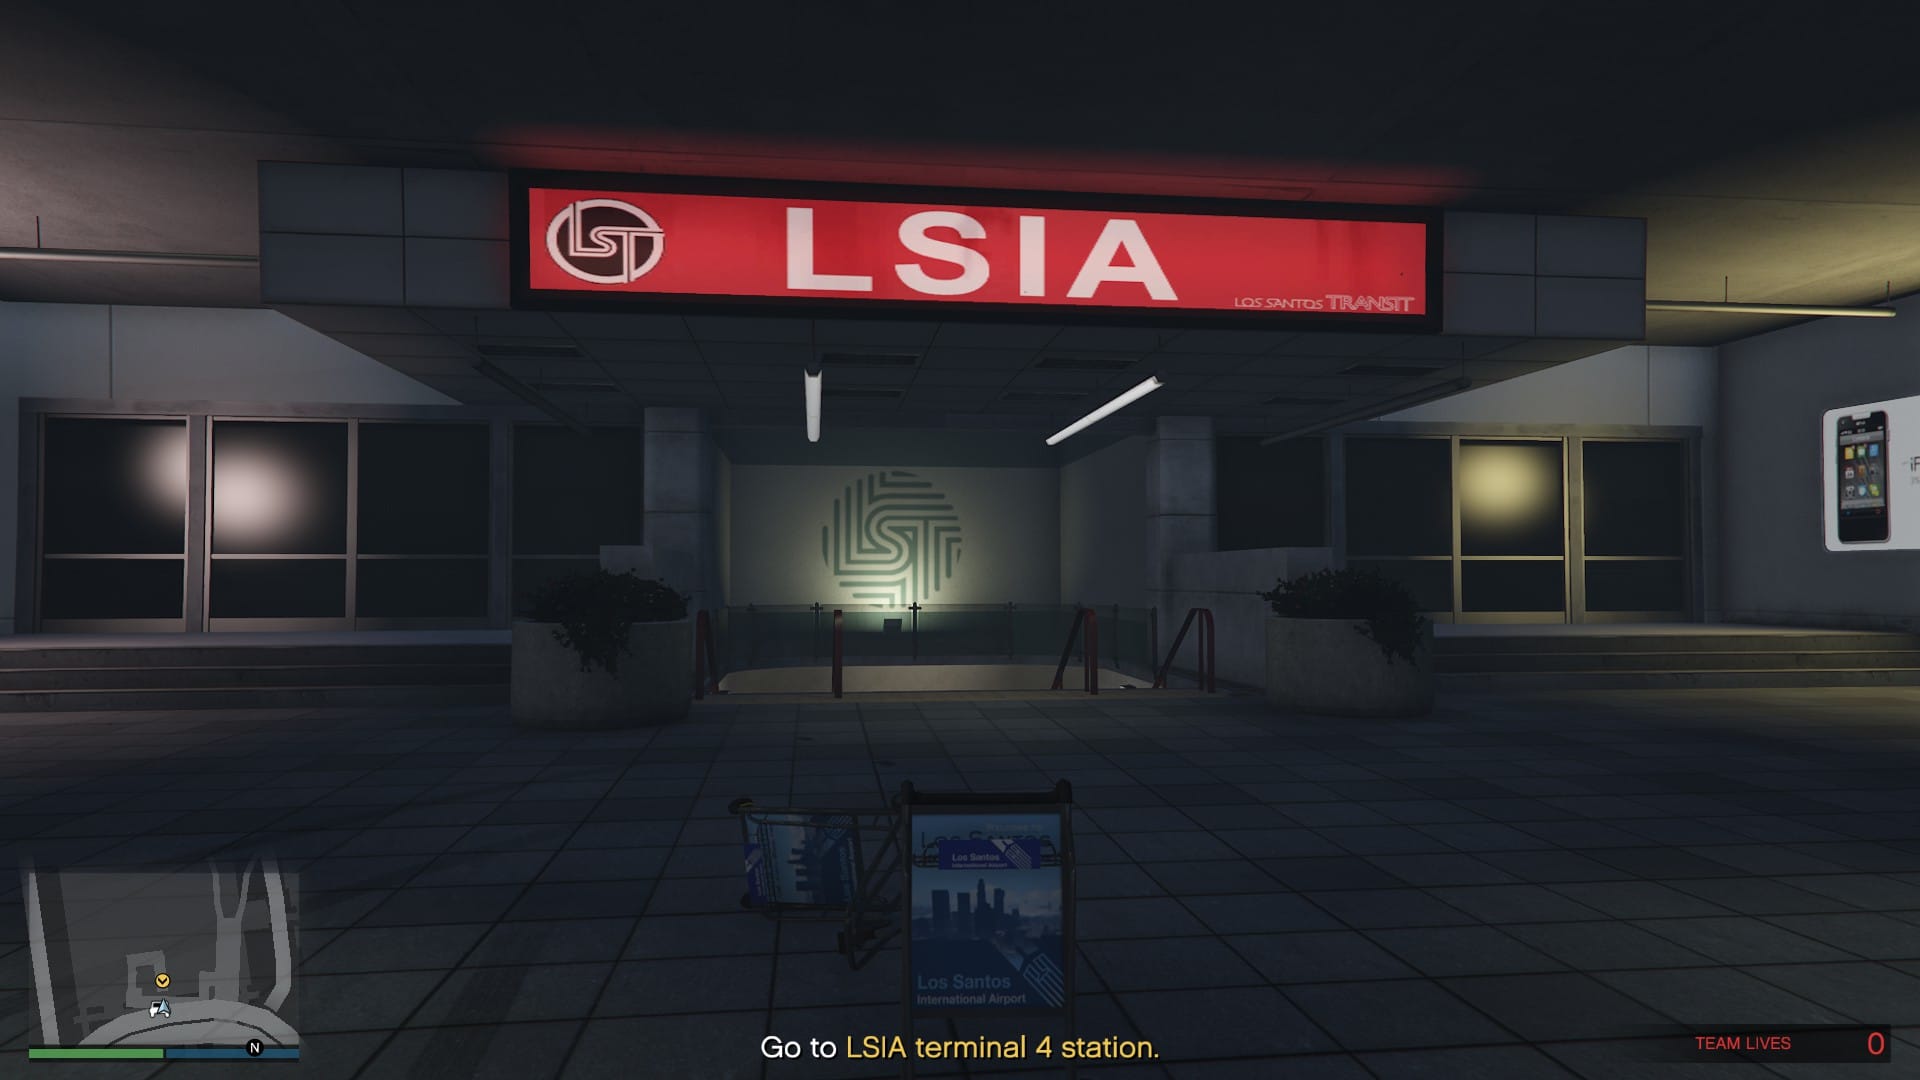
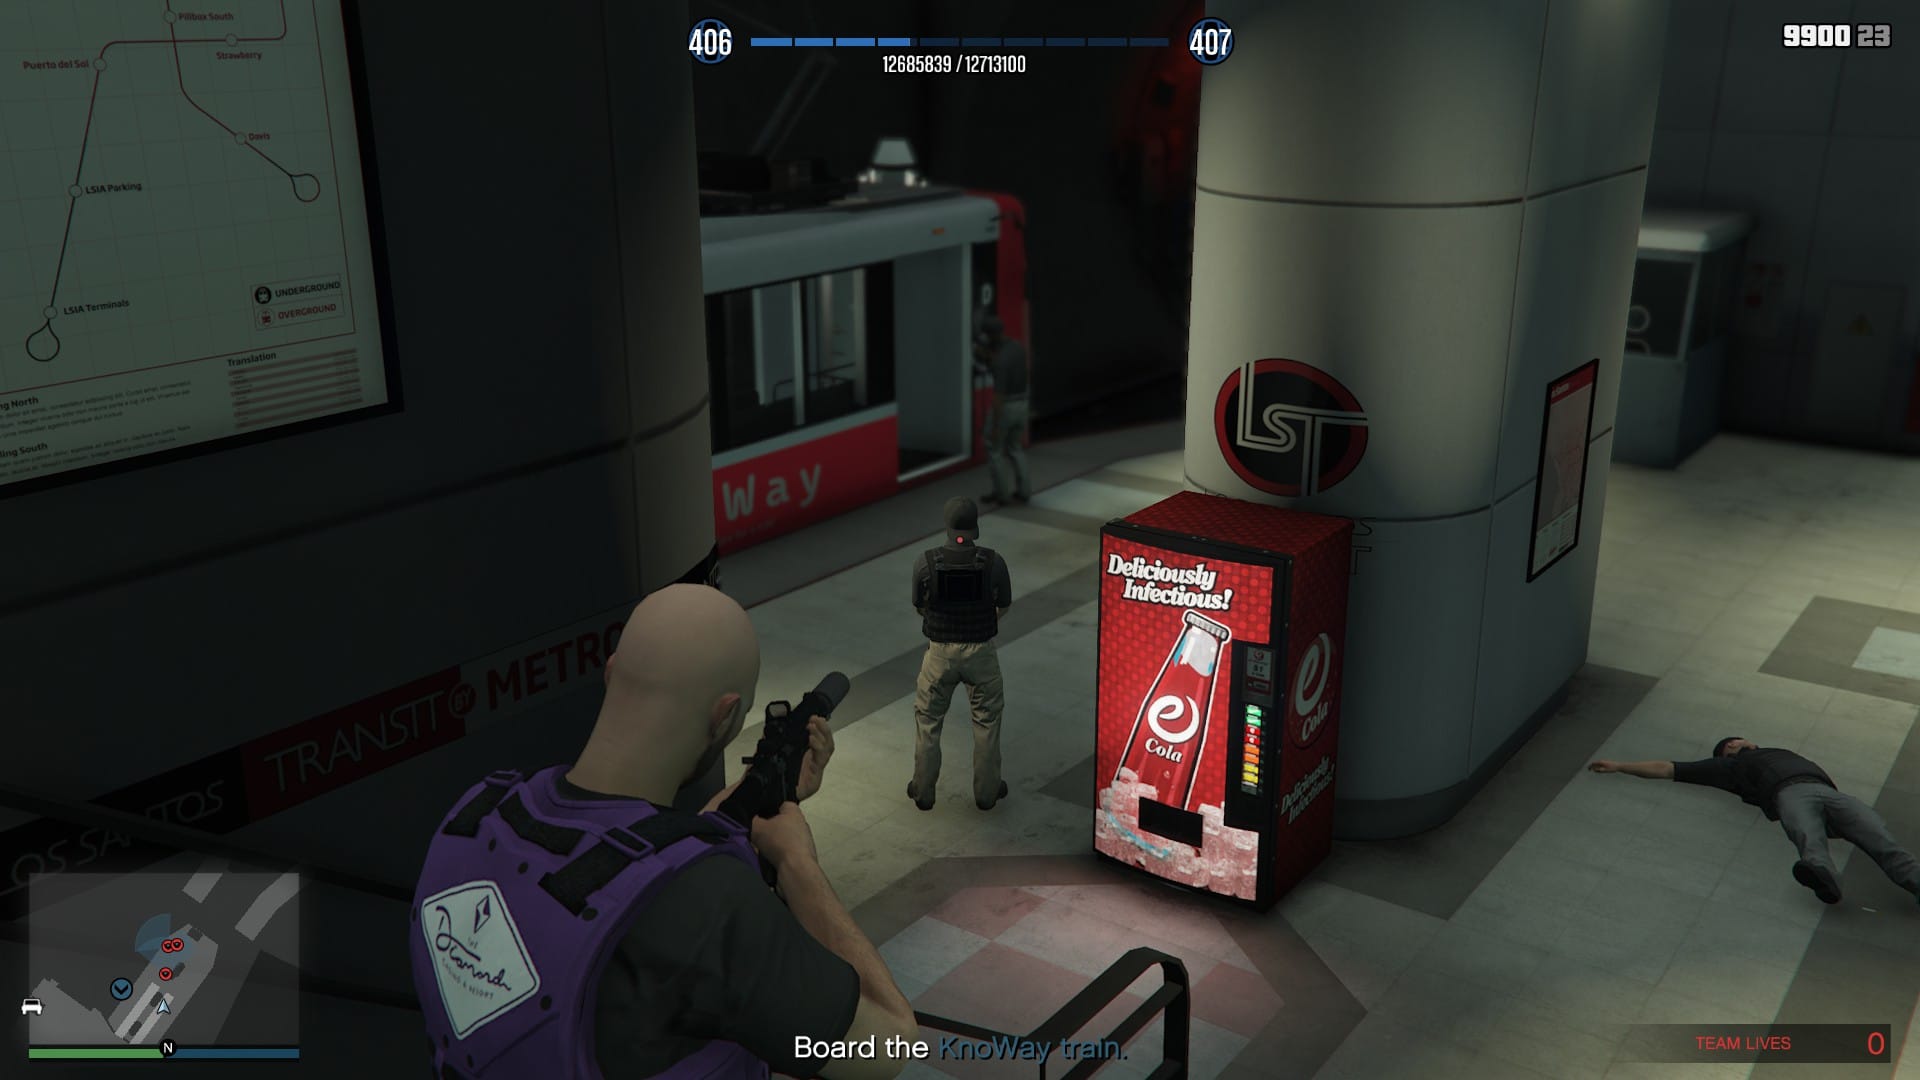
Avi informs us that KnoWay want to expand into trains, and that we should take down their engineer in hopes of stopping their expansion. Head to the ground level entrance to the LSIA subway terminal, head inside and continue until you find KnoWay guards. Using a silenced weapon, take down each guard until you reach the train.
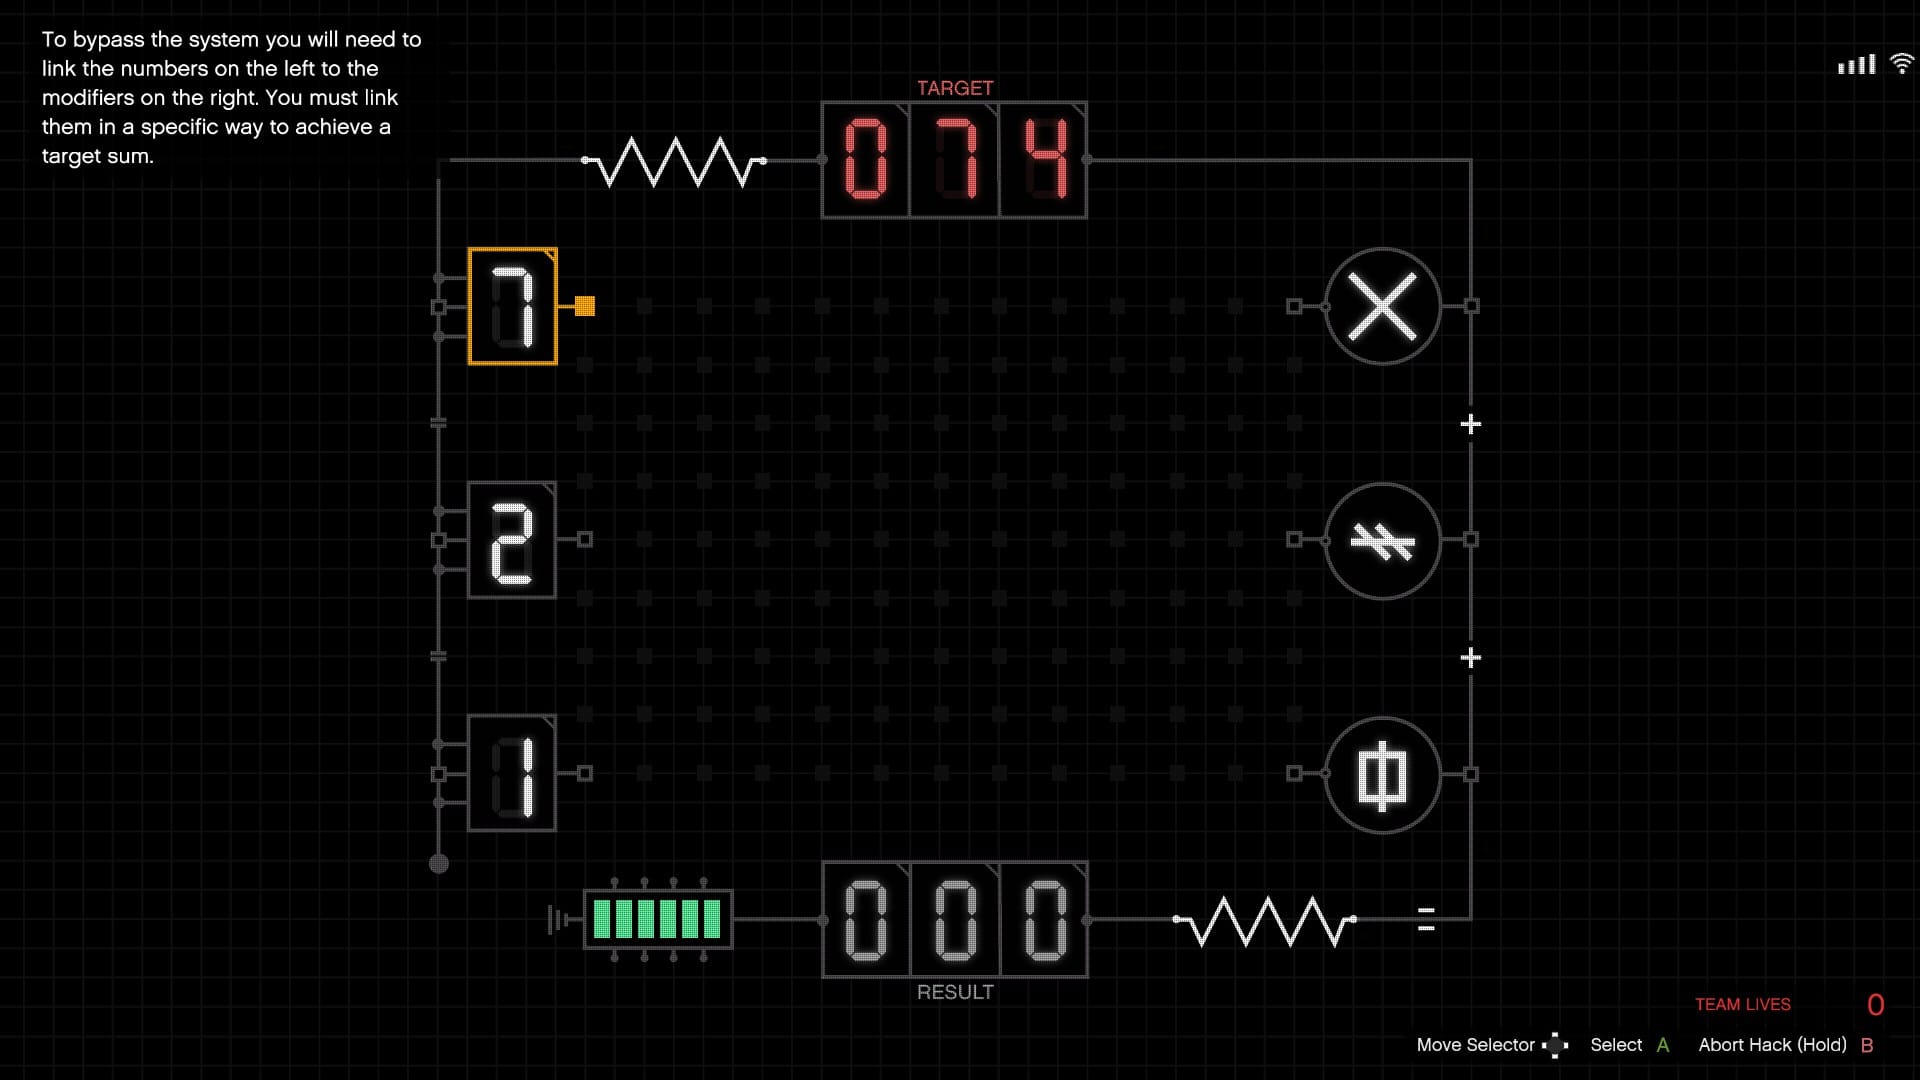
You will need to hack the train to get it moving, and the hacking game will always be VOLTab. For those familiar with it, you know what to do. Those who are new or need a refresher, the aim is simply to match the target number seen in red. The symbols on the right are multipliers,
- The top X multiplies the original number by 10.
- The symbol in the middle multiplies the number by 2, and
- The square at the bottom multiplies the number by 1.
You need to play around with the voltage and multipliers to see which combination equals the desired target.
Once you have hacked the train, wait for it to reach its destination and then wait again for the on-coming train to arrive. From here you will take out the KnoWay out team and secure the briefcase.
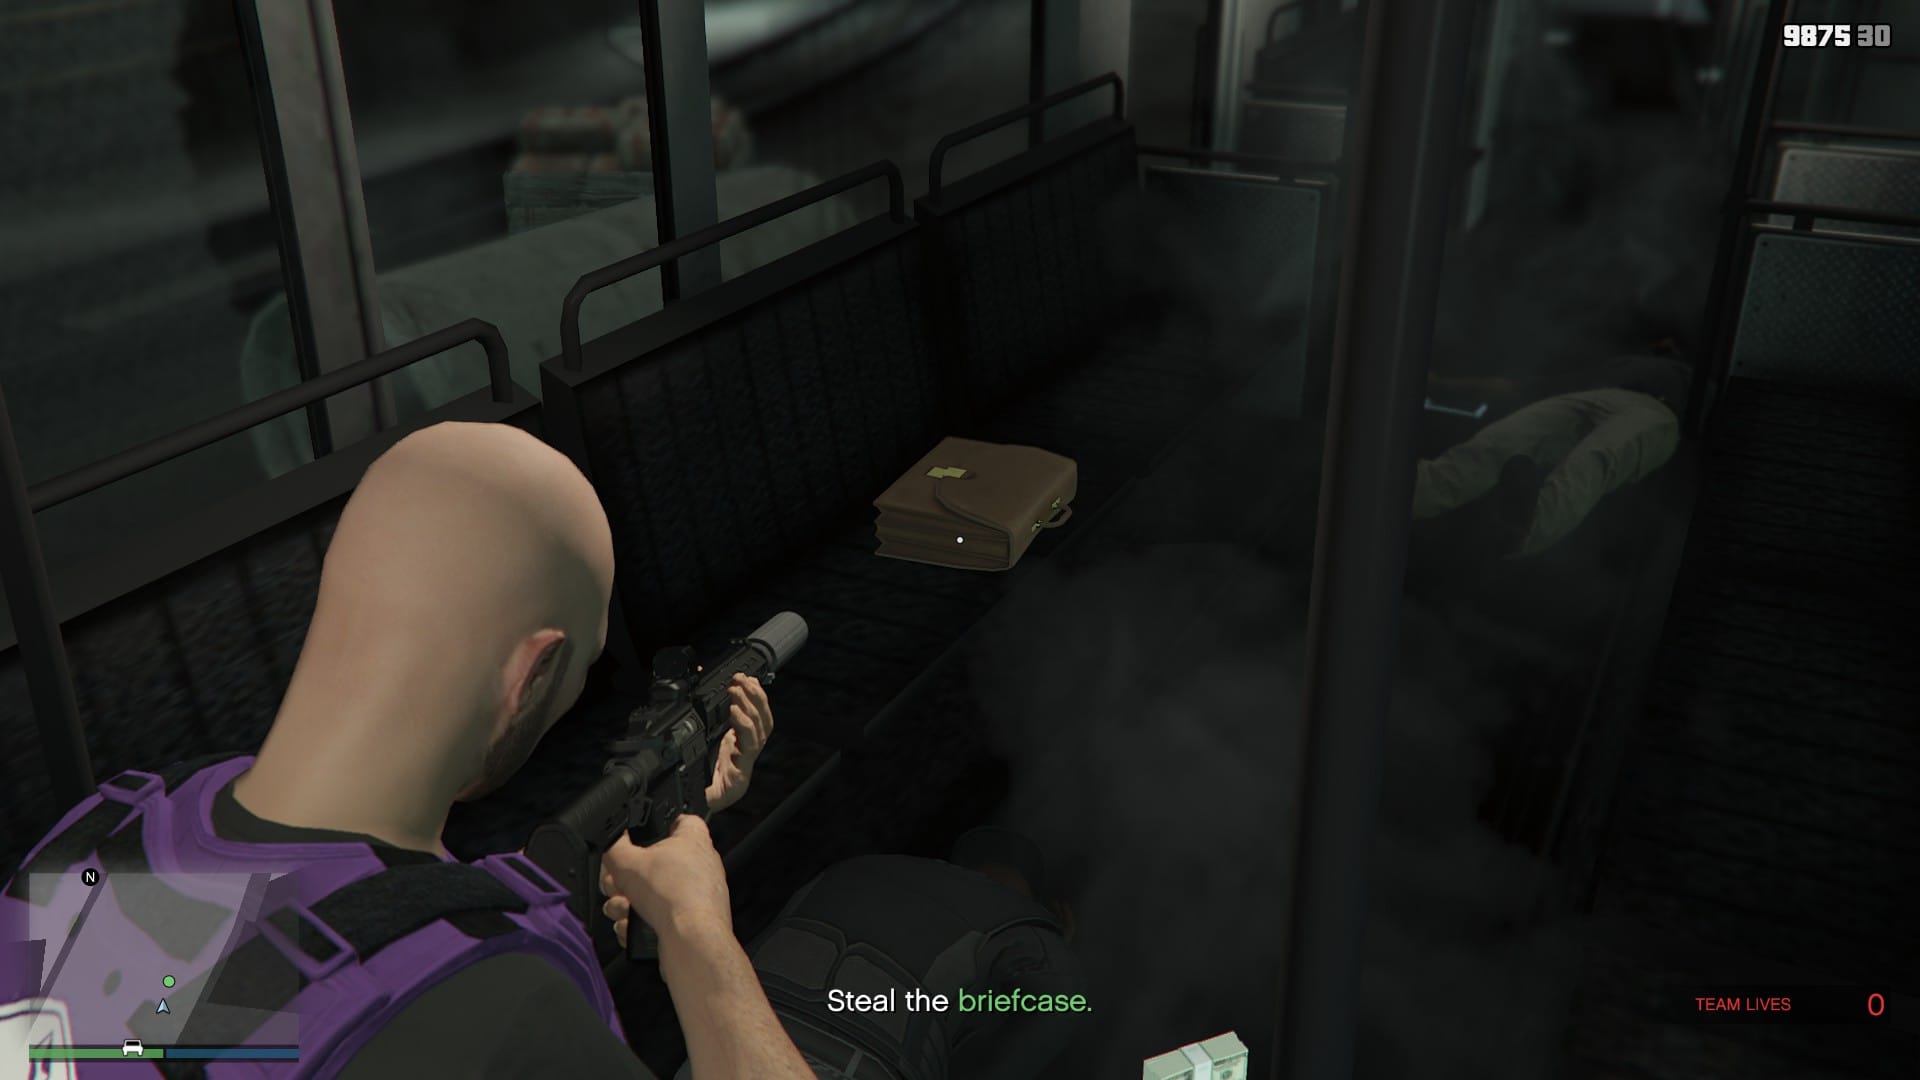
As soon as you have the briefcase, find cover and take out the flanking guards. Avi has left two bikes for us to use in our escape from the tunnels. Open the container, pick your bike and prepare your snacks.
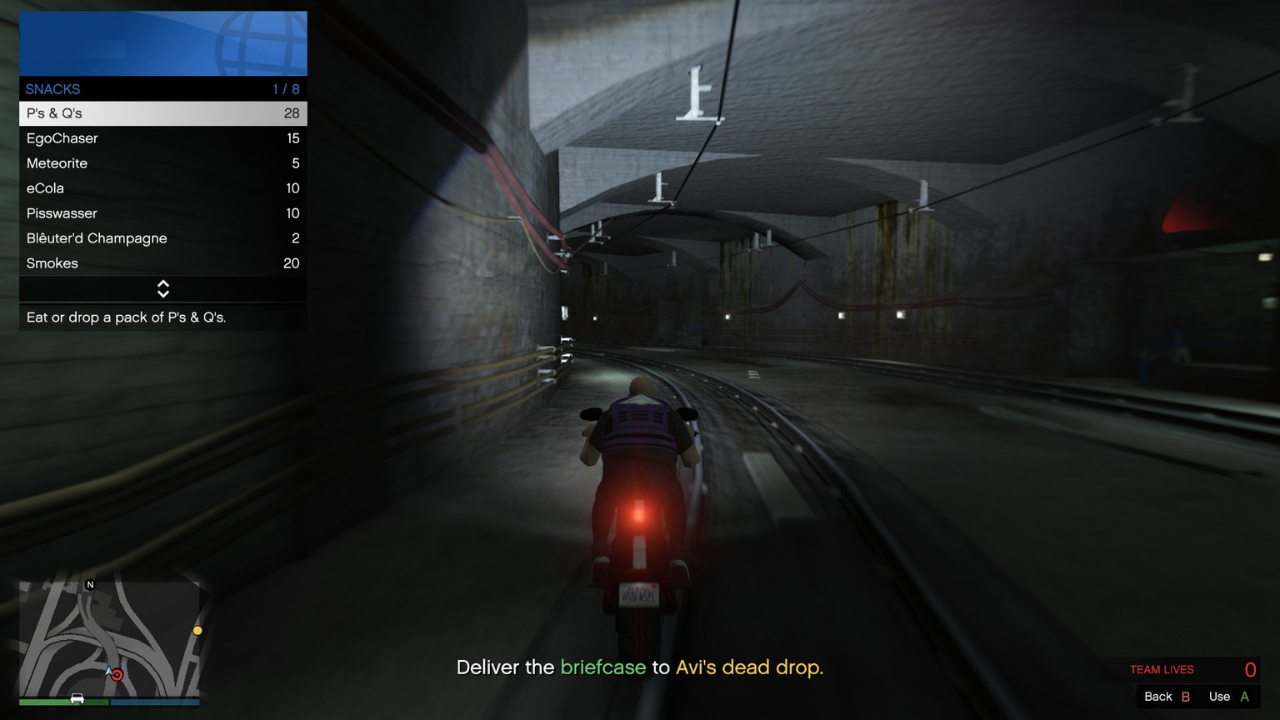
Now this is where things get difficult. You have two options, take your time fighting through the tunnels or, having your snacks ready to go and hauling ass out of there. If you are going for the "under 60 minutes" Career Challenge, you will need to speed run this.
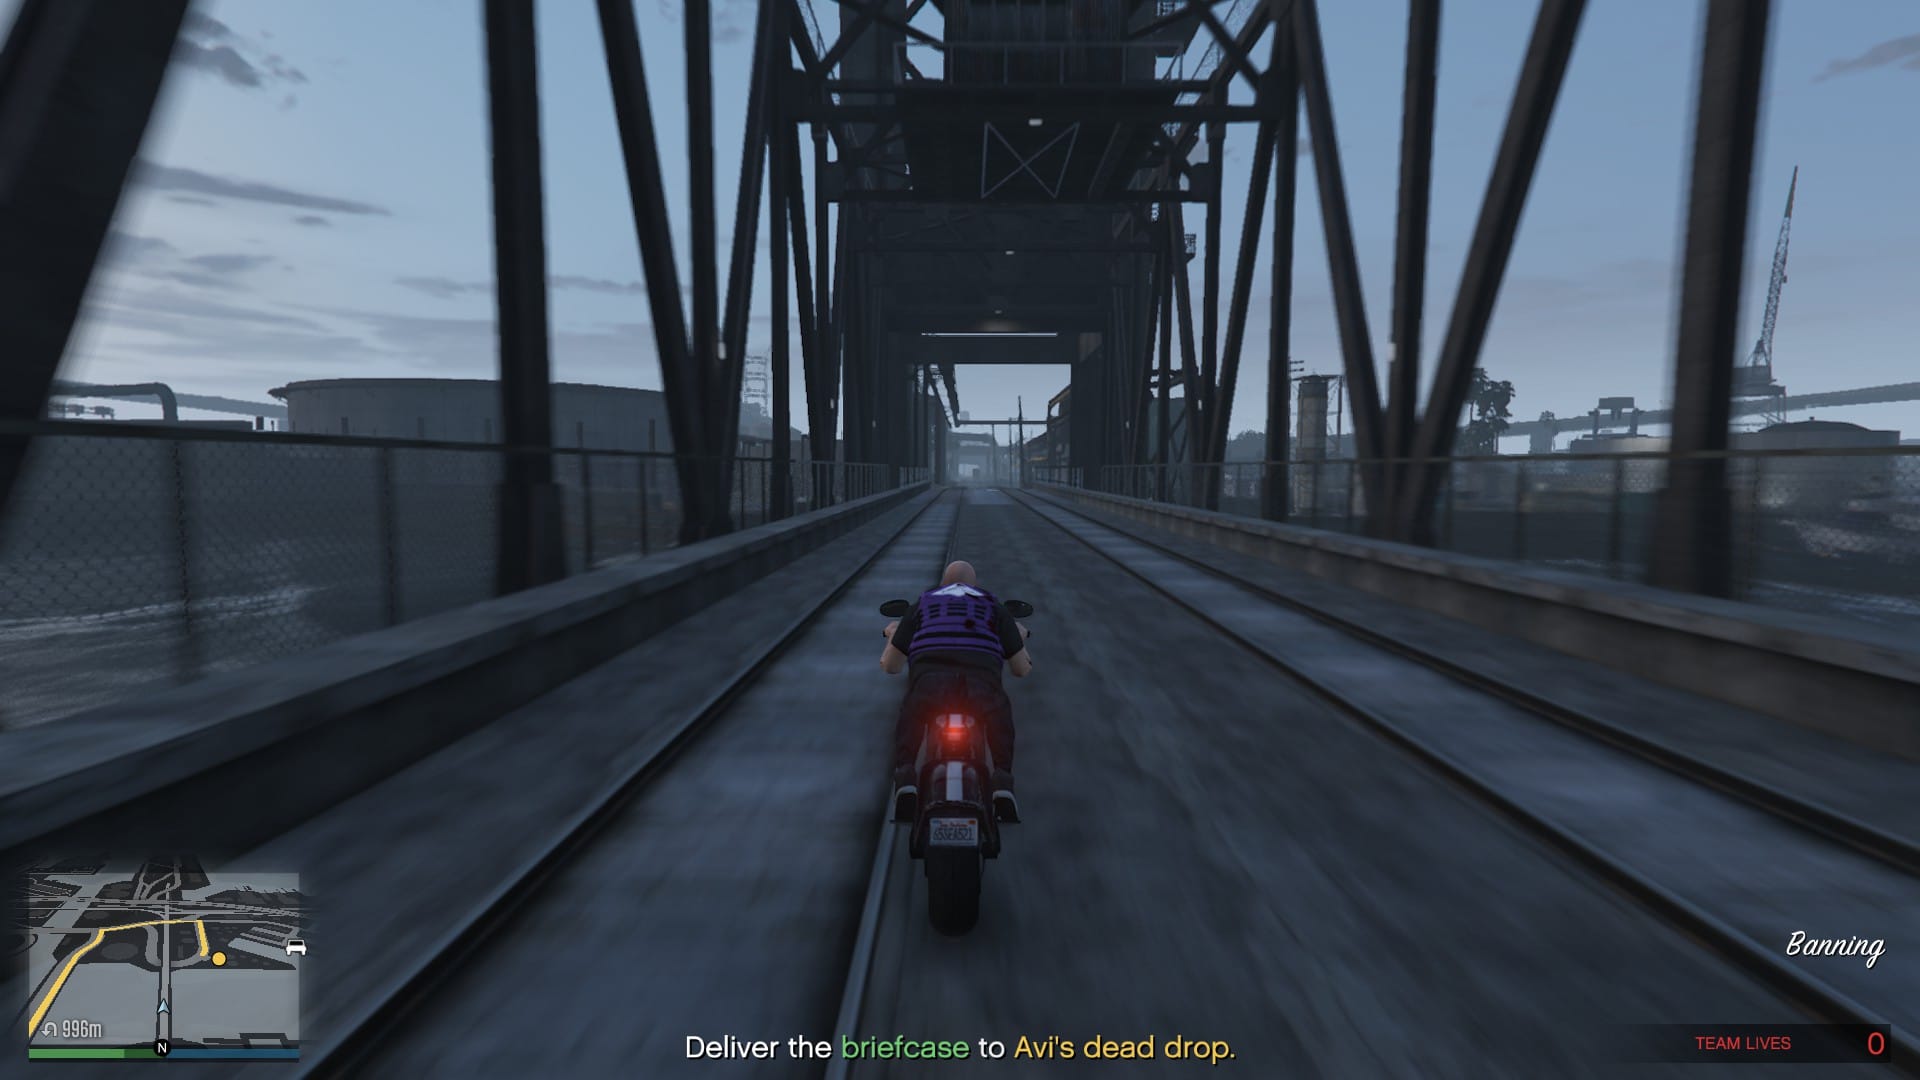
Hug the left side of the tunnel and ride past everyone, no shooting, just driving. You will need to evade oncoming bikes but they aren't too difficult and sometimes crash themselves. Keep going until you see the end of the tunnel, from here you can follow the tracks out or use the metal sheet as a ramp to get off the tracks. Once you are out of the tunnels, evade any followers and head for the dead drop.
Trash Talking
KnoWay Out Mission #4
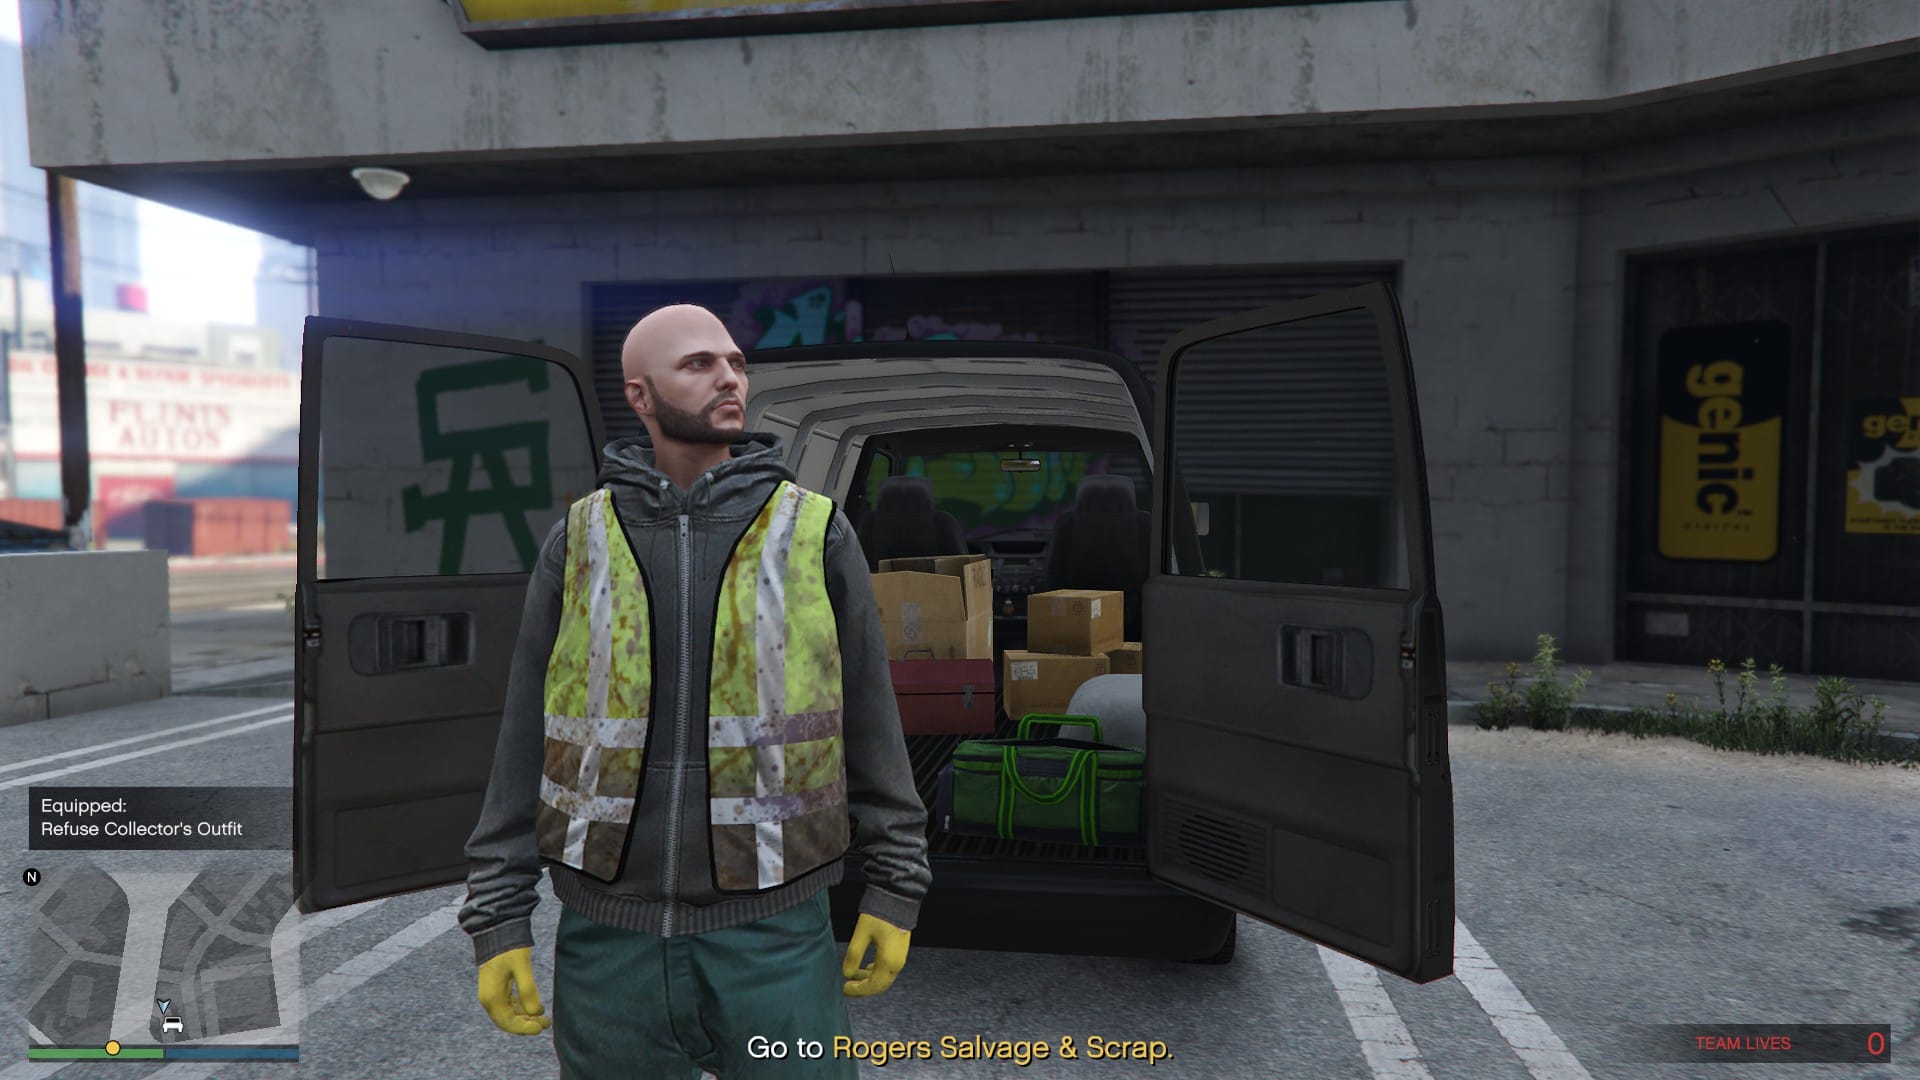
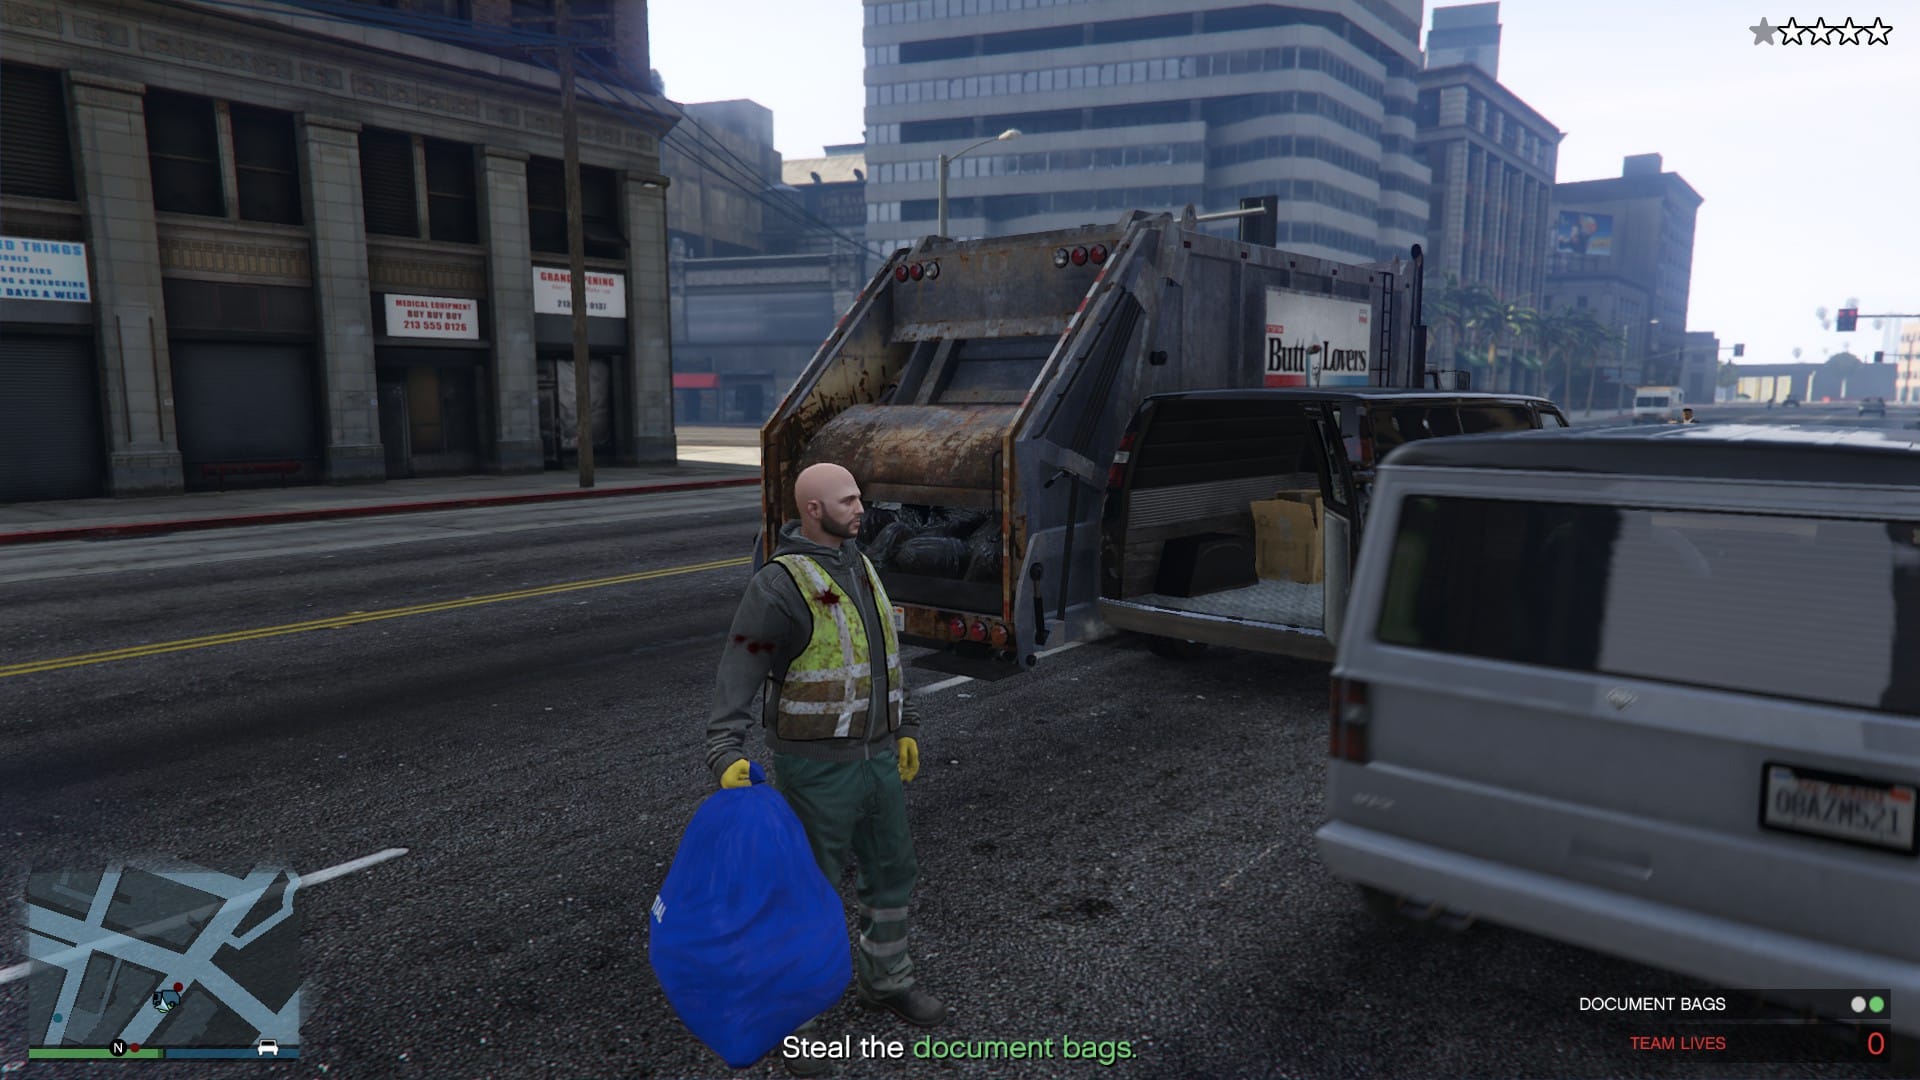
This is a fairly straight forward mission that has you wearing a refuse collector disguise to steal confidential KnoWay documents, what could go wrong? From the start, head to the marked location and steal the Trashmaster, these guys won't give you any trouble or wanted level. Once in the Trashmaster, head to the first location and beep the horn twice to be let inside.
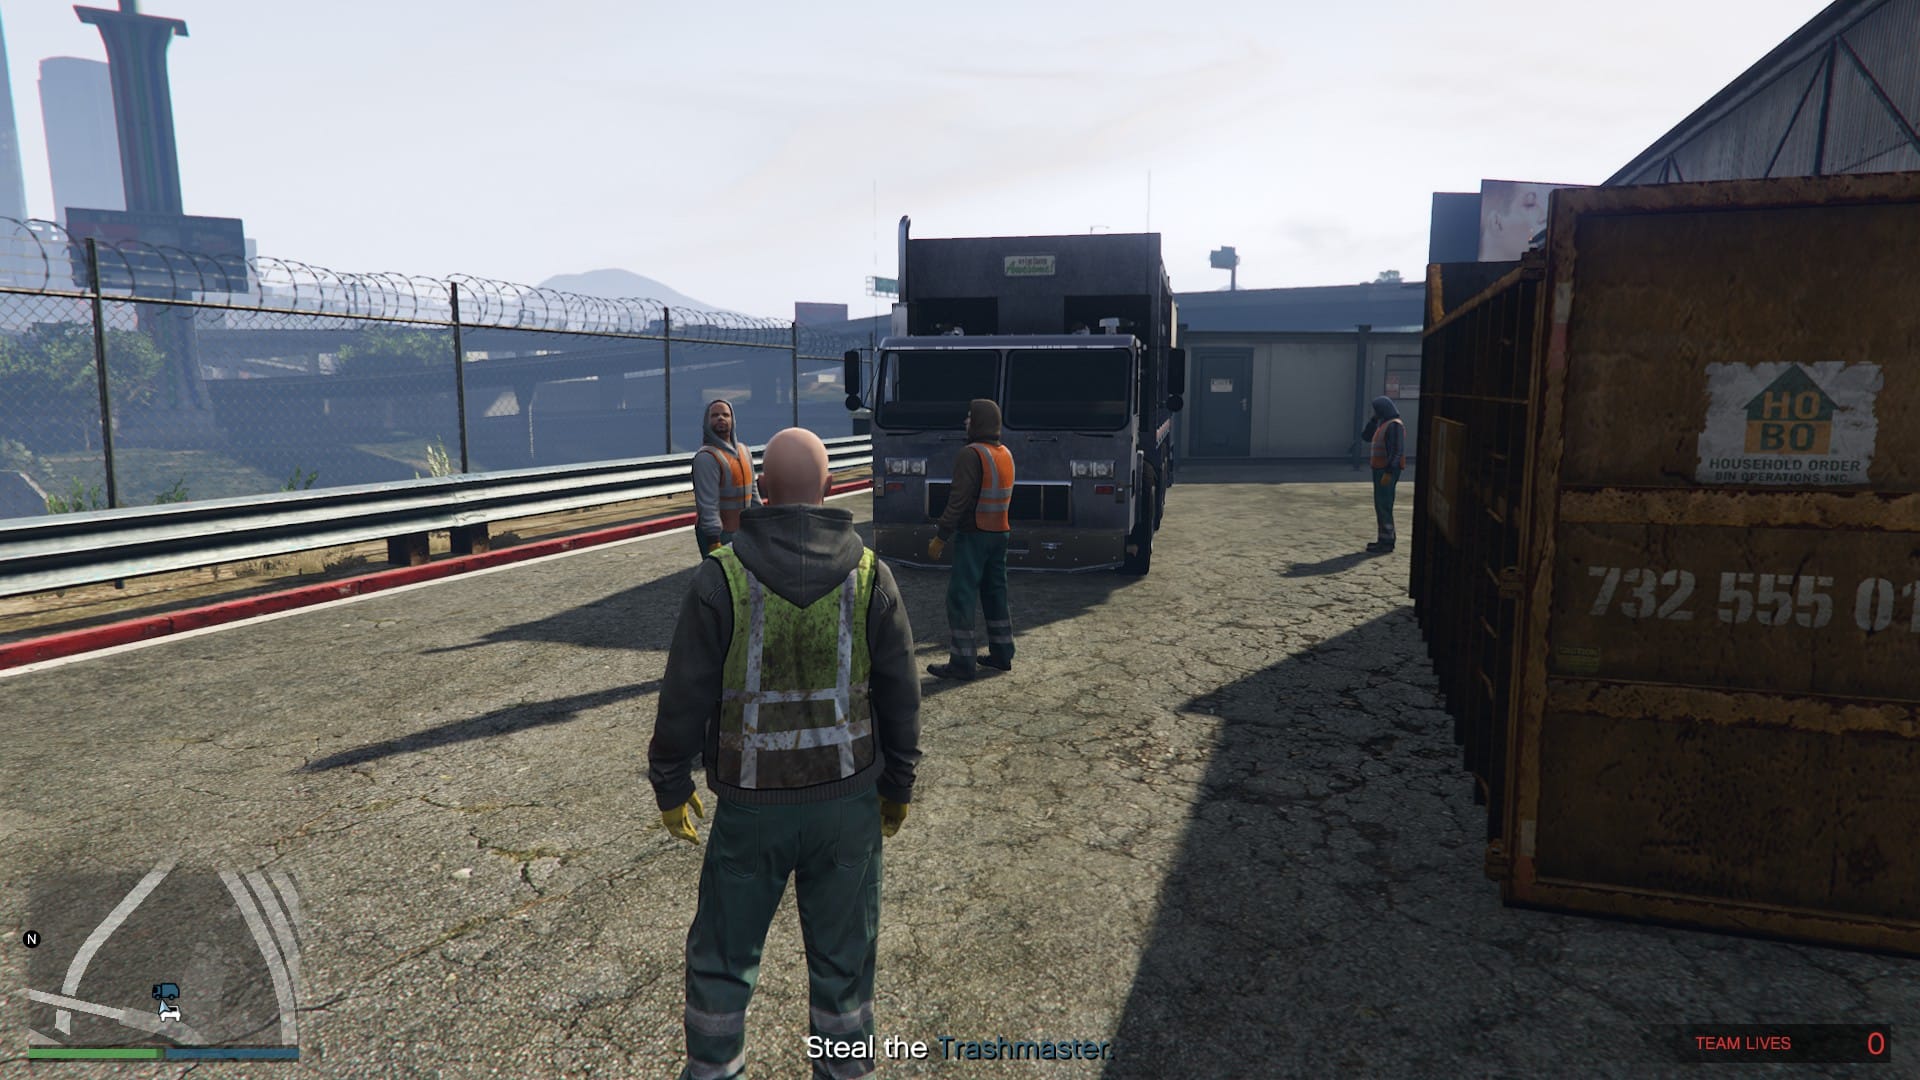
There are three black bags that need to be collected first, they will always be in the same locations and it is recommended to get them out of the way to avoid the guards suspicion from raising. Once you have collected the three bags, he will walk off and you can start collecting the blue bags.
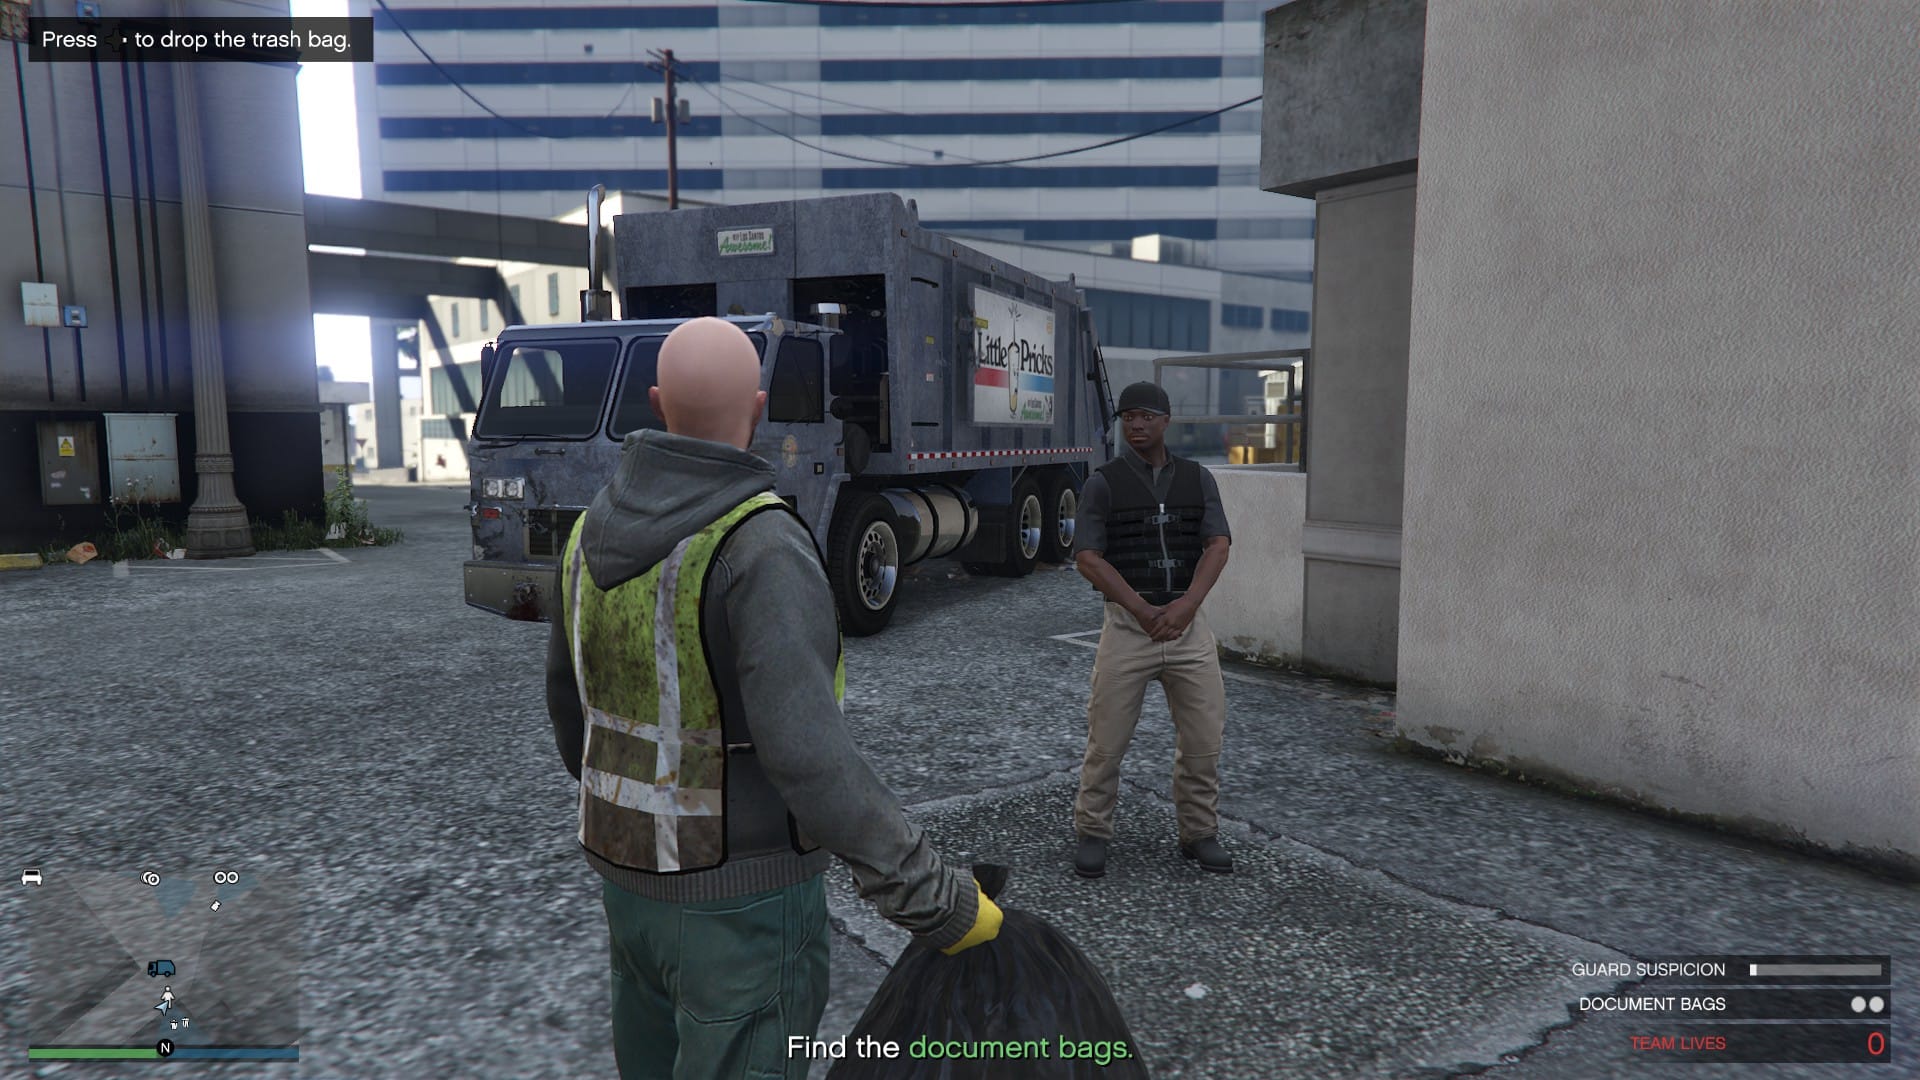
Once he is gone, head to the power box, wait for the electrician to move away and disable the cameras. This will move the guard that is standing in front of the two blue bags.
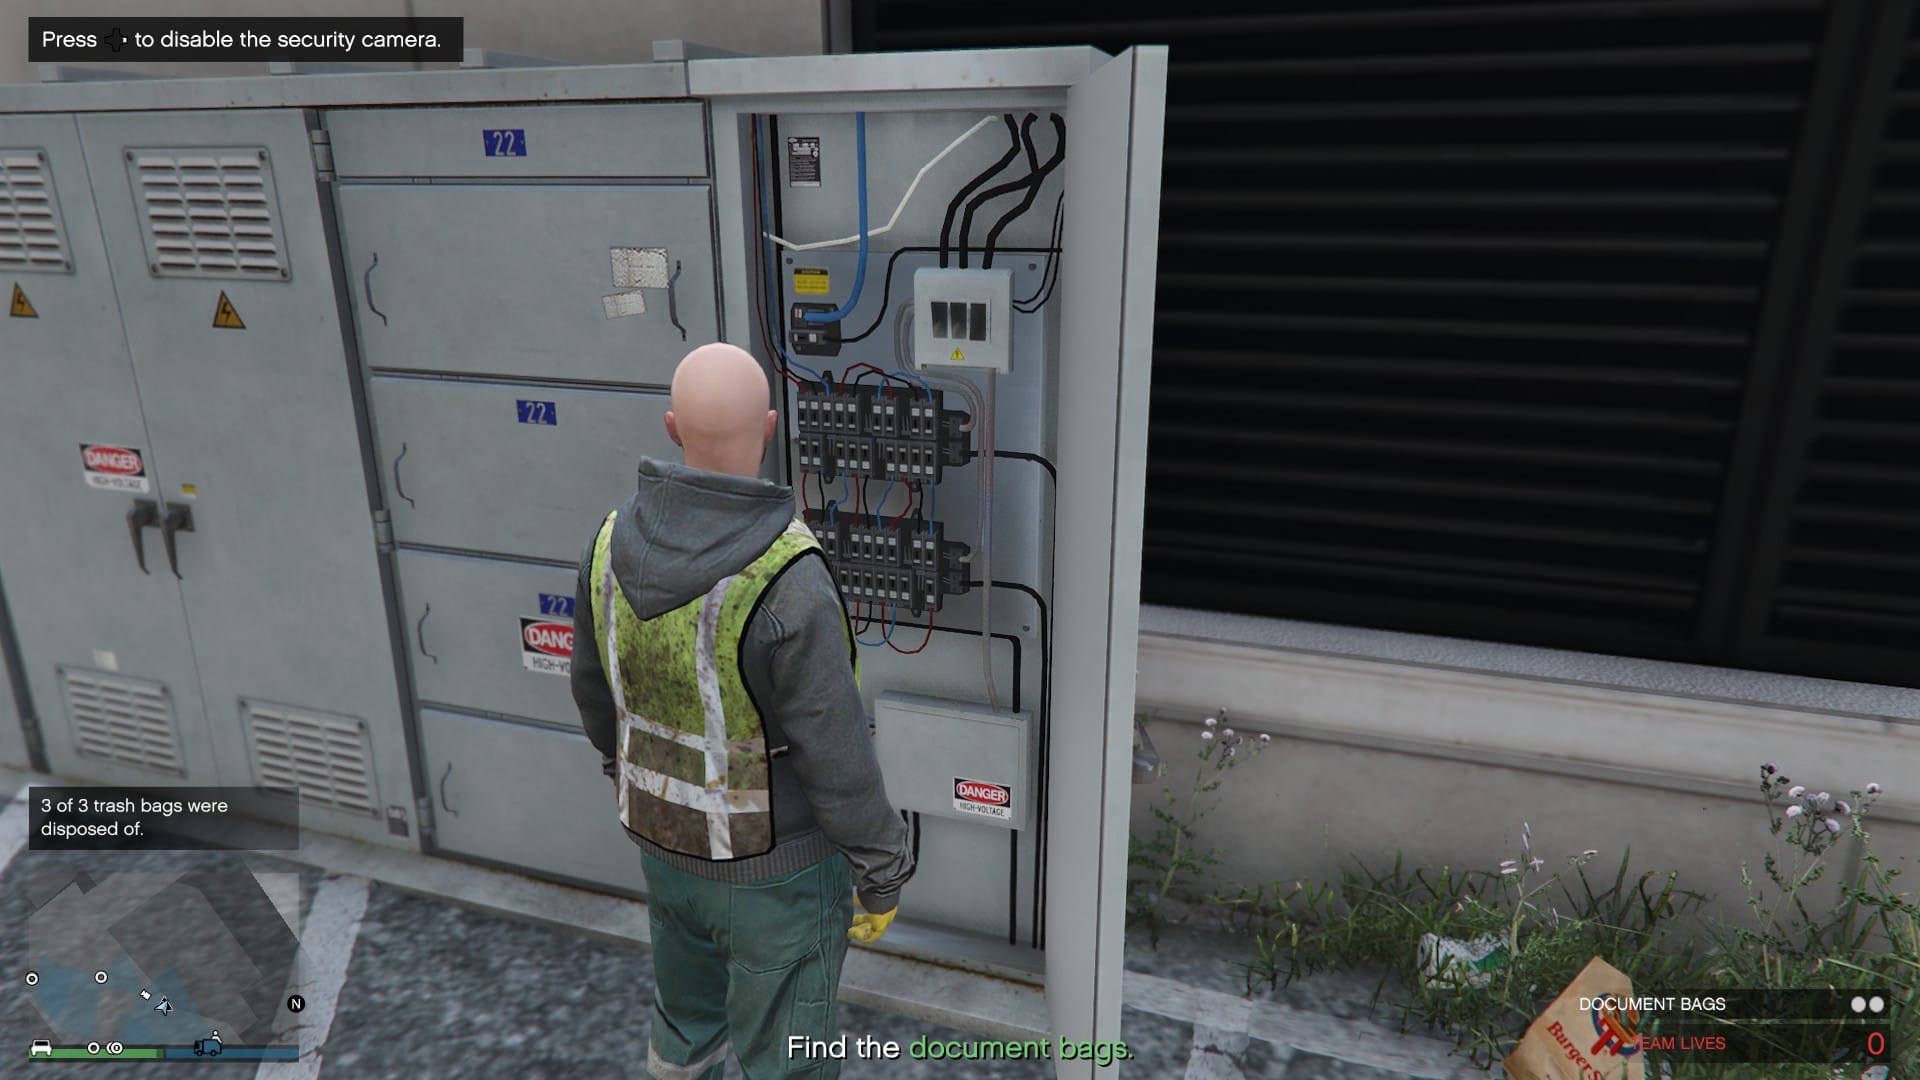
With the guard out of the way, grab the bags and start putting them into the Trashmaster. You can freely walk in front of some guards, just watch out for those marked as red on the map.
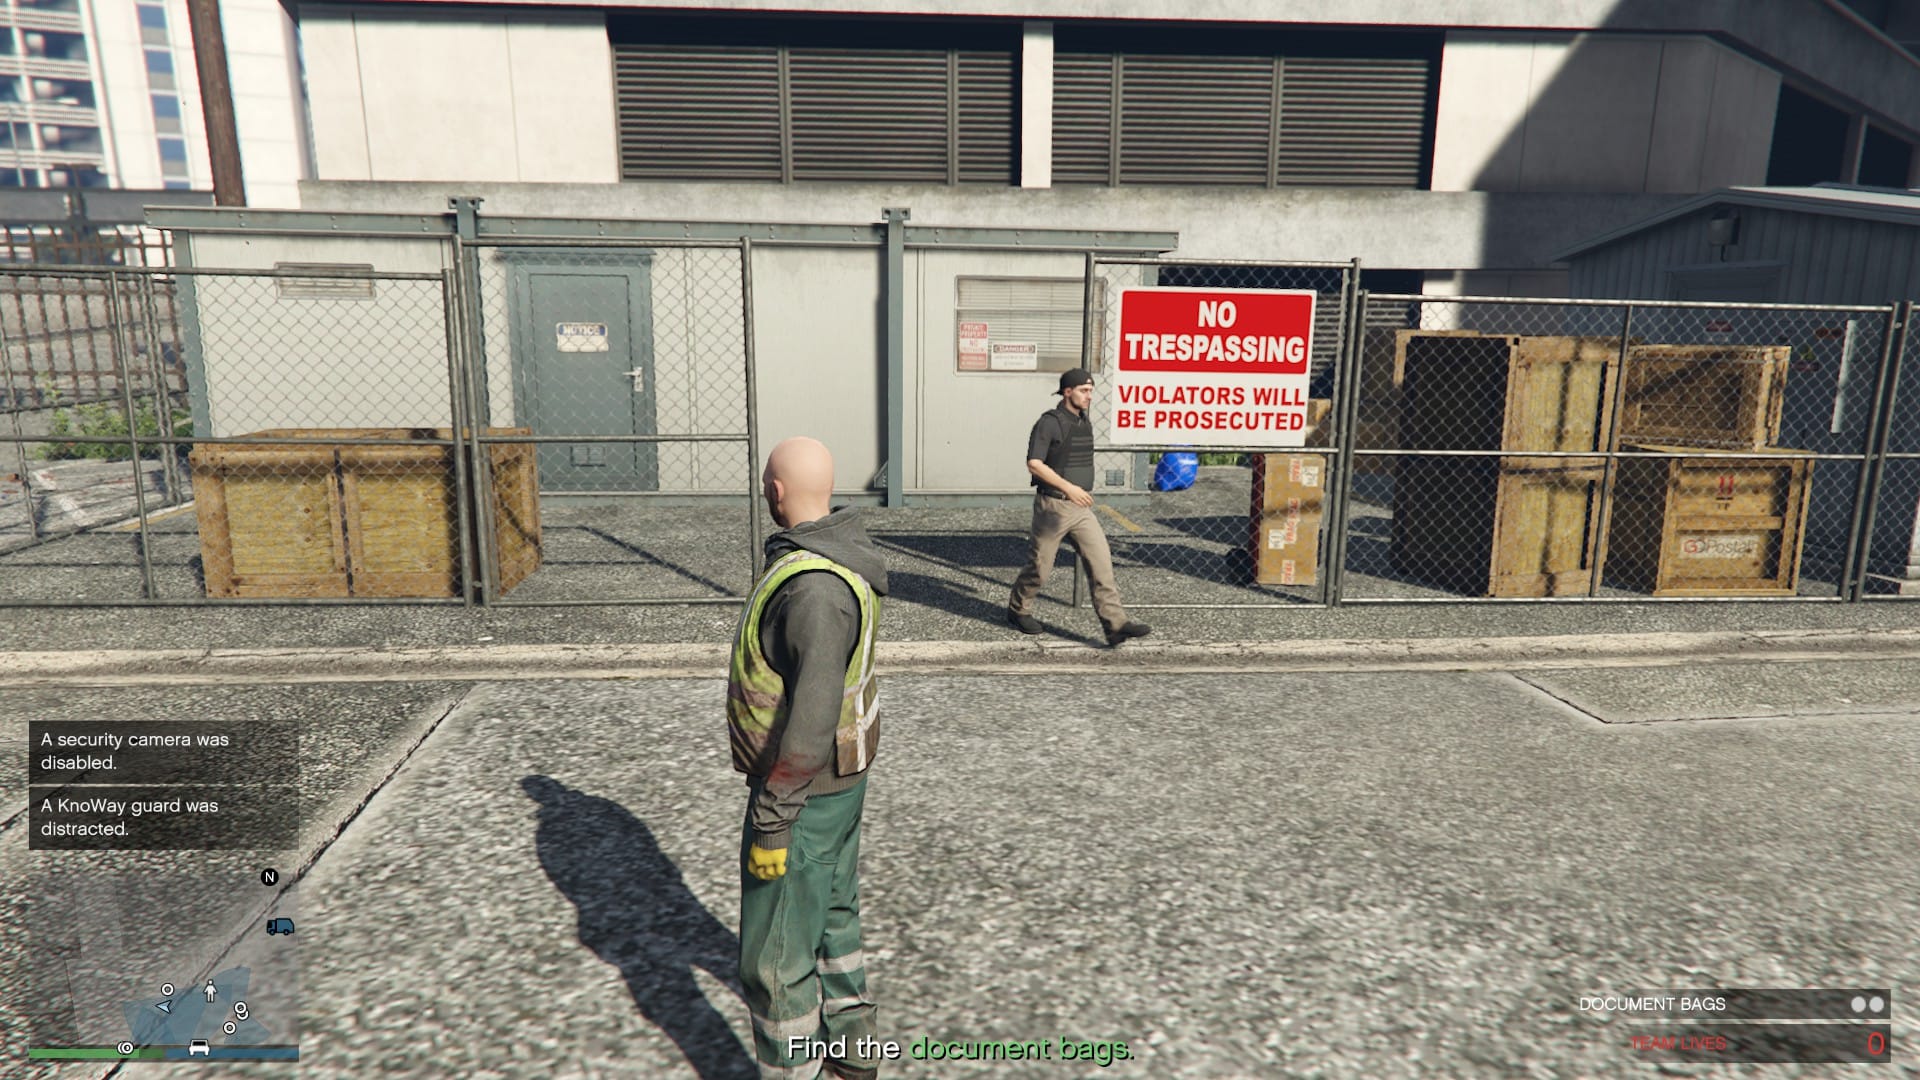
As you can see, I can run past certain guards without alerting the whole area. Just stay out of the way of red marked guards.
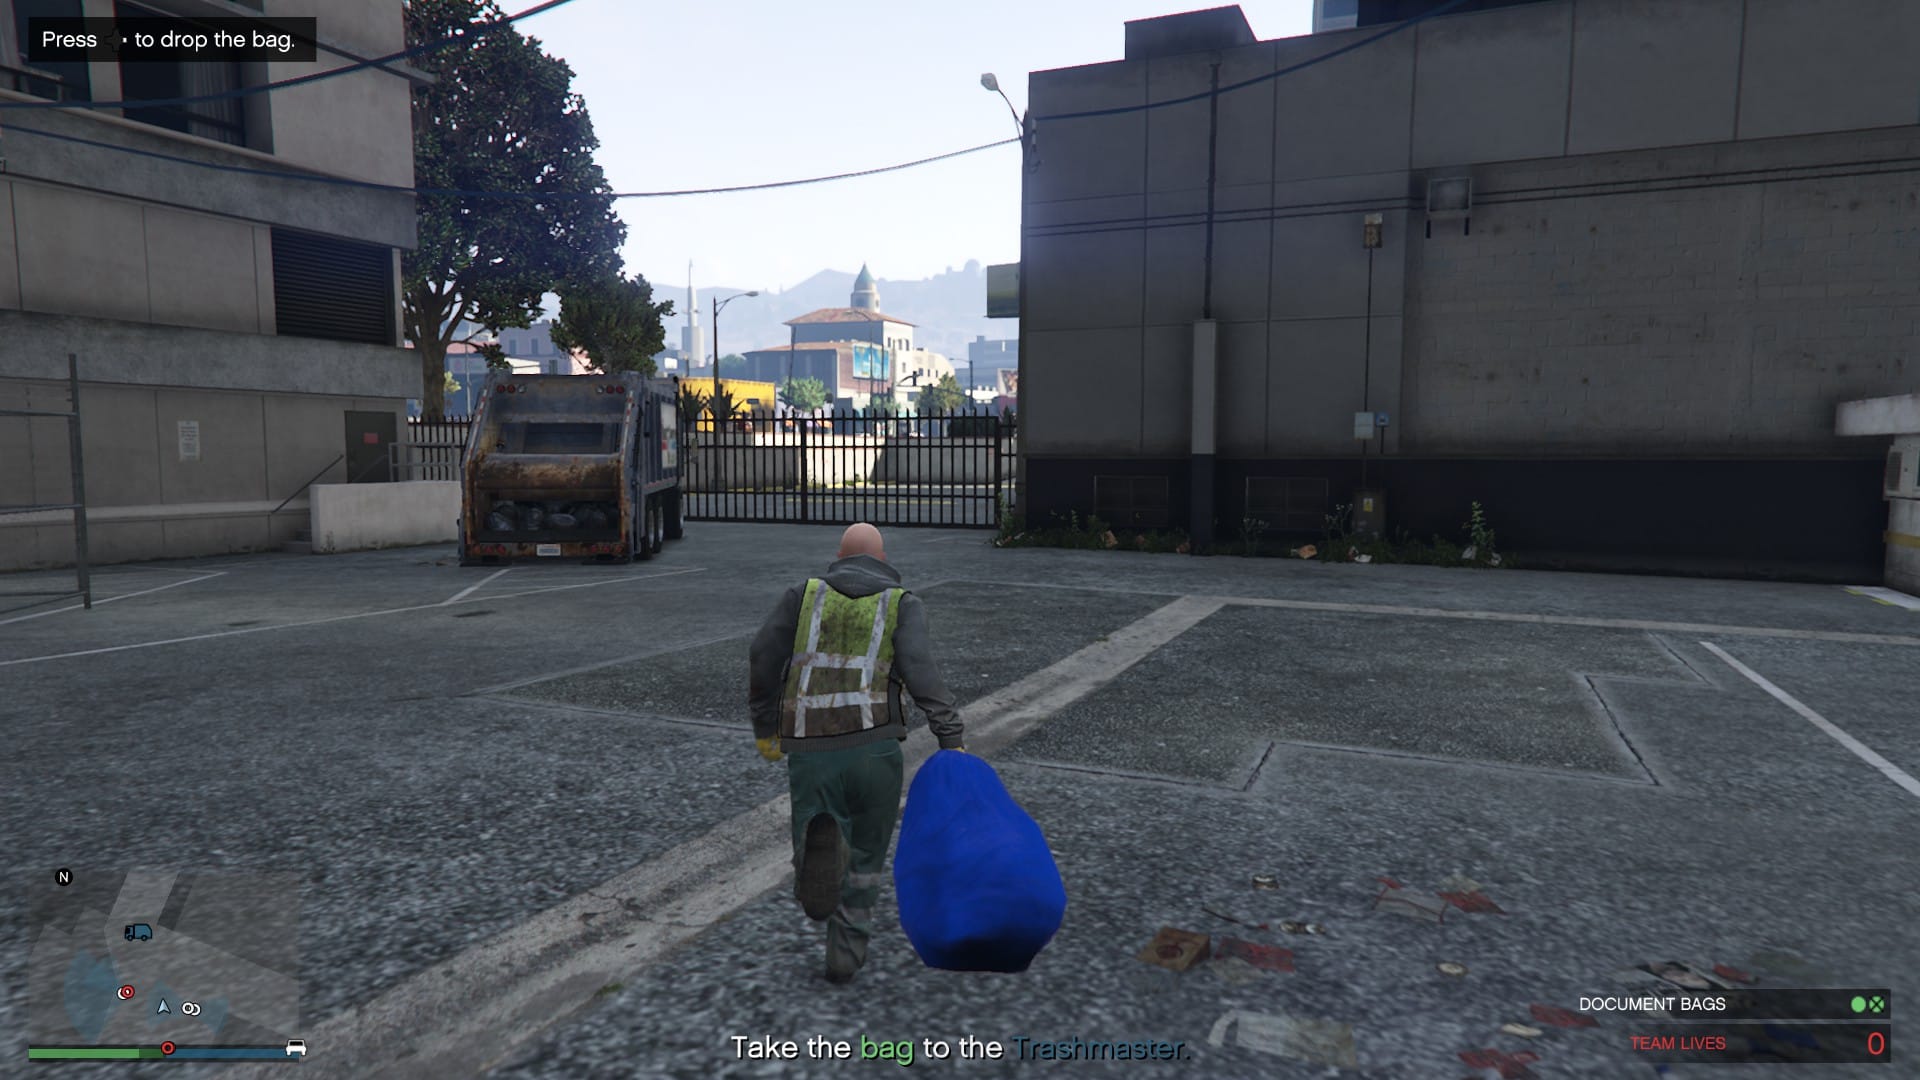
With the bags collected, it is time to head to the next location. On the way you will be told that the original collection crew is on their way to the second site. You will need to intercept them and take them out. The GPS will take you to their road and you usually intercept them well before they get to the second location.
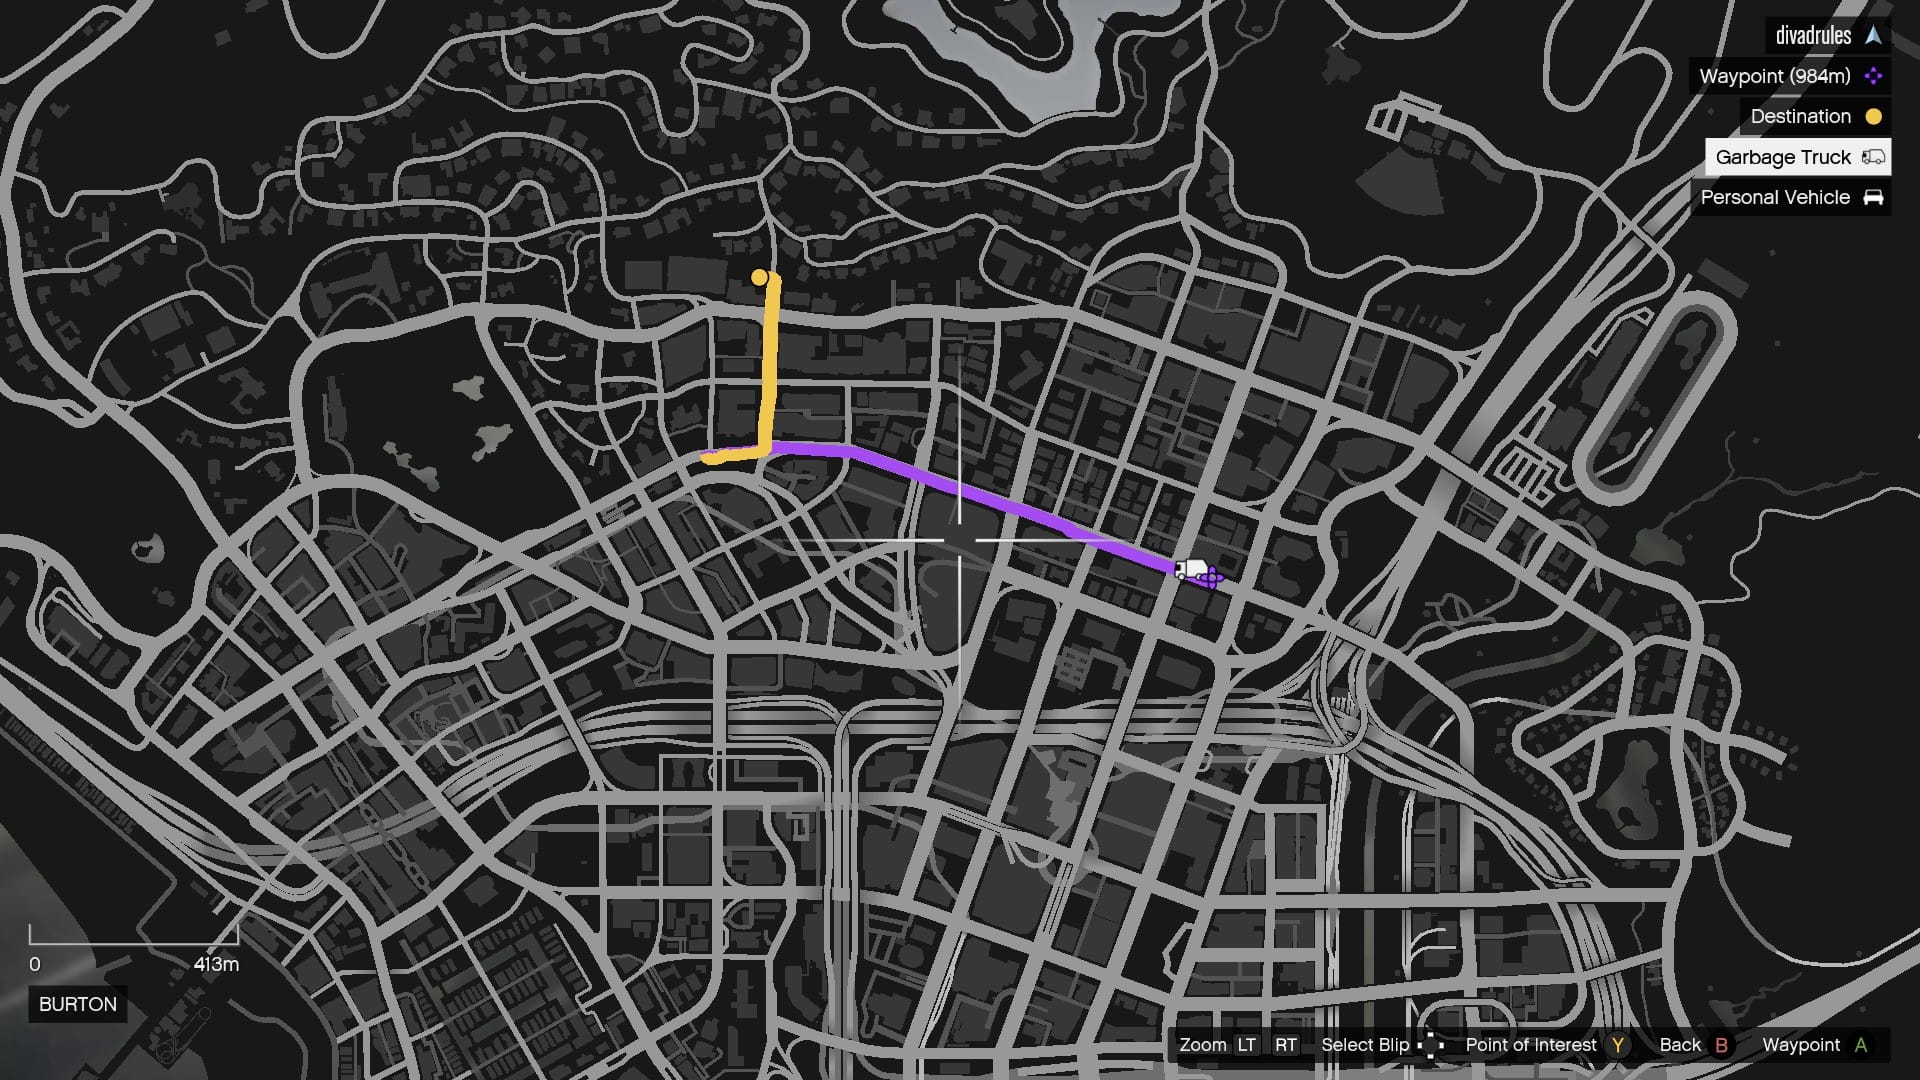
Throw a sticky bomb on them and head to the next spot. If you do not destroy them by the time they get to the second location, you will need to take everyone at the location.
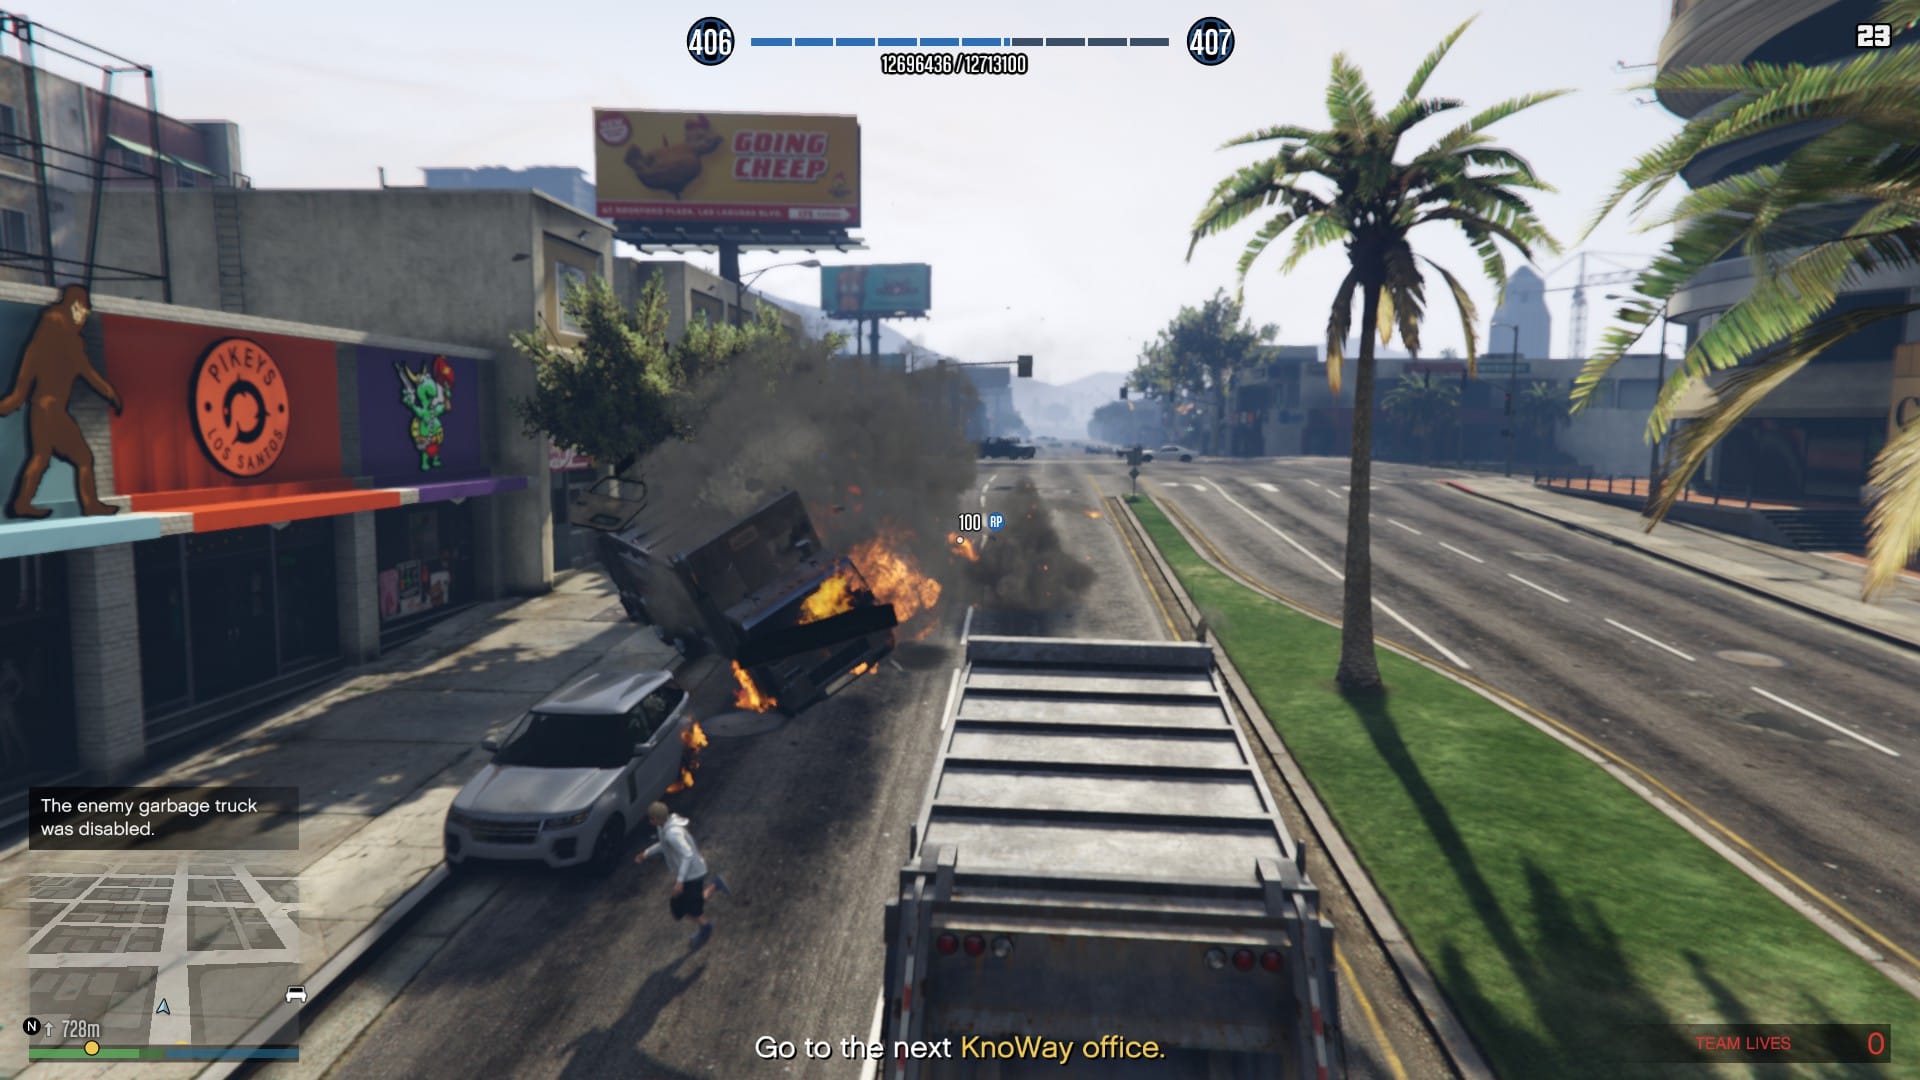
This site is a little different as you will be tampering with two boxes this time. As before, collect the black bags to get rid of the guard and head to the power box.
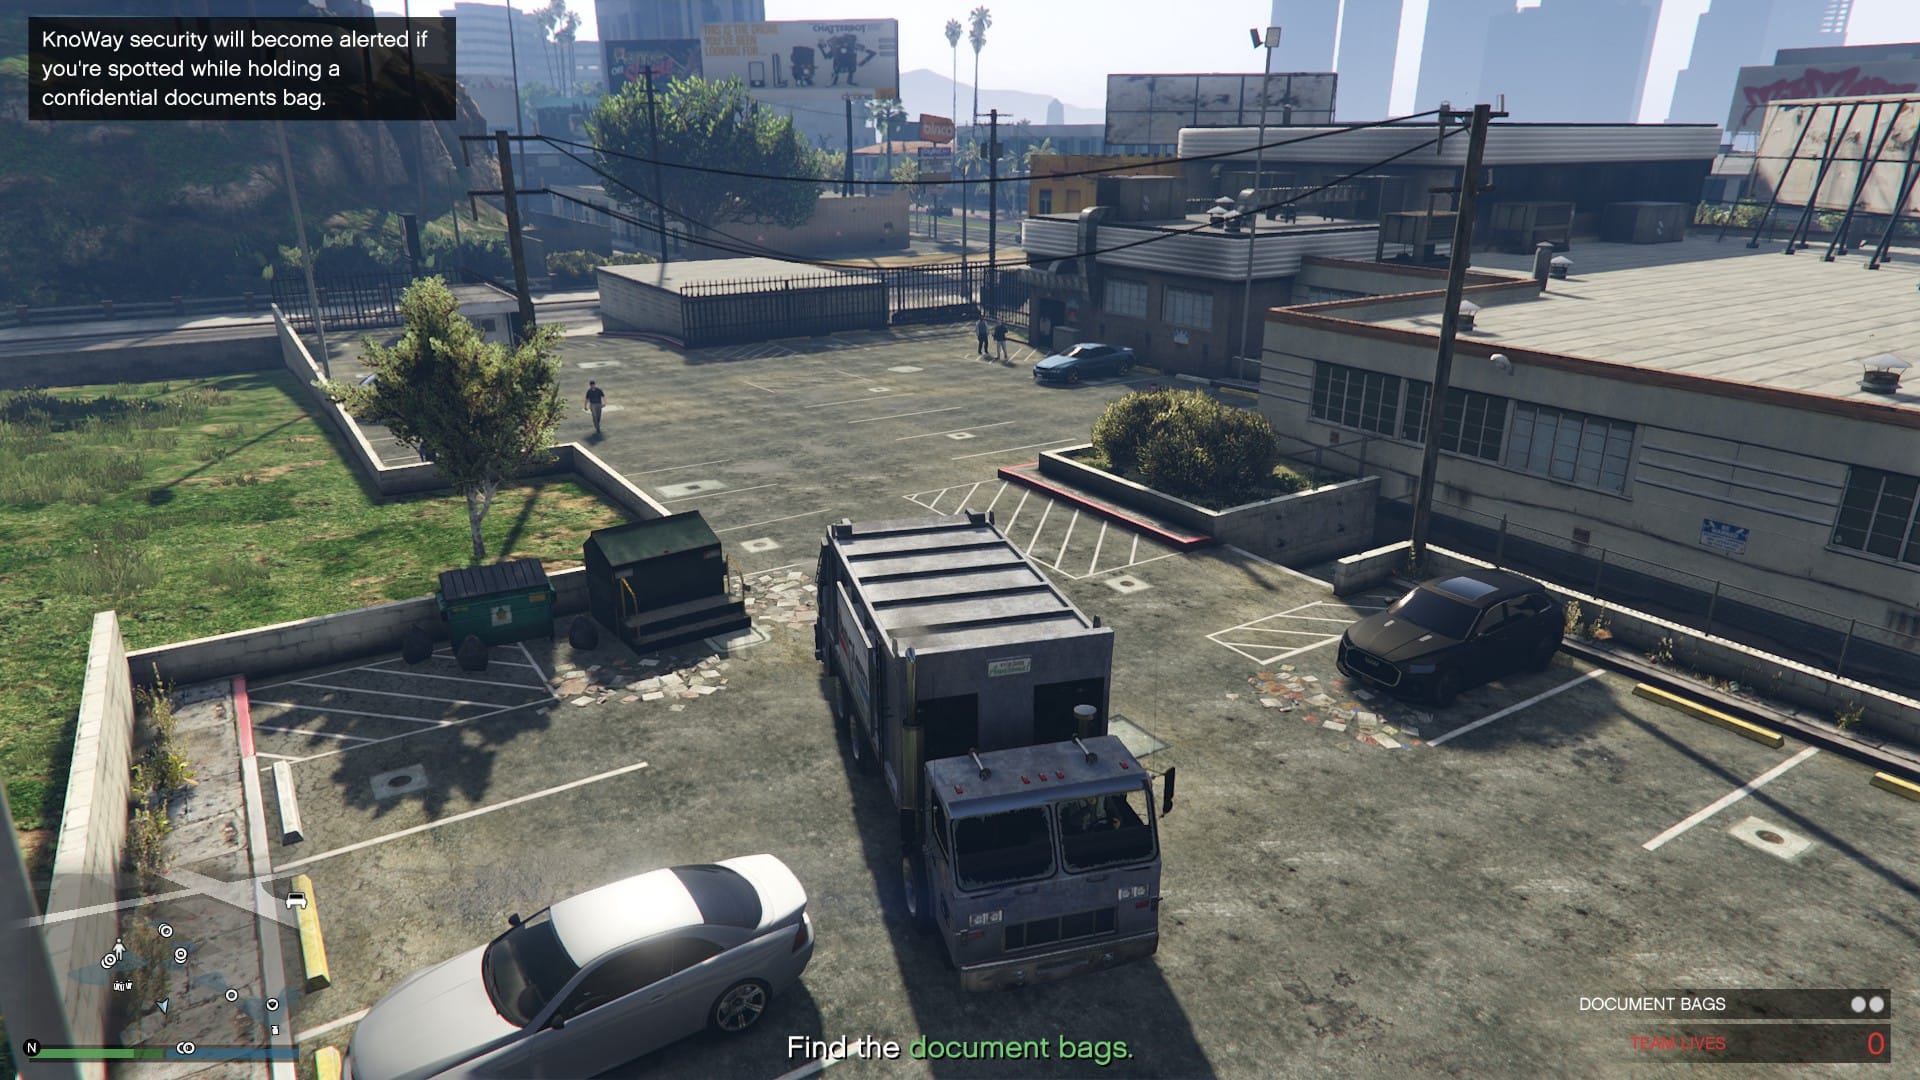
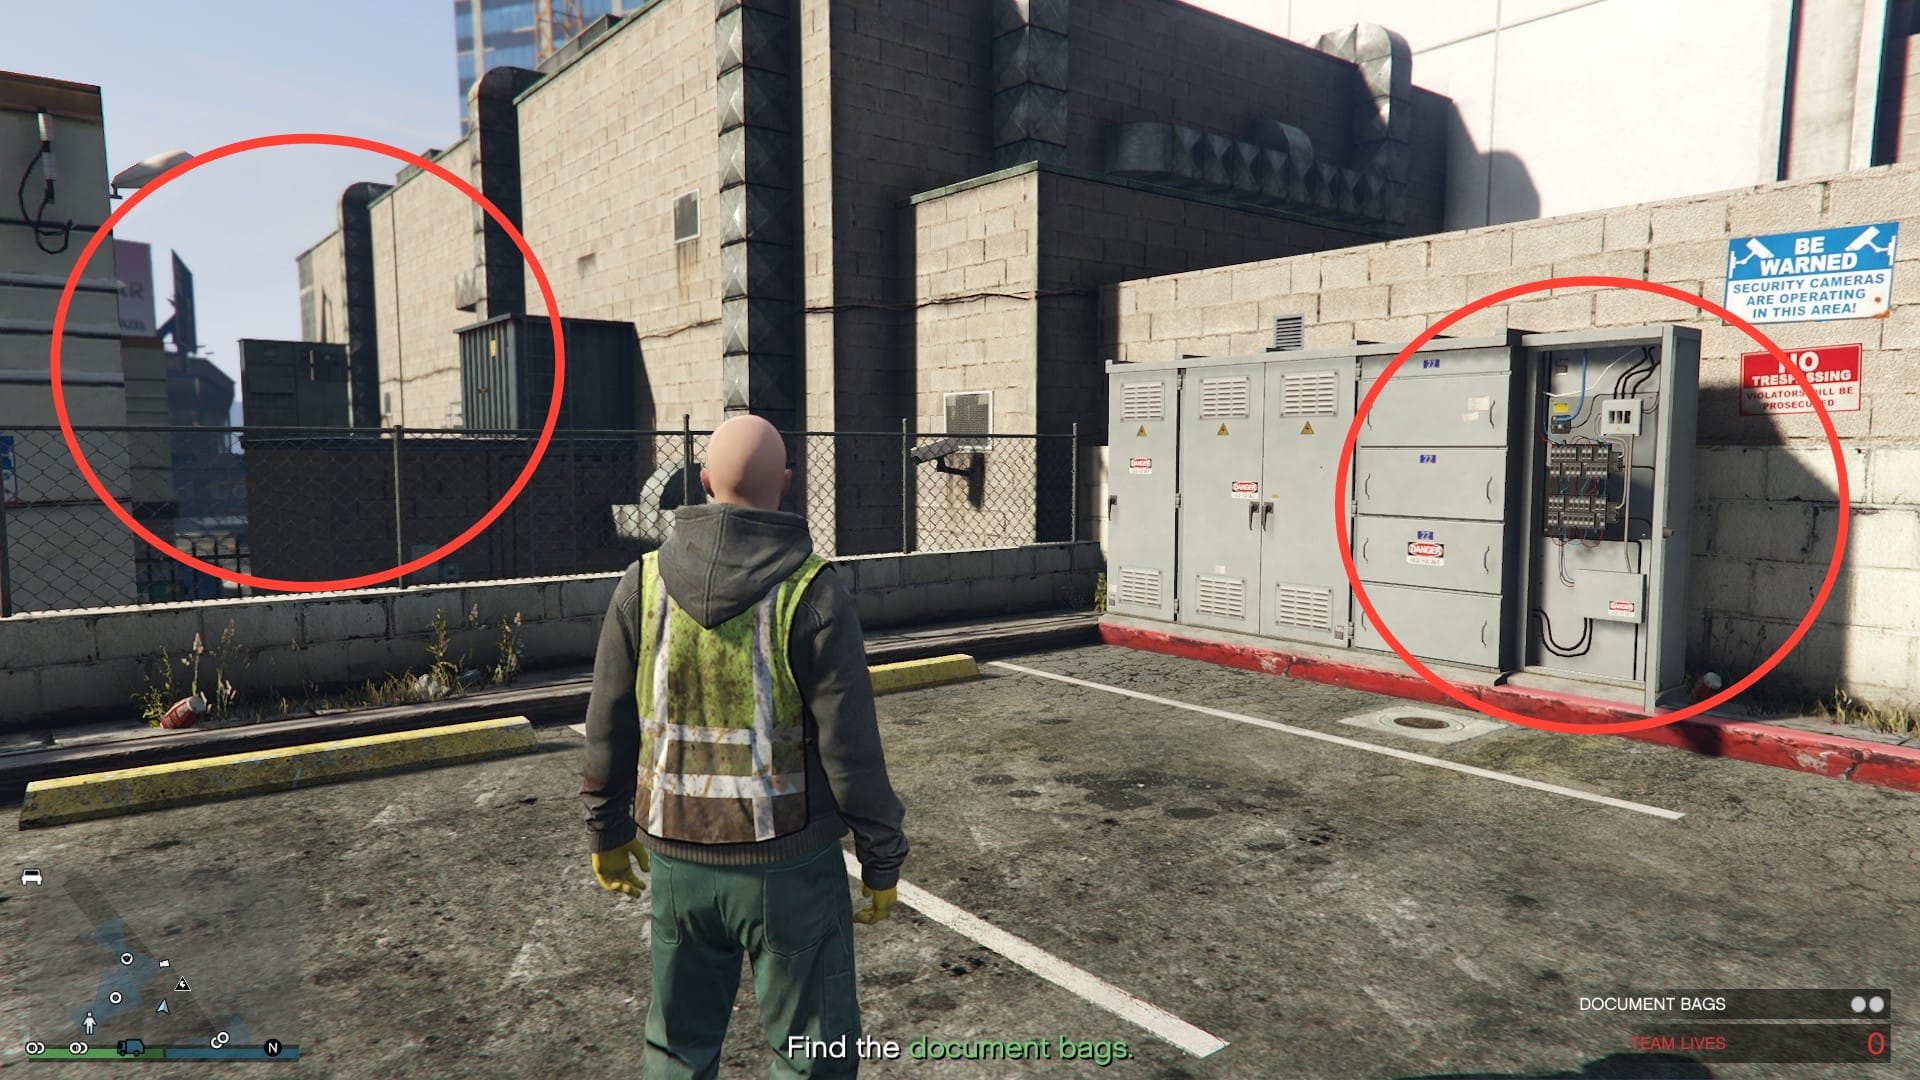
In the image below, you can see on the right is the first power box you will tamper with, this will remove one guard. Once he has moved, jump the fence and use the ladder to tamper the second power box that is on the left. The second guard will move away and you will be free to collect both of the blue bags.
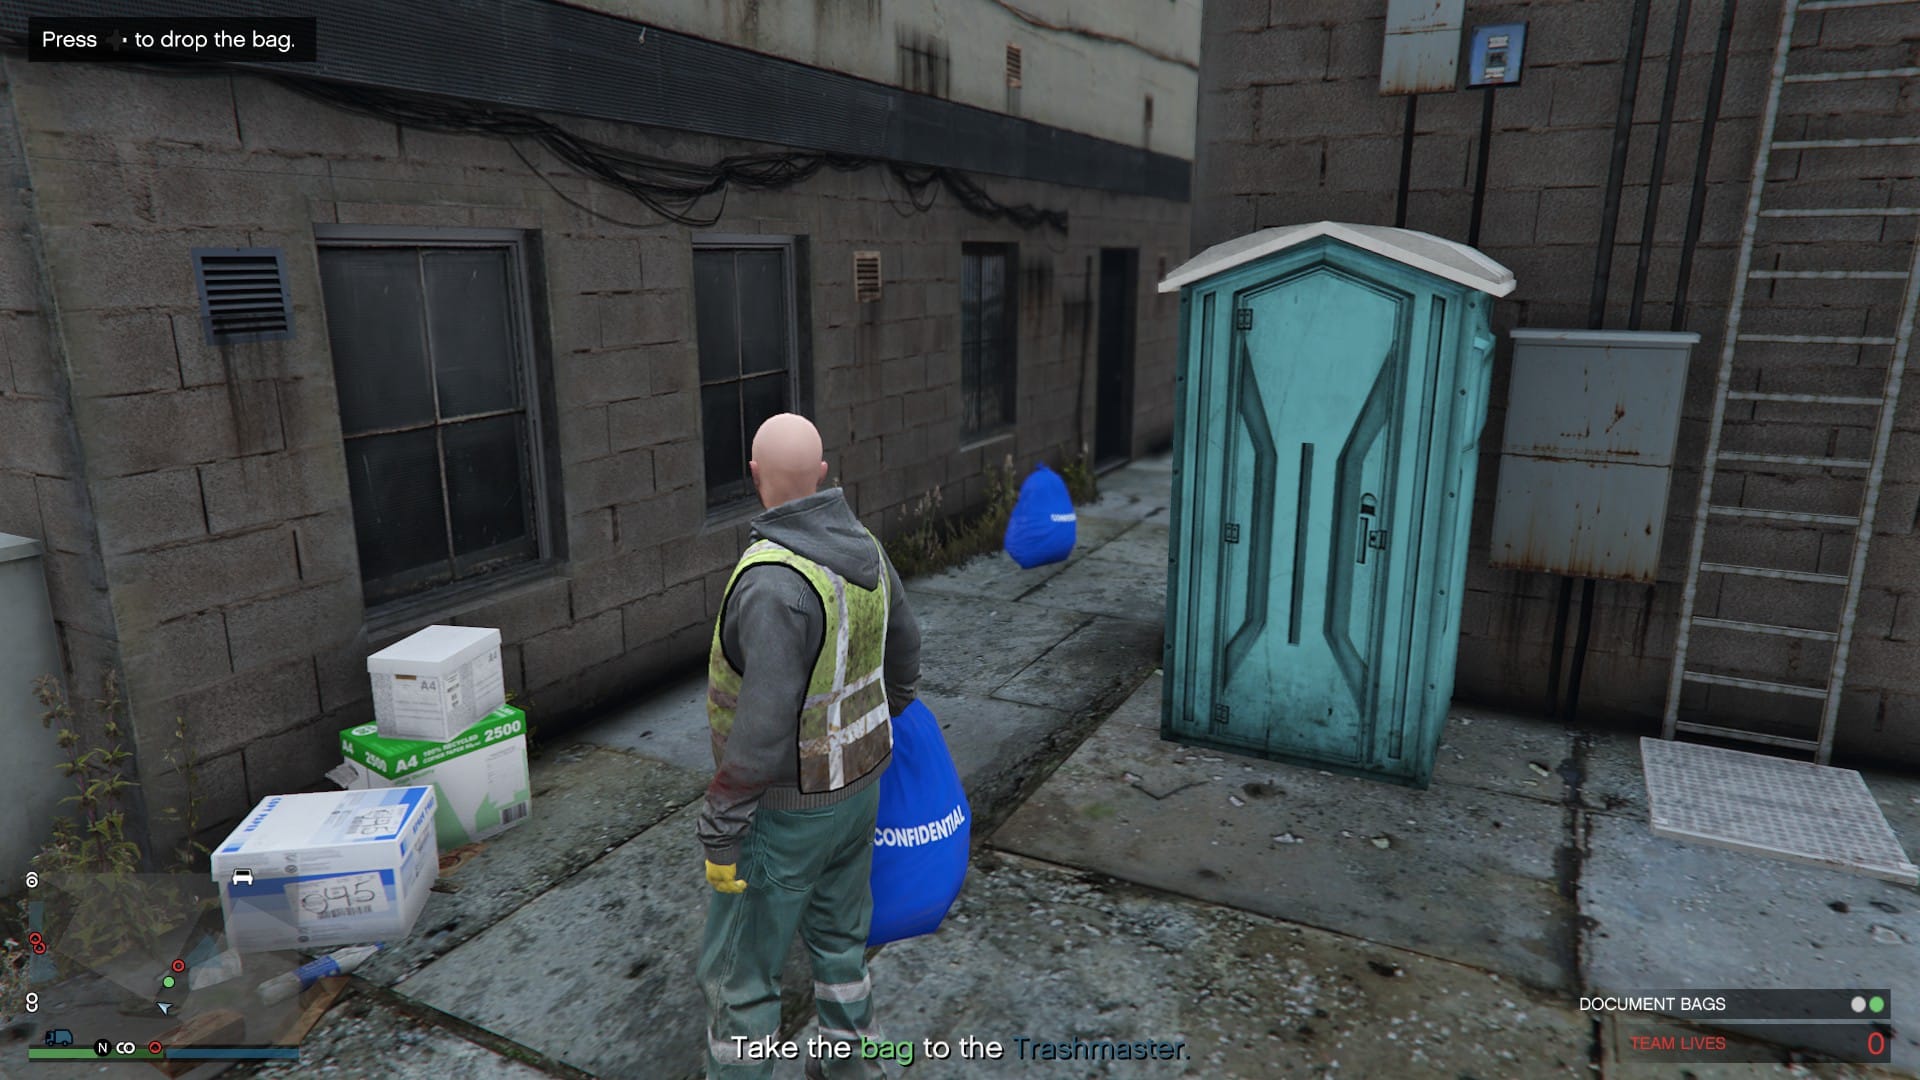
Collect the blue bags, watch out for the red marked guards and head back to the Trashmaster, you will then head to the final location.
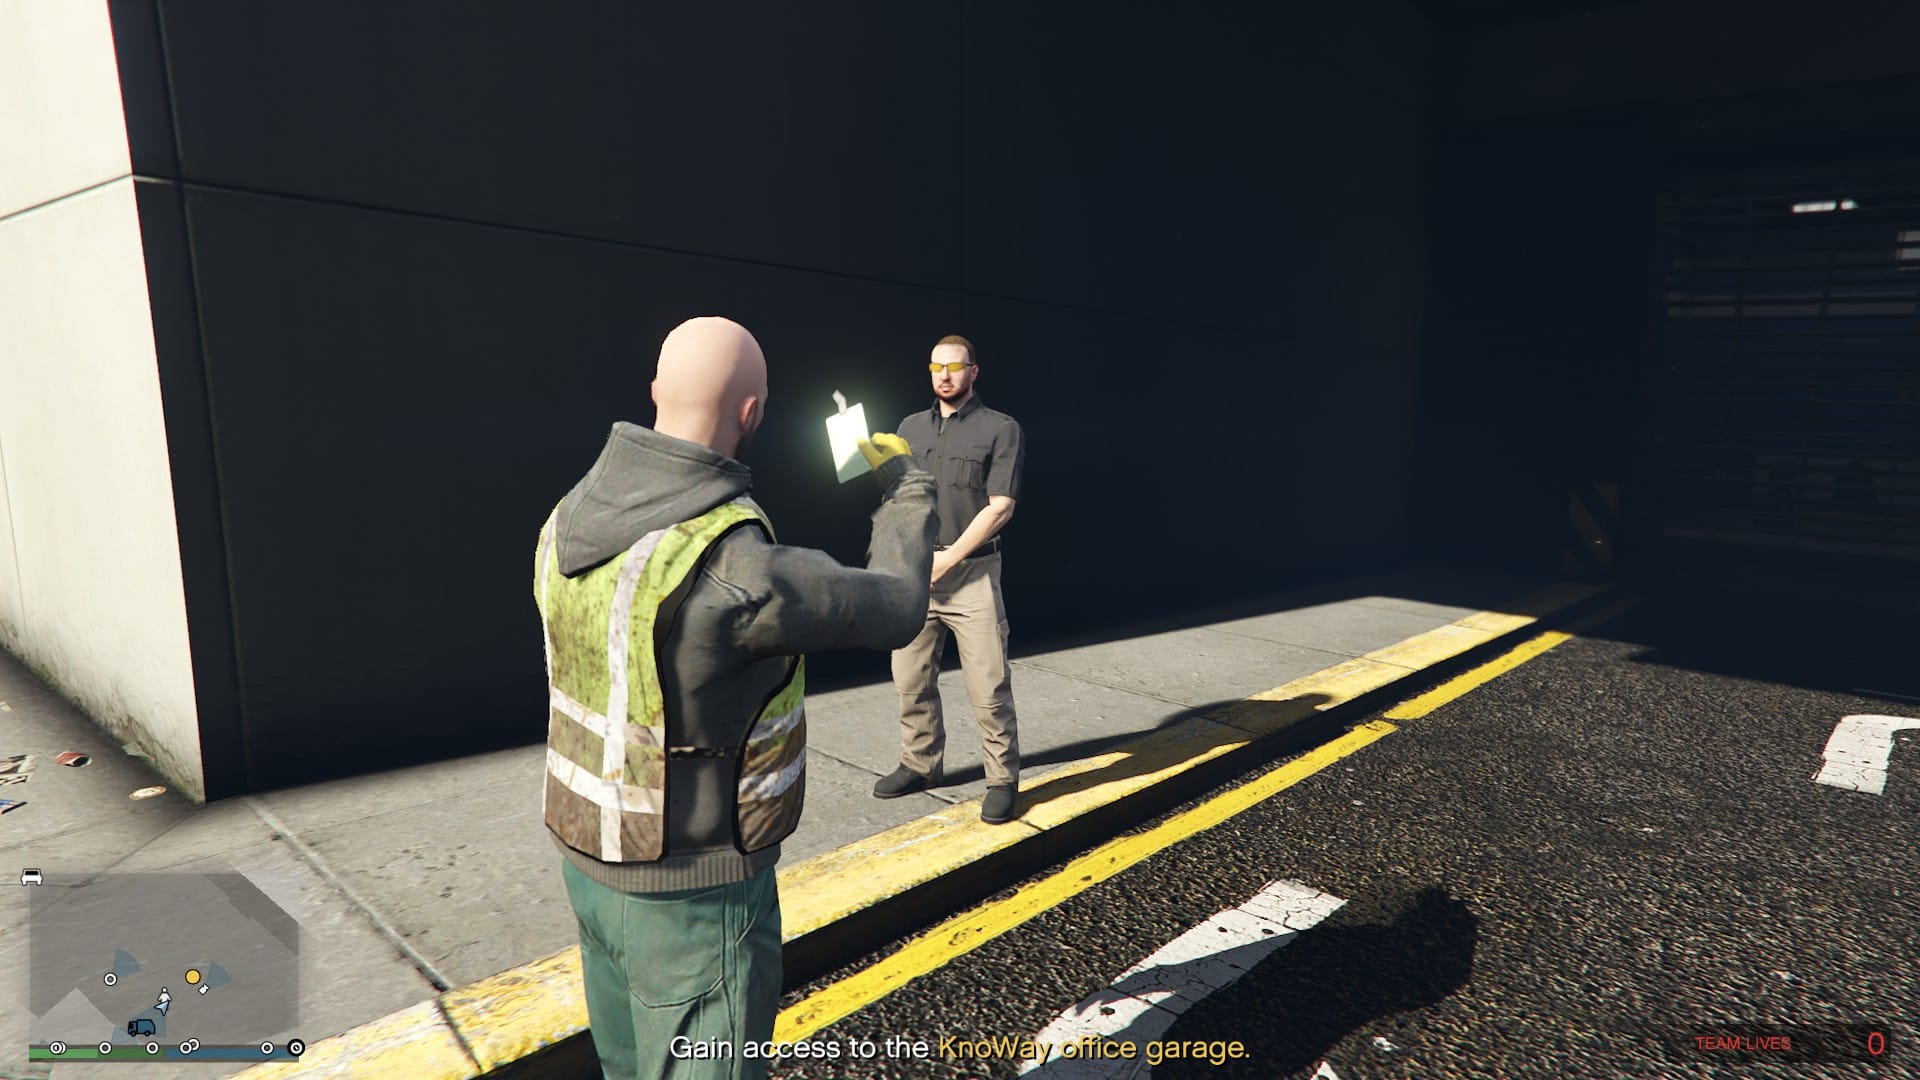
At the last location, you will need to show your ID to the guard, he will then let you in and you can start collecting the three black bags.
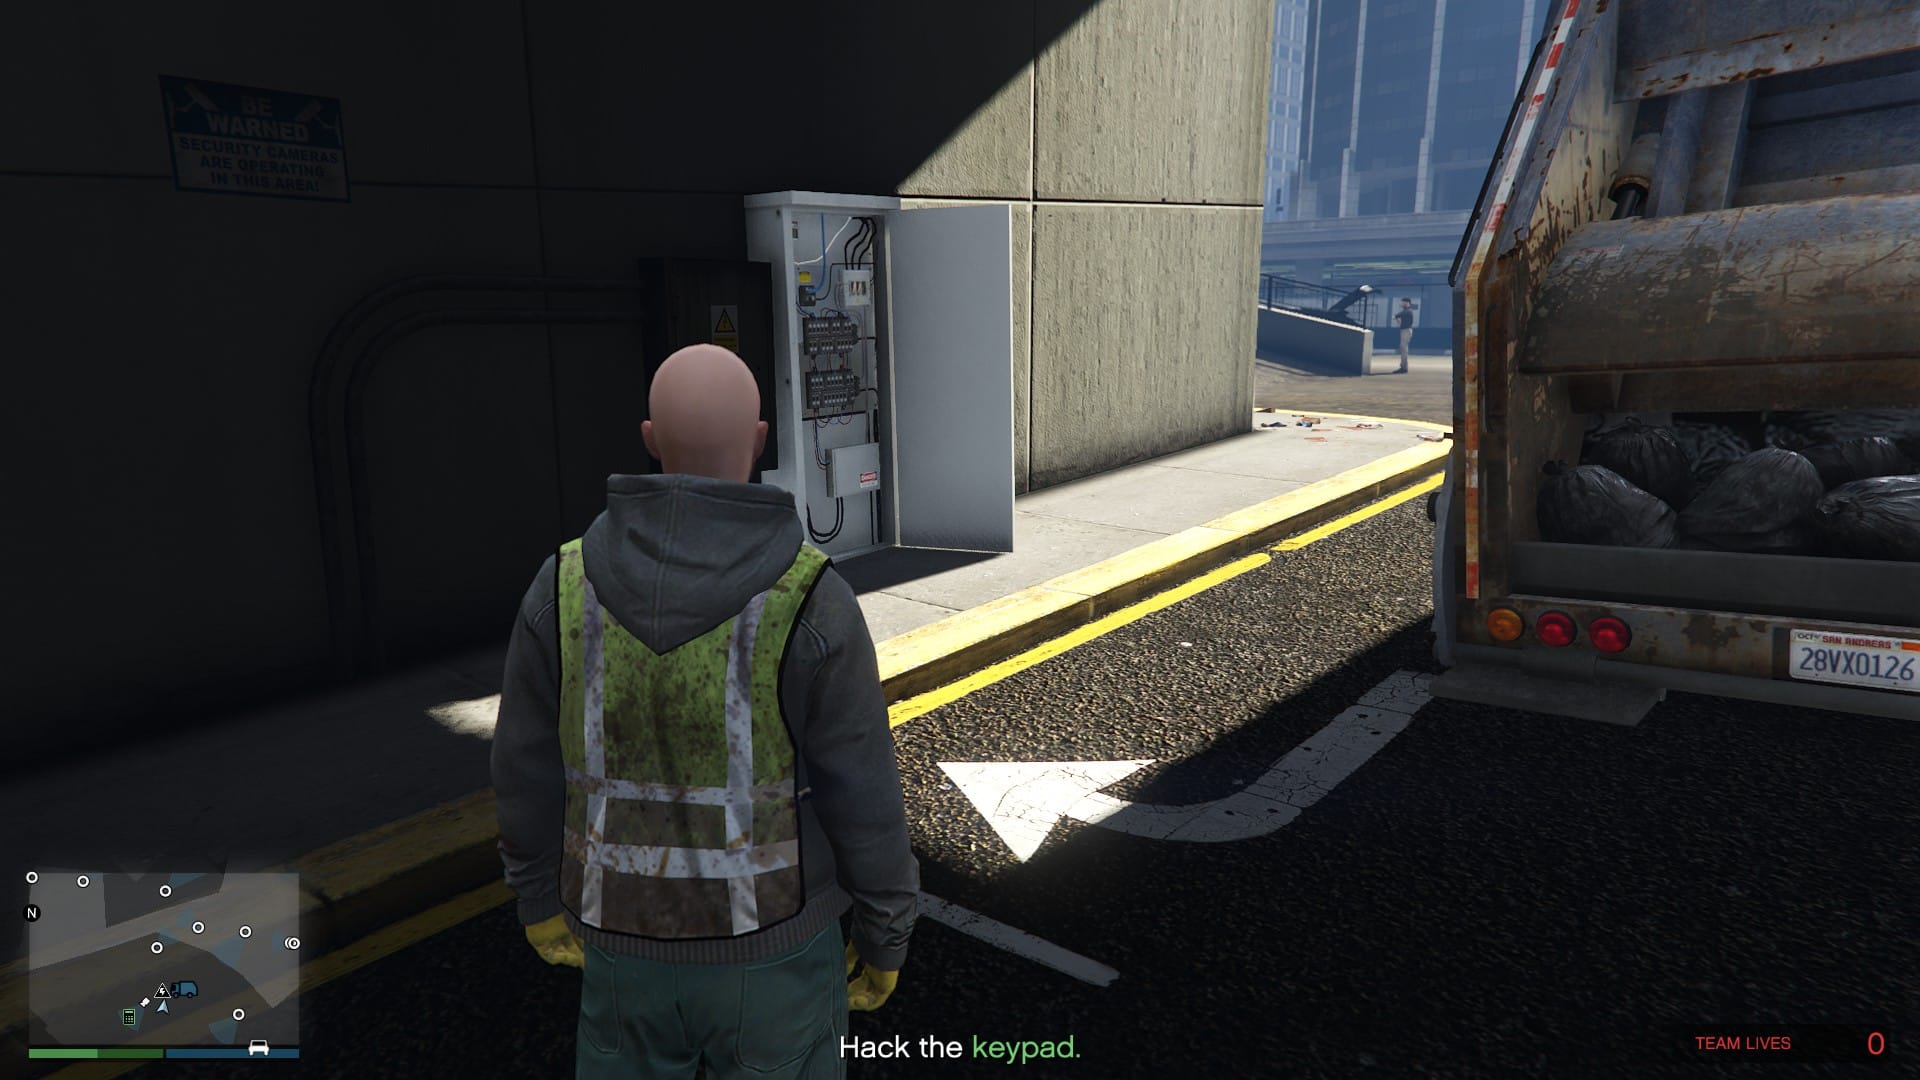
Once you have collected the bags, he will walk off and out of the site to the power box. As before, tamper with the box to cut power to the security camera, head back into the room where the garbage bags were and begin hacking the door.
This hacking game is pretty simple, if you have played Snake or something similar, it should be easy. Use the arrow keys to navigate the maze without touching the walls.
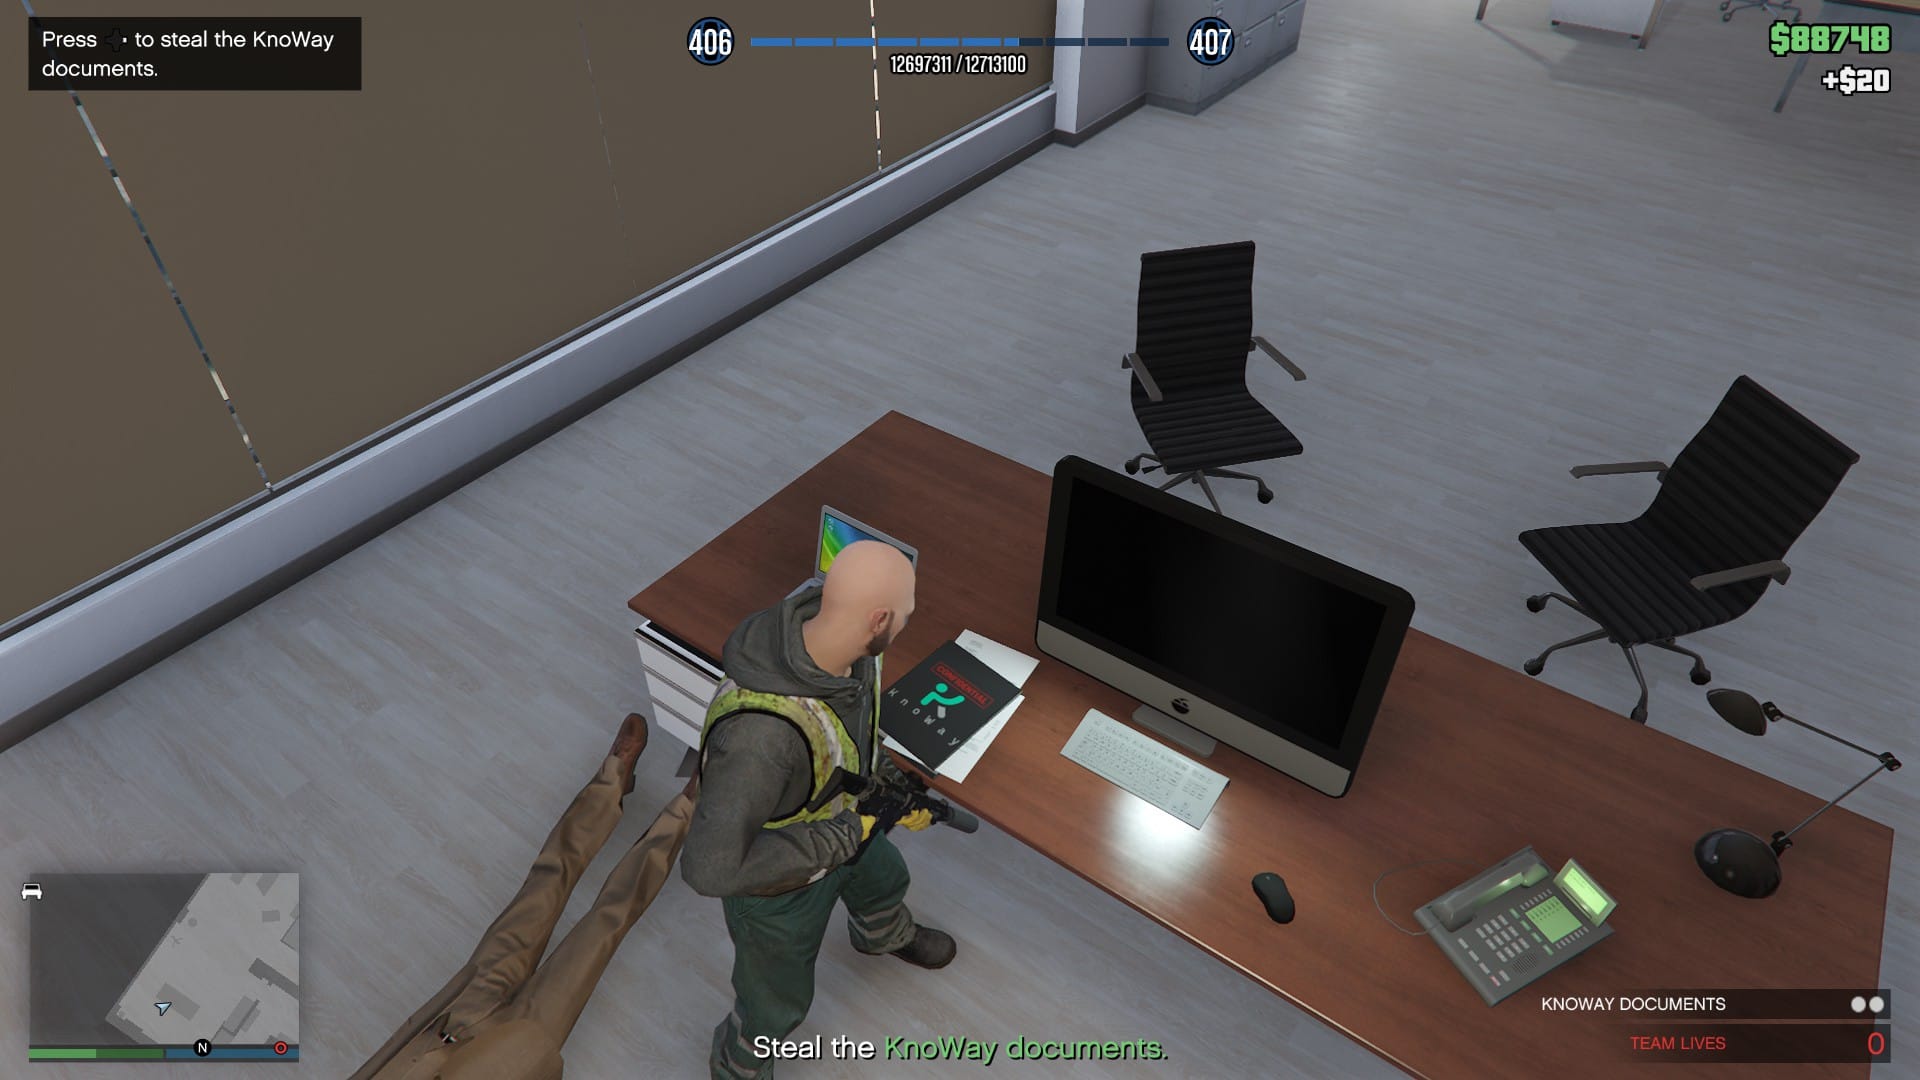
When you enter the office, you will see a group of guards protecting the documents you need to steal. Using a silenced weapon, take out the guard on the left, then turn around and take out the two standing together. Continue right and take out the remaining guards in a counter-clockwise pattern. The first document is on the office desk at the far left of the office.
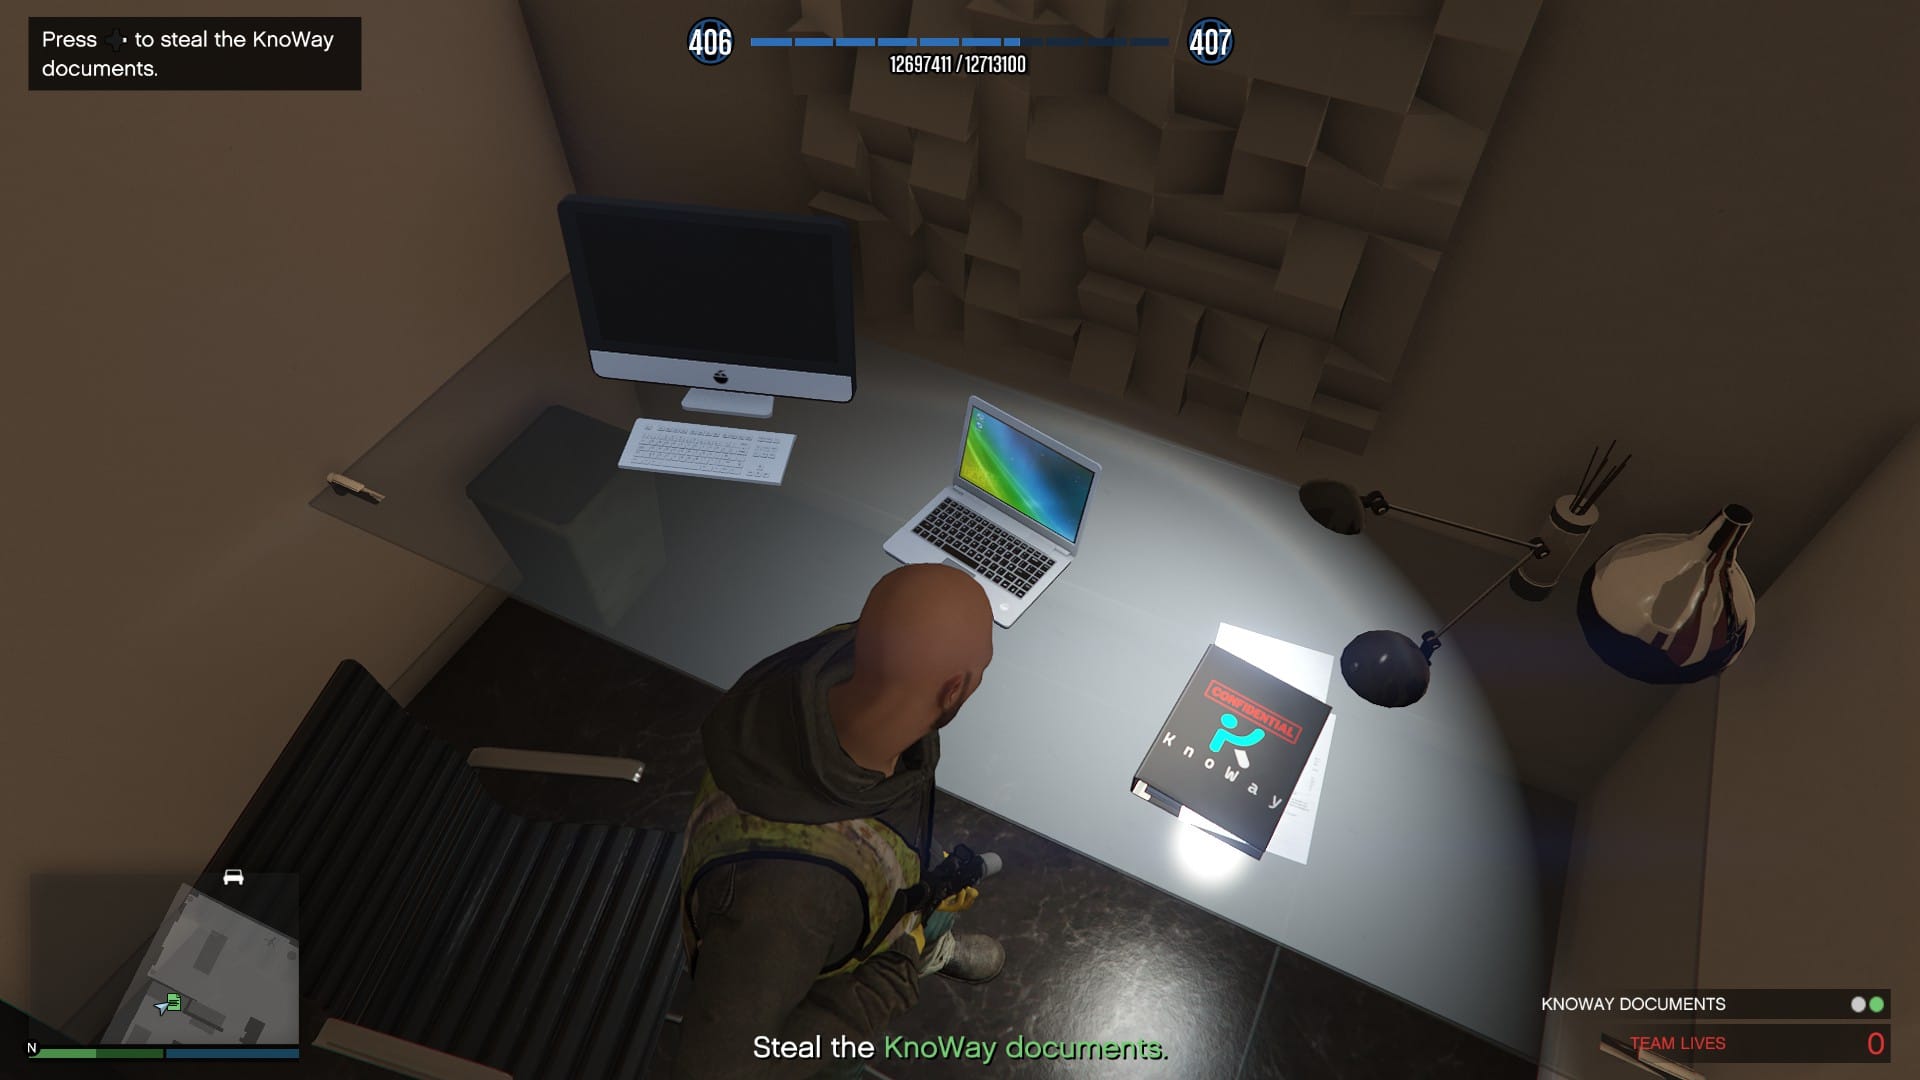
From here, head into the back room (or sleep quarters for office owners) and take out the final guard, then collect the second document. With both documents, head back out and if you had done this without alerting the guards, you can freely get into the Trashmaster and leave.
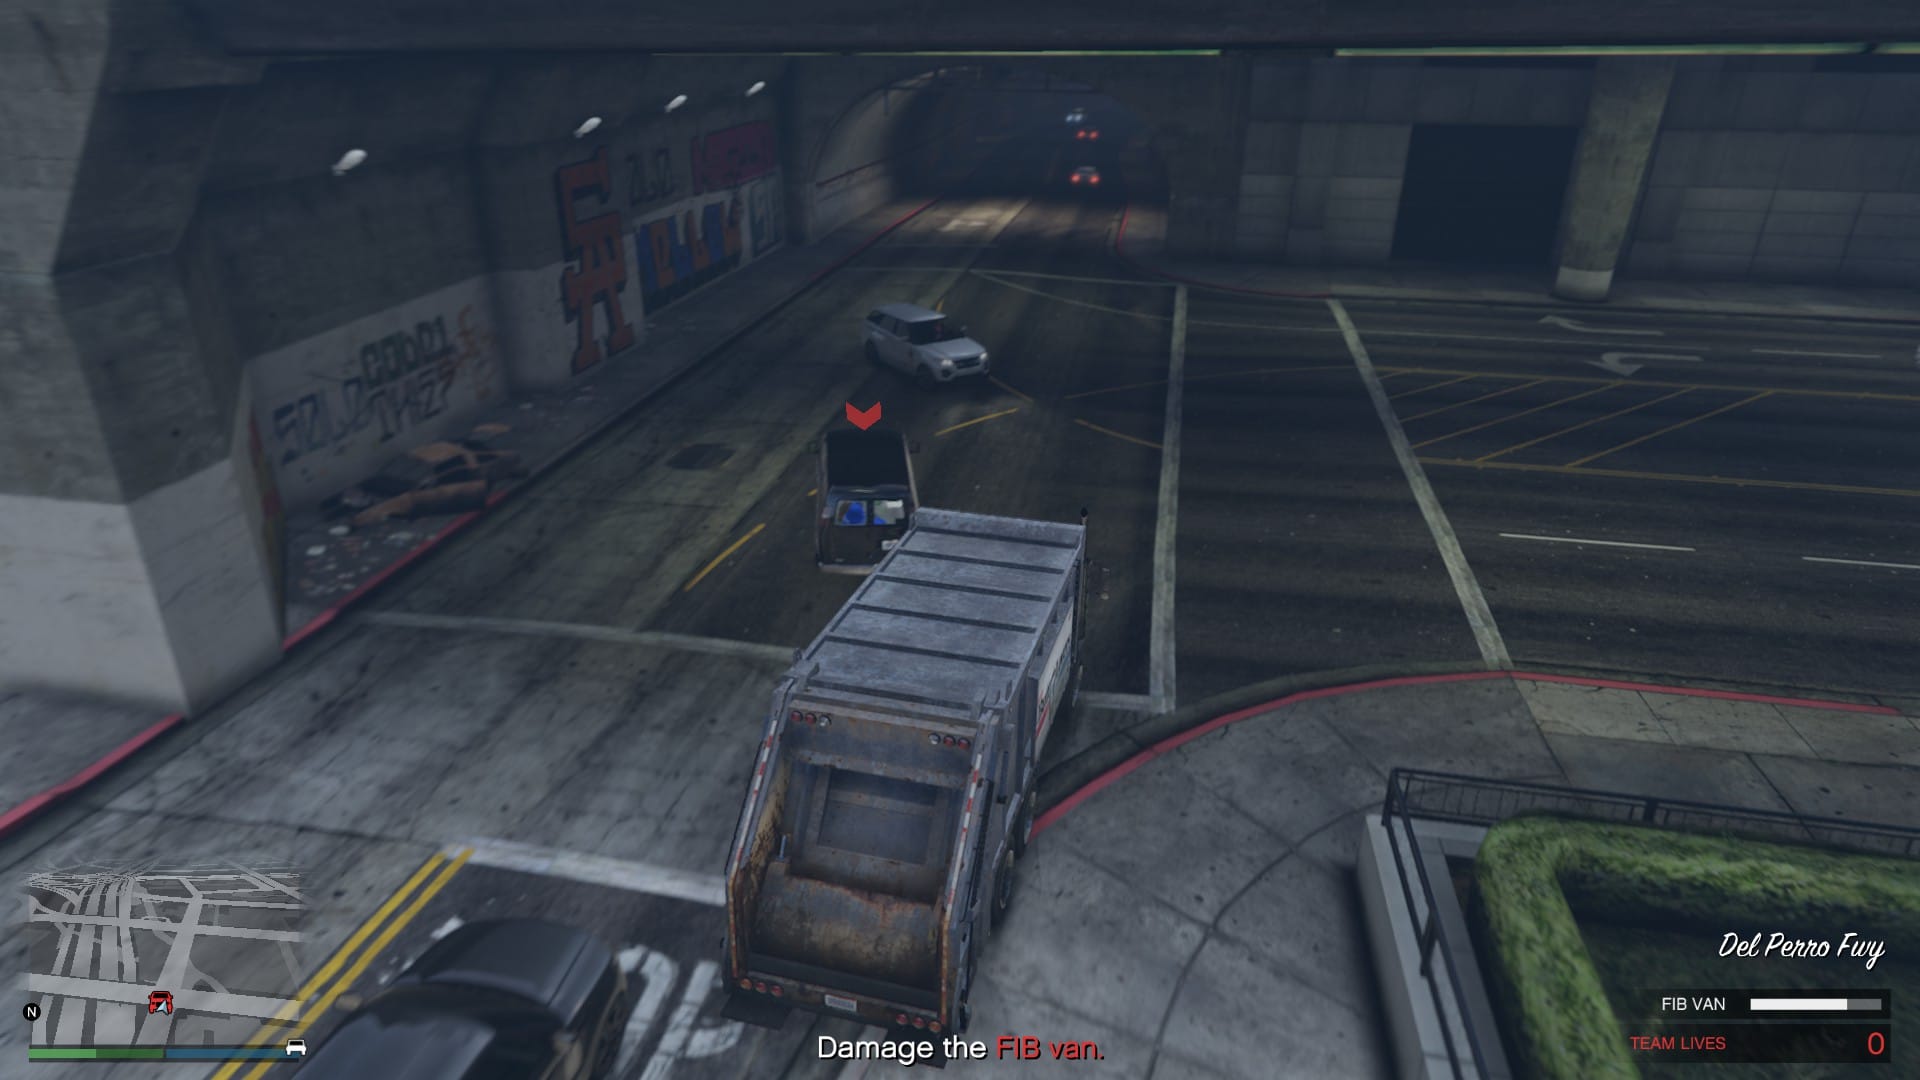
The next section is really where the mission can become difficult. You will need to chase and damage a FIB van that contains two more blue bags. As you start damaging the van, you will immediately get a four star wanted level. Shoot, ram but do not blow up the van. Once it has taken enough damage, take out any police and start collecting the bags.
Now this is where I and a few others struggle. Depending on your luck, you will need to take down police backup and contend with erratic drivers who hit you as you try to stash the bags. After completing this one a few times, I can say it is a mixed bag in terms of luck. Sometimes you can collect the bags with not much trouble, other times you will be constantly under fire or getting hit by random vehicles. Regardless, take your time, find cover and get the bags into Trashmaster.
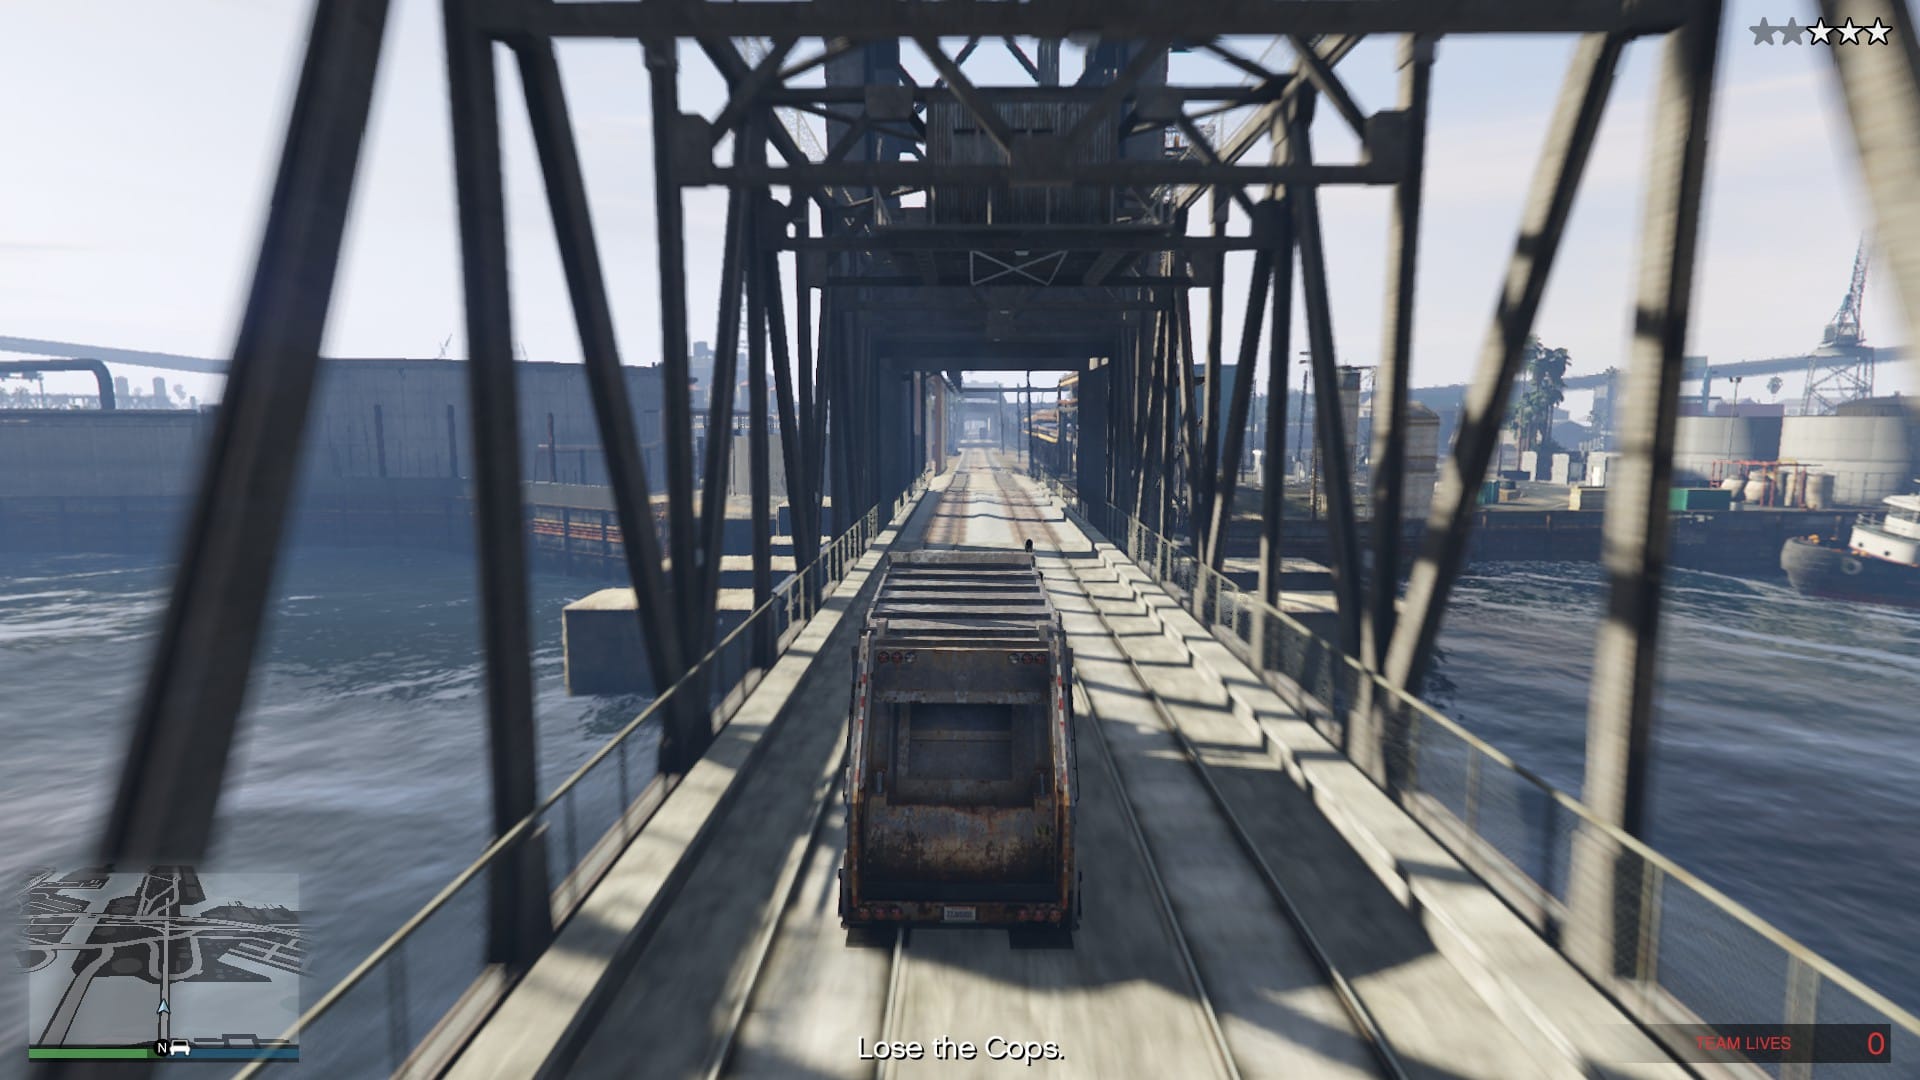
Once you have the bags, head to the dead drop and lose the wanted level. If you take the train tracks that lead to the dead drop, I have found that the police seem to de-spawn and will not chase or even search the area. This is not always full proof but I have had consistent luck with it. Otherwise, use whatever means you like to lose the wanted level.
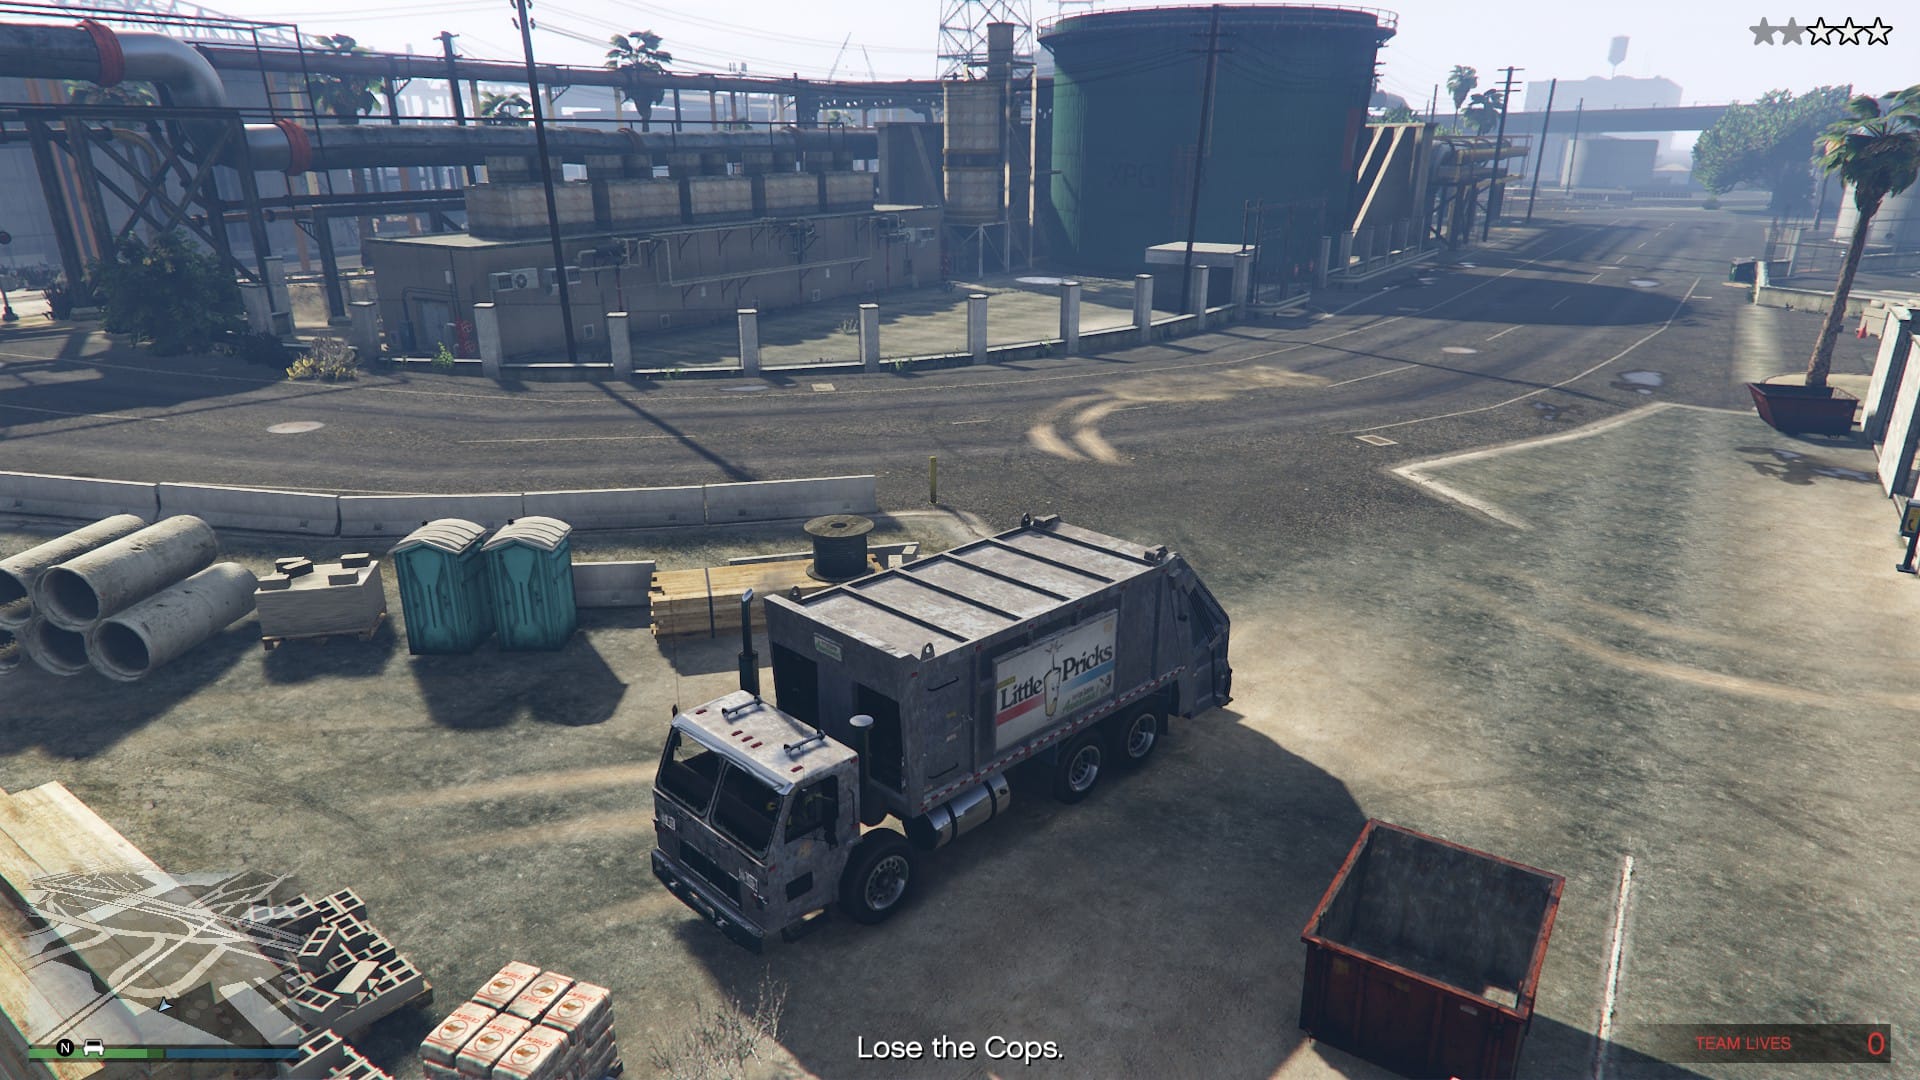
Park the truck in the location shown below and you will finish the mission and can move onto the final.
A Clean Break
KnoWay Out Mission #5
1. Complete in under 10:00 minutes (9:59 minutes or lower).
2. Nobody gets wasted.
3. No hacks failed.
4. 35 headshots.
5. No quick restart.
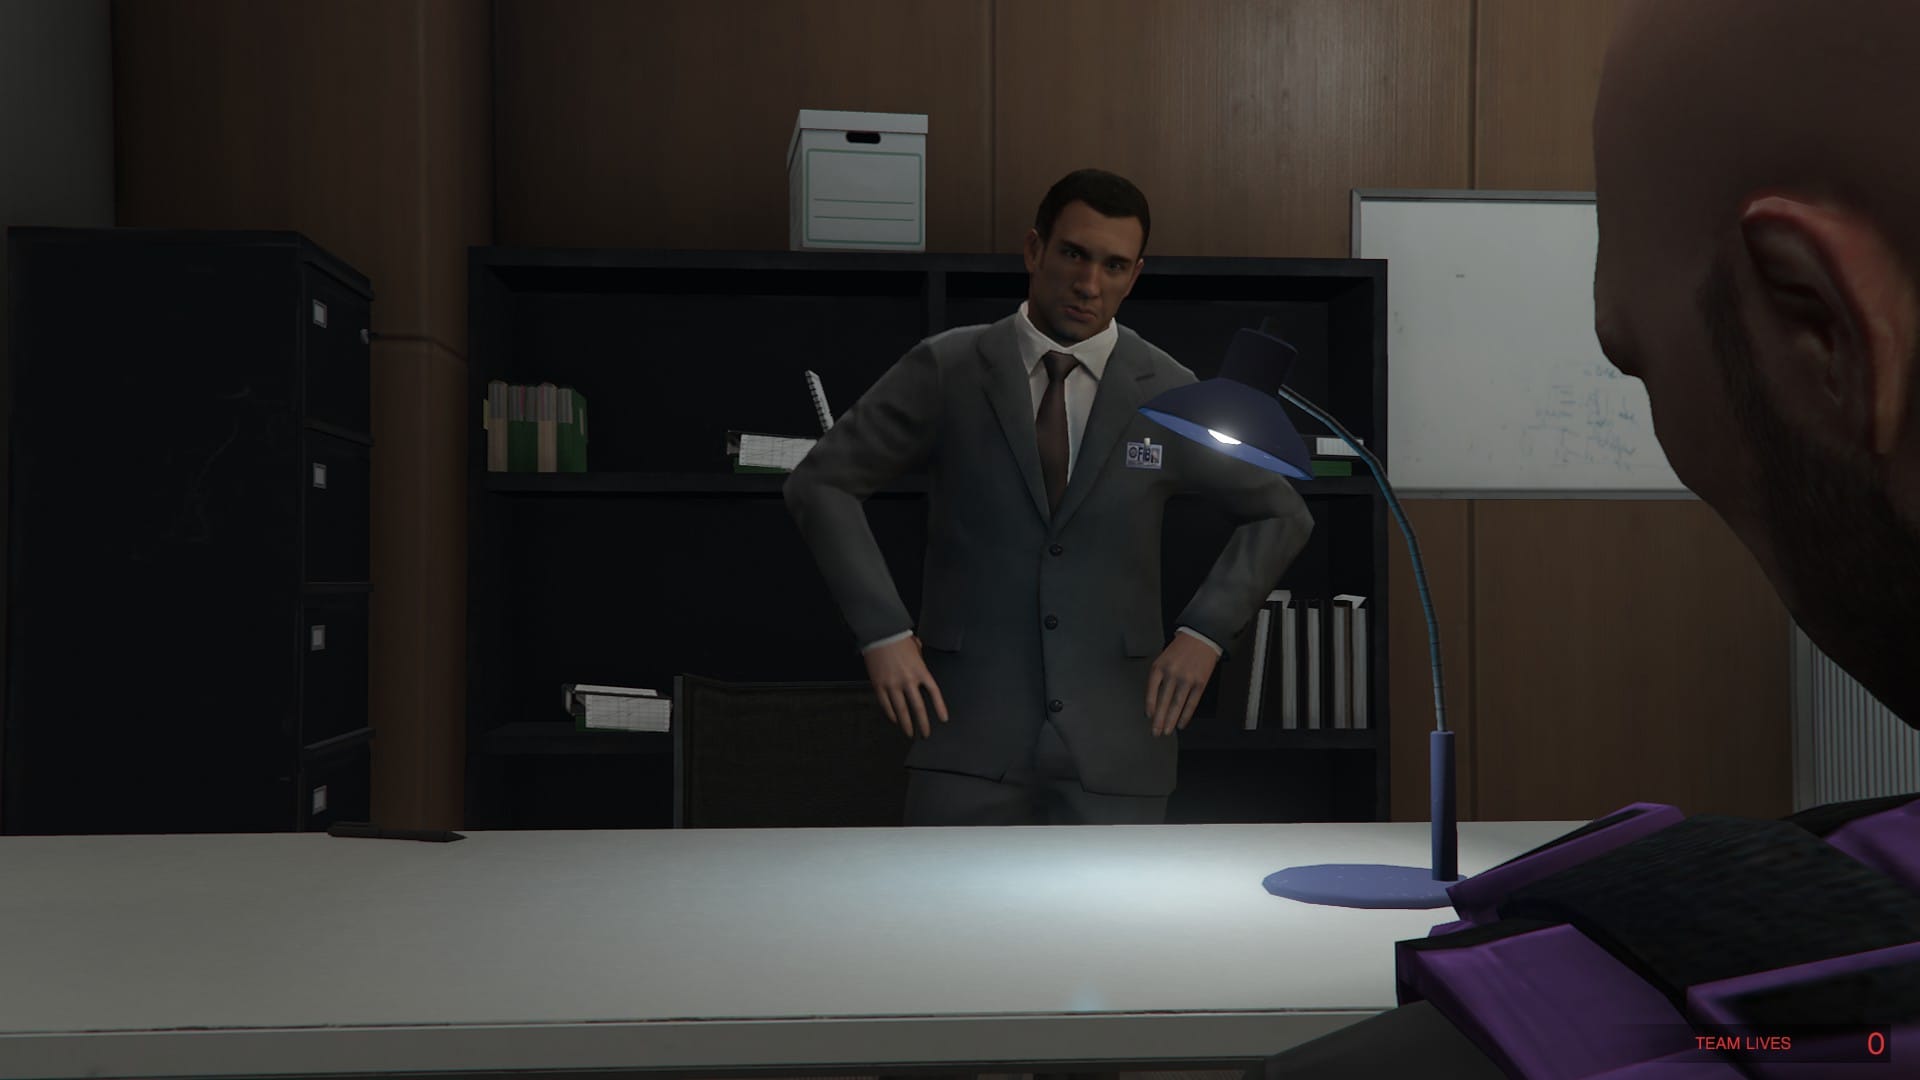
The final! This one is the heaviest in terms of shootouts but can be done within 10 minutes. Avi wants you to get yourself busted by the FIB to infiltrate their headquarters to steal the hacking device. Once the mission starts, get the hacking device and wait for the FIB to bust you, or run to them to speed up the process.
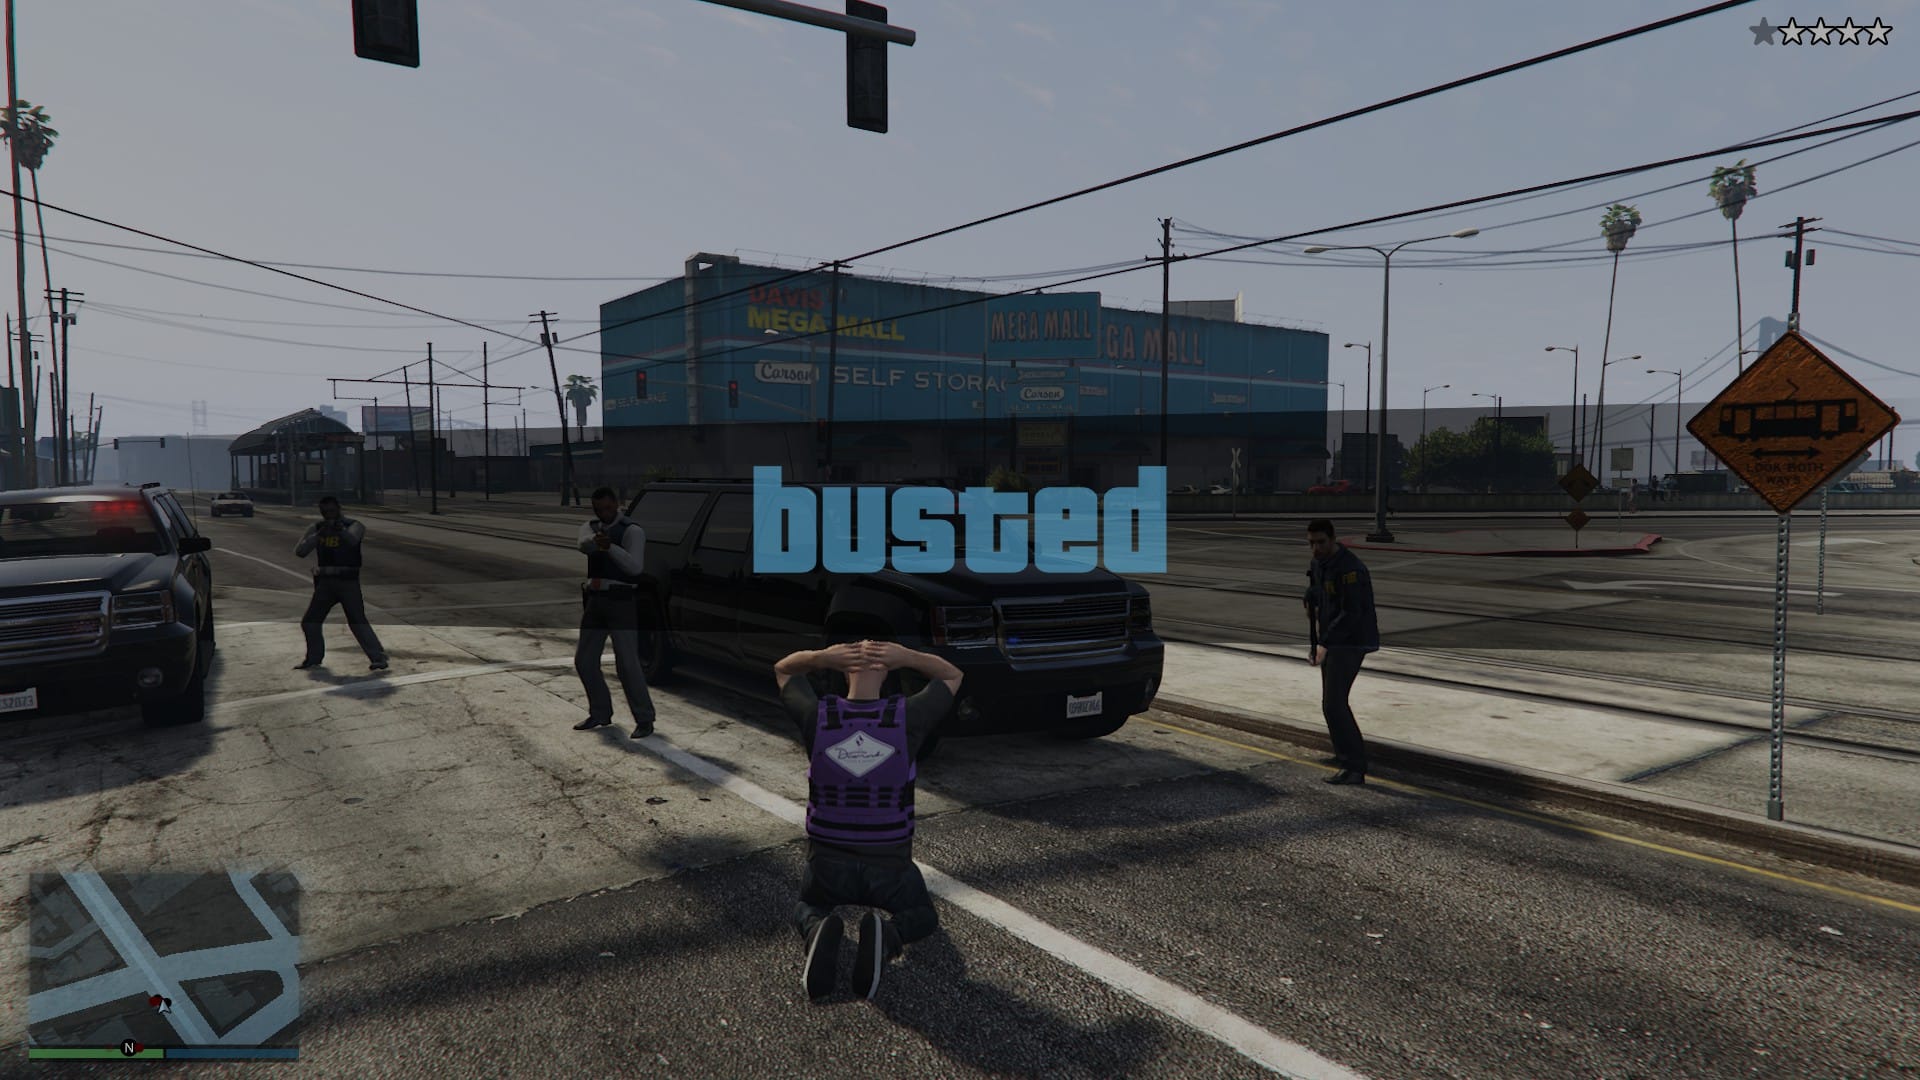
Once you have been busted and watched the humorous cutscene, stand up and find the pen and manual. You will use the pen to open the keypad and must cut the corresponding wire.
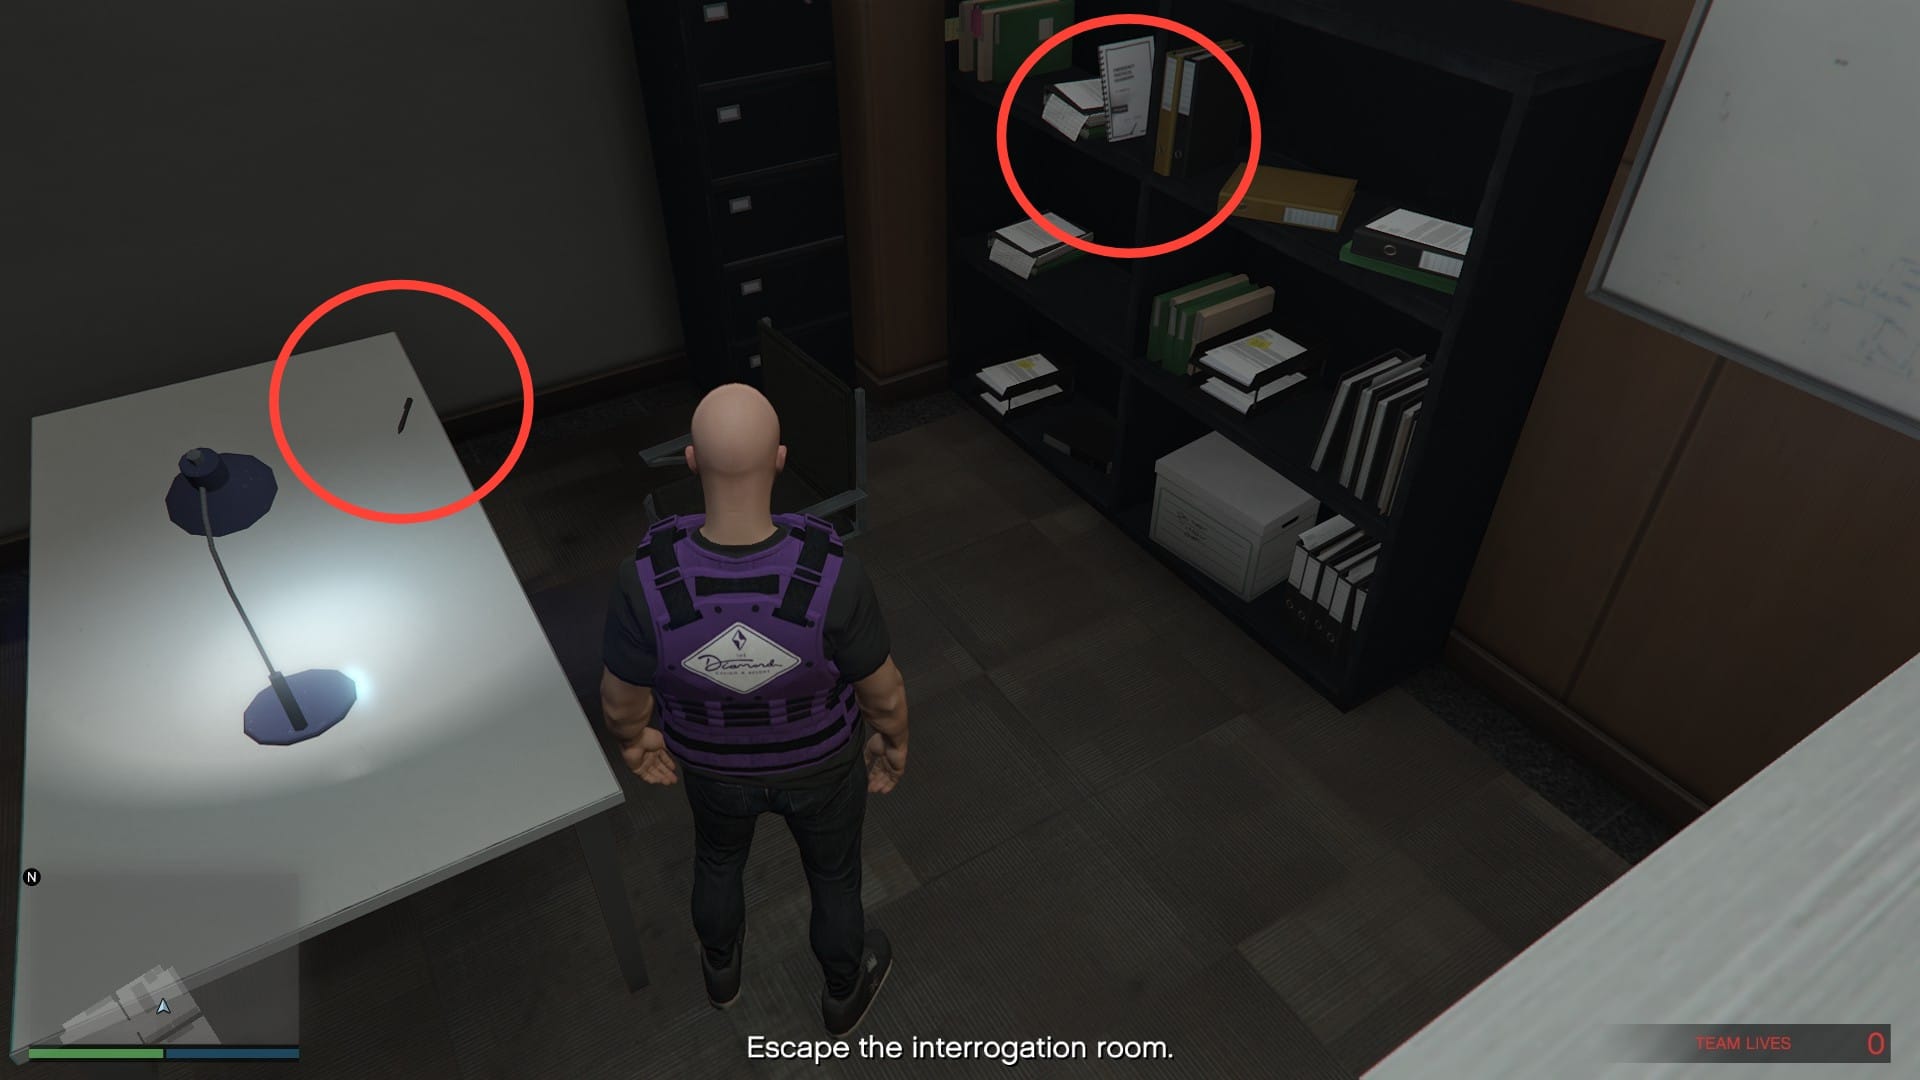
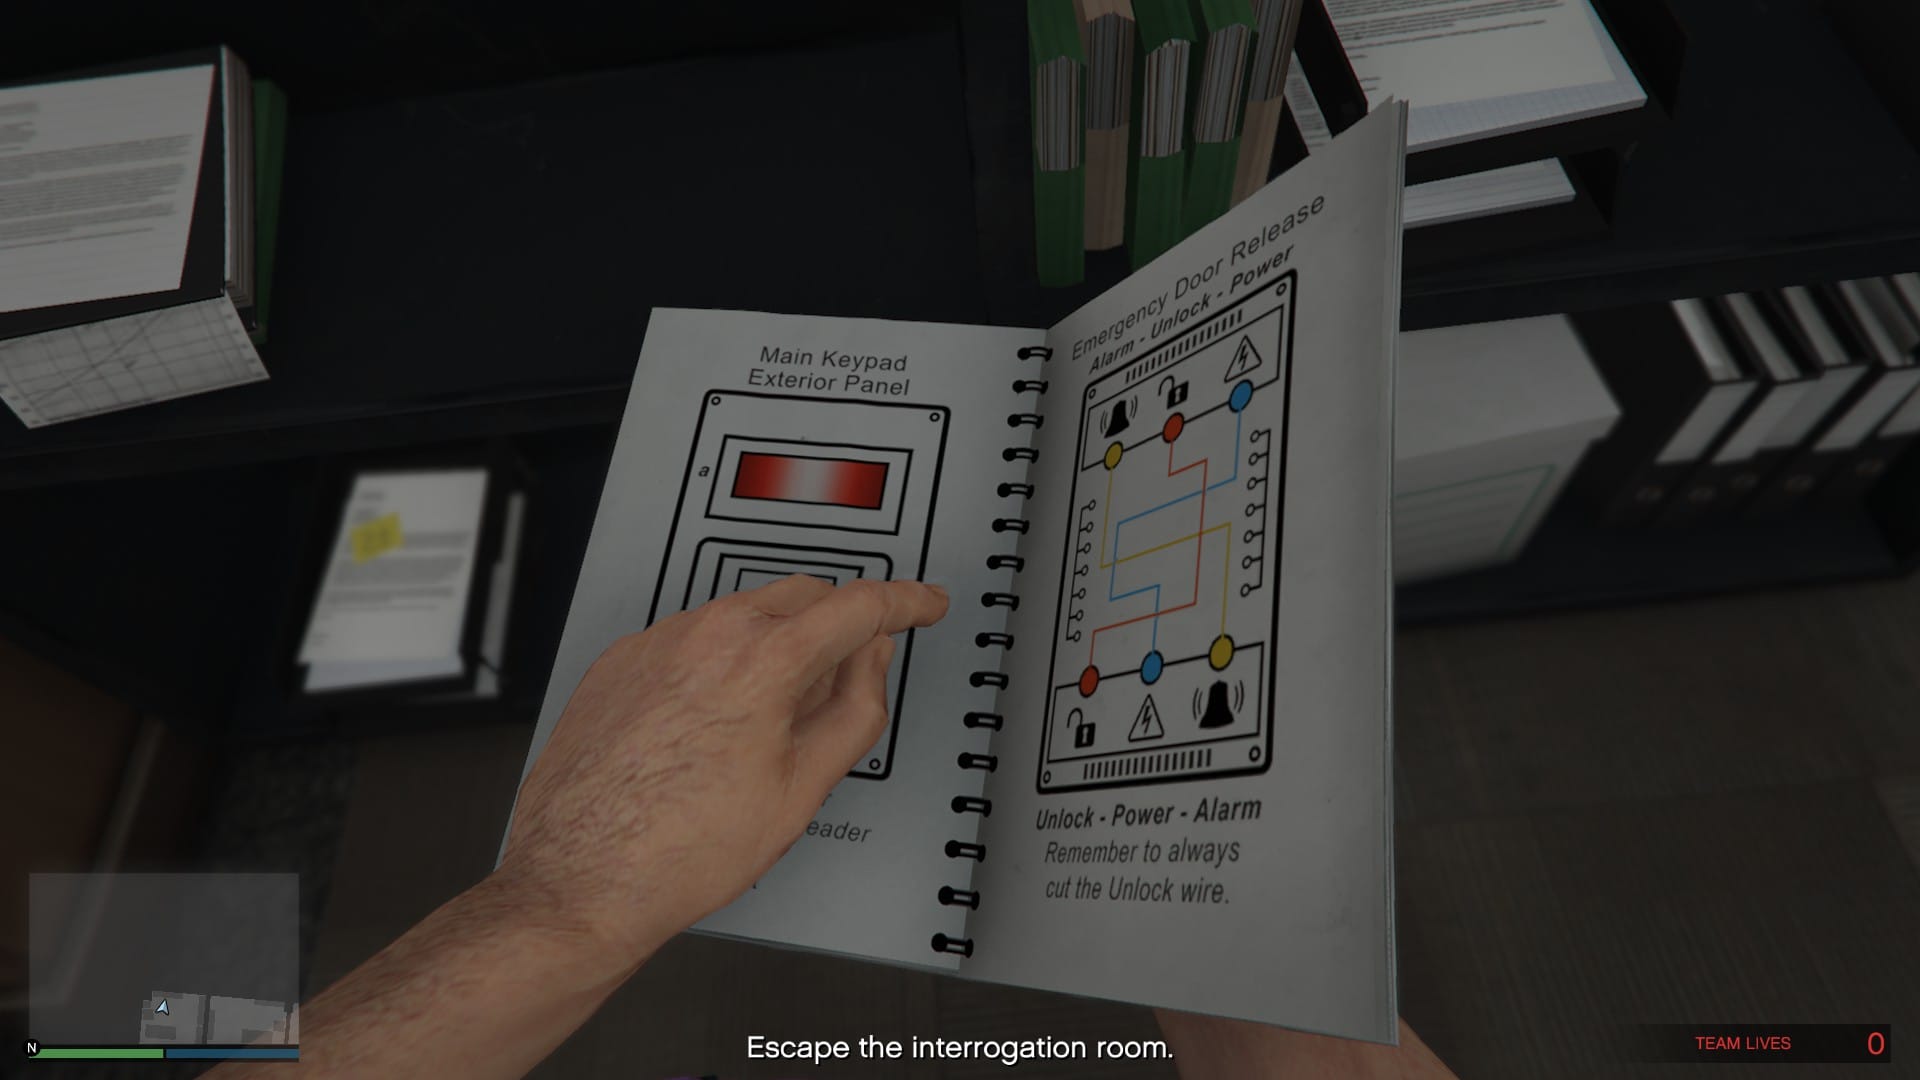
The manual will tell you which coloured wire to cut, and as you can see for us it was red this time. If you forget which coloured wire to cut, the manual will be placed back on the book shelf for additional viewing.
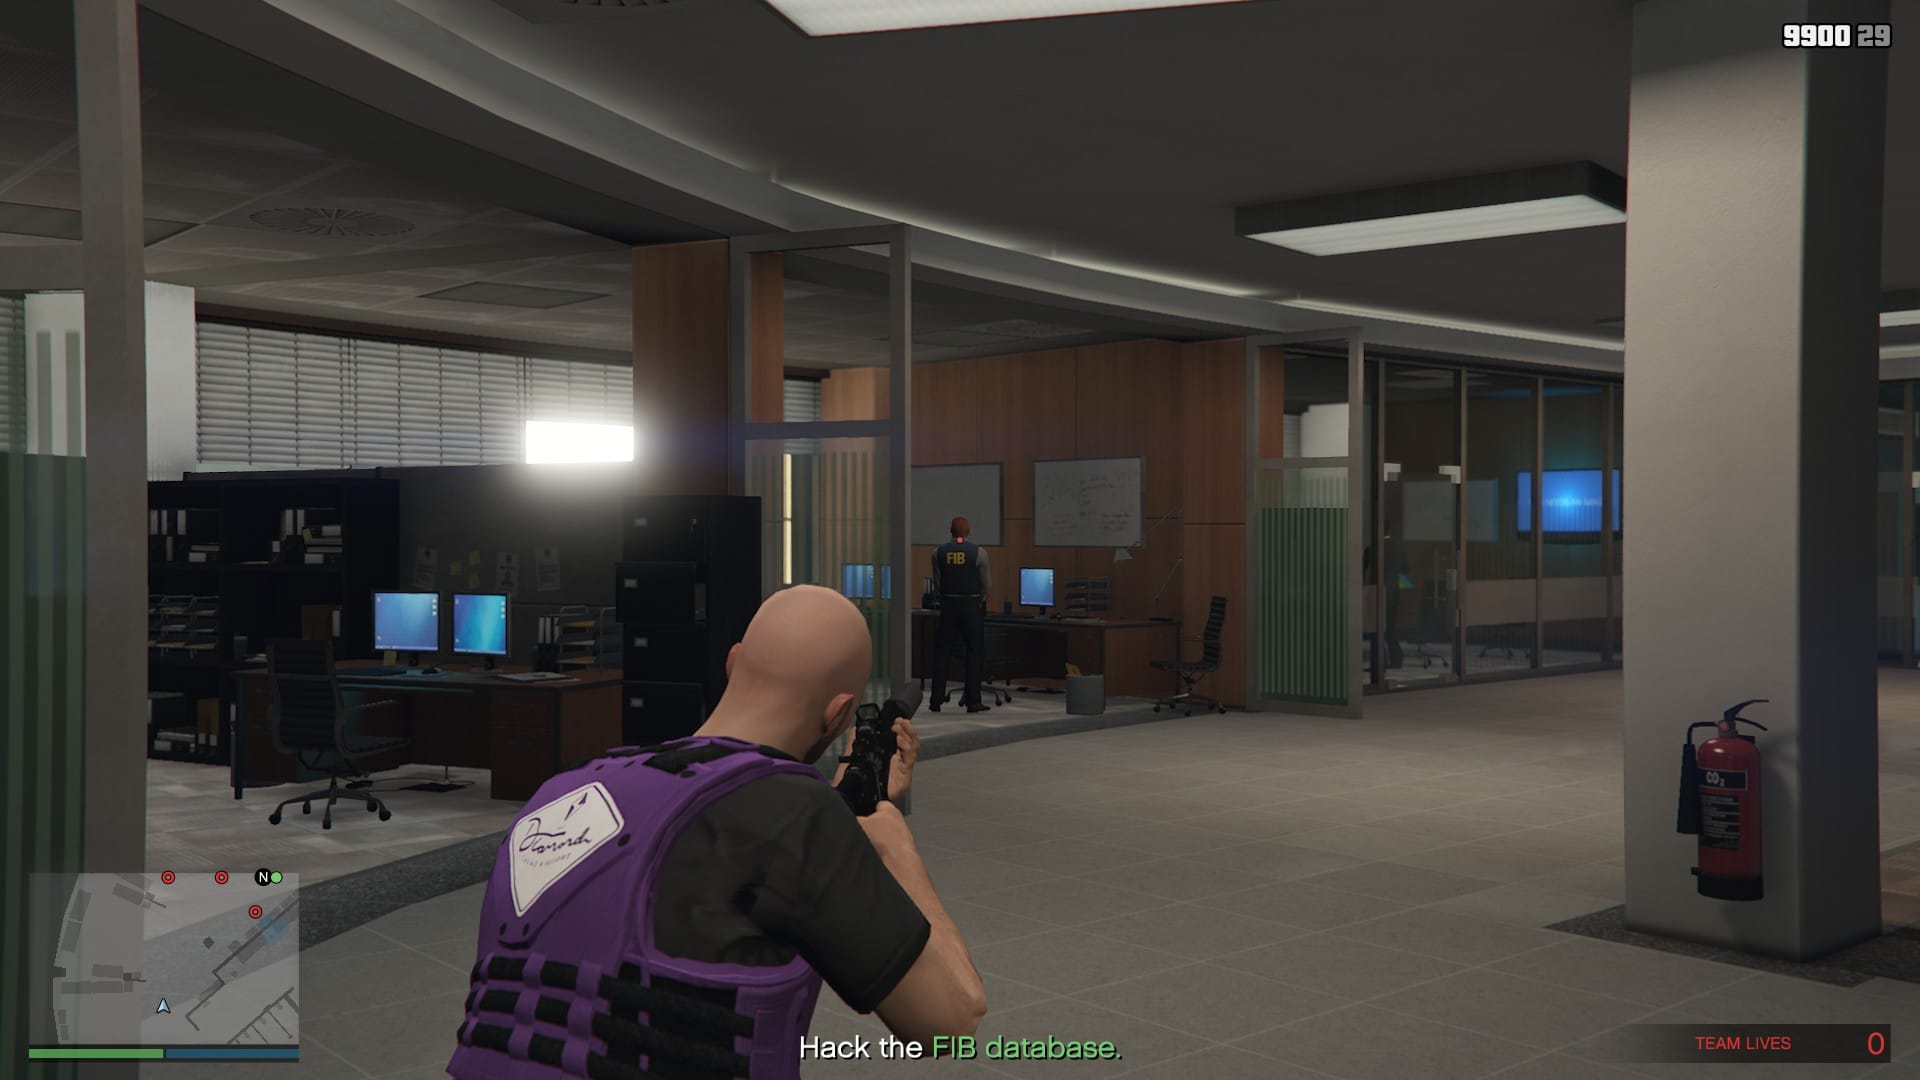
For this section, you will need to stealthily take out three FIB agents before you can collect your weapons, or take out the first and use his gun to take out the rest. Your weapons will be on a shelf in the room to your right where the third agent is. Once you have your weapons, clear the agents out and find the computer at the end to begin hacking. Remember to aim for headshots throughout your time at the FIB headquarters.
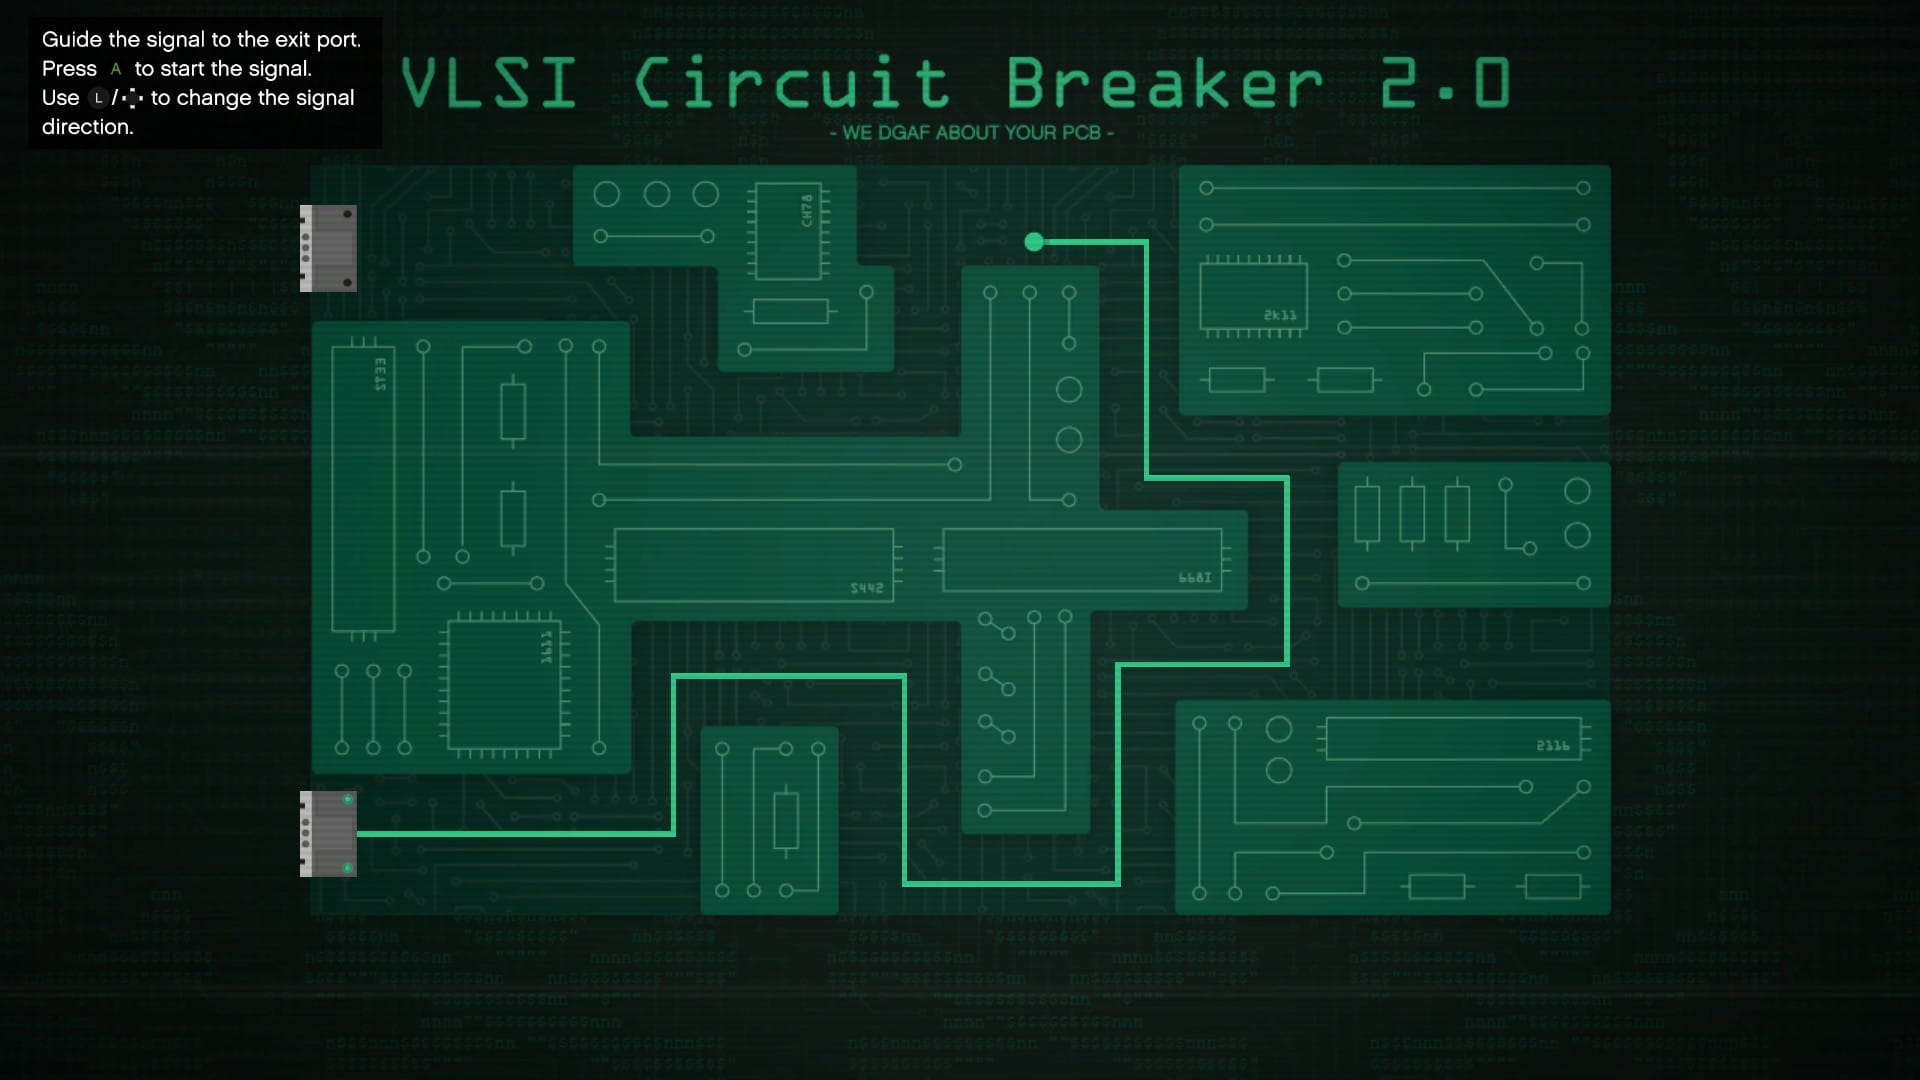
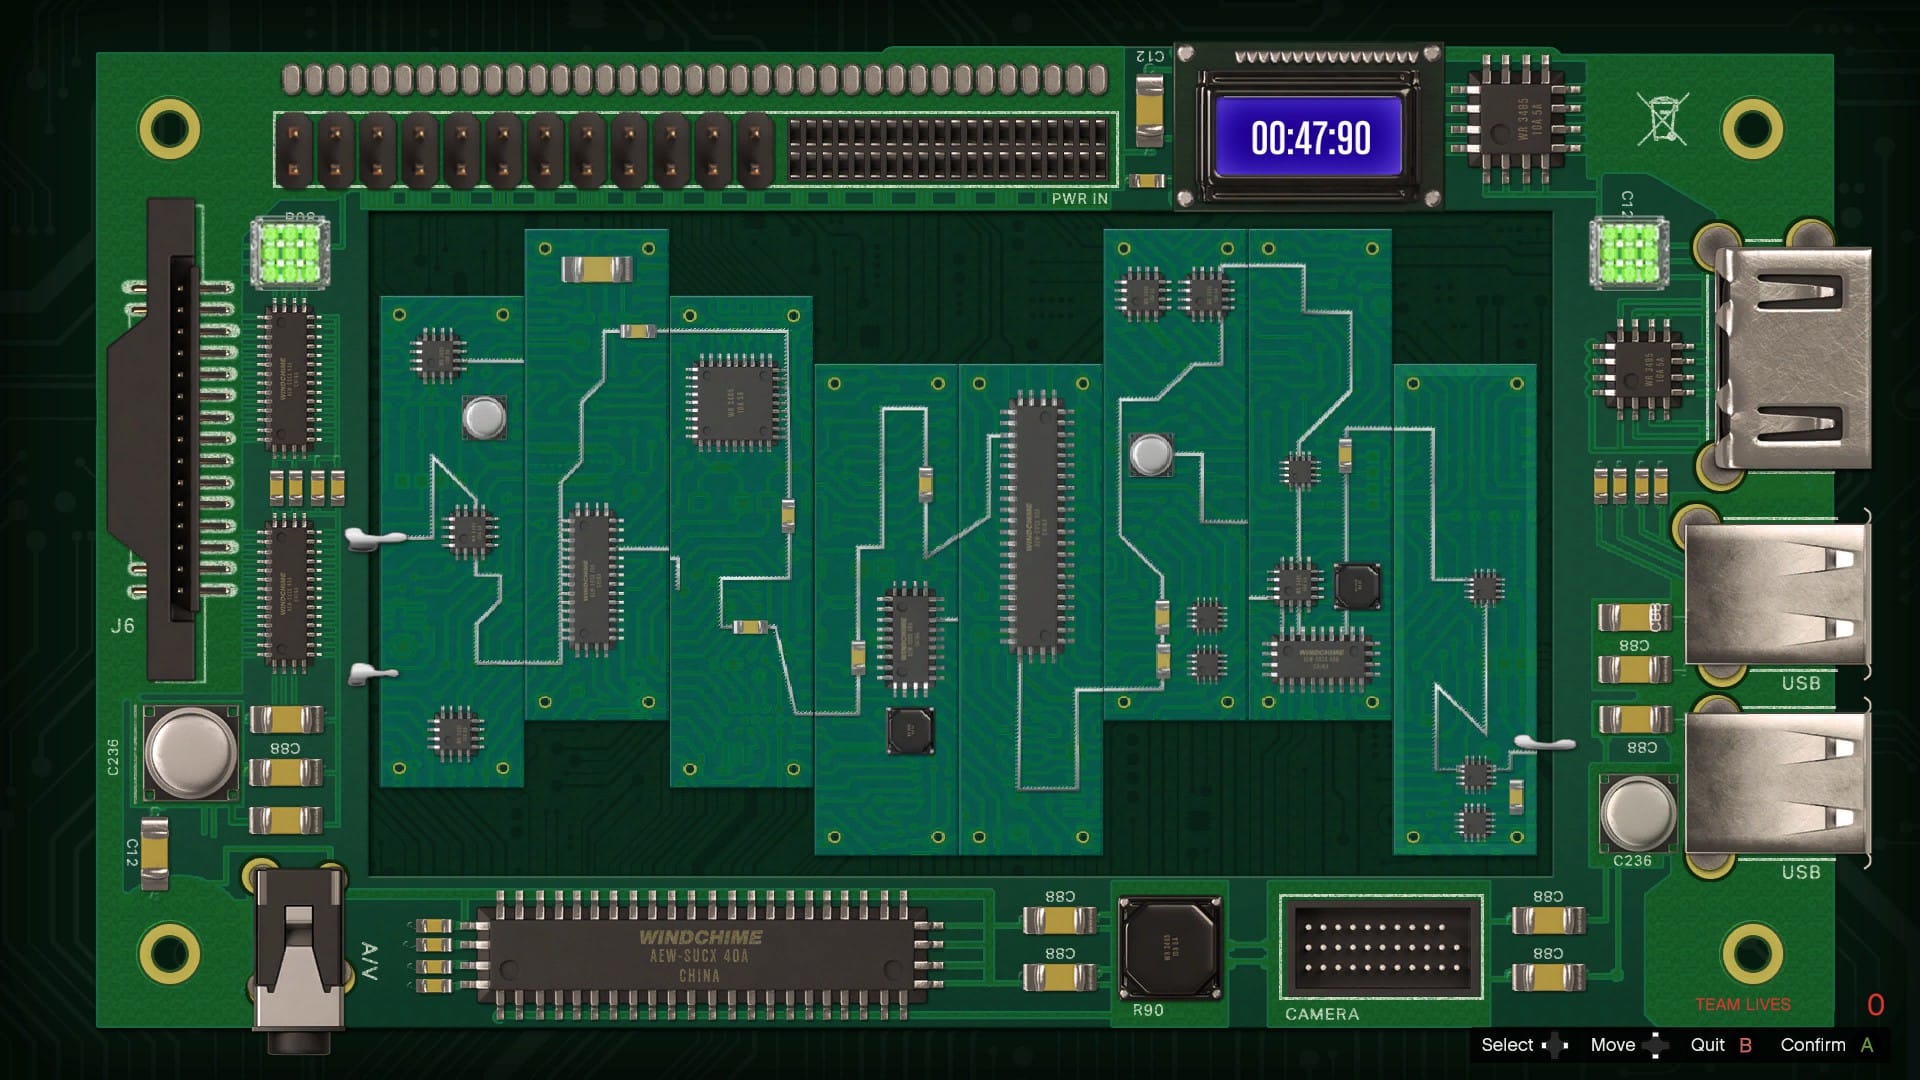
This hacking game has you slide the chips up or down to create a continuous sequence. As you can see below the silver prongs must connect to create a single path. Once you have done this, grab the data and make your way to the rooftop.
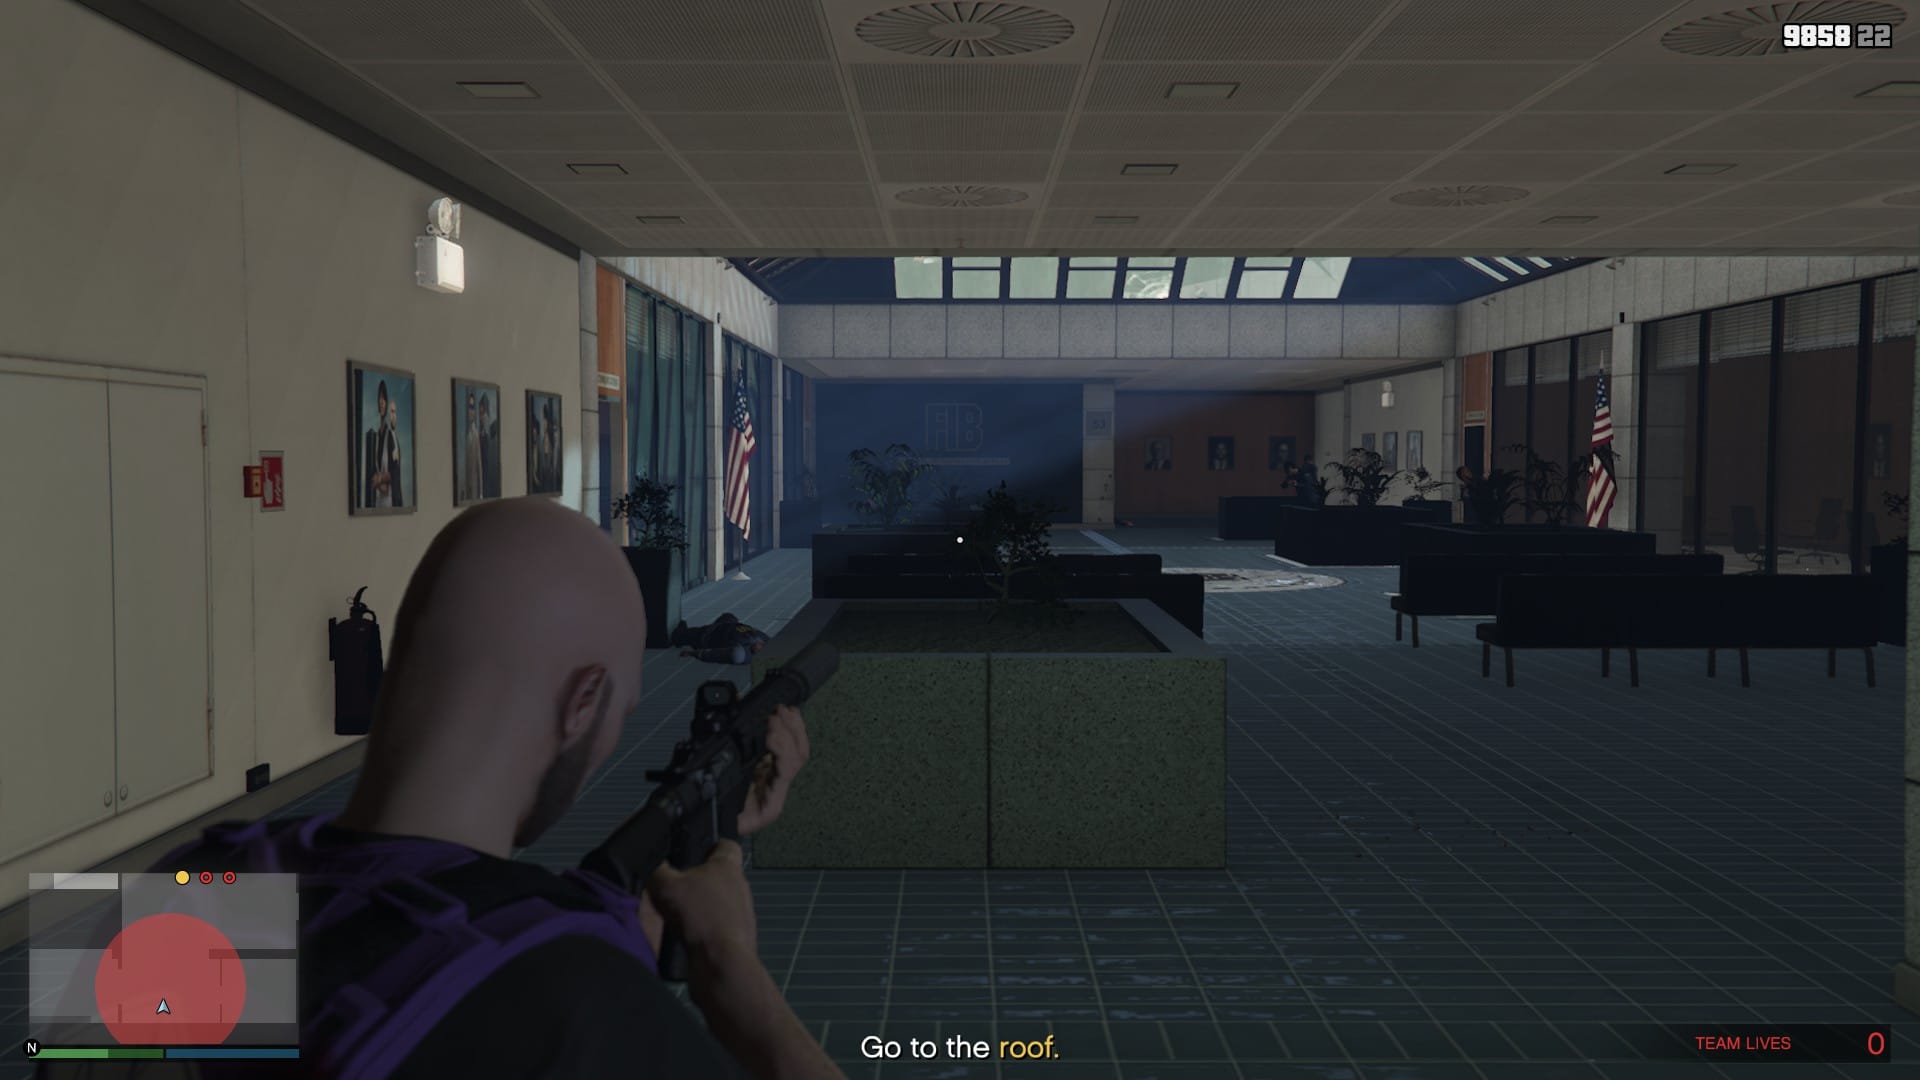
Make your way upstairs and clear the first room, noting that you don't have to take everyone out, you just need to get to the door. So, either do a full sweep or take down enough to reach the door. Either way, watch your flank and some agents will follow you up the stairs that you took to get here.
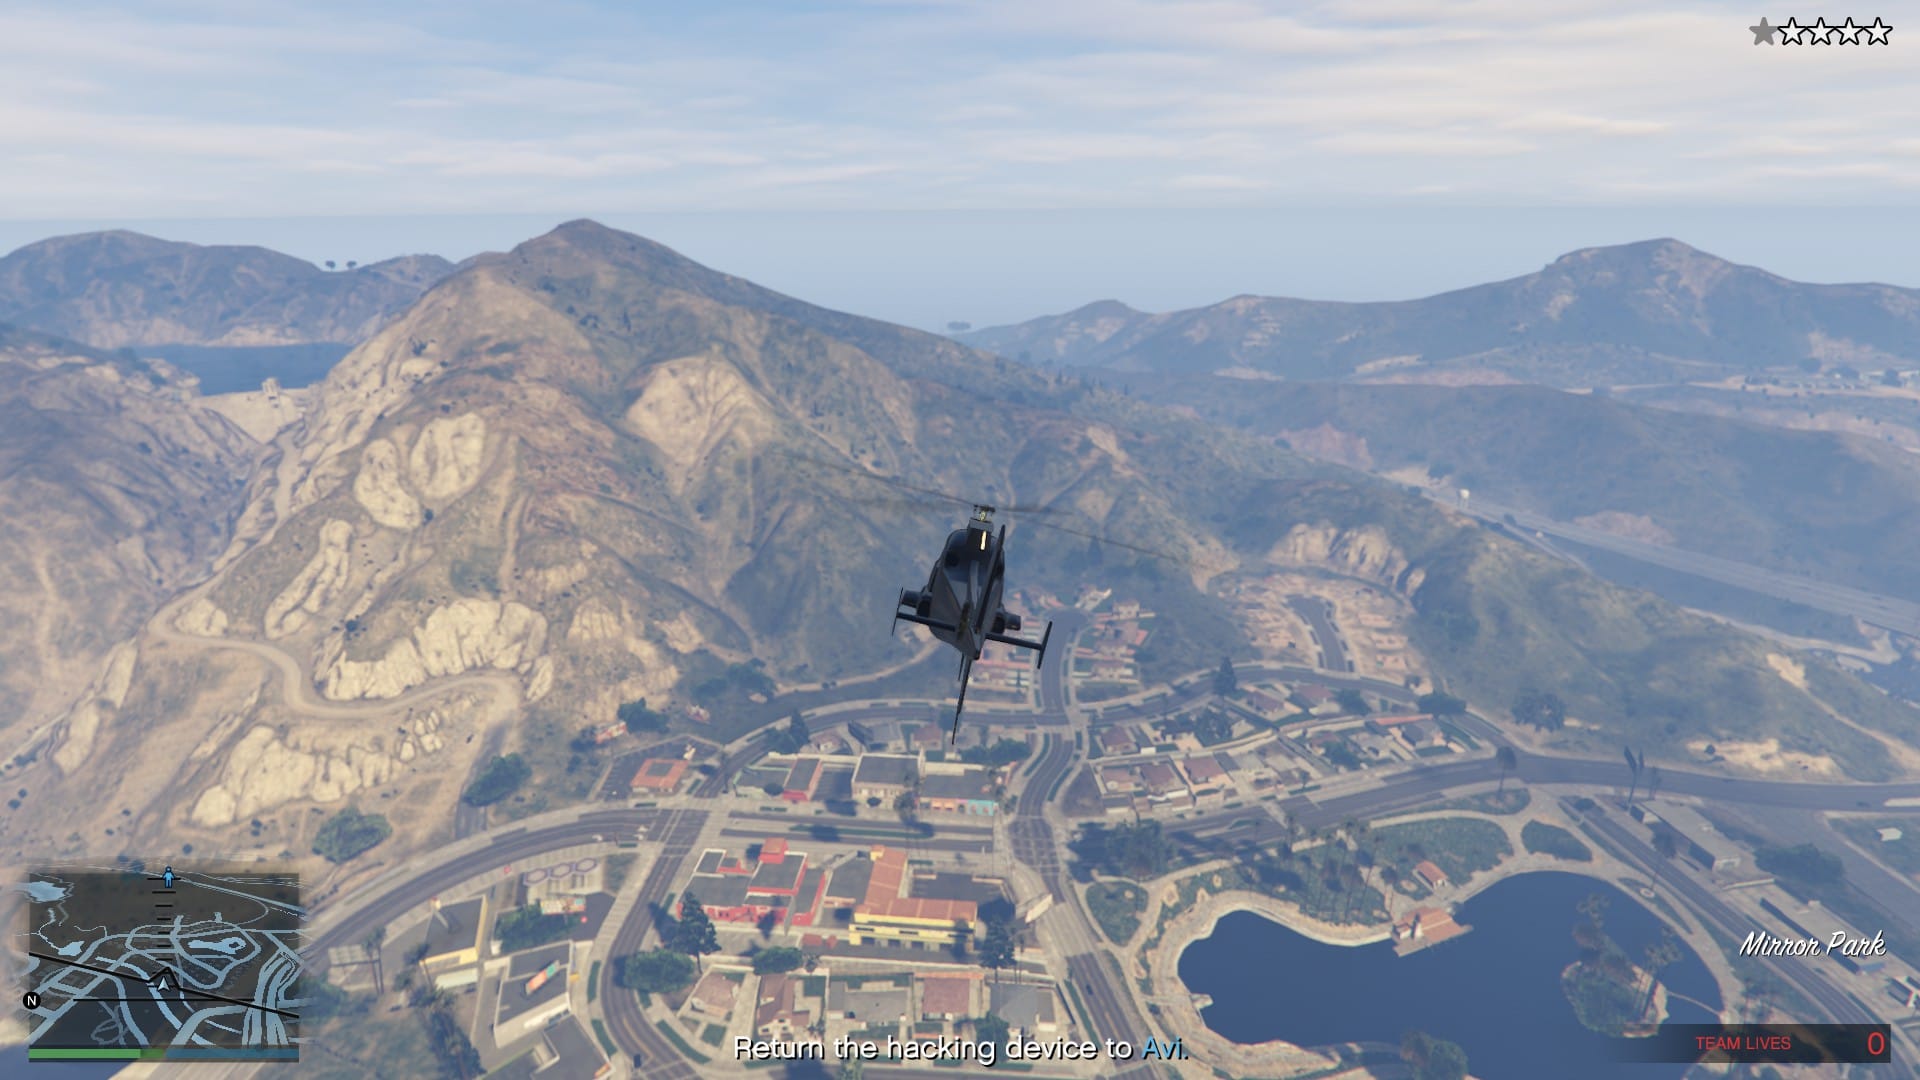
On the roof, you will need to clear out several agents before getting into the Swift. Try to take as many down, so they do not take you out once in the Swift. Once airborne, head to the marker and watch the cutscene.
Now that you have crashed and woken up, you will have to fight your way through a group of FIB agents to secure a Seashark. As marked below, use the high ground to get better vision of the agents.
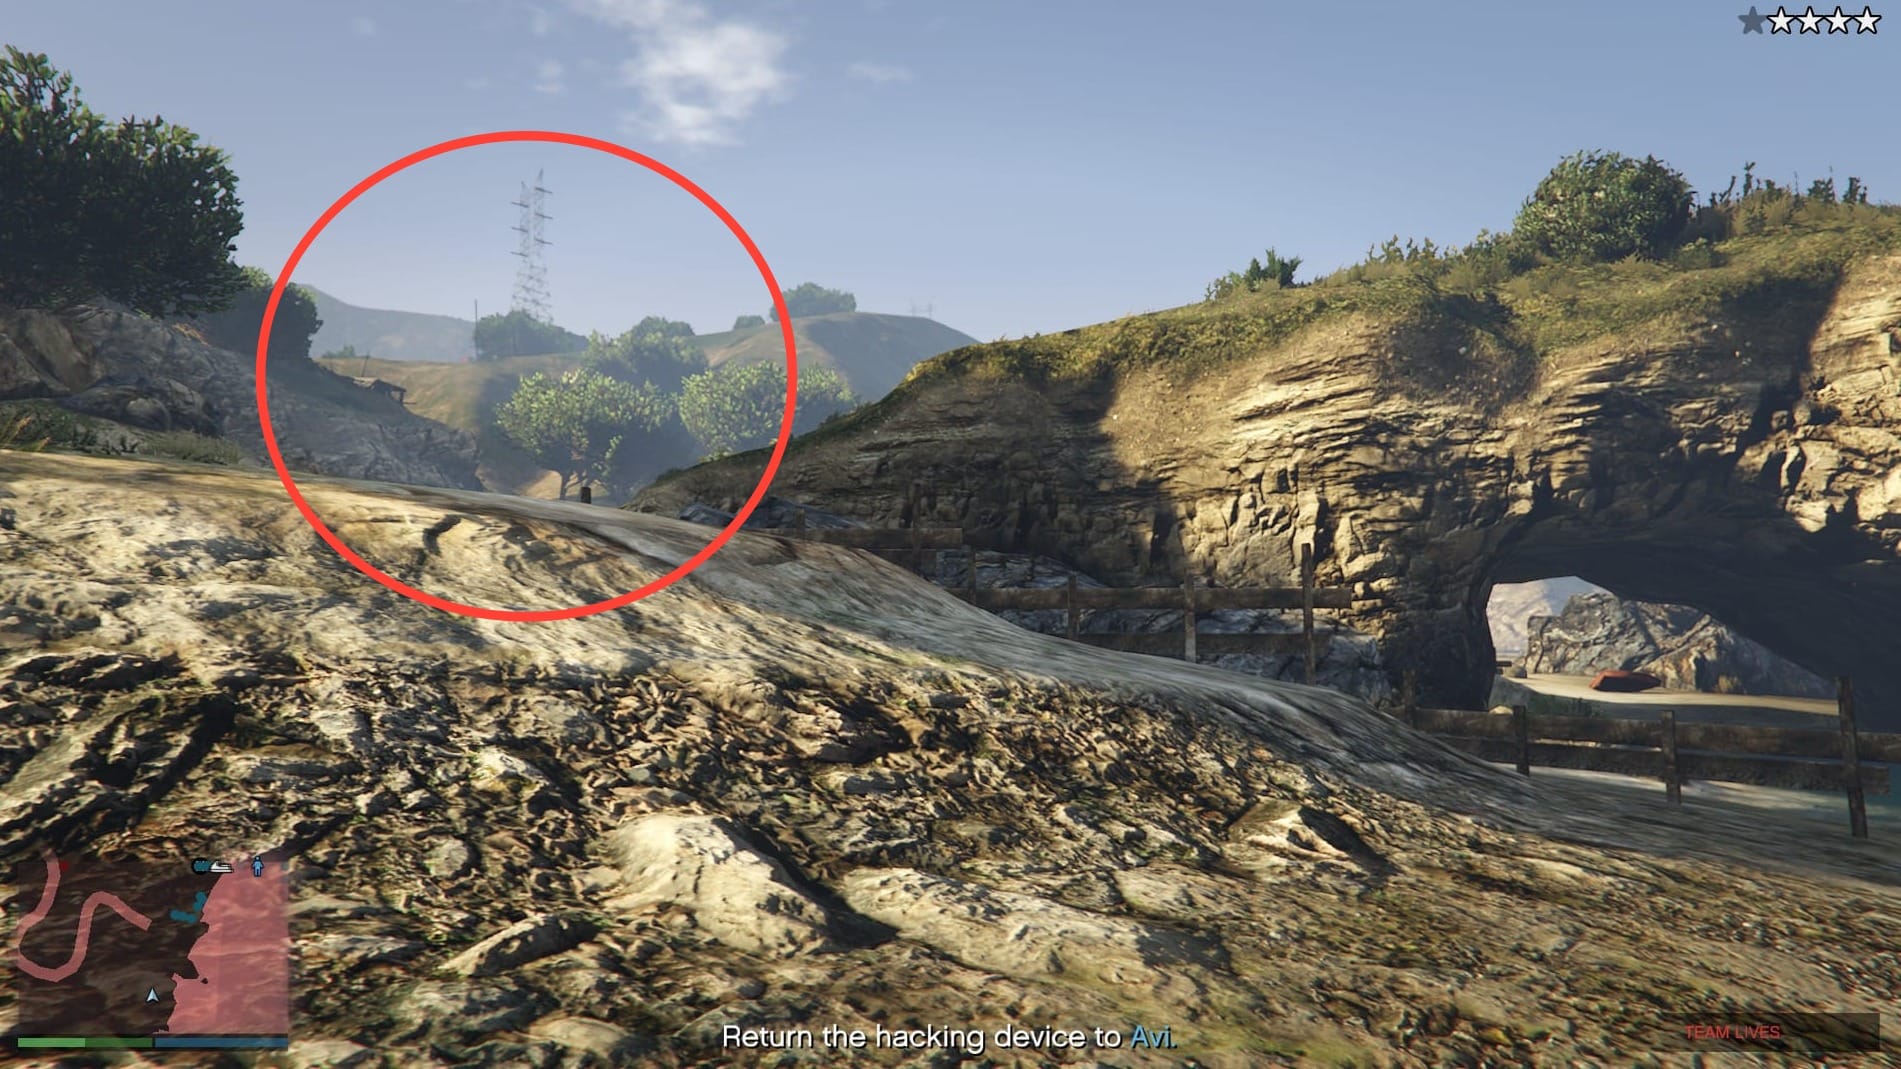
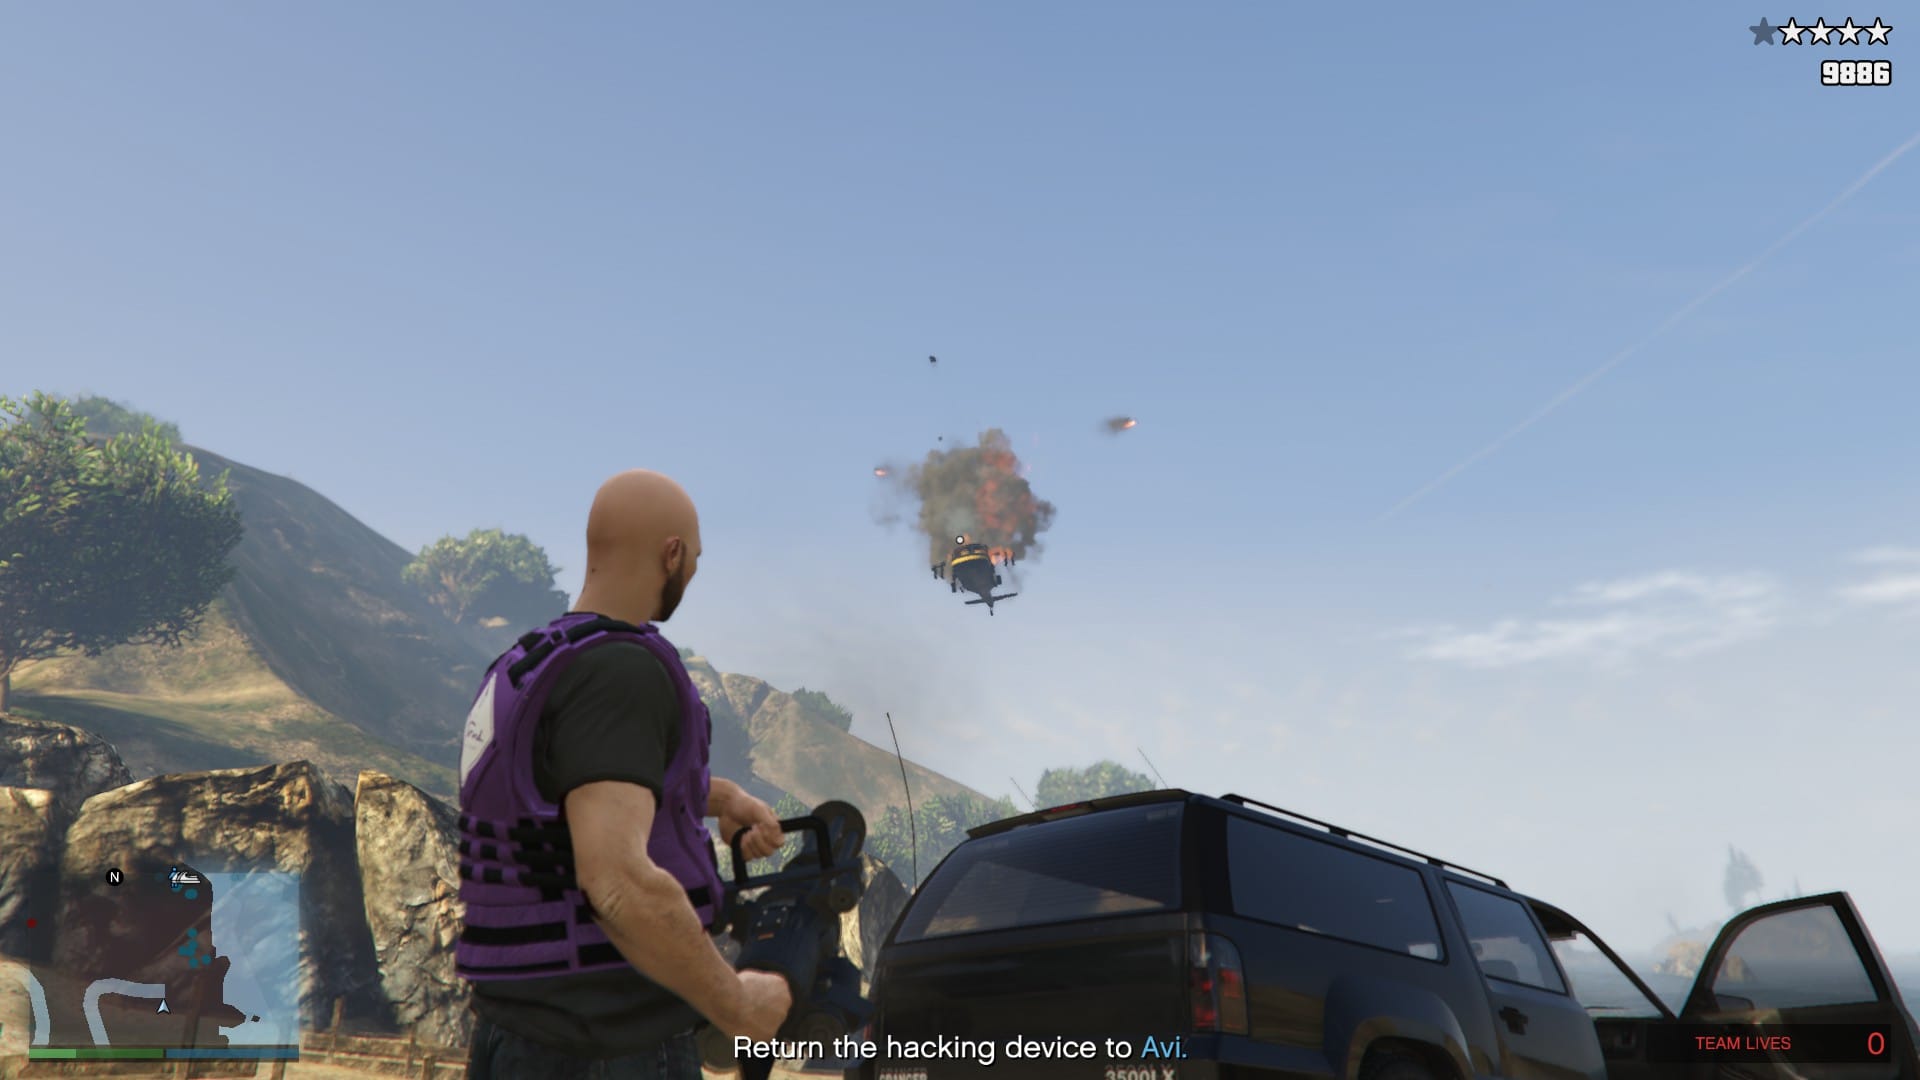
Keep in cover, pop out and take down a few agents at a time, watch your flank and keep an eye out on the two or three Annihilator helicopters that will fly above.
Once you clear the area, jump on the Seashark and head to Avi. There will be some patrol boats on the way, just avoid them and it should be an easy passage home.
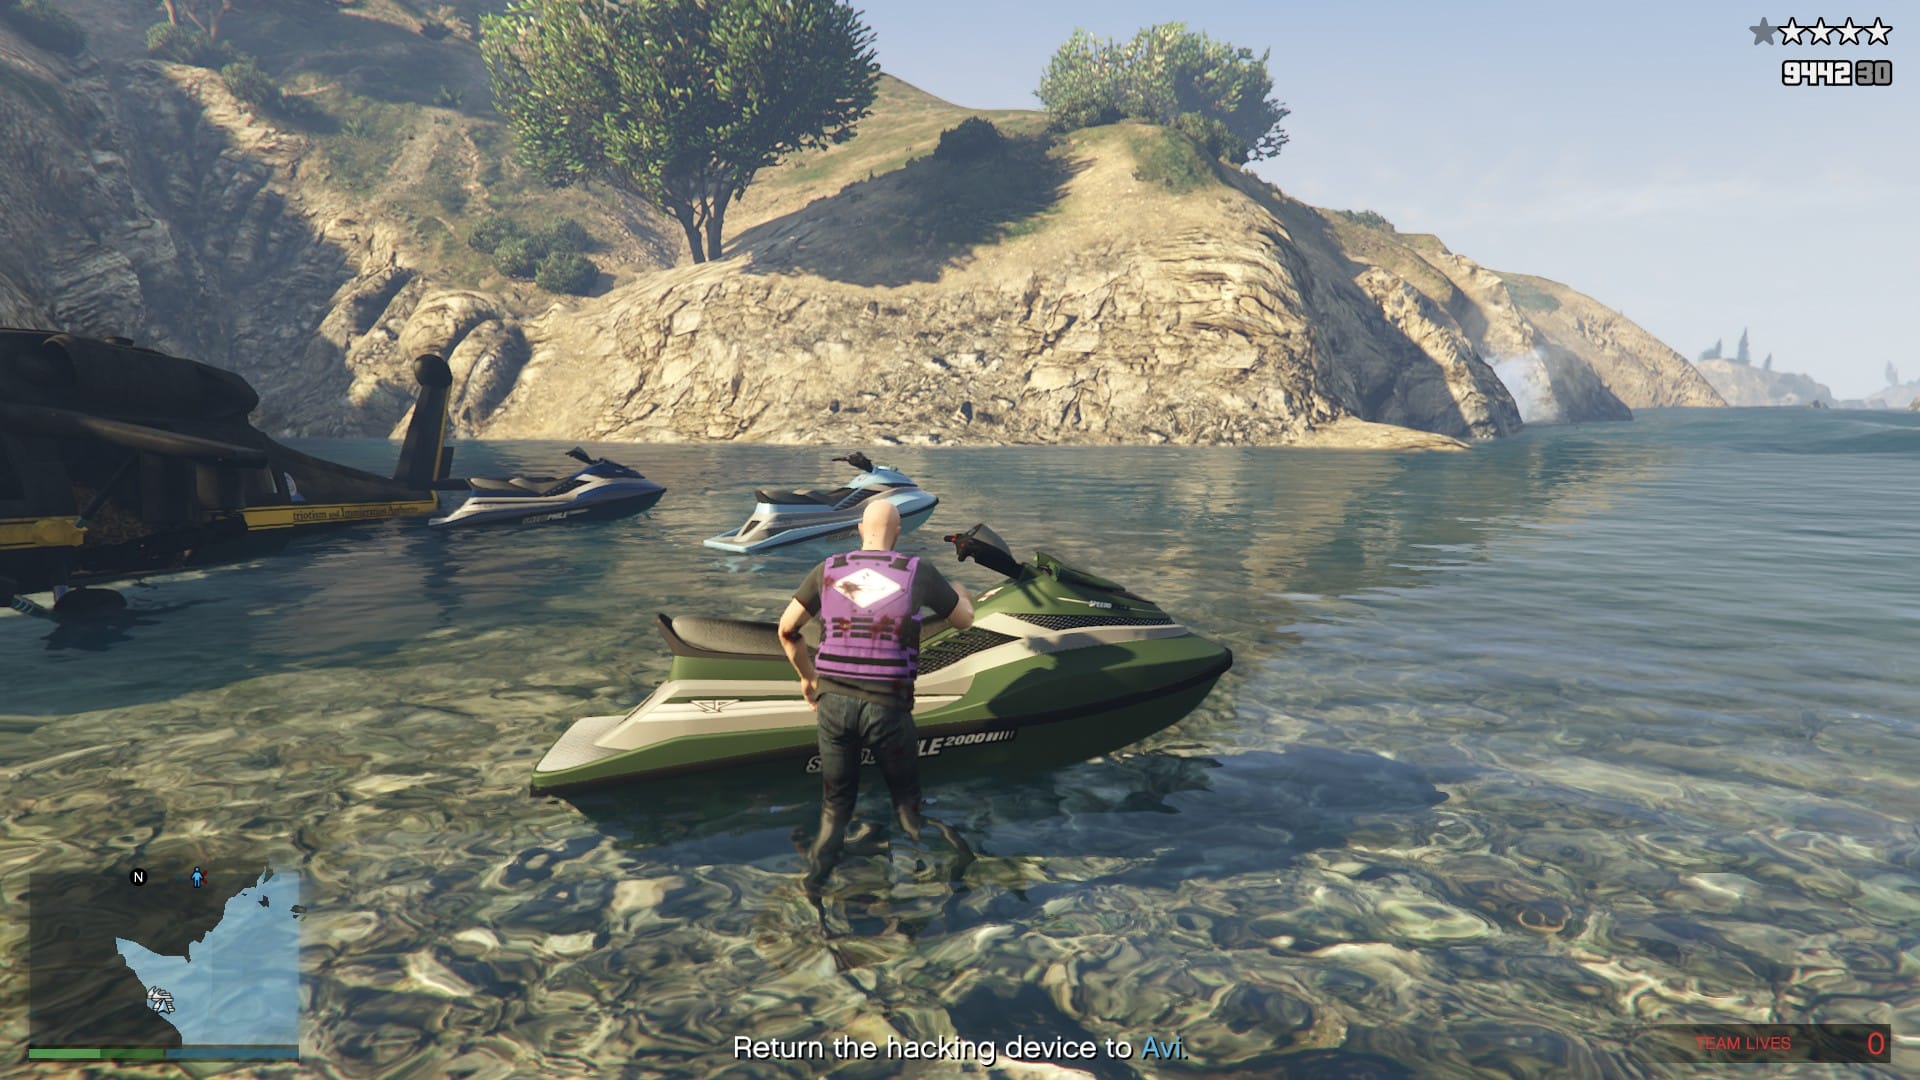
Once you reach Avi, you have finished the KnoWay Out storyline. So, watch the cutscene and enjoy the money!