The Cluckin' Bell Raid Walkthrough
Summary
- Use the Stealthy Approach for the final
- Can be completed solo and within 45 minutes
- Concealed Weapons: Ideally steal from group A (B is also a good choice)
- Hit and Run: Ideally steal from group A or B
Table of Contents
Introduction
The Cluckin' Bell Raid was introduced during the Chop Shop update which brings back Vincent (you may remember him from the casino storylines), who now works for the LSPD and is looking to take down a cartel who are operating out of the Cluckin' Bell Factory in Paleto Bay. There are five setups, one final and it can be completed in roughly 45 - 60 minutes.
- Payment for the raid is $600,000 when completing for the first time during the week and $400,000 for subsequent replays until the weekly reset.
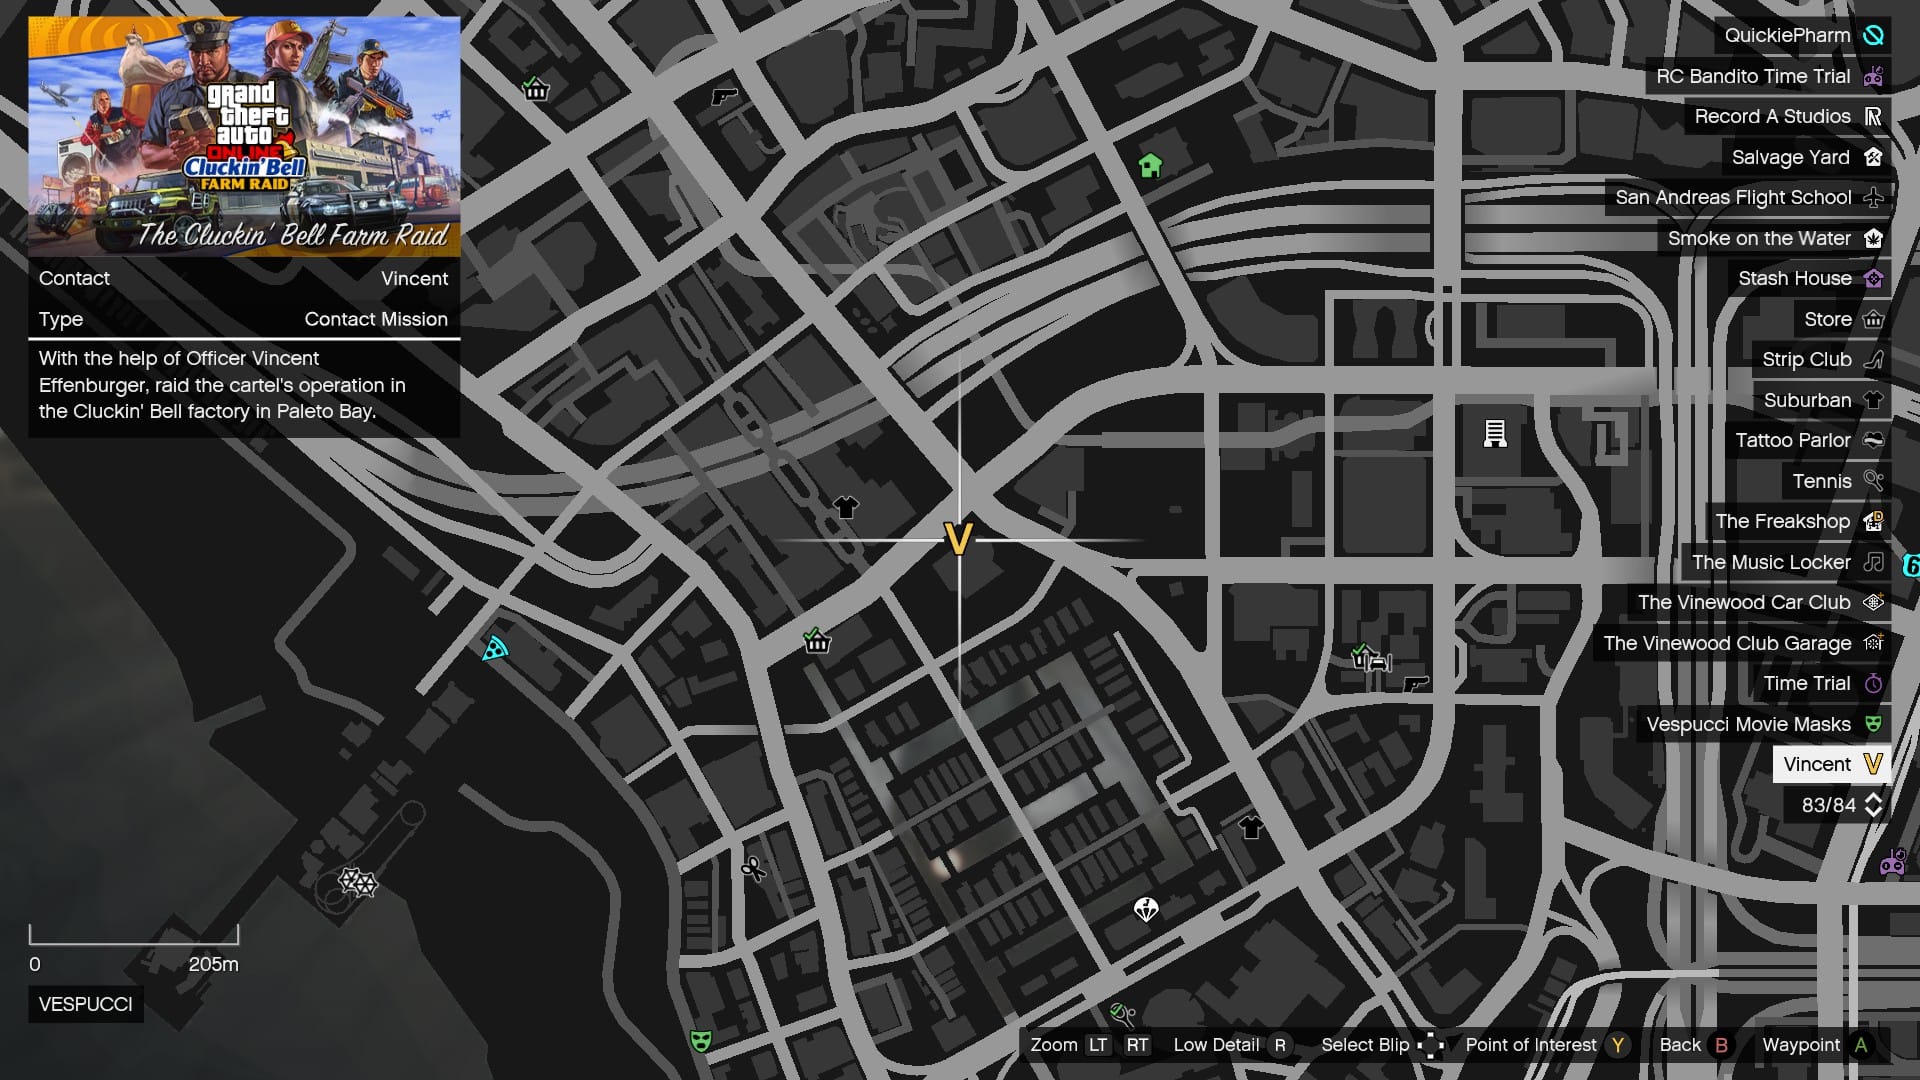
The Cluckin' Bell Raid will always start from the Vespucci Police Department, at the yellow 'V'.
Slush Fund
Cluckin' Bell Raid Mission #1
Slush Fund has us acquire dirty money to setup the operation. There are two locations that we will need to break into, Target A and Target B, as seen below.
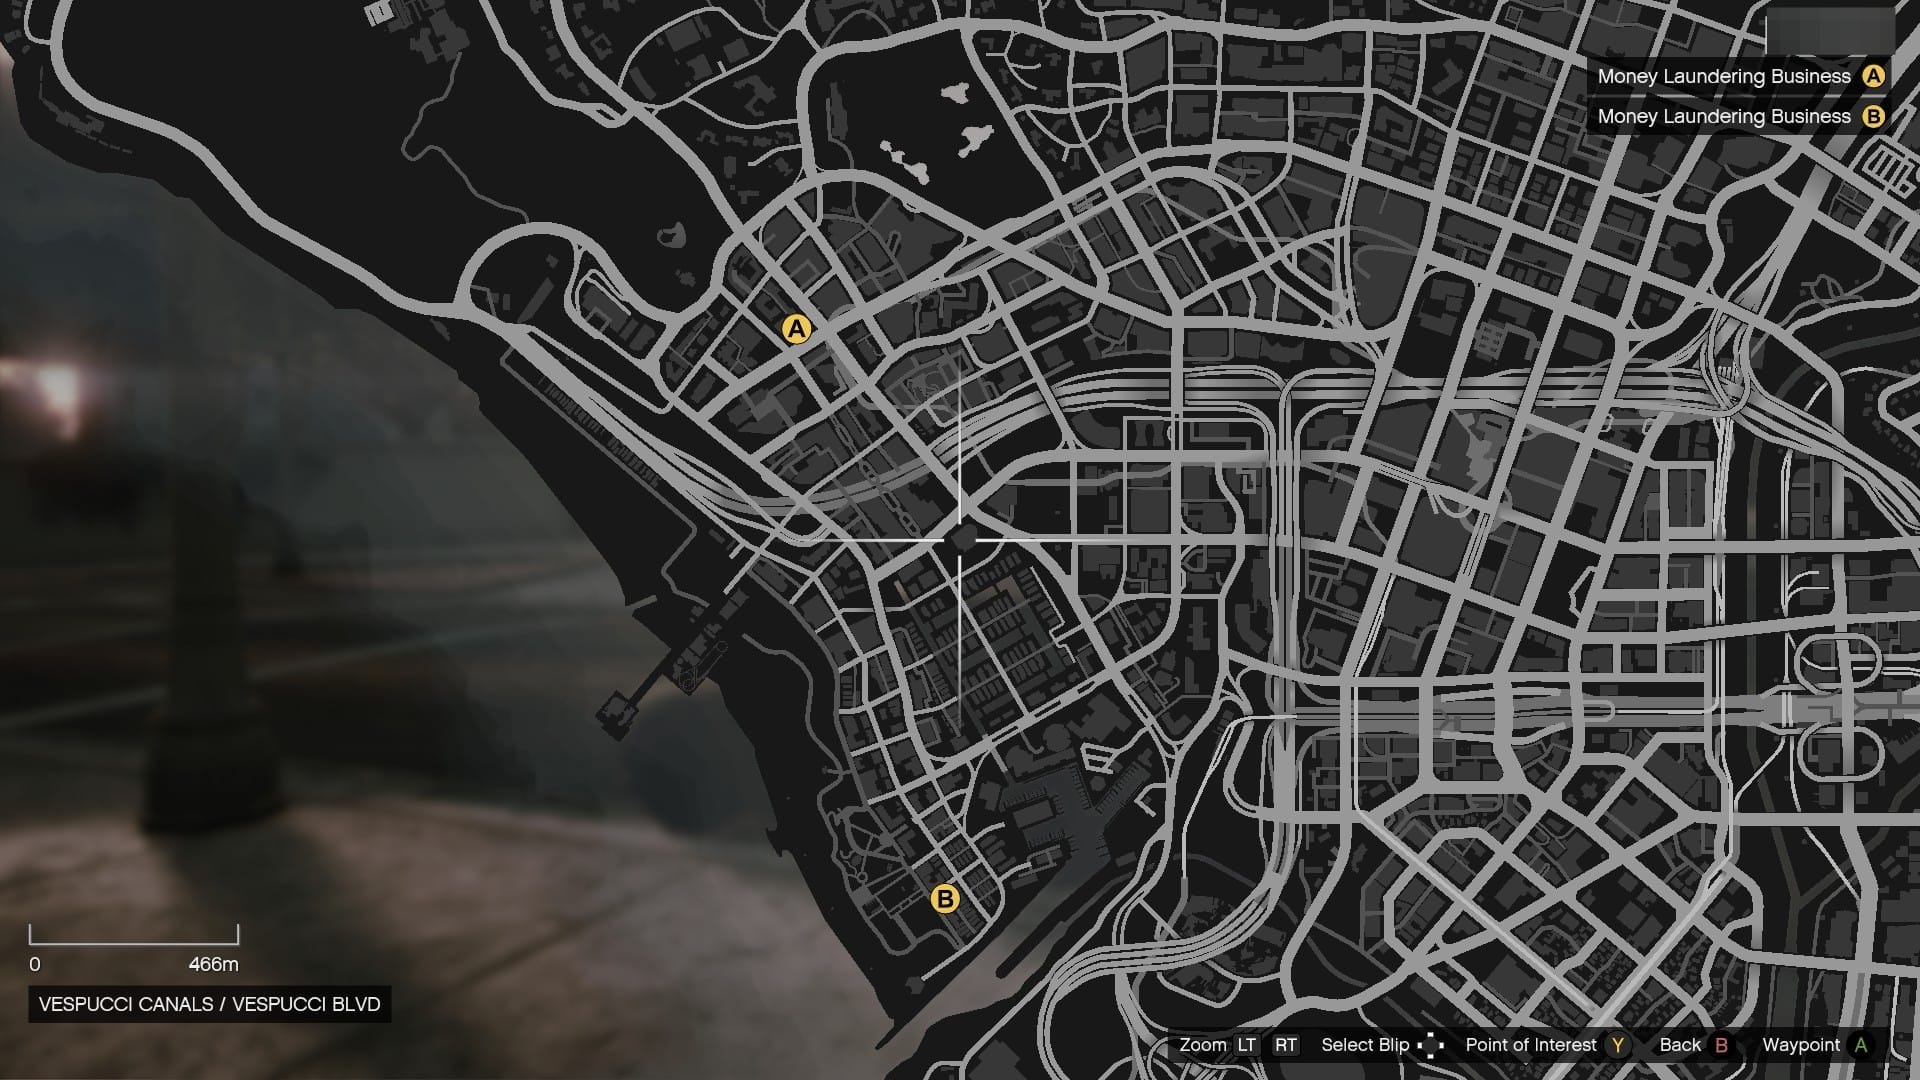
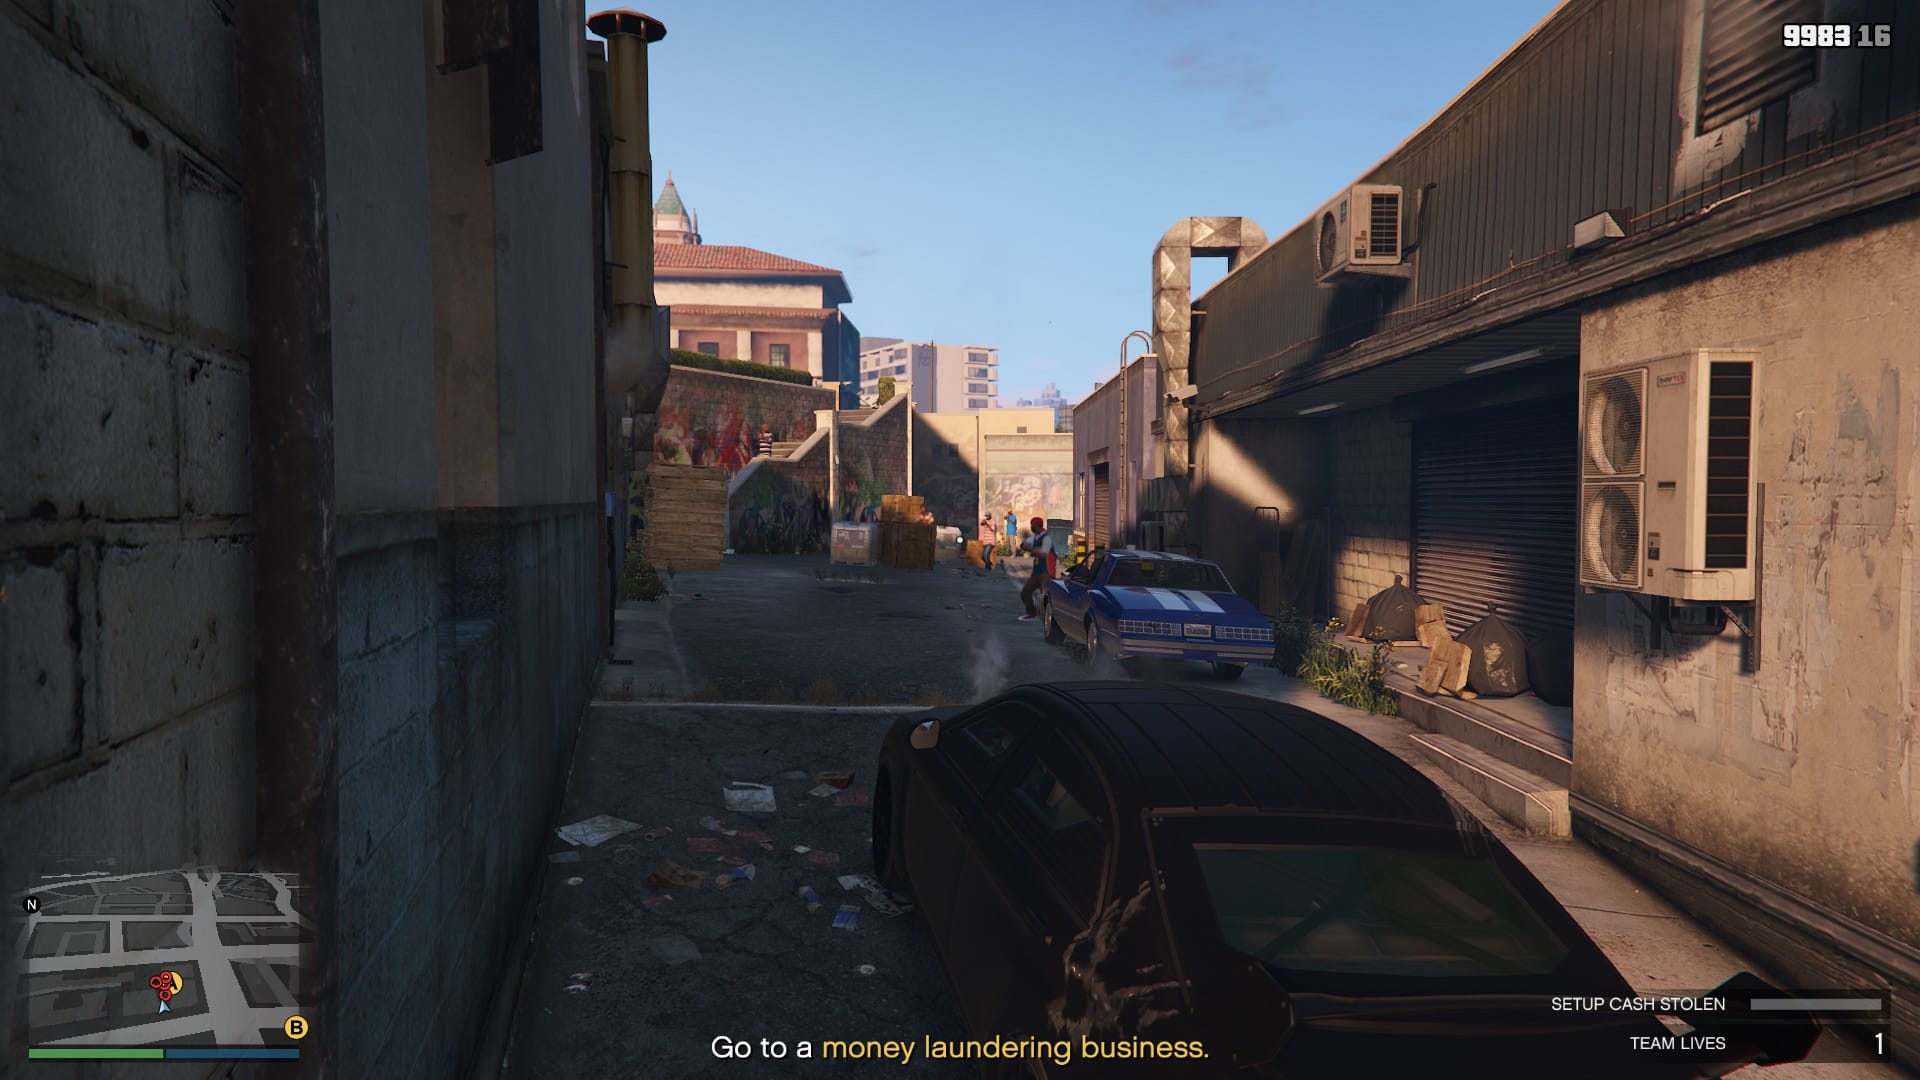
Assuming you are going in alphabetical order, Target A will be behind a row of shops. When you arrive, take down the gang members and park up next to the door. If you have an armoured vehicle, this will be easier but the enemies should not be too difficult.
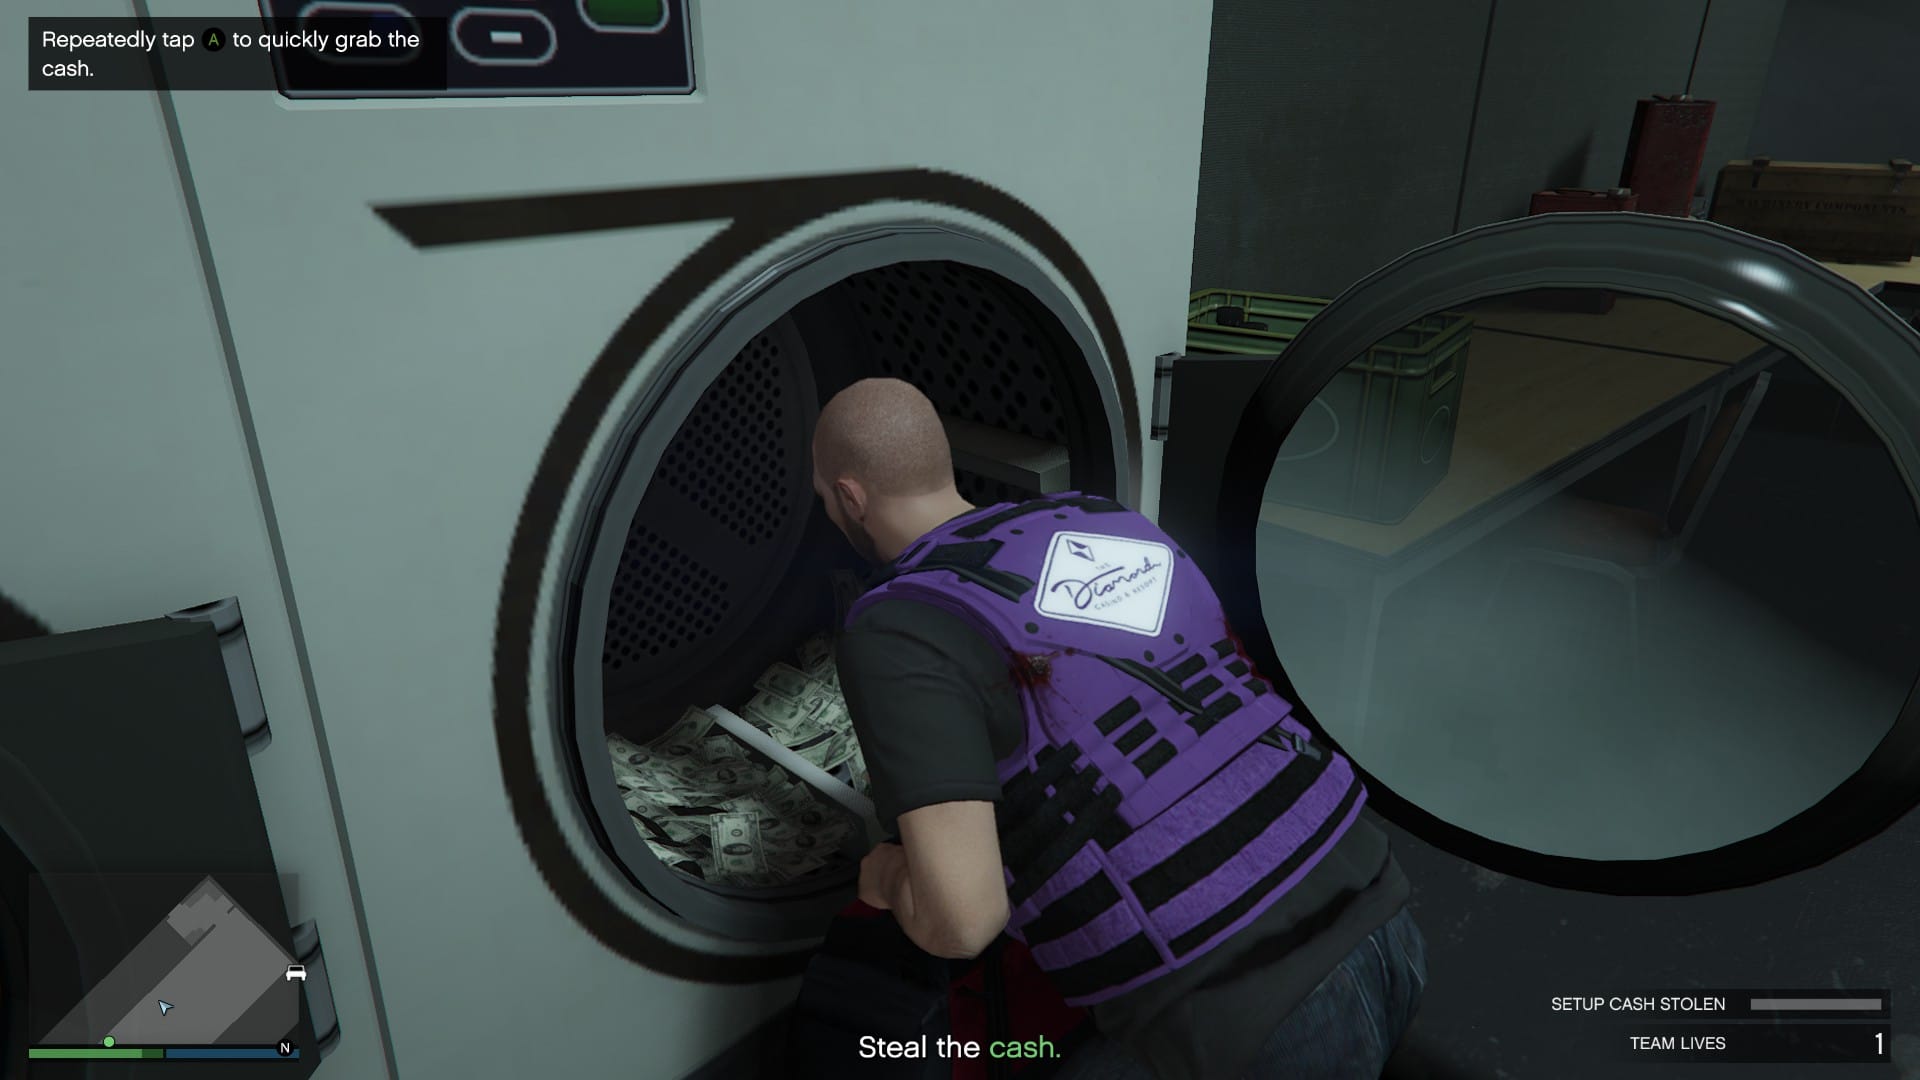
Once inside, take down the two hostiles and wait a moment, a third will come in from the back. Take him down and start stealing the cash from the washing machines. If you had immediately gone to the washing machine, that third hostile may take you down. Once both washing machines are empty, head back outside, take down any remaining hostiles and head to Target B.
Like Target A, clear everyone in your way and head inside. As you attacked Target A first, you will have extra gang members to contend with but keep moving and they shouldn't be a problem. Once inside, take down the hostile and again, wait for the third hostile before emptying the washing machines.
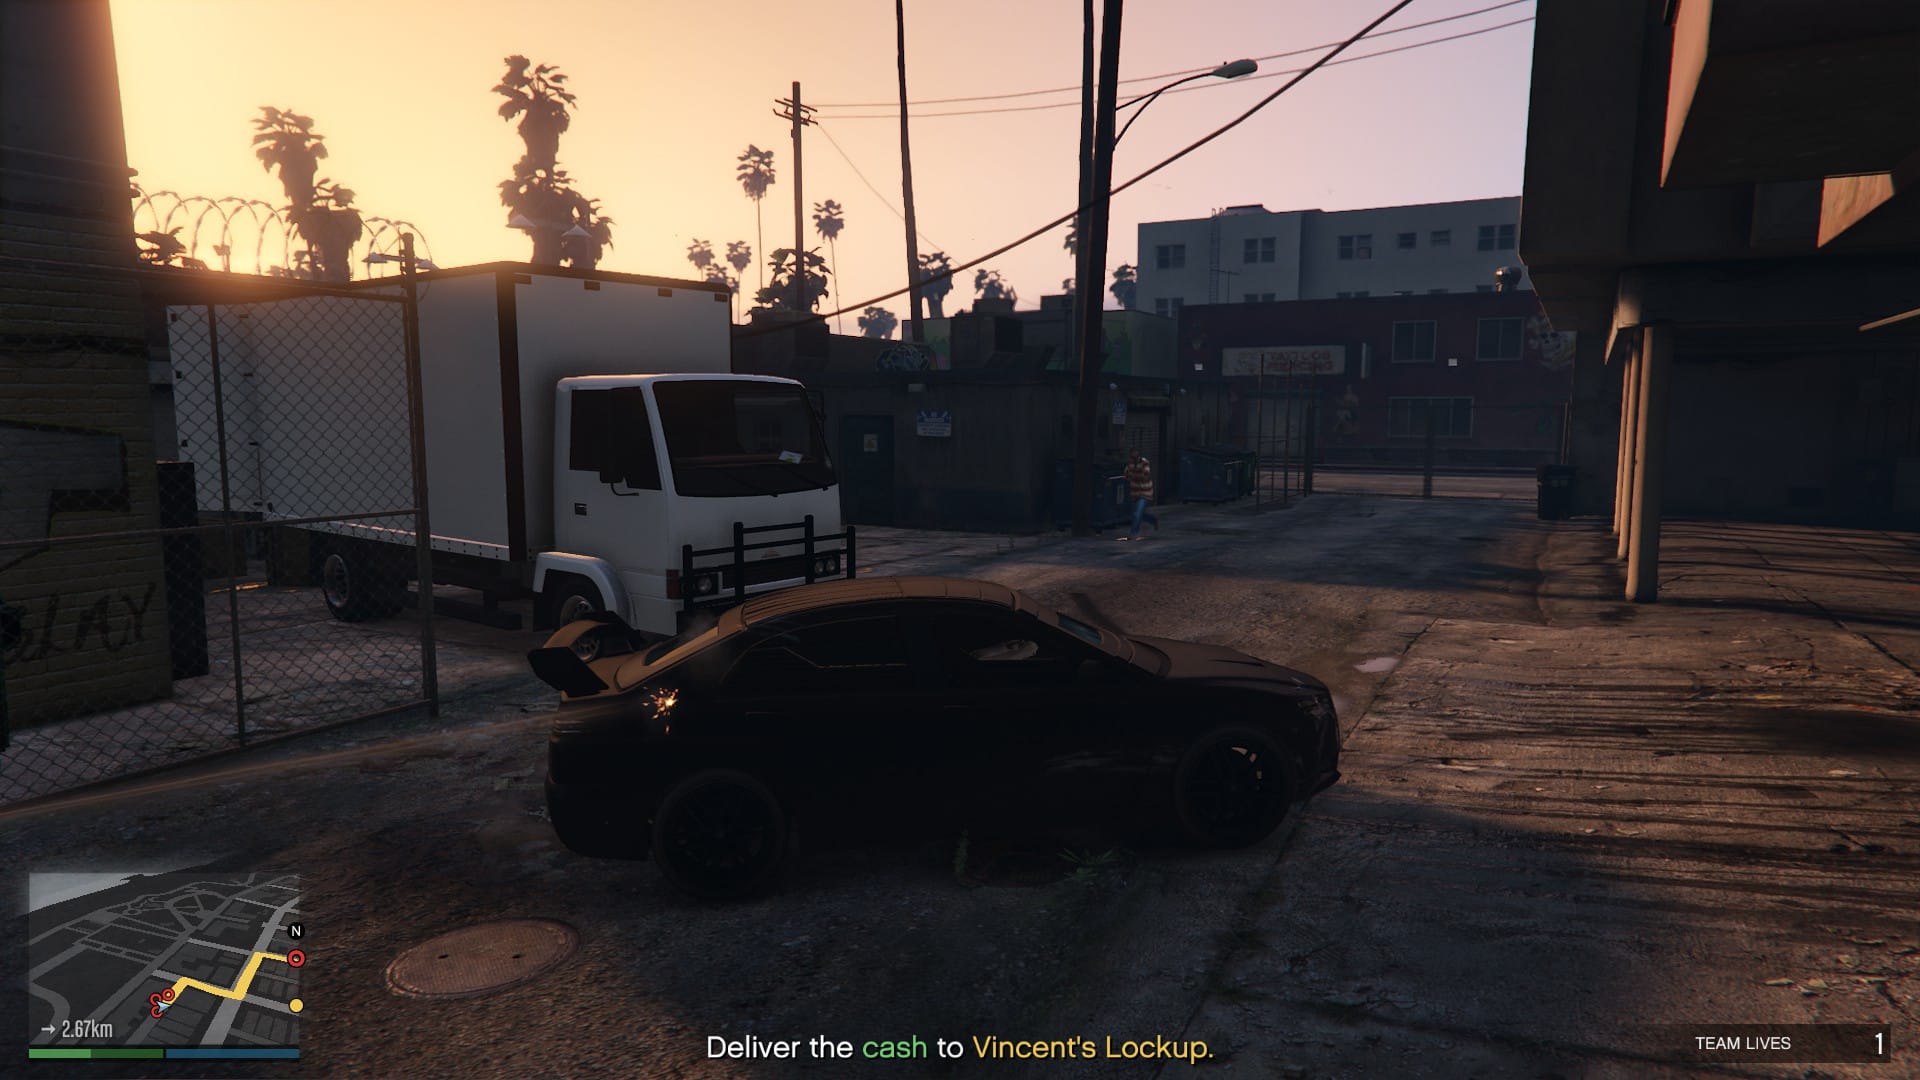
After you have filled your bags, leave the shop, take out anyone in the way and head to the lockup. A couple of gang members will chase you but they shouldn't cause any issues. Once at the lockup, drive in and the mission will end.
Breaking and Entering
Cluckin' Bell Raid Mission #2
This setup has us stealing a few items before hijacking a train. This is one pretty simple but can get hairy quickly at the end. To start, head for the Laptop marker and begin searching the laptop.
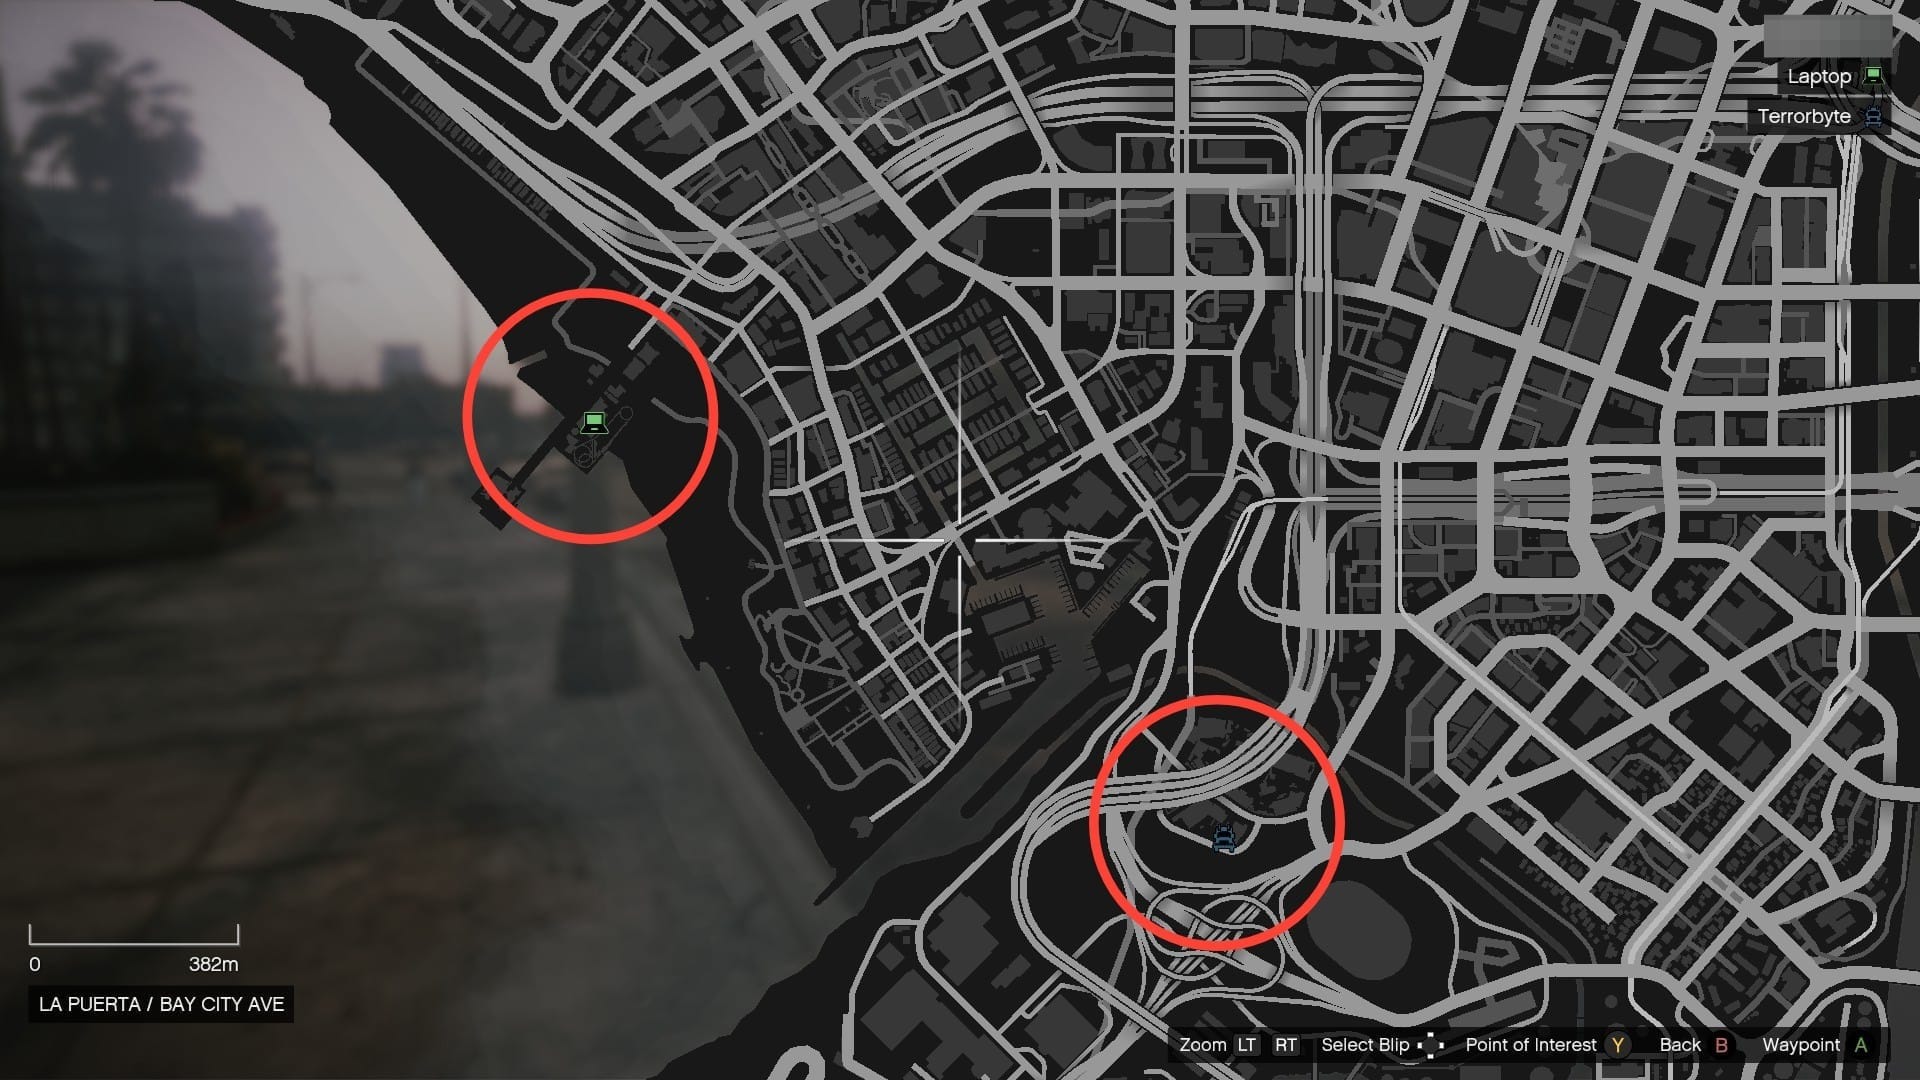
The target will always be on Del Perro Pier, however, his location on the pier and what he wears changes. He is always seen on the arcade game and his laptop is usually on a table or seat. In this instance, he was underneath the roller coaster.
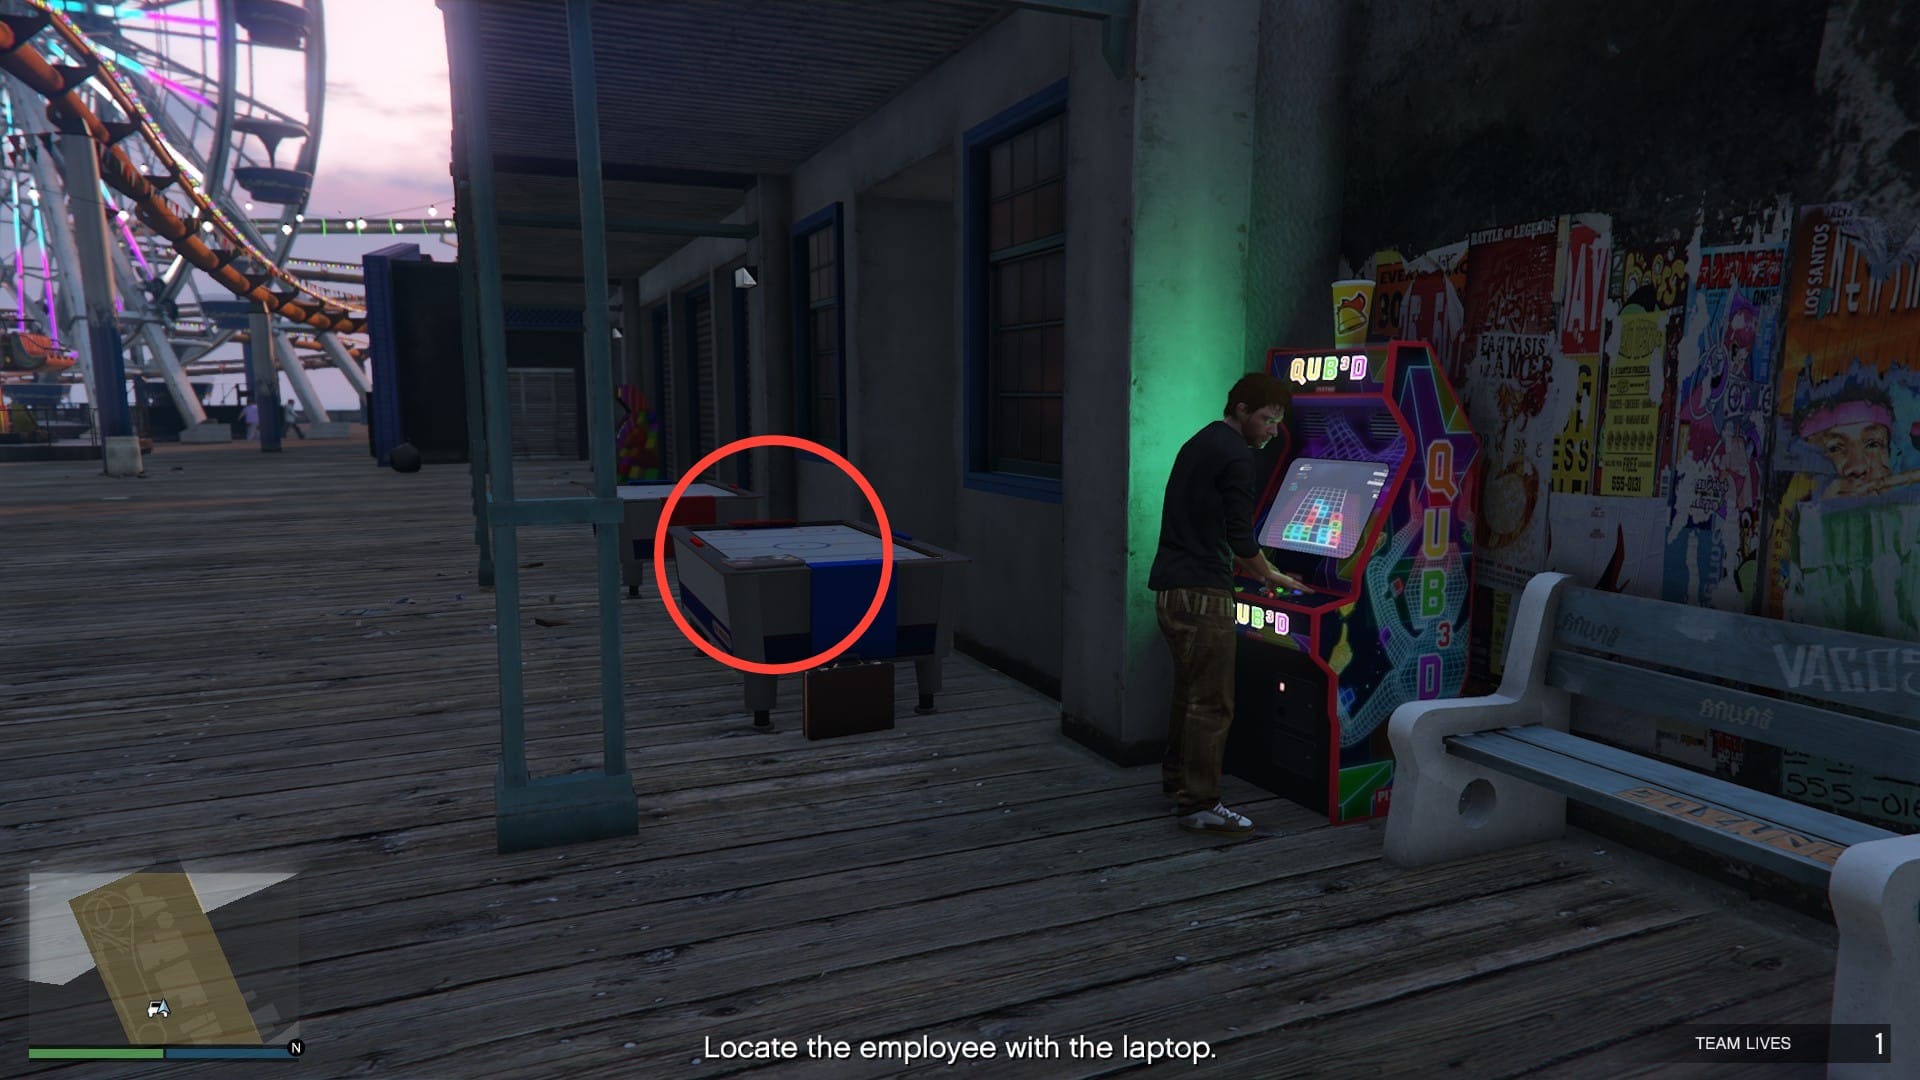
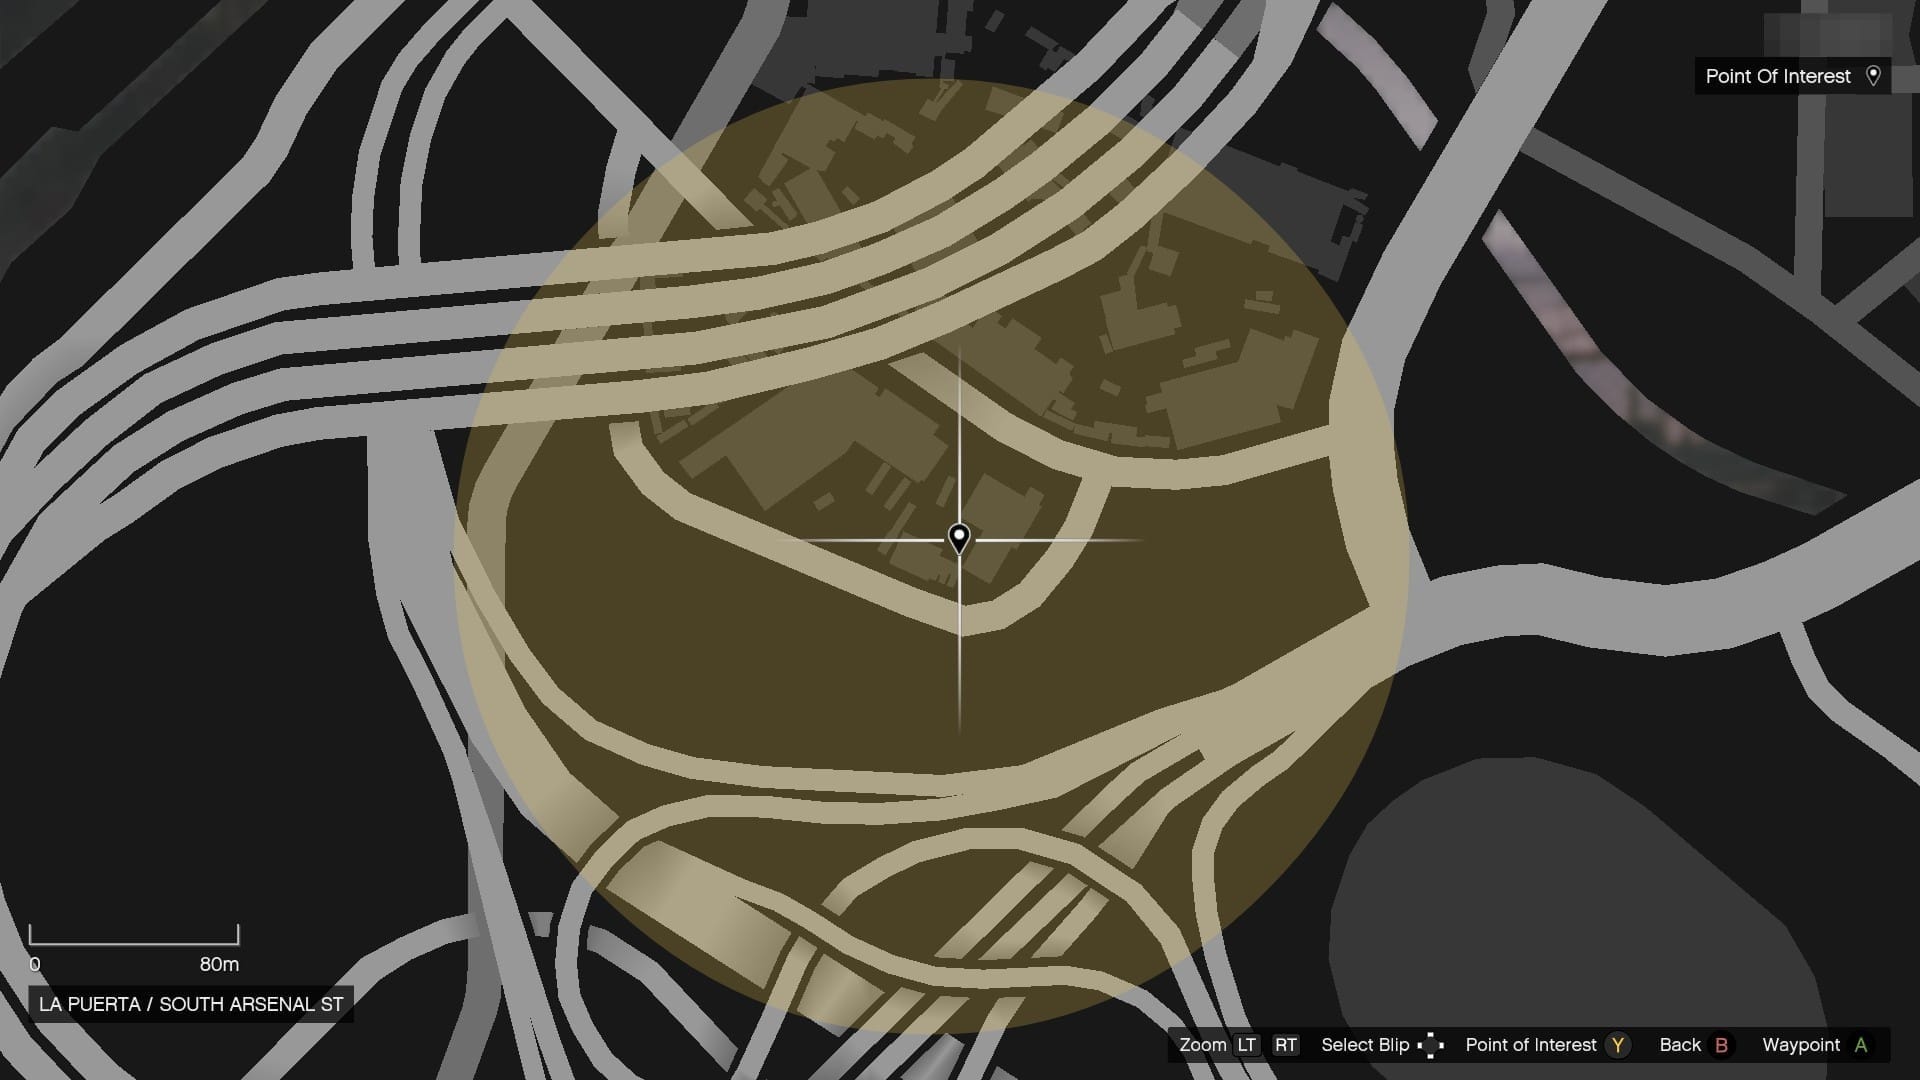
Wherever he is, take his laptop, optionally knock him out and head to the Terrorbyte. As with the laptop, the Terrorbyte is always tucked away here. It has three spots it can spawn, as seen below. Once you have located it, begin destroying the waves of drones that appear.
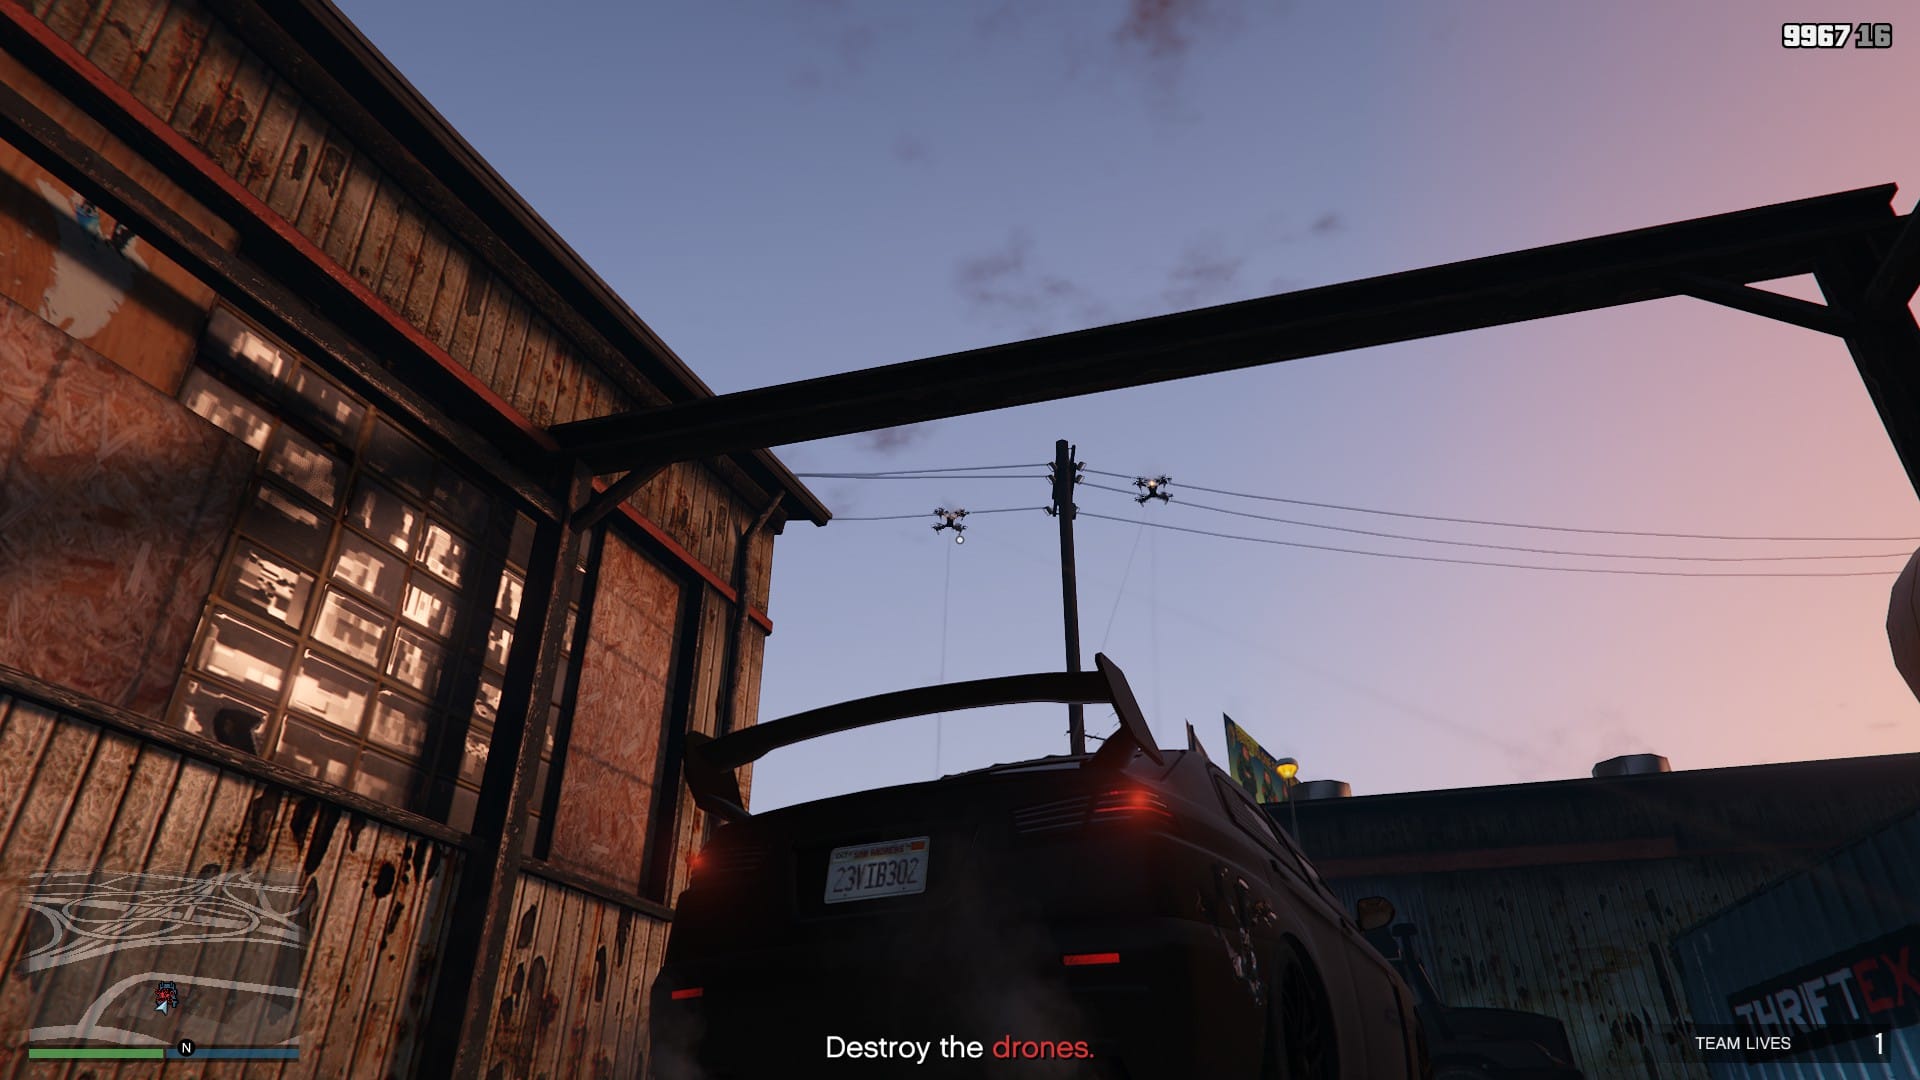
There are four waves of drones that need to be destroyed and they aren't too hard, just more annoying than anything.
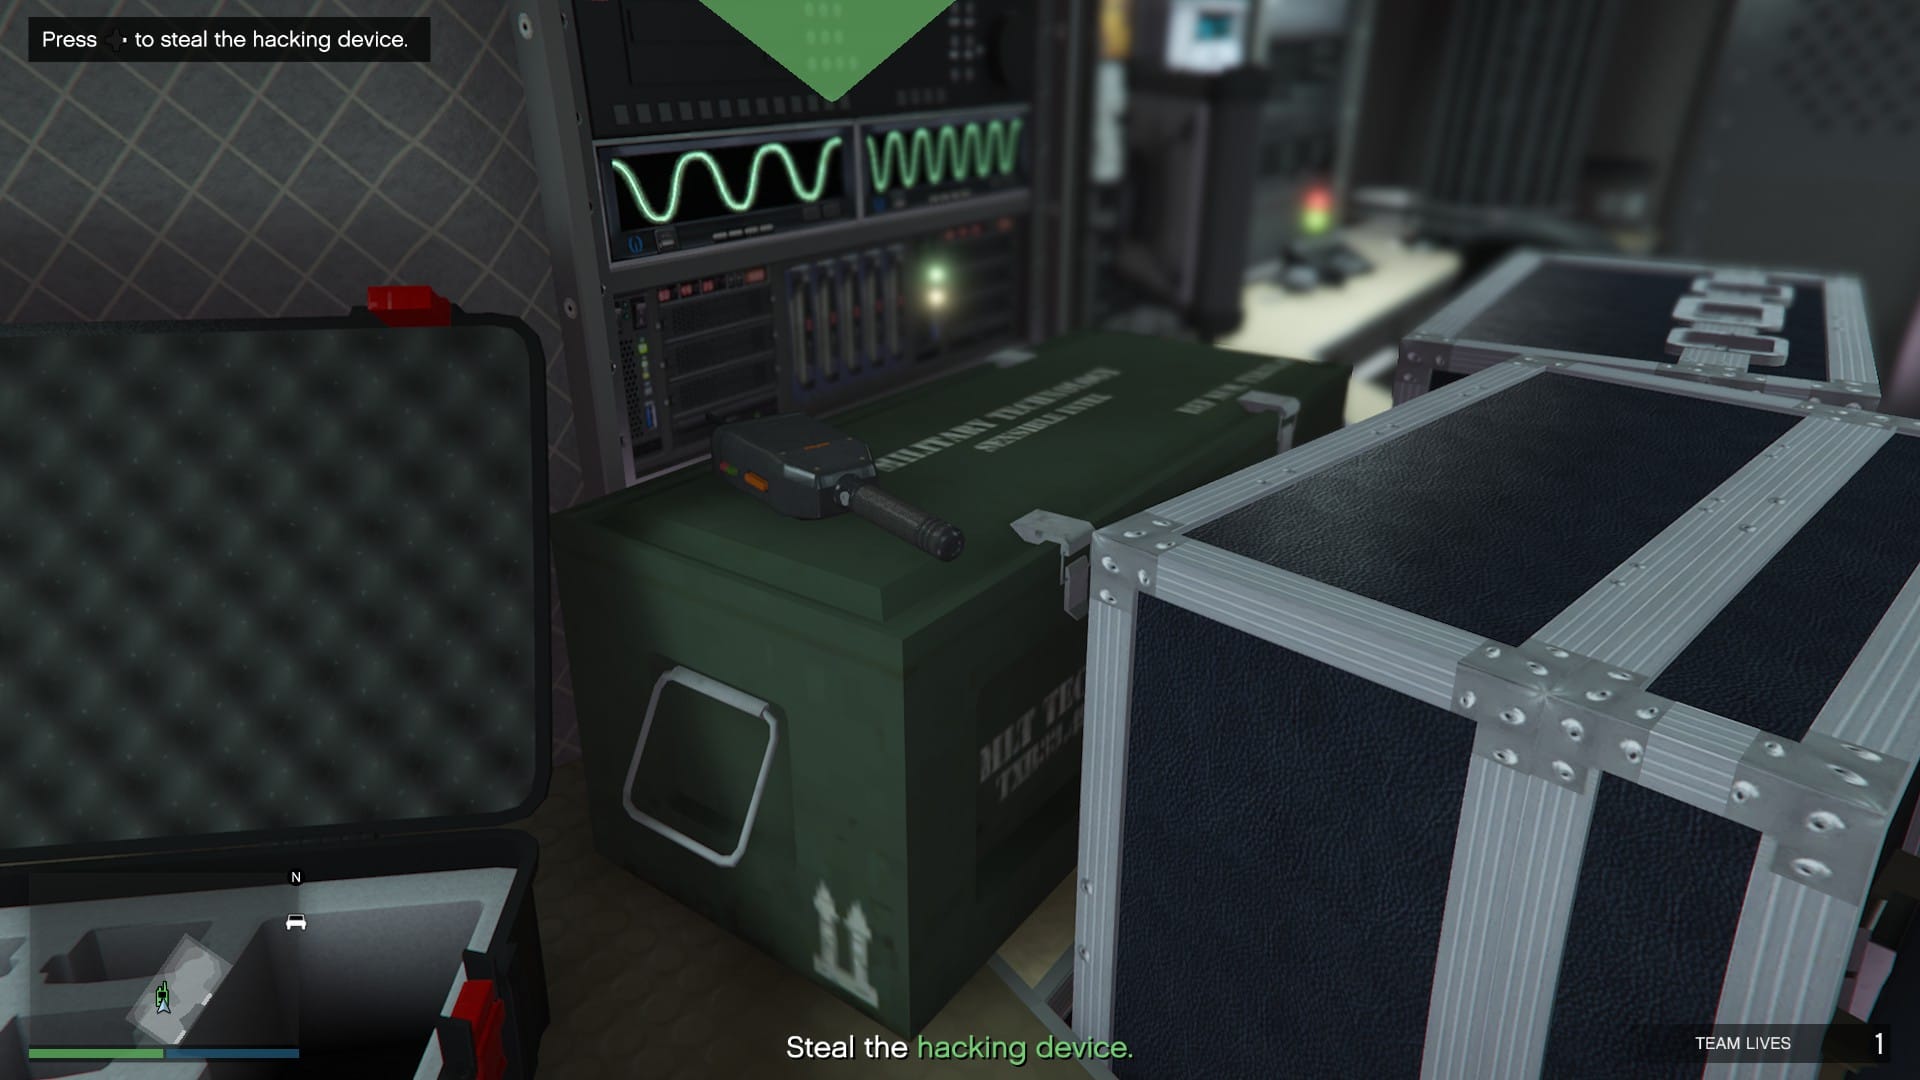
Once the drones have been taken care of, head into the Terrorbyte and locate the hacking device that is sitting on the ammunition crate.
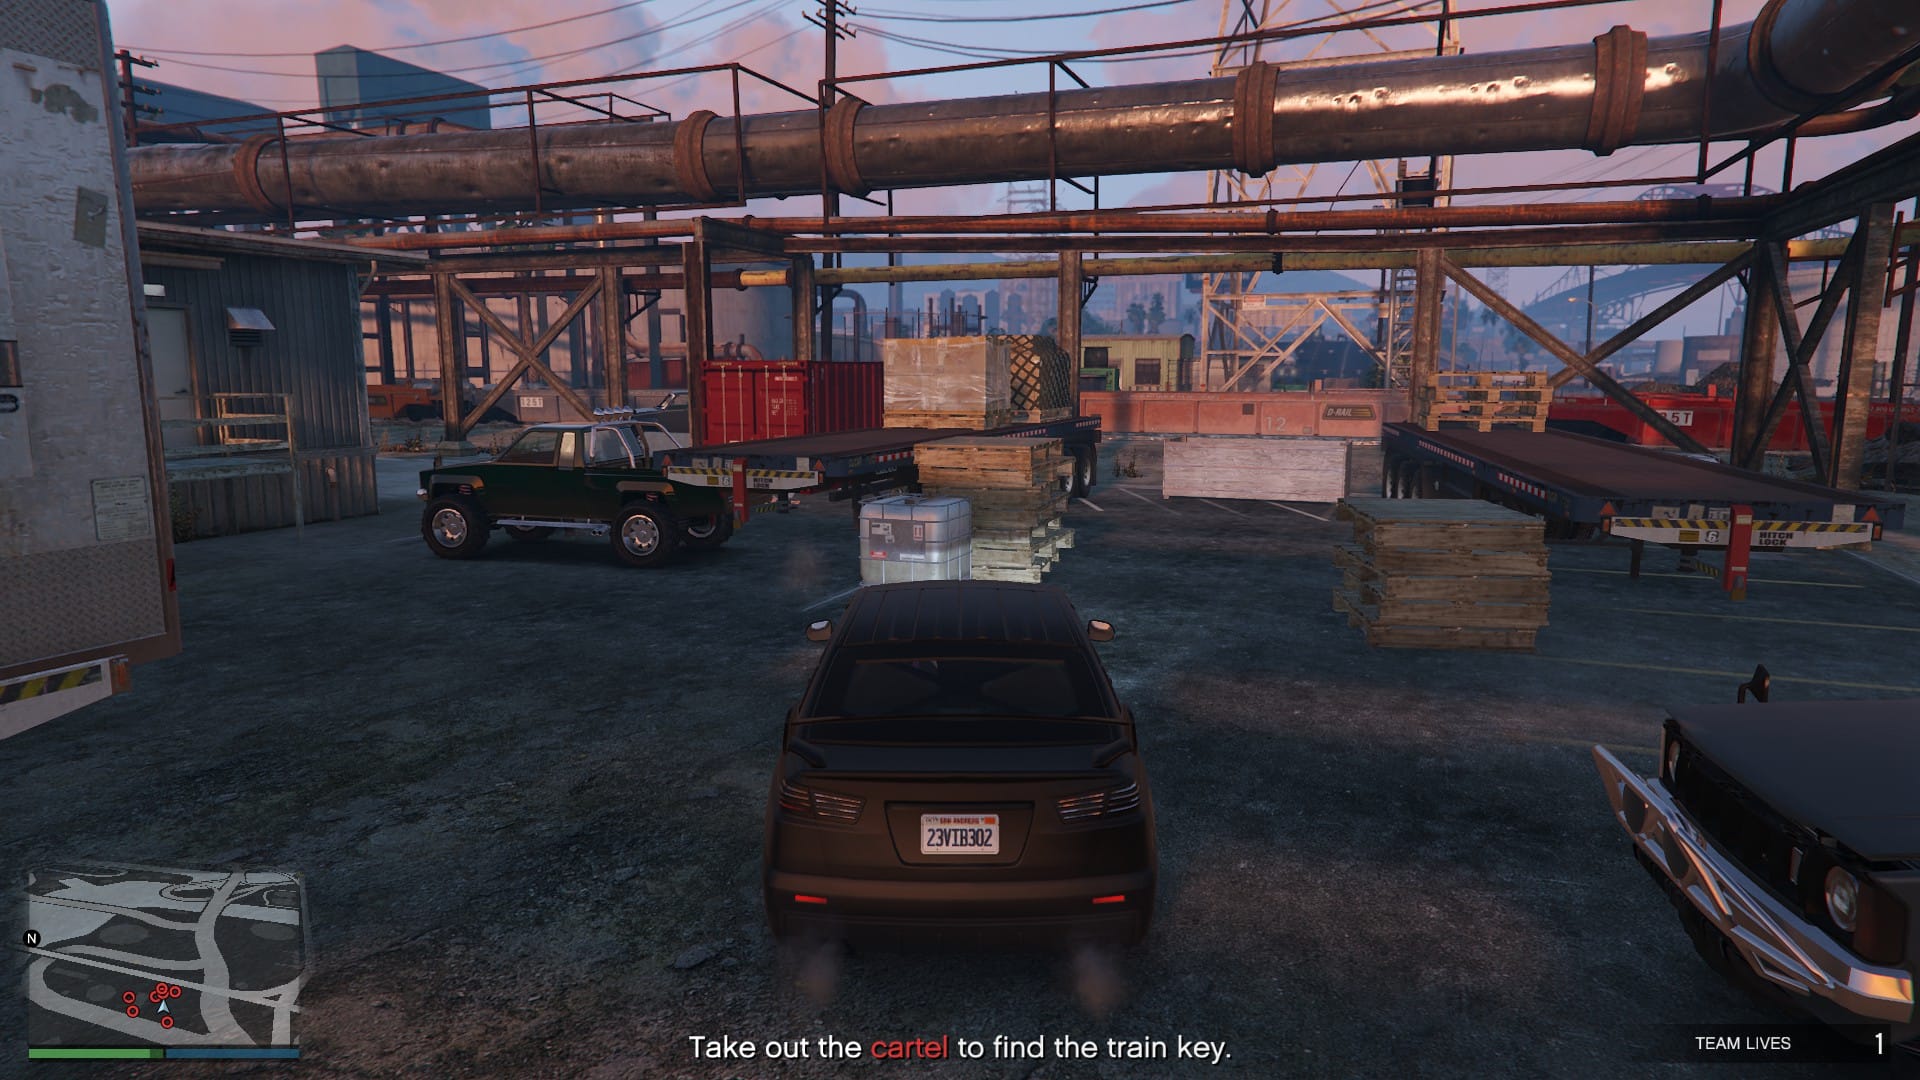
Leave the Terrorbyte and head to the train's location and start taking down the cartel security. A random guard will have the key but he is usually located in this section of the facility (see below). The key will be highlighted on the map once you have taken down the correct cartel member.
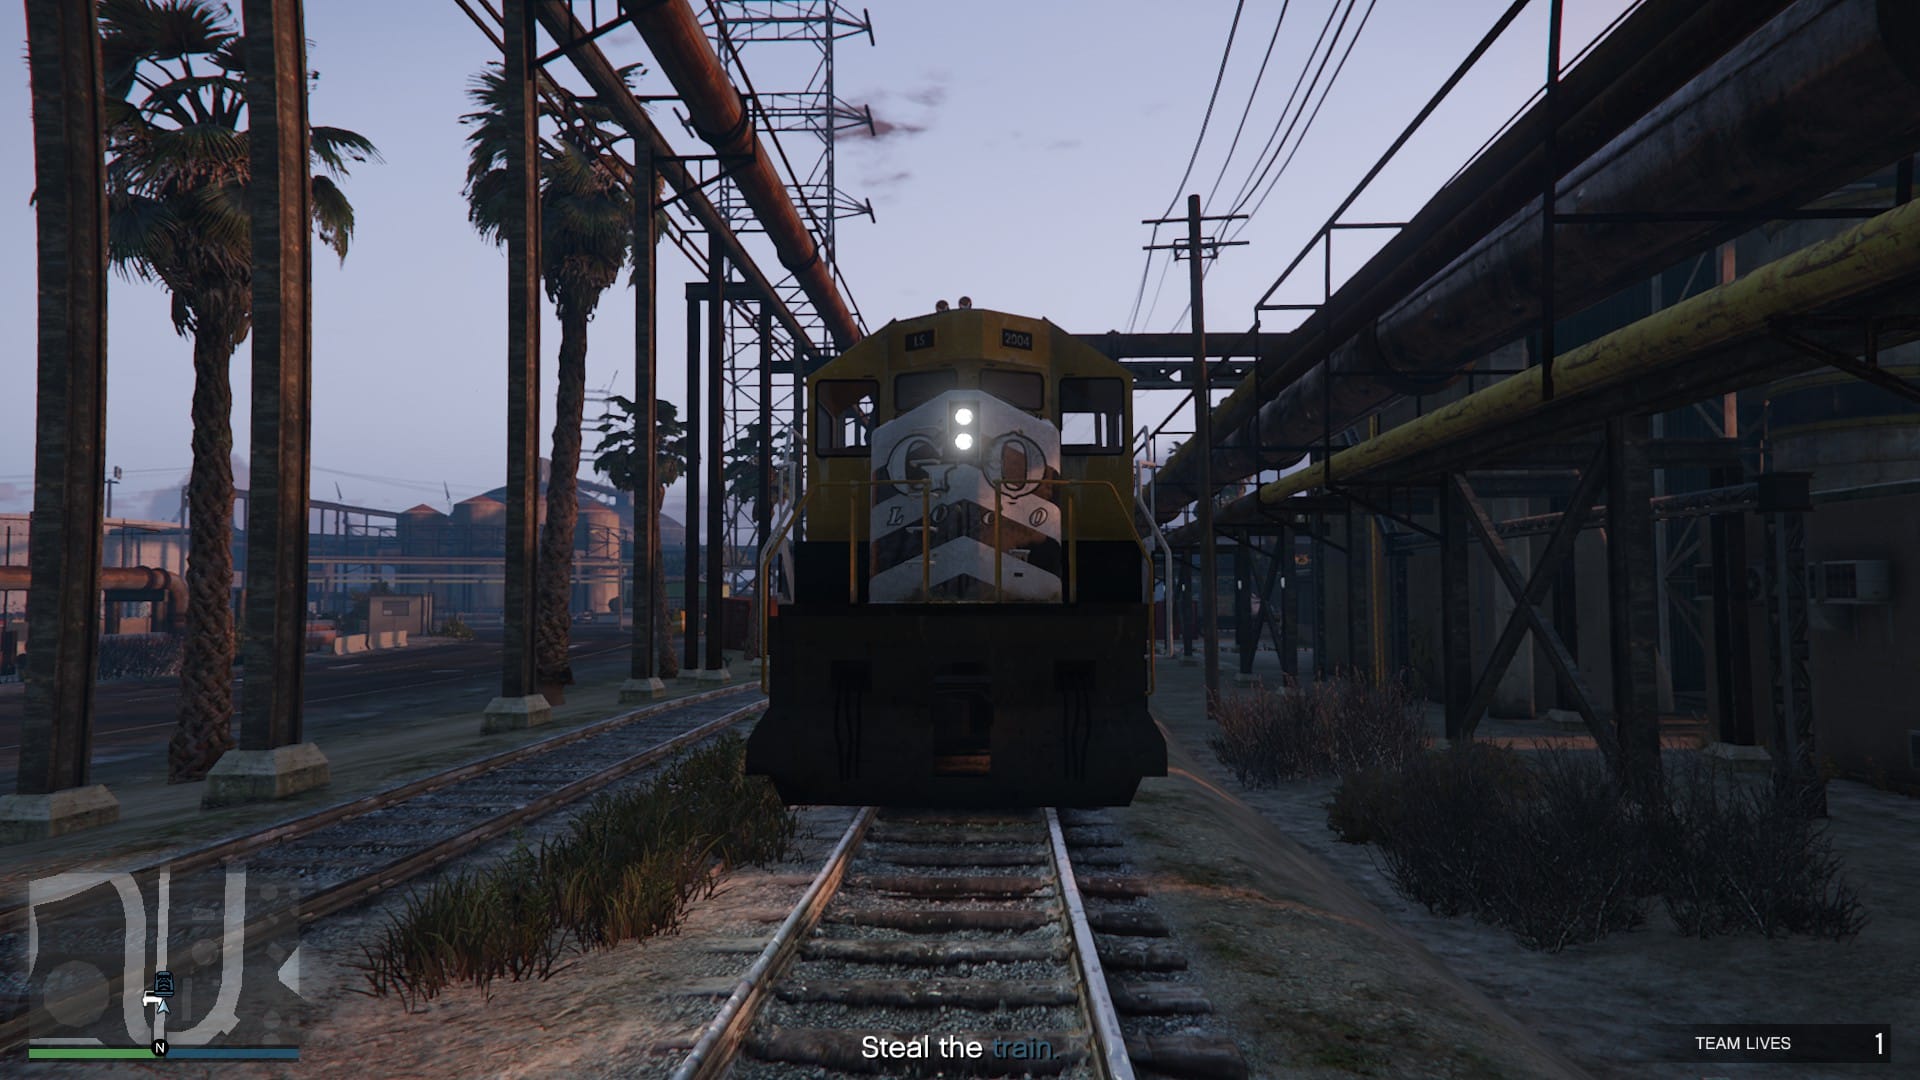
This train driving section is pretty breezy and requires you to literally hold down the accelerator and occasionally use the hacking device to switch signals. There will be many cartel hostiles on Technicals that will try to slow you down, just plough through them with the train.
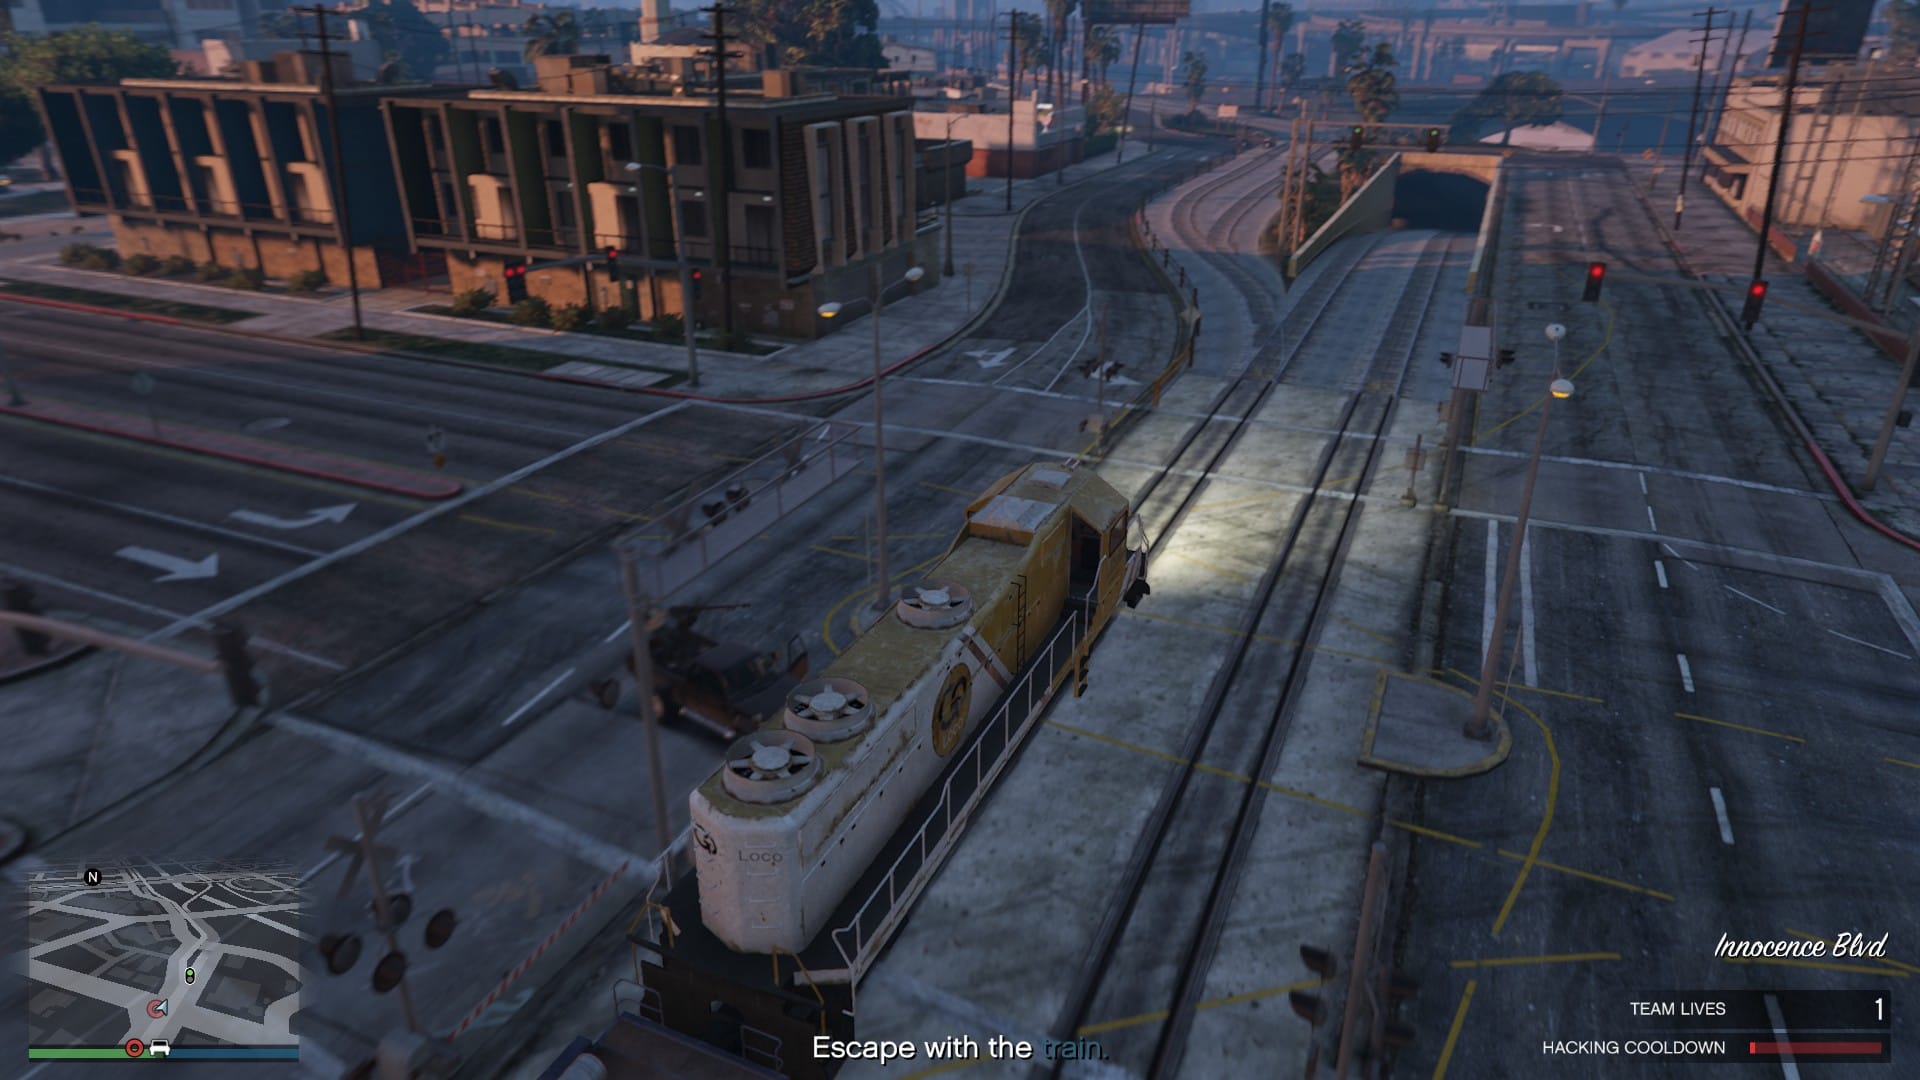
If you happen to miss a signal switch, the train will slow down and you just need to use the hacking device and continue to accelerate out of the way. If you do take damage, keep the Interaction Menu open on snacks but otherwise this should be an easy section.
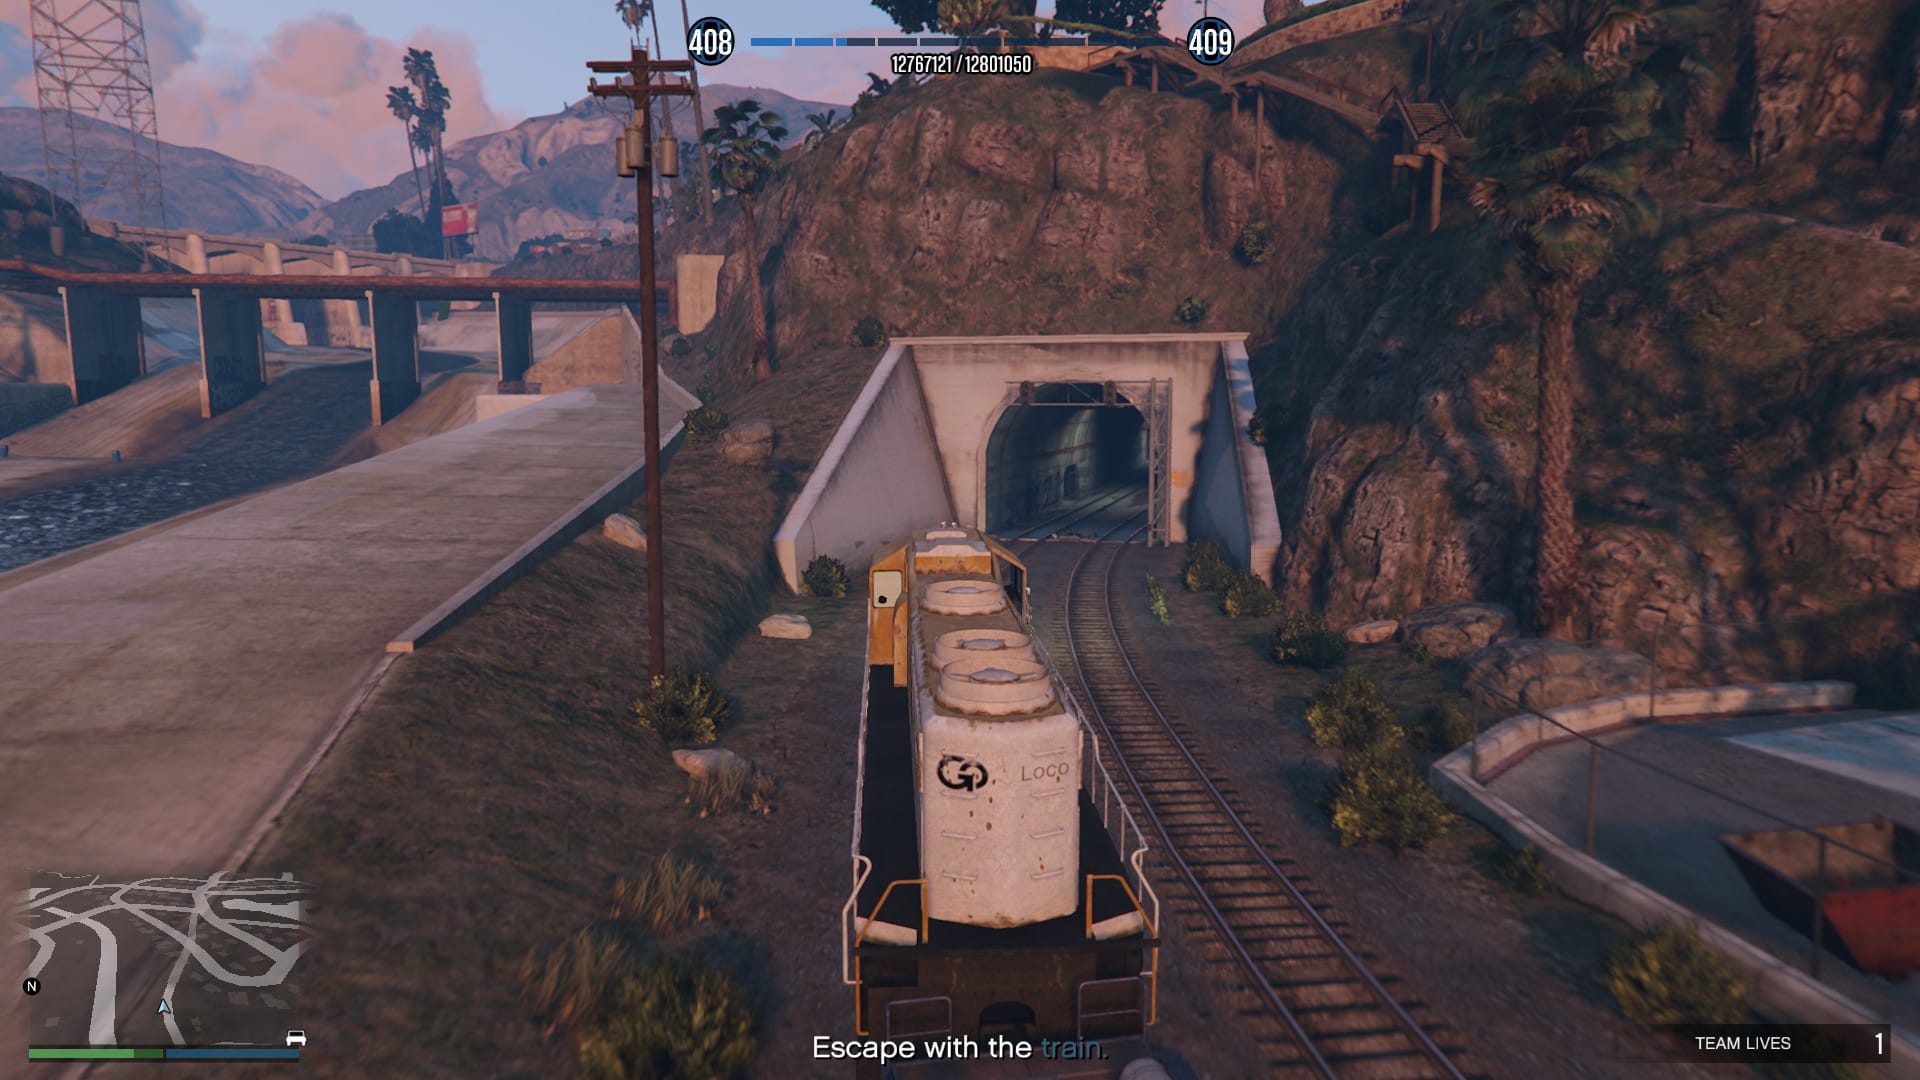
The mission will wrap up as you enter this tunnel.
Concealed Weapons
Cluckin' Bell Raid Mission #3
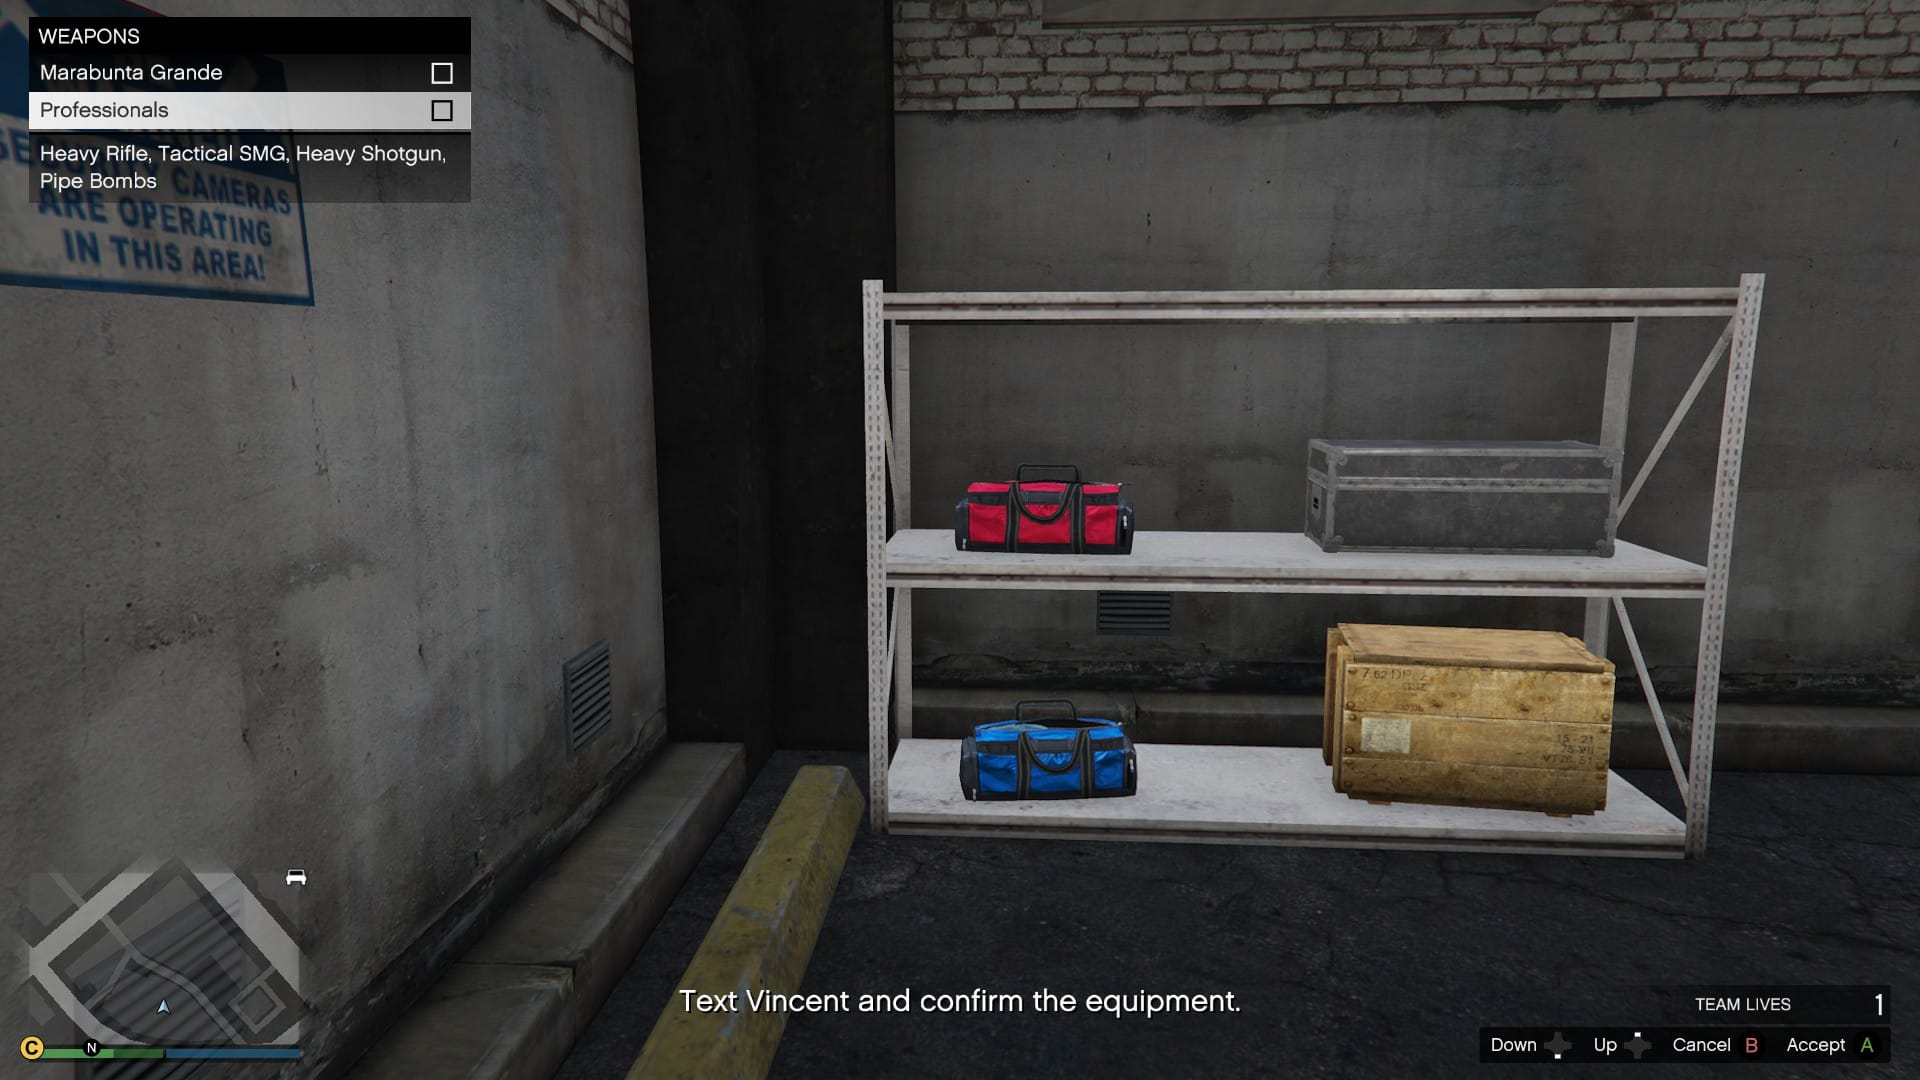
Vincent will explain that there are three locations that we can steal weapons and gear to be used in the finale. Each location with a different group of hostiles to deal with, noting you only need to grab one set of weapons and gear.
- A. Marabunta Grande
- B. Professionals
- C. Military
Unless you are going for the Award challenge of stealing all three, you should focus on one group only. For this guide I will explain groups A and B only, for the simple fact that they are closer and generally easier than C.
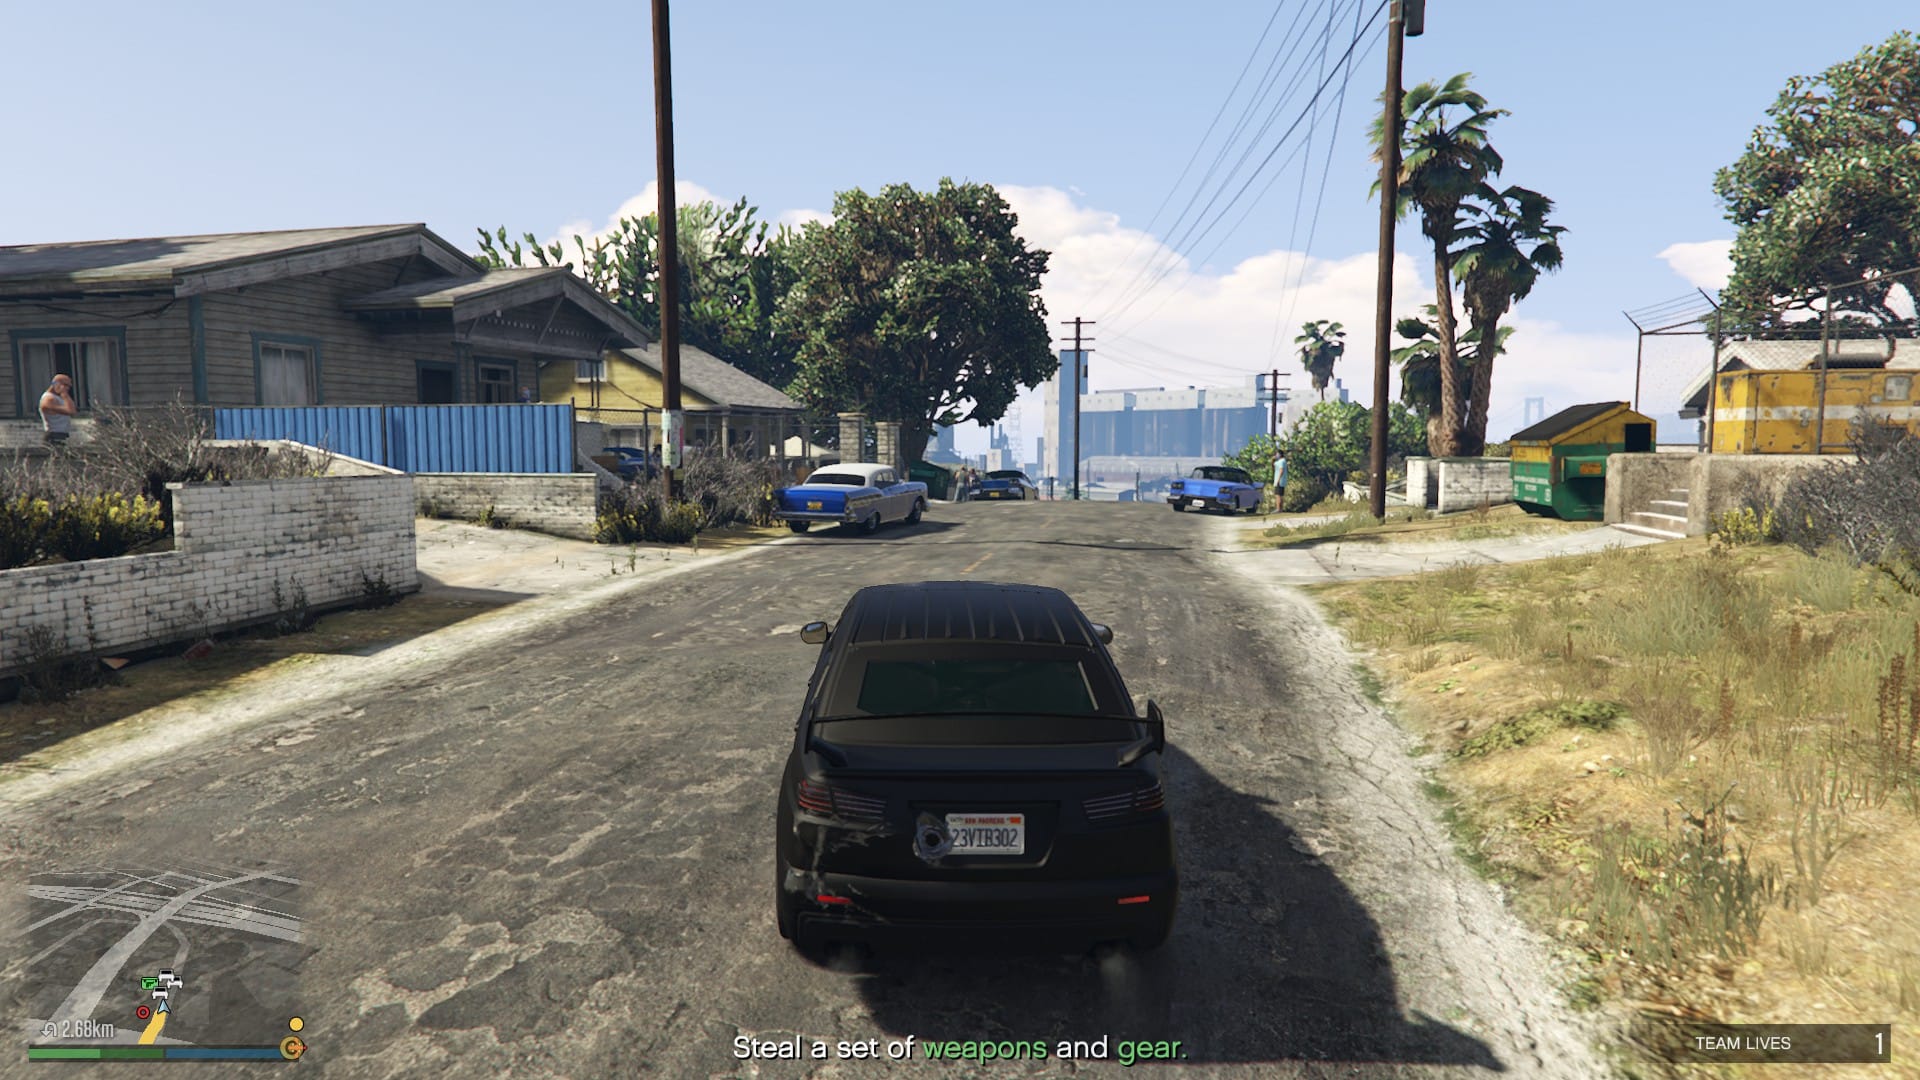
Head to location A. and begin eliminating the Marabunta Grande as you work towards the three parked cars. Once the area is clear, start opening the trunks to find the gear, noting it is randomised each time.
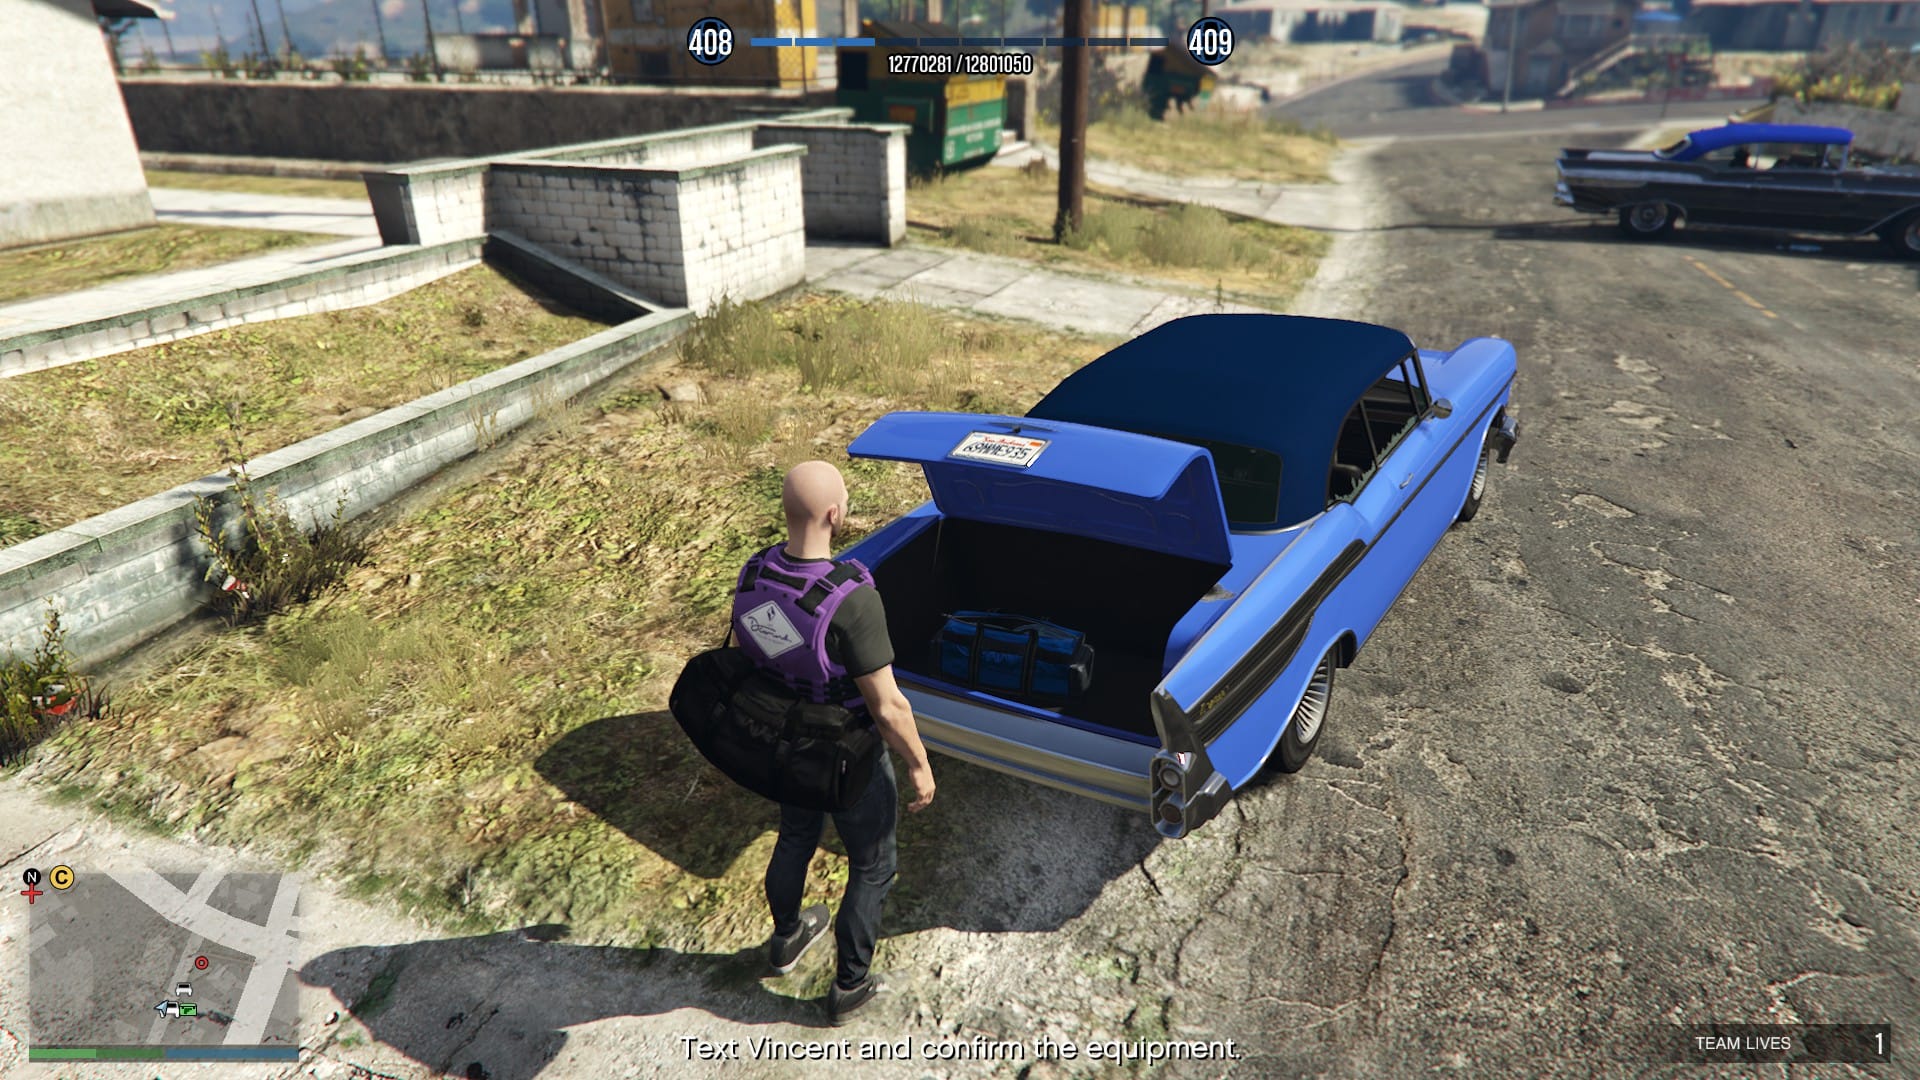
After you have the gear, take any new hostiles out and head to the house to collect the weapons (seen below). With them collected head back to the Vincent's lockup and either confirm the weapons and gear or travel to another location.
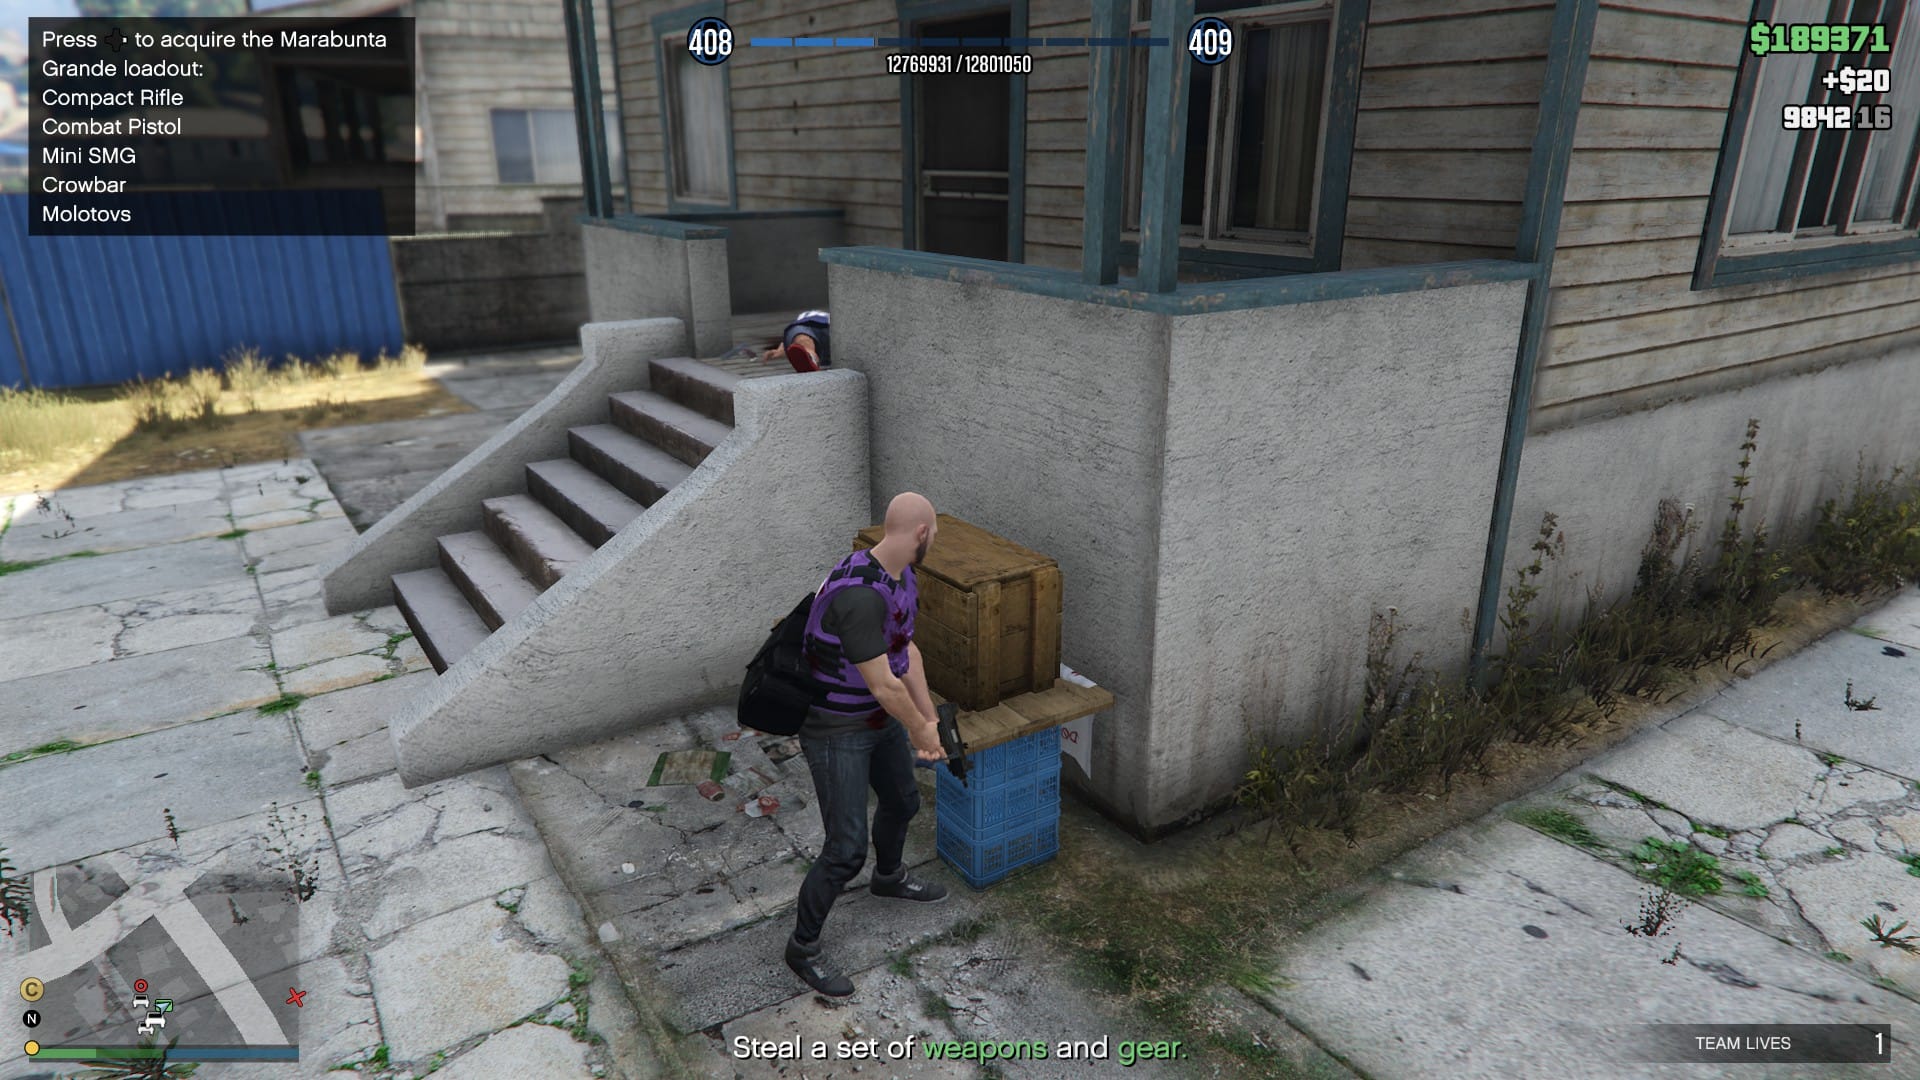
If you decide to confirm, Vincent will stash them for the final and the mission will complete and you can move on to the Setup: Hit and Run.
Whether the primary weapons/gear or looking to stock up, location B will take you to Del Perro Beach. You will notice the weapons are on a yacht, no problem as a couple of Seasharks are nearby and can be used to reach the yacht.
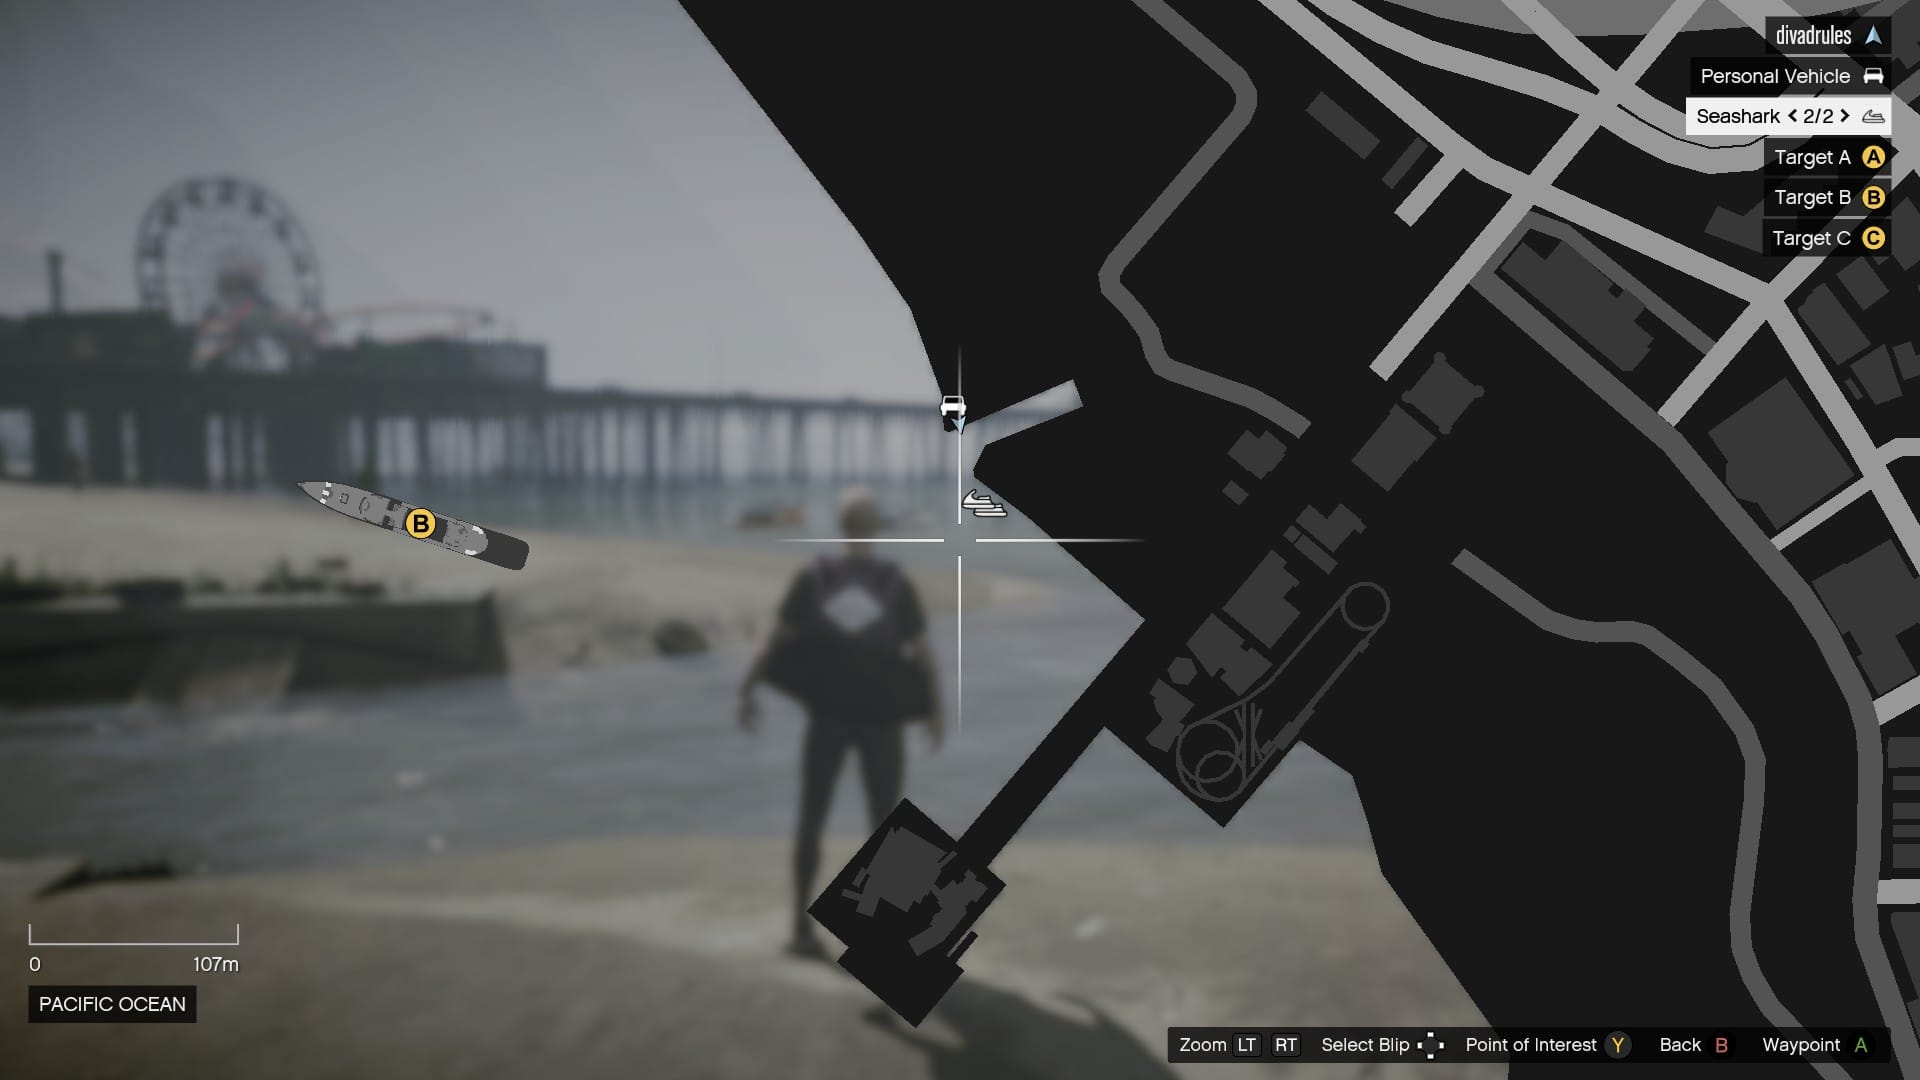
Use the Seasharks to reach the bow of the yacht and enter the below deck compartments, take out any hostiles and run to the back.
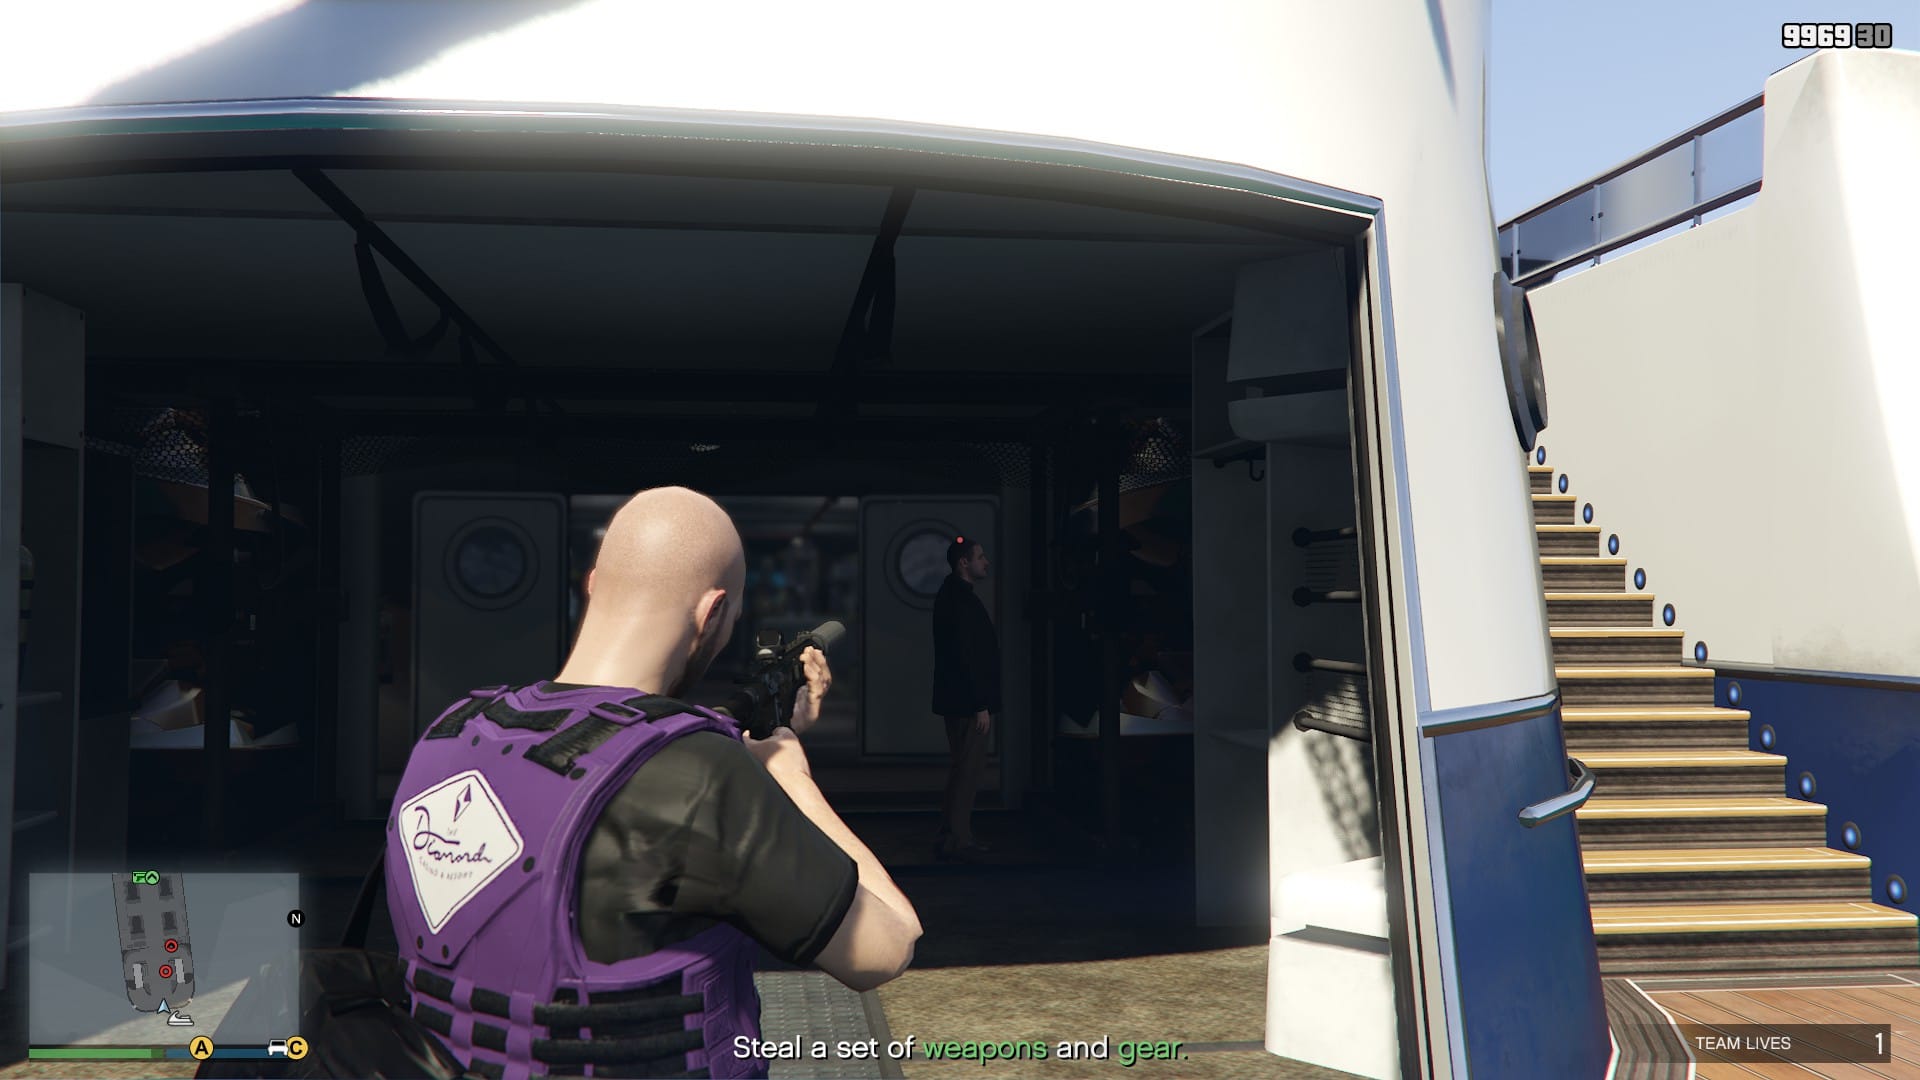
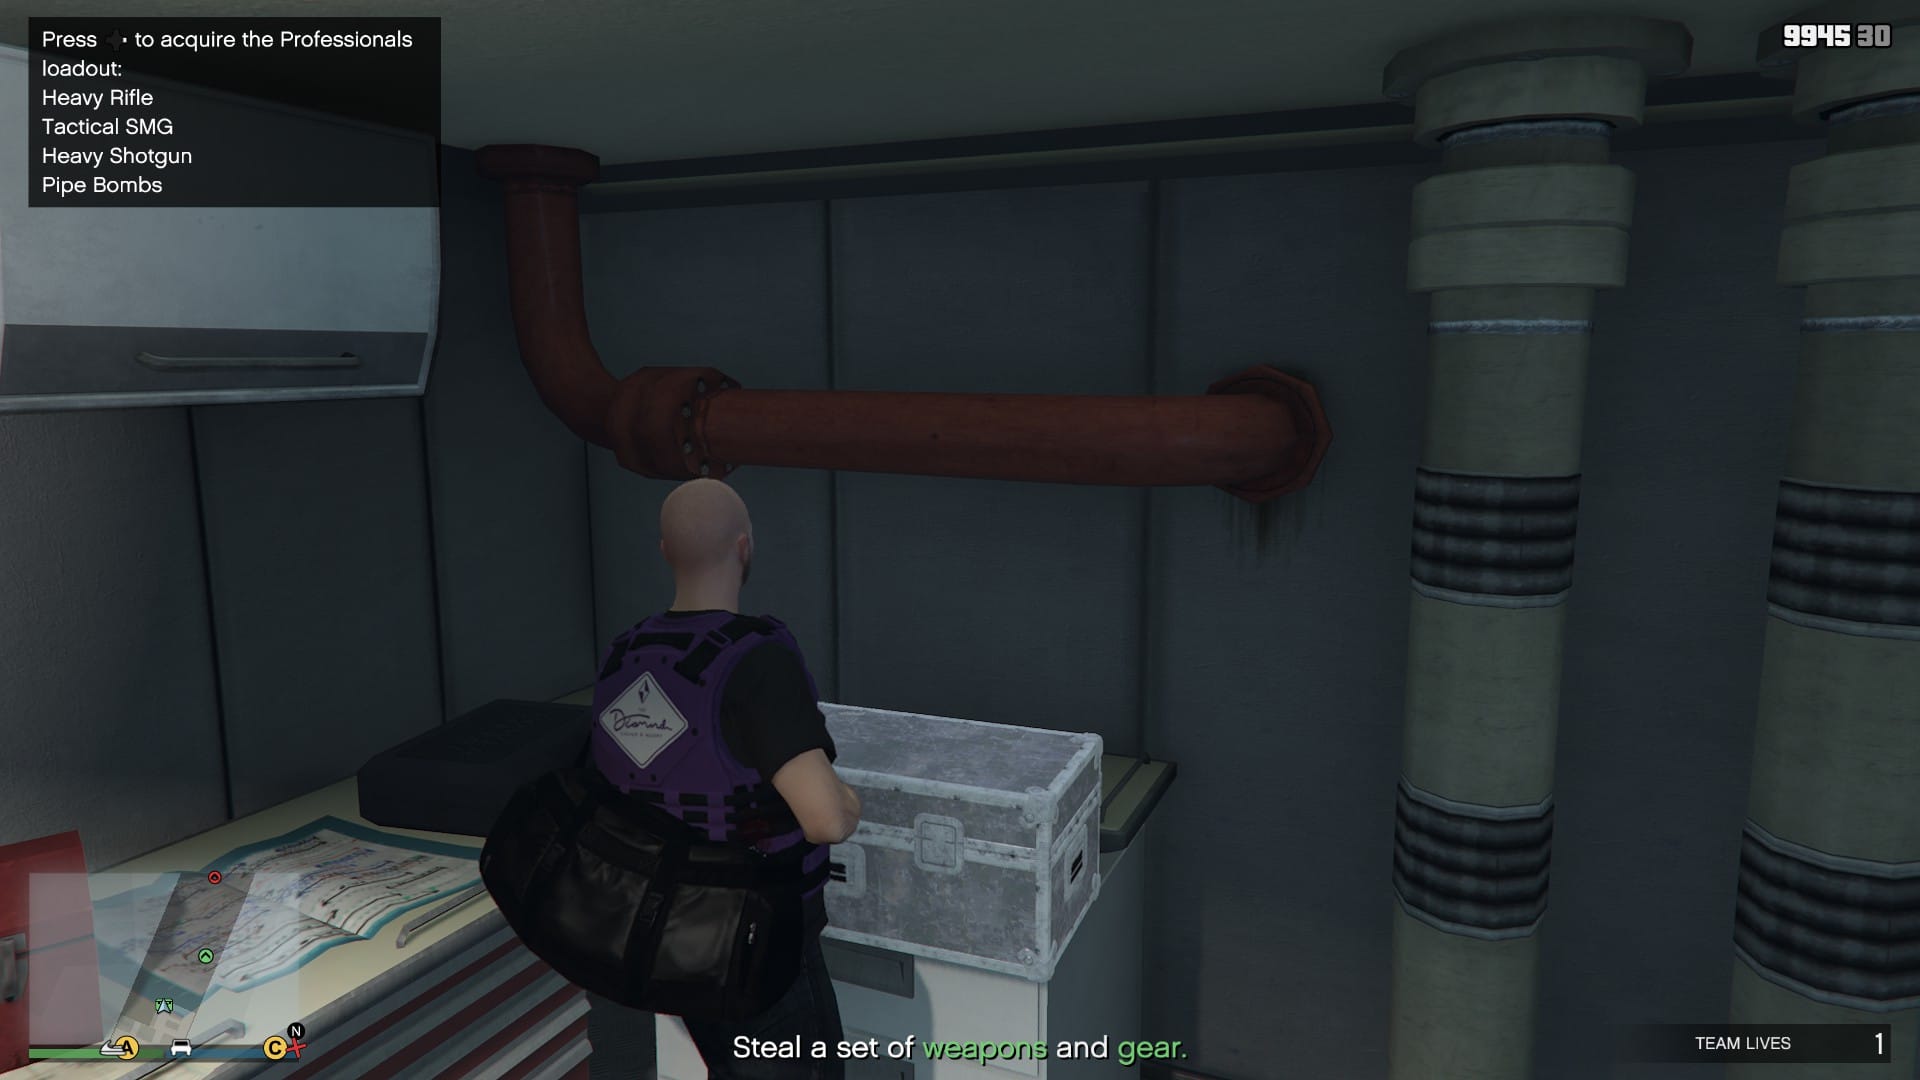
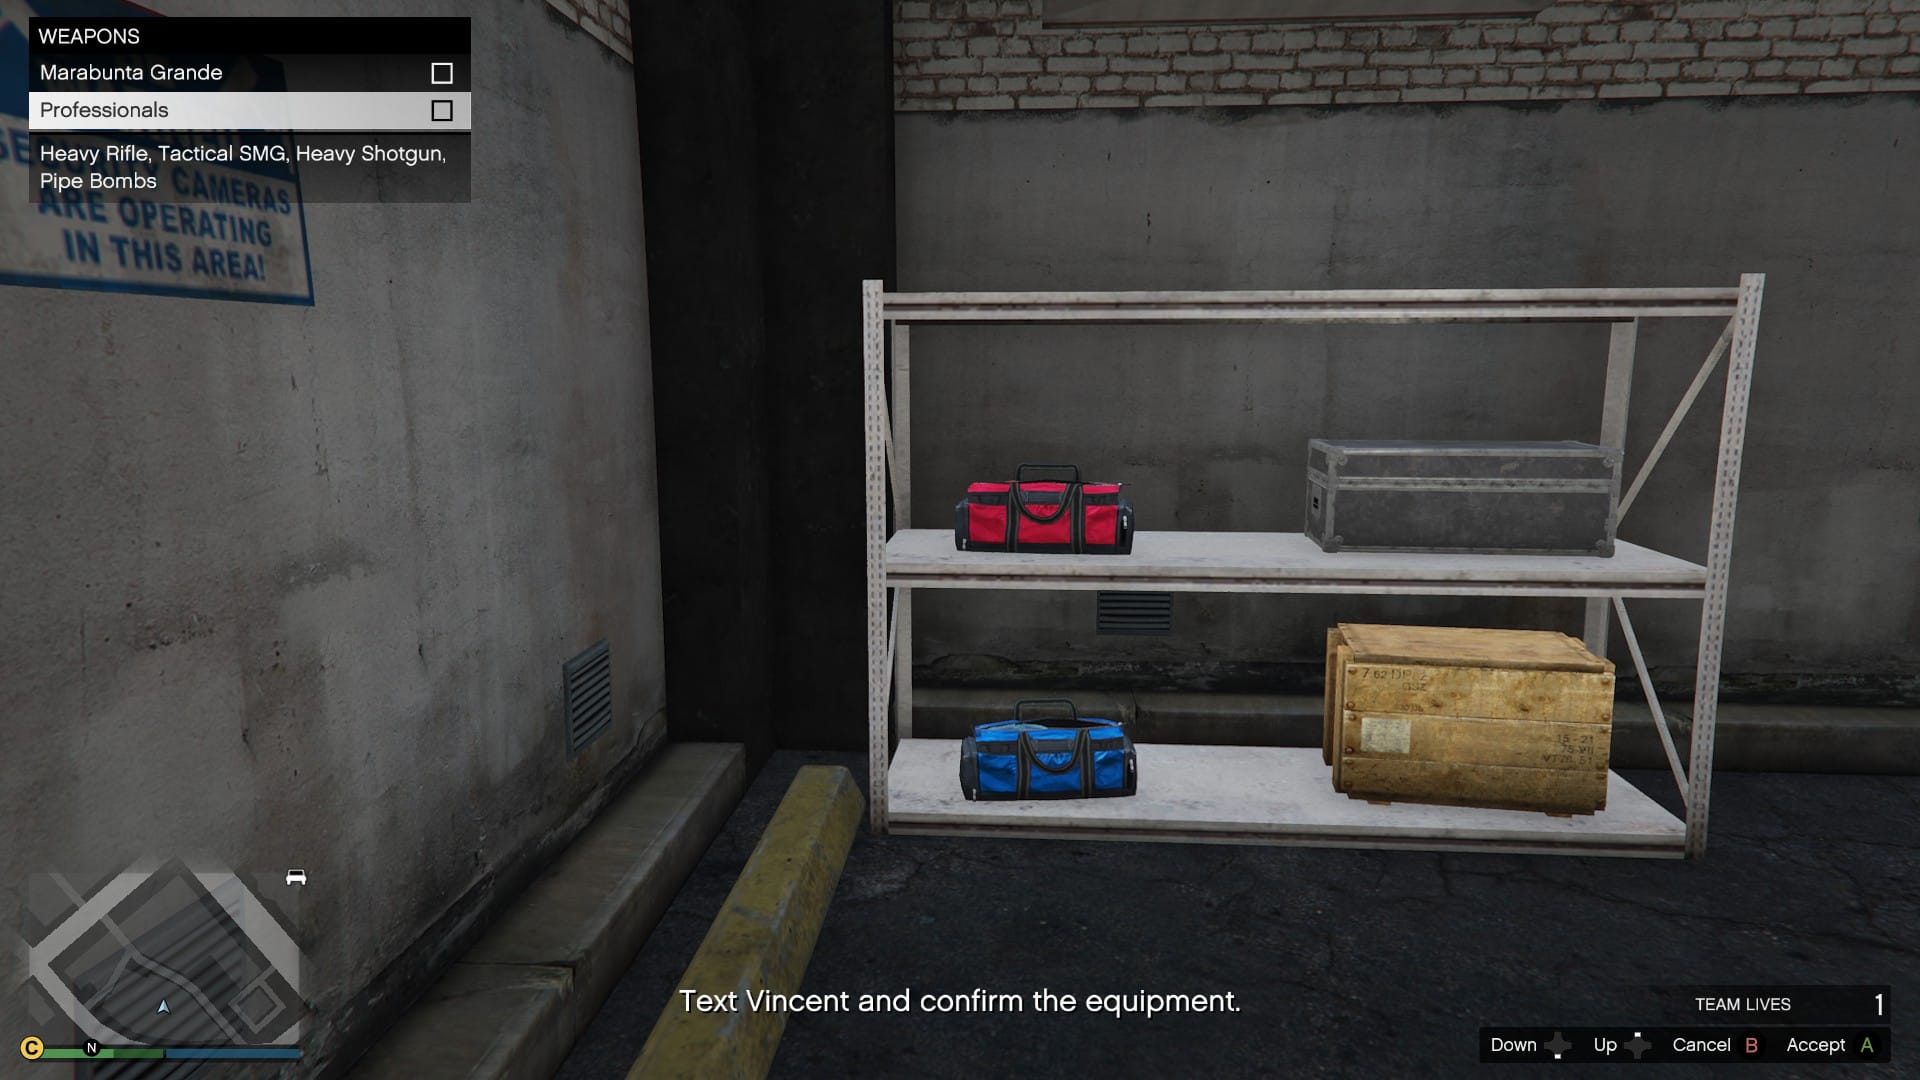
At the back of the compartment is the weapons (seen below), from here turn right and you will see a blue corona, step in and you will be taken to the bedrooms.
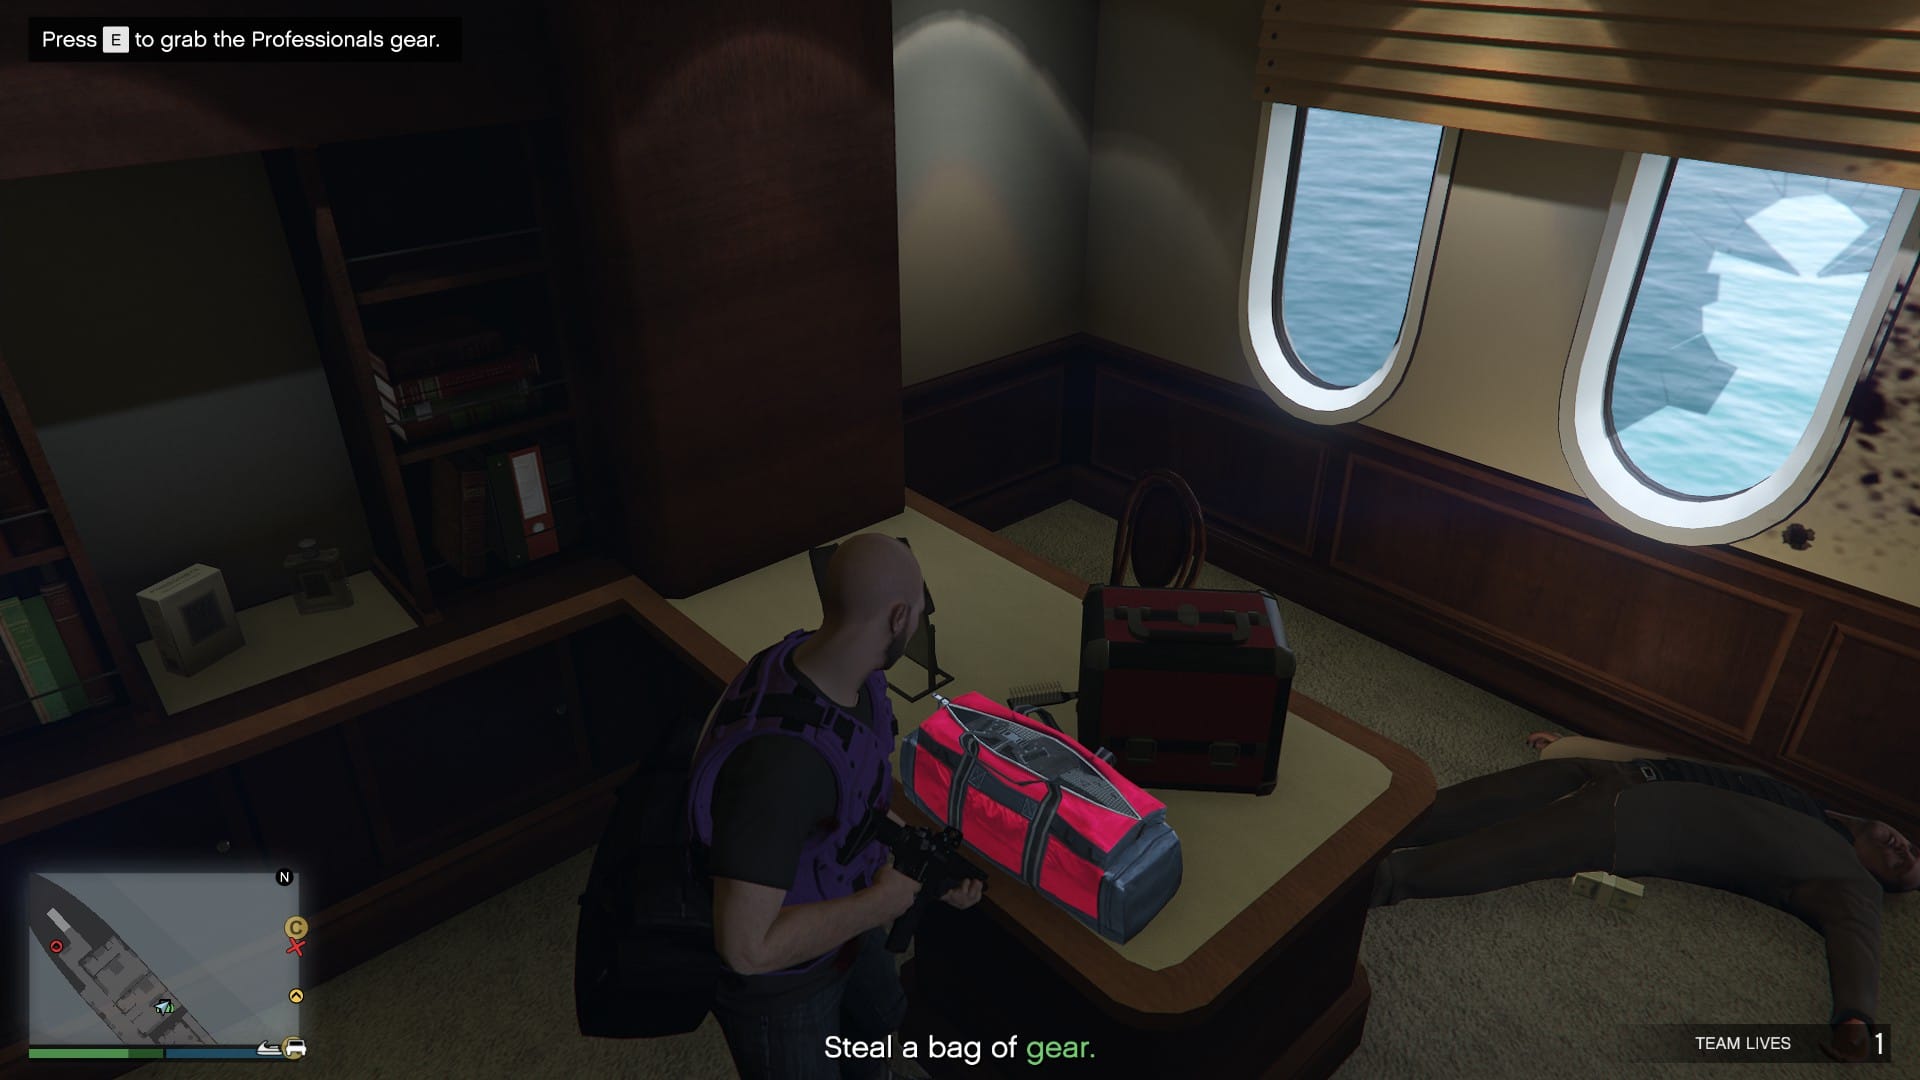
Take down the Professionals and turn into the first bedroom. Inside is the gear, steal it and head back the way you came and back to the bow of the yacht.
Now the fun part, if you have the means, take down the Buzzard and get onto the Seashark, you will only have a few moments before another Buzzard reaches you. Once again, having an armoured vehicle will make this section easier but it can be done without one.
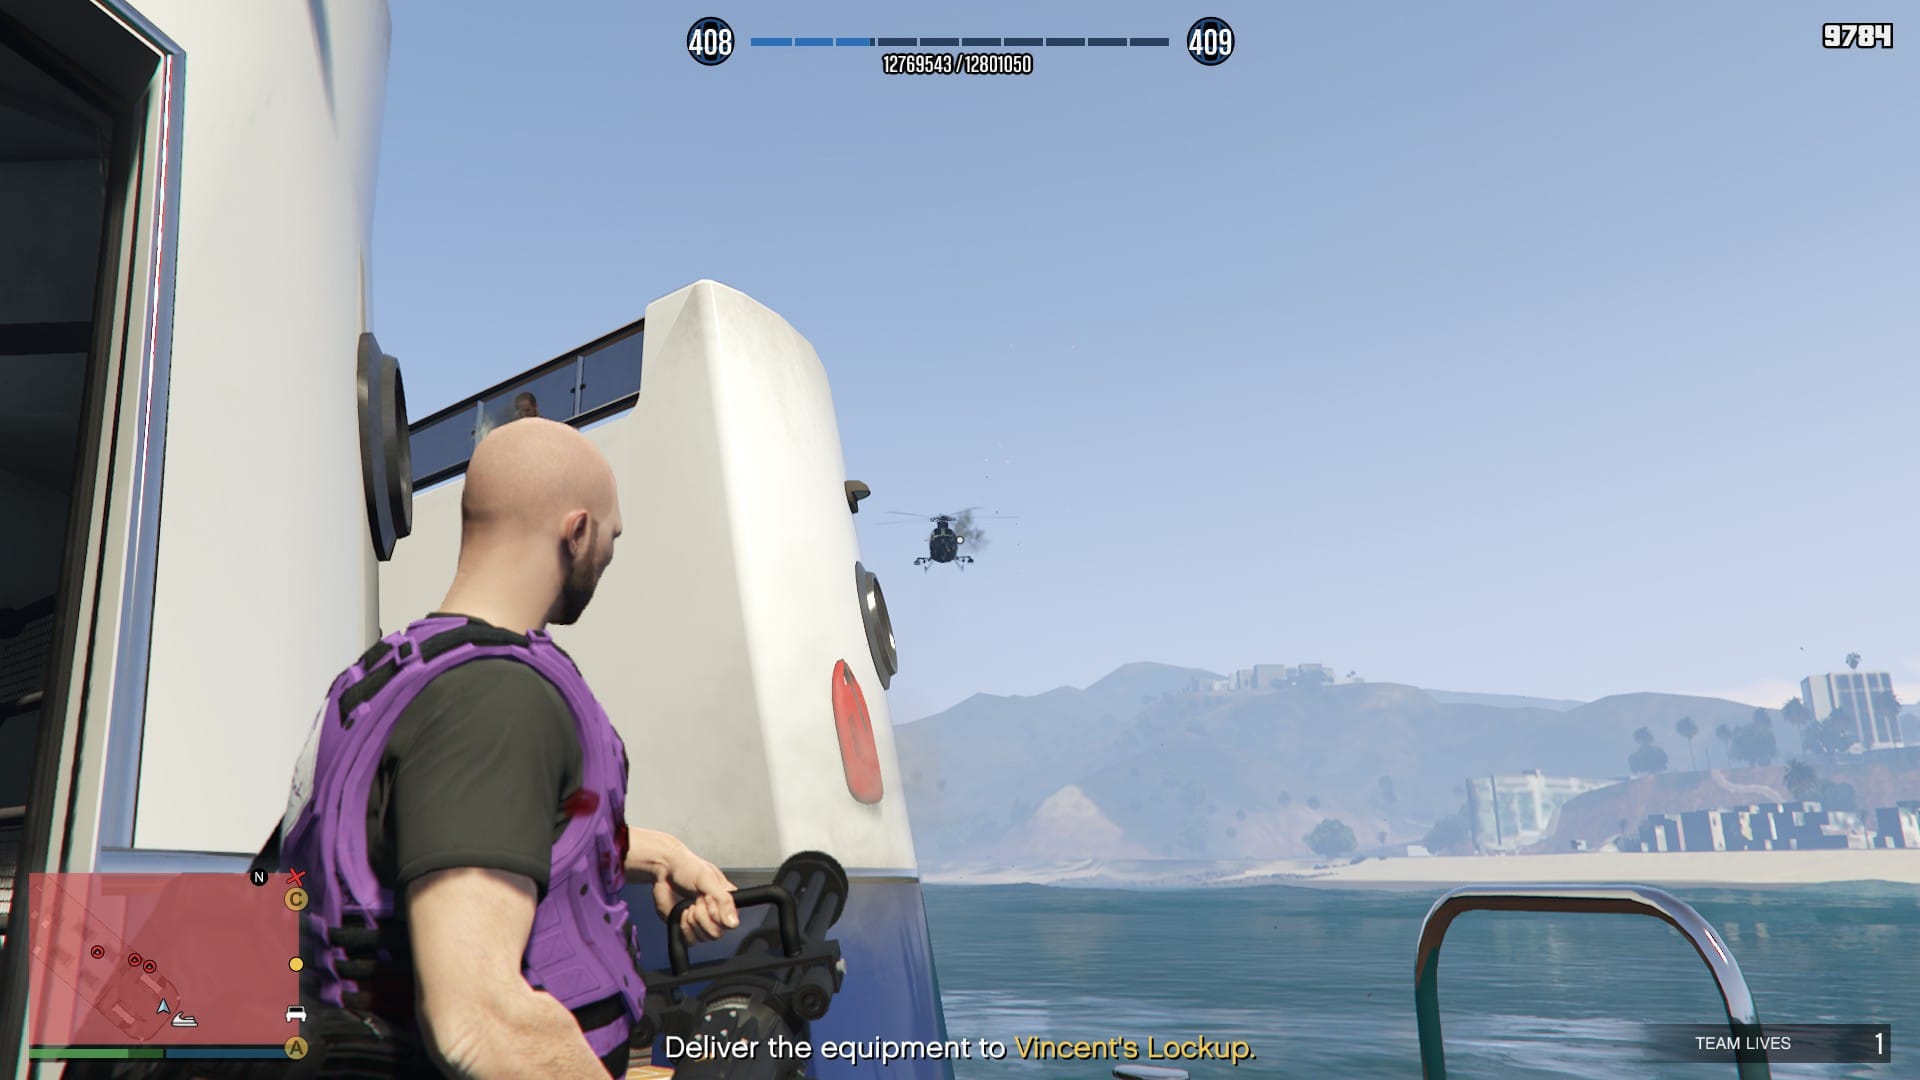
Back at the lockup, you can confirm the weapons and gear or travel to another location. For the raid I will always pick the Professionals weapons and gear.
Hit and Run
Cluckin' Bell Raid Mission #4
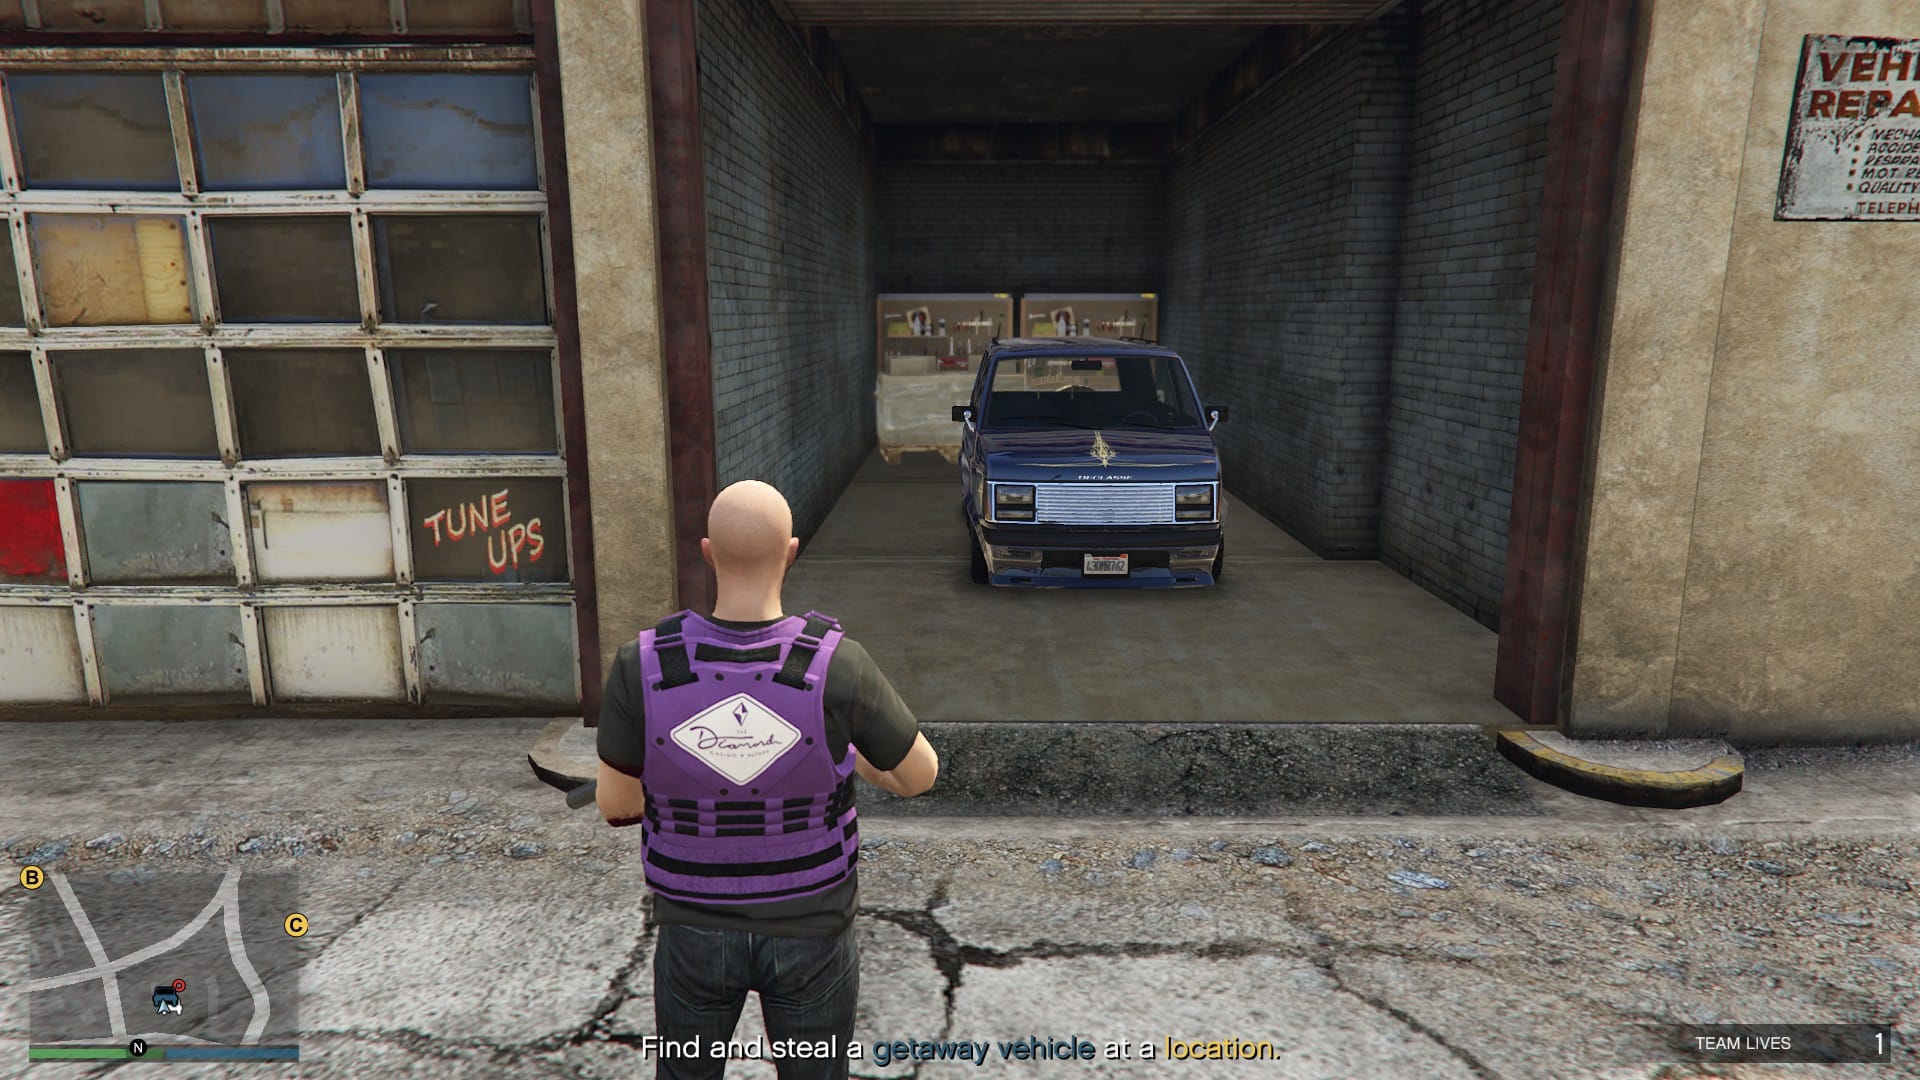
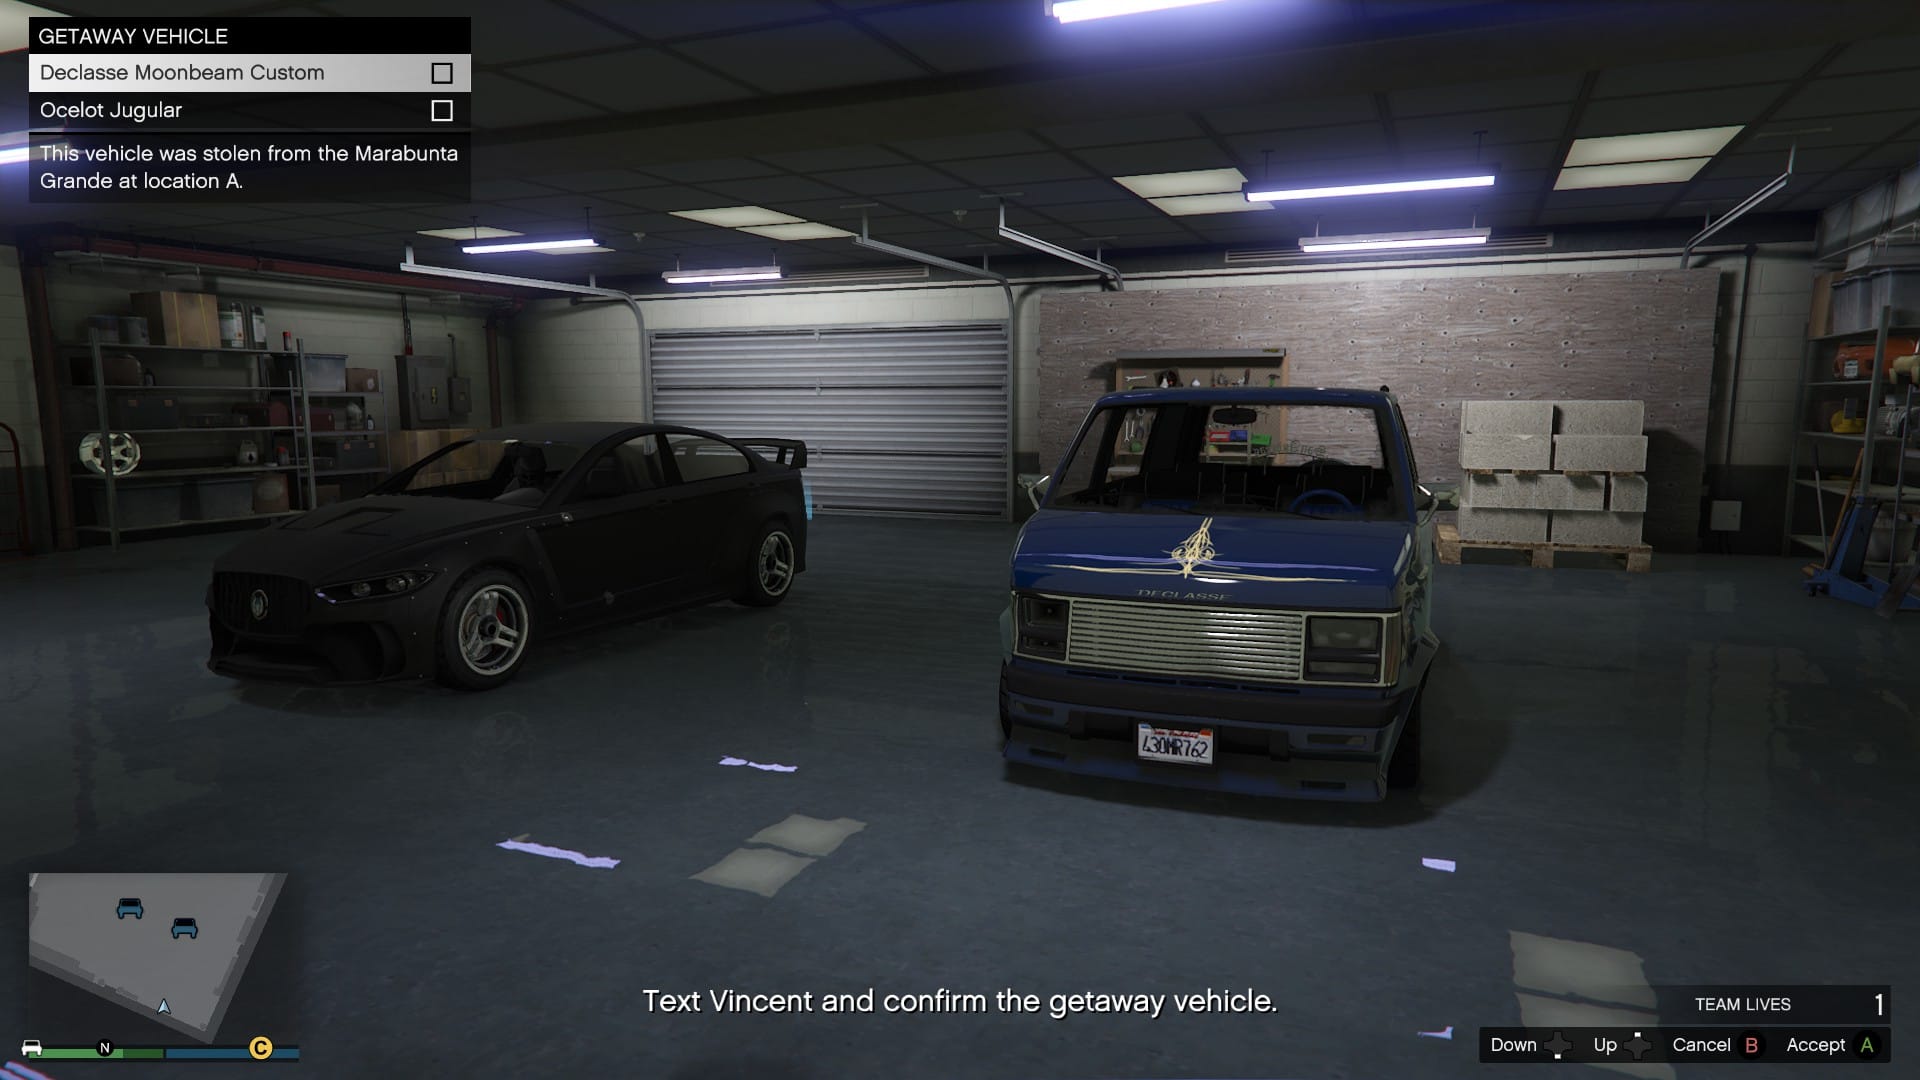
Vincent calls to explain that there are three locations we can steal getaway vehicles from, once again stealing from the groups we took weapons/gear from. If you decide to take the vehicle from the same group you took the weapons/gear from, i.e. you stole weapons from Professionals, they will have an increased enemy presence this time around. Although, it does not make a huge difference.
- A. Marabunta Grande
- B. Professionals
- C. Military
Unless you are going for the Award challenge of stealing all three, you should focus on one group only. For this guide I will explain groups A and B only, for the simple fact that they are closer and generally easier than C.
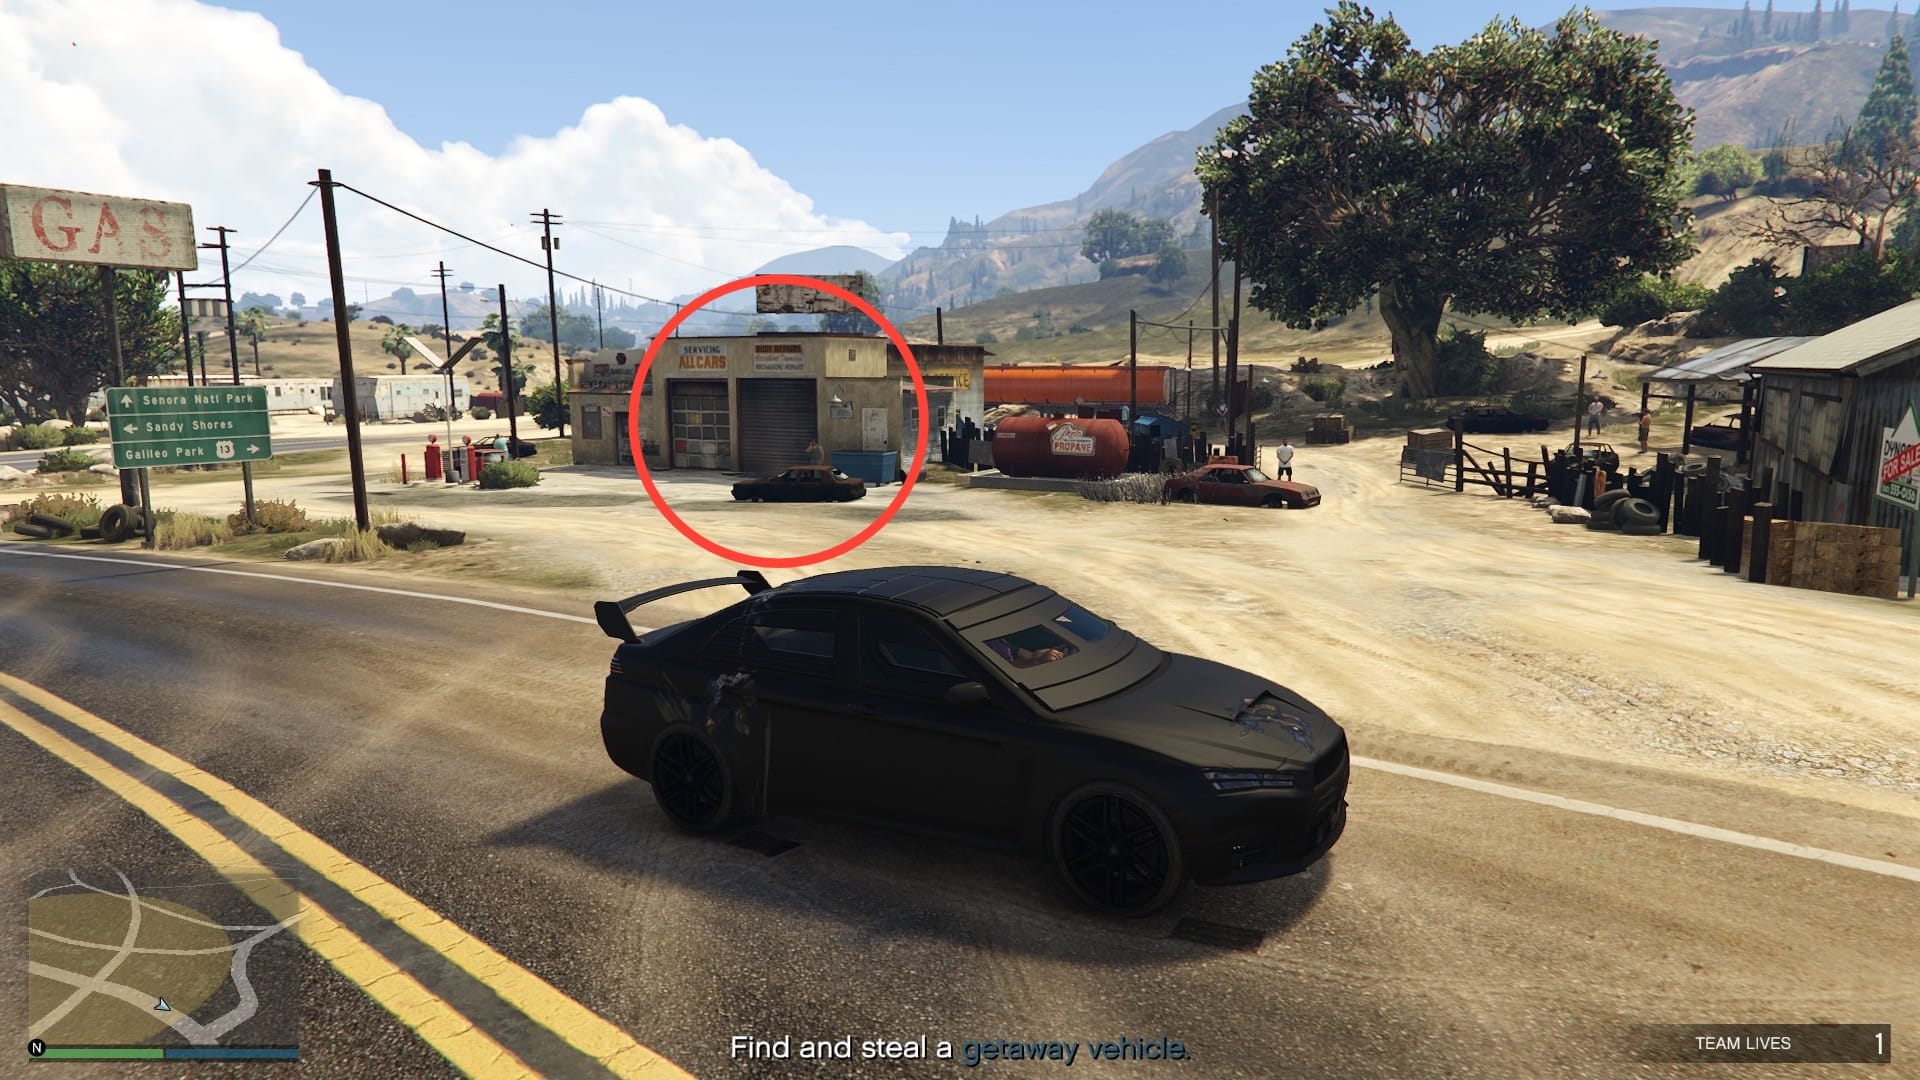
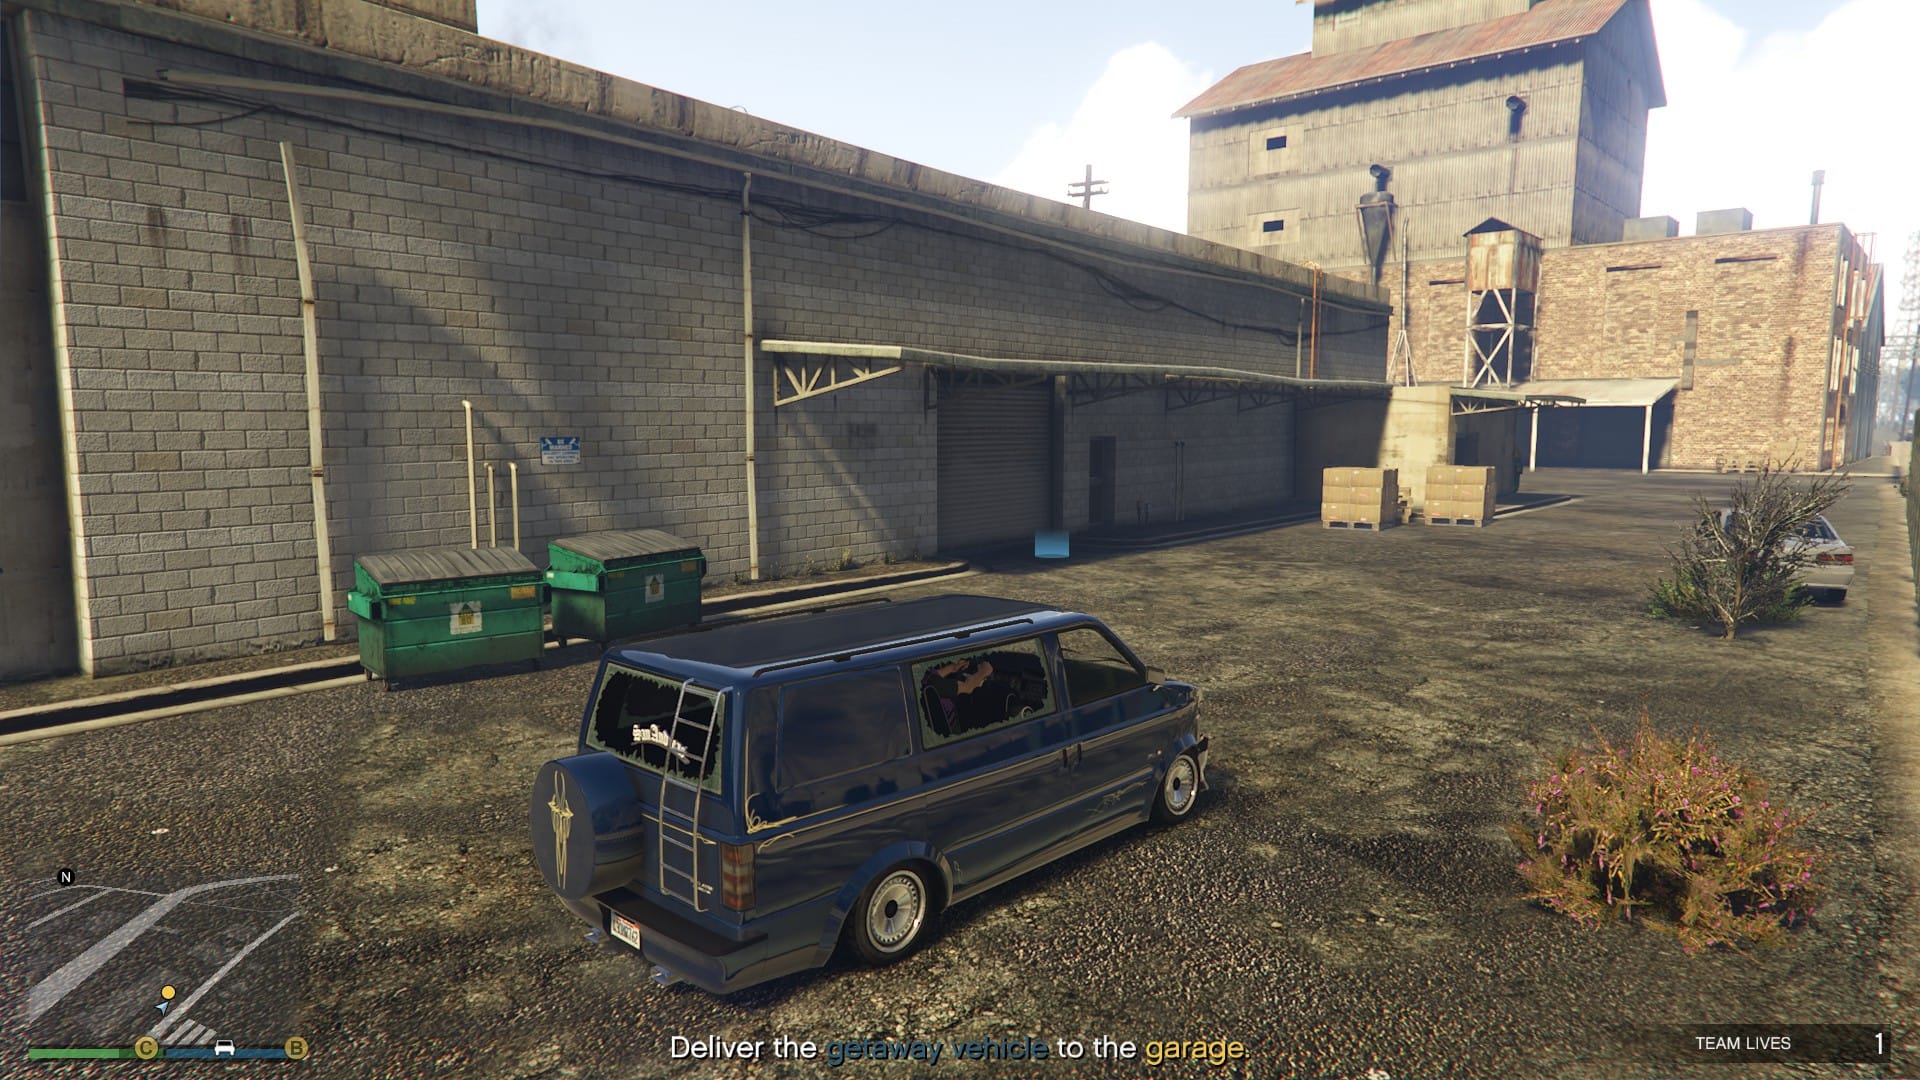
Head to Target A, you will see the Marabunta protecting a work shop. For this one, head straight to the garage circled above and you will get a message to destroy the power box. The box is usually on the side of the building, either on ground level or above. Once you have the garage open, clear any enemies, steal the car and head for the Cluckin' Bell factory.
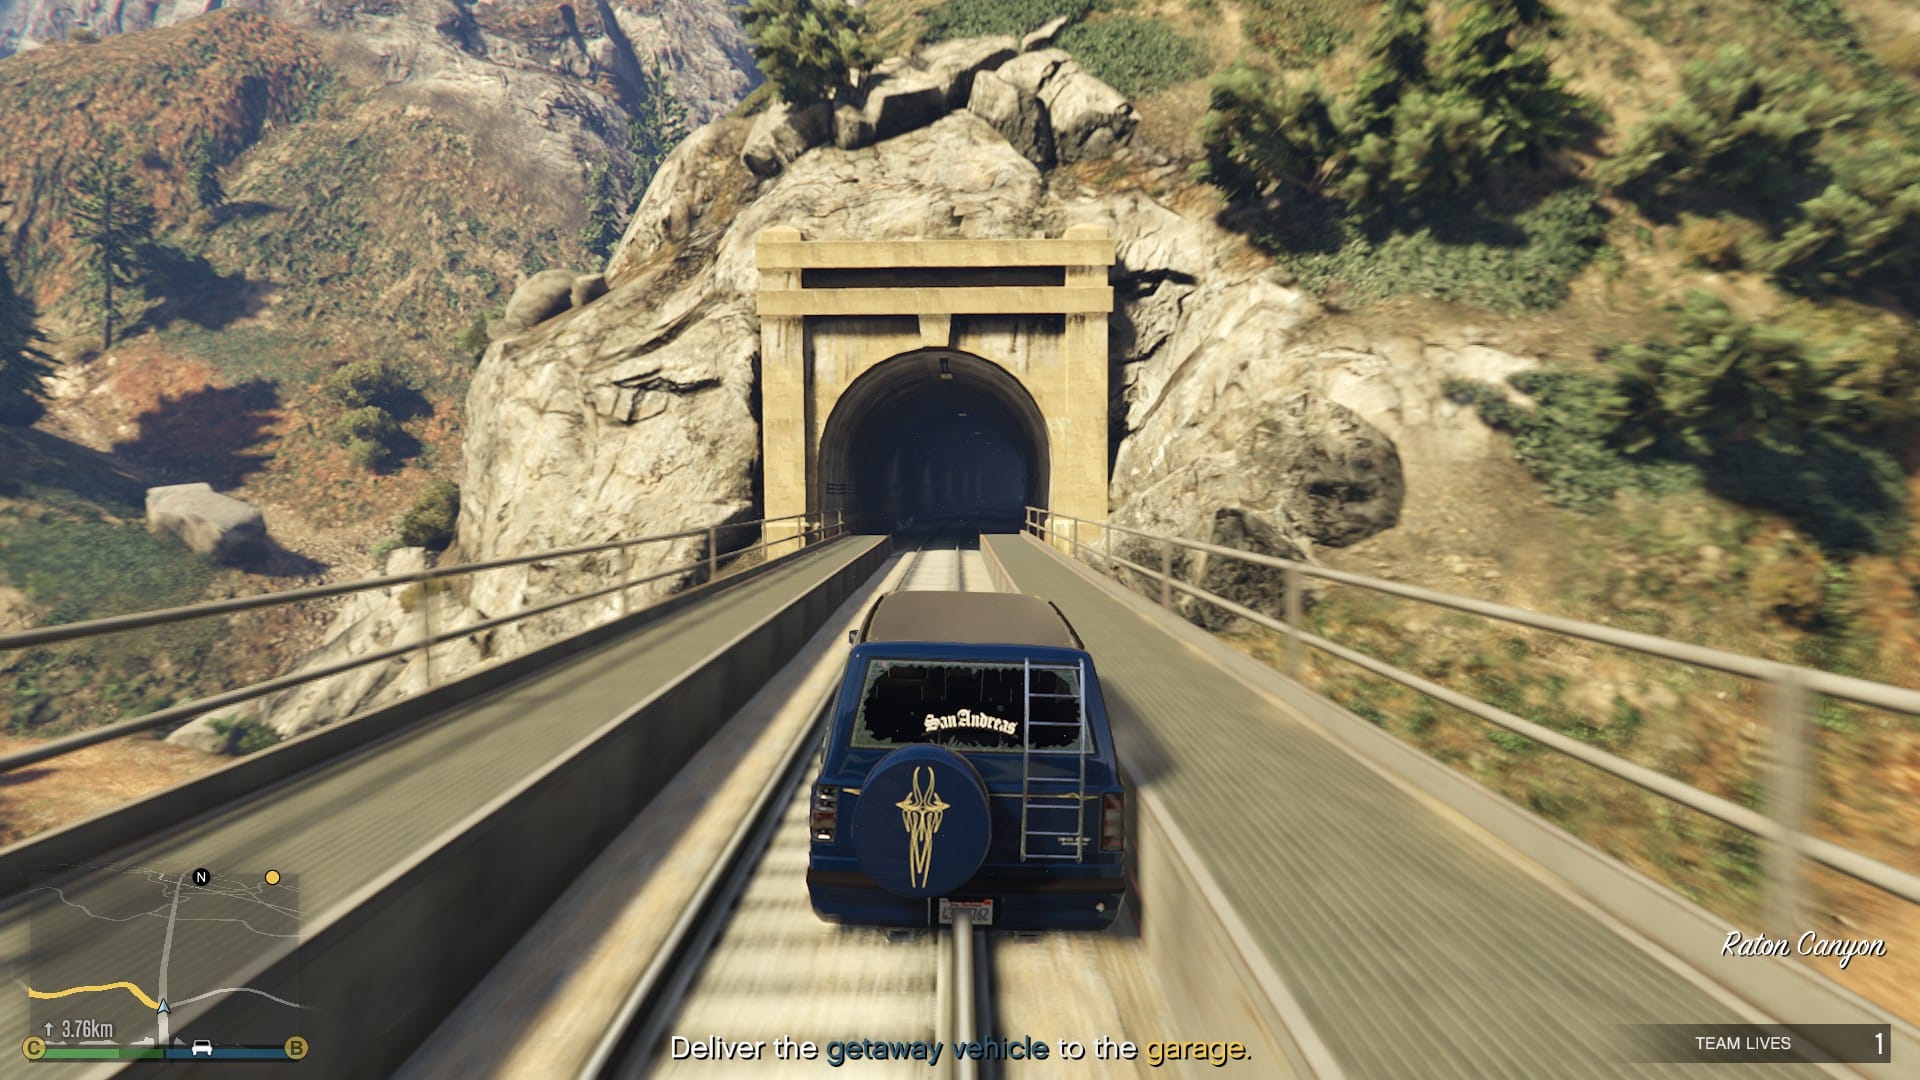
Personally I like to use the train tracks to get there as they will provide good cover from pursuing enemies, but more importantly, the enemies do not follow you onto the tracks. No matter how you do it, get to the factory, park the car and either steal another for bonus money ($5,000 per additional car) or confirm the vehicle and move to the next one.
If you are collecting Target B as well from the Professionals, head to the oil plant and find them barricaded at the back of the plant.
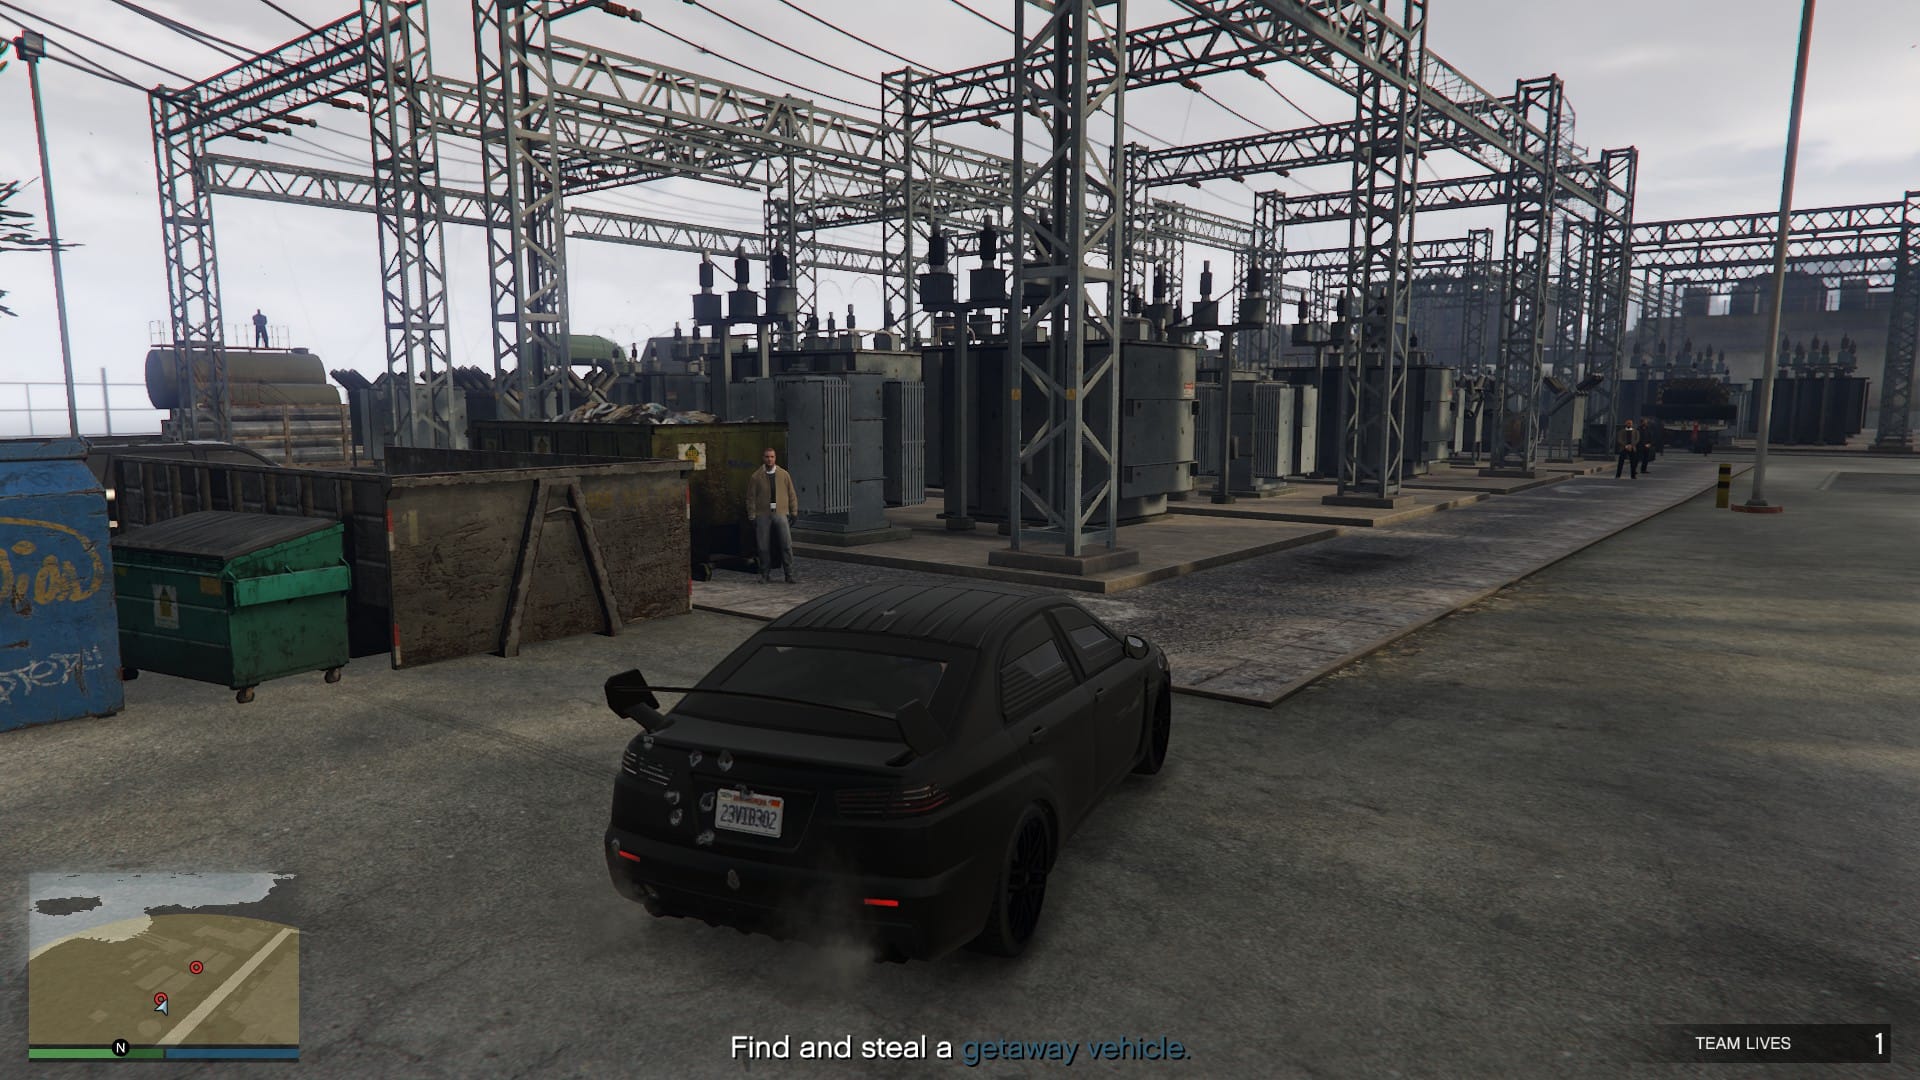
From here, head inside and start clearing the place of enemies and find the car. You will notice cars are blocking ramps, move one as this will be your escape route. Get in the car and start heading to the factory, for this, I once again recommend using the train tracks to evade the pursuing hostiles but do what works for you.
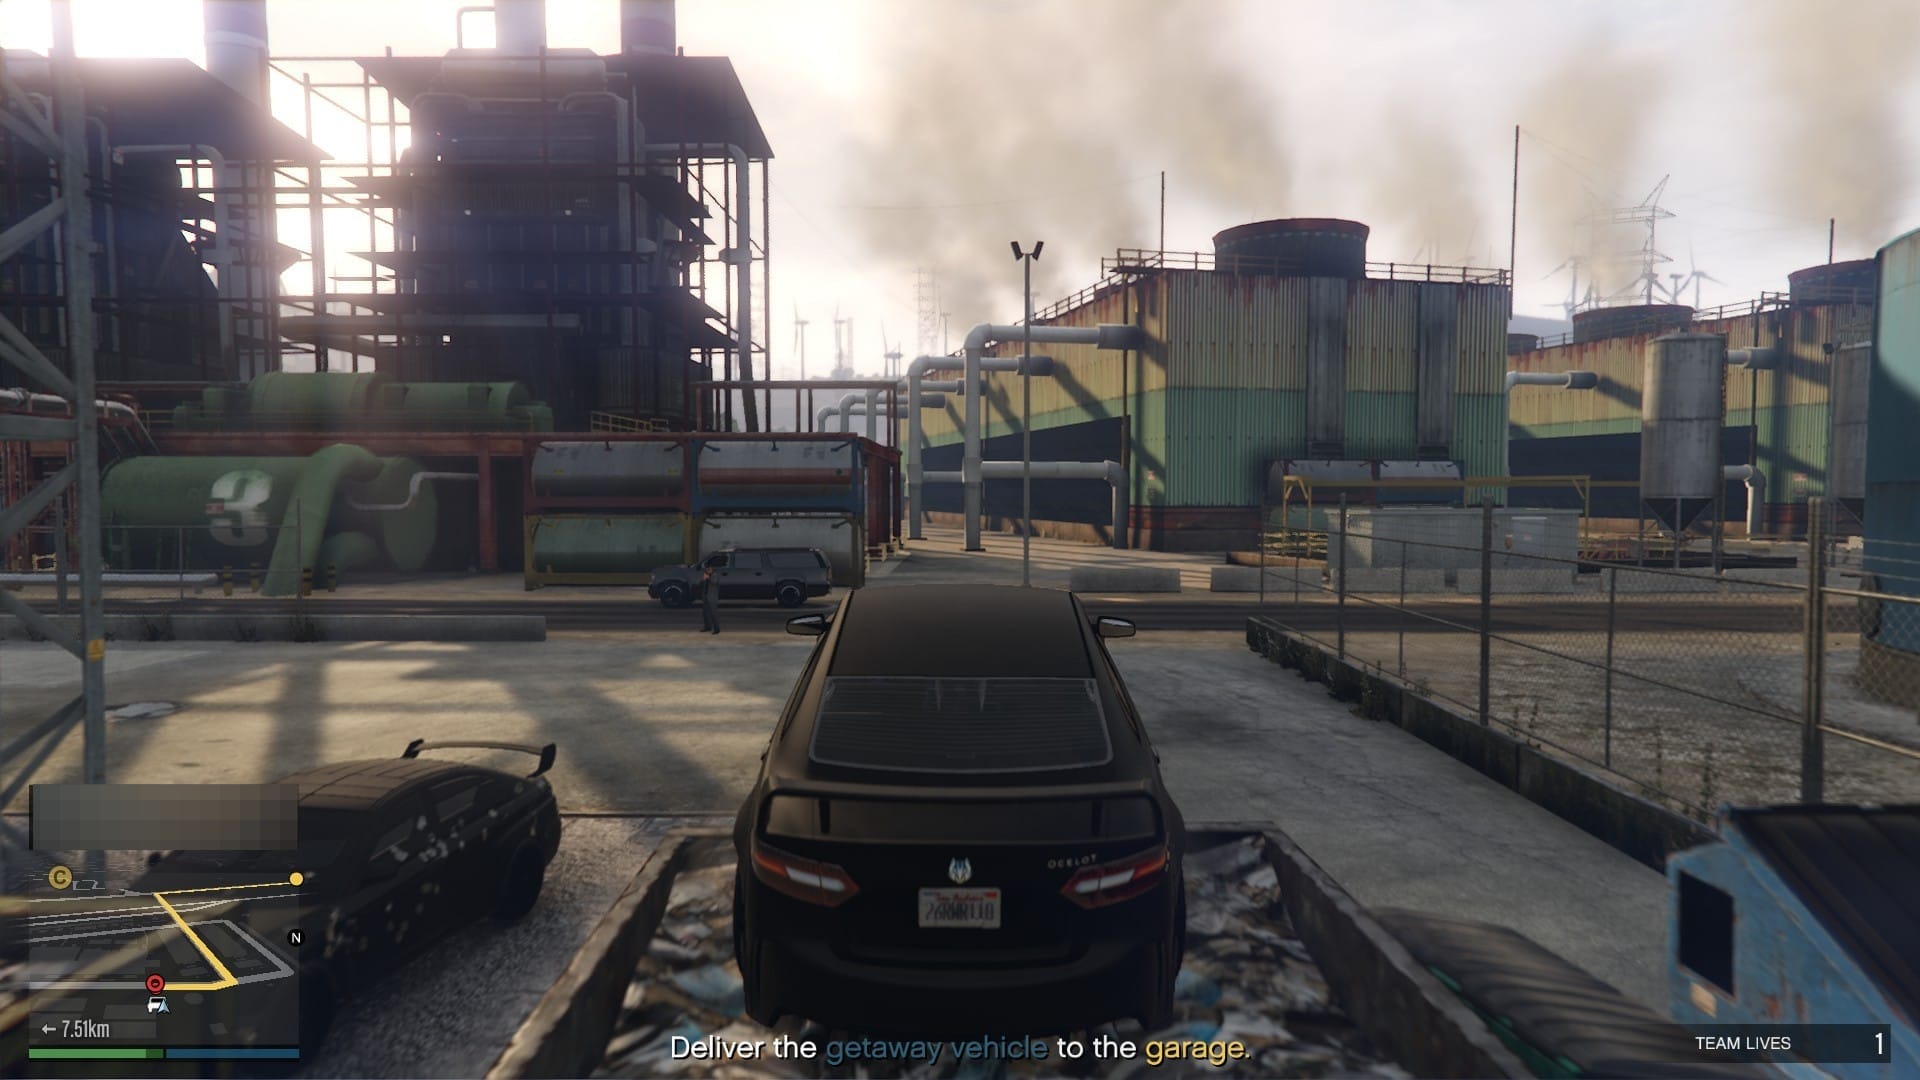
Once inside the factory, confirm the vehicle and move onto the next setup. For the raid I would recommend either as they will be used to fetch our personal vehicles.
Disorganised Crime
Cluckin' Bell Raid Mission #5
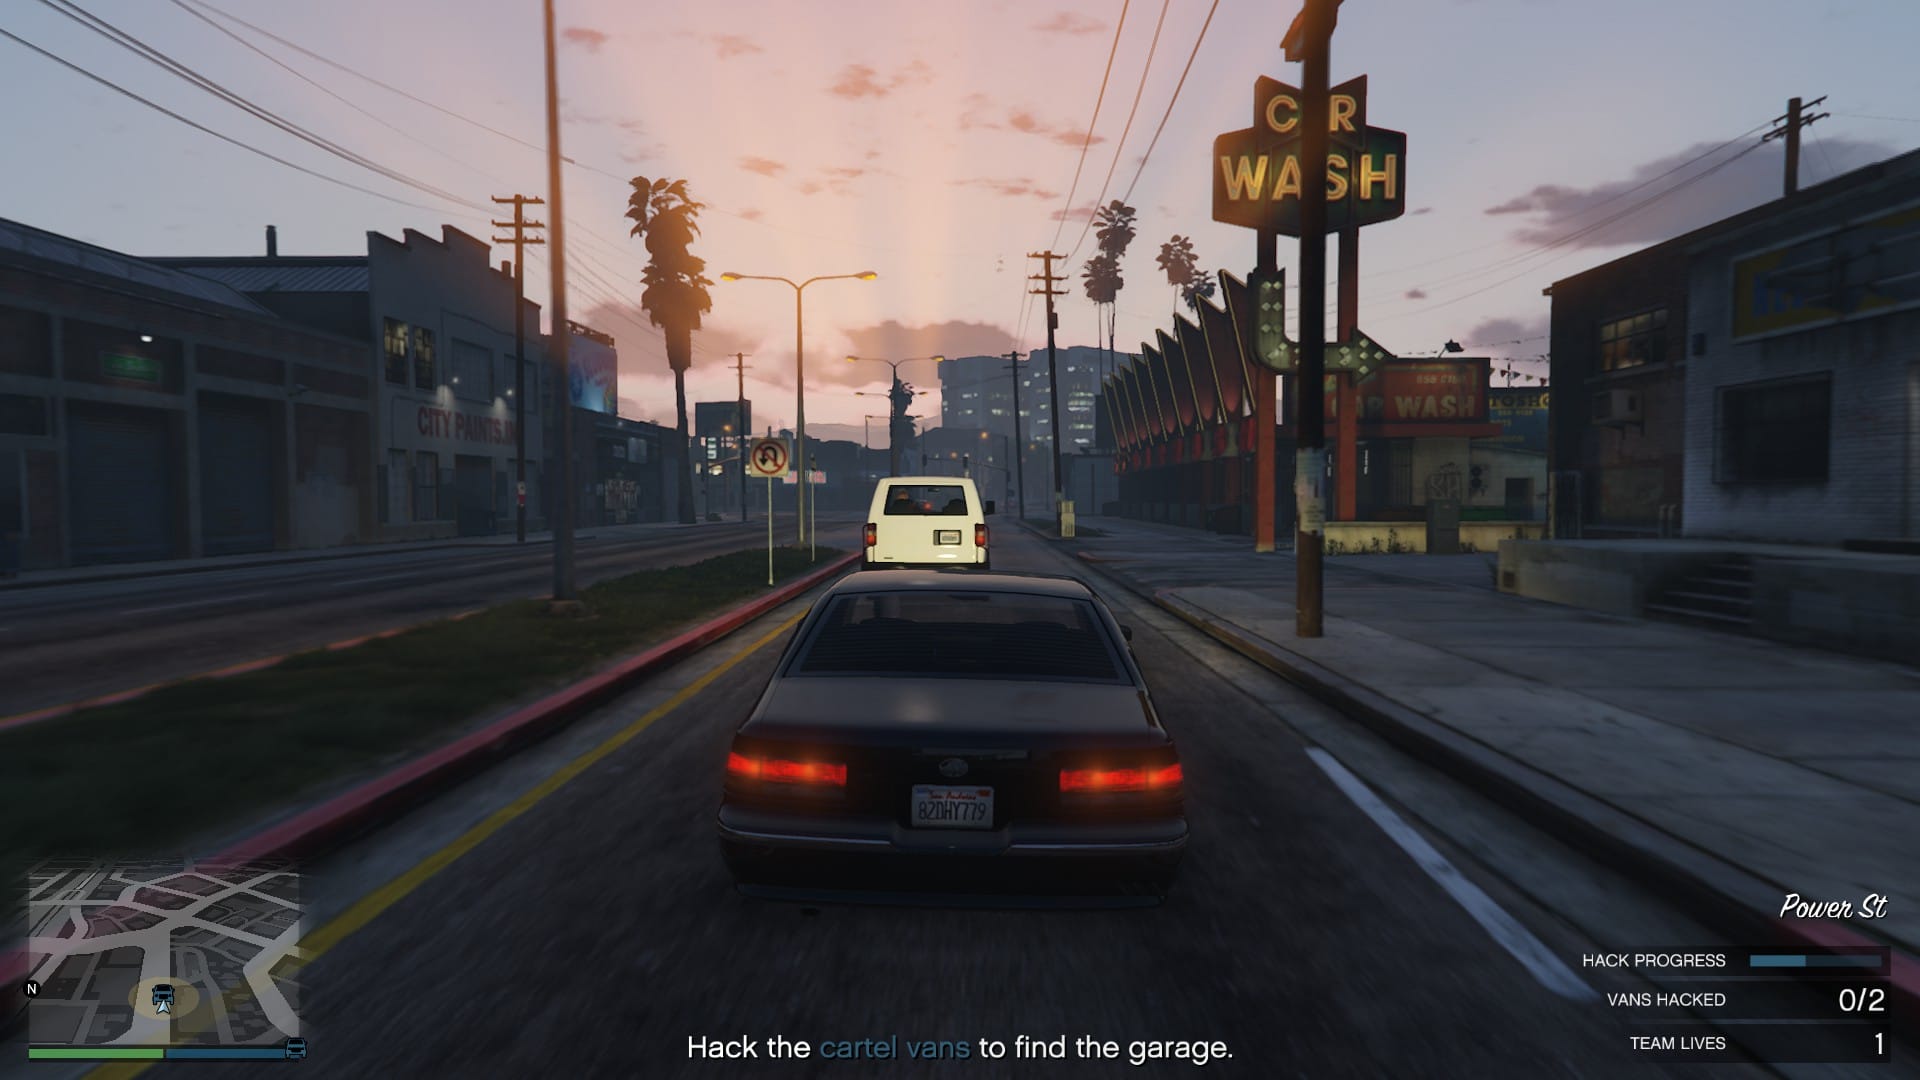
For Disorganized Crime, we will be hacking a couple of Cluckin' Bell vans before sabotaging their operations. Once you spawn in, head to the marker in Strawberry and as you arrive, two vans will appear on the map. Follow either one and begin the hacking process by staying within proximity of the van.
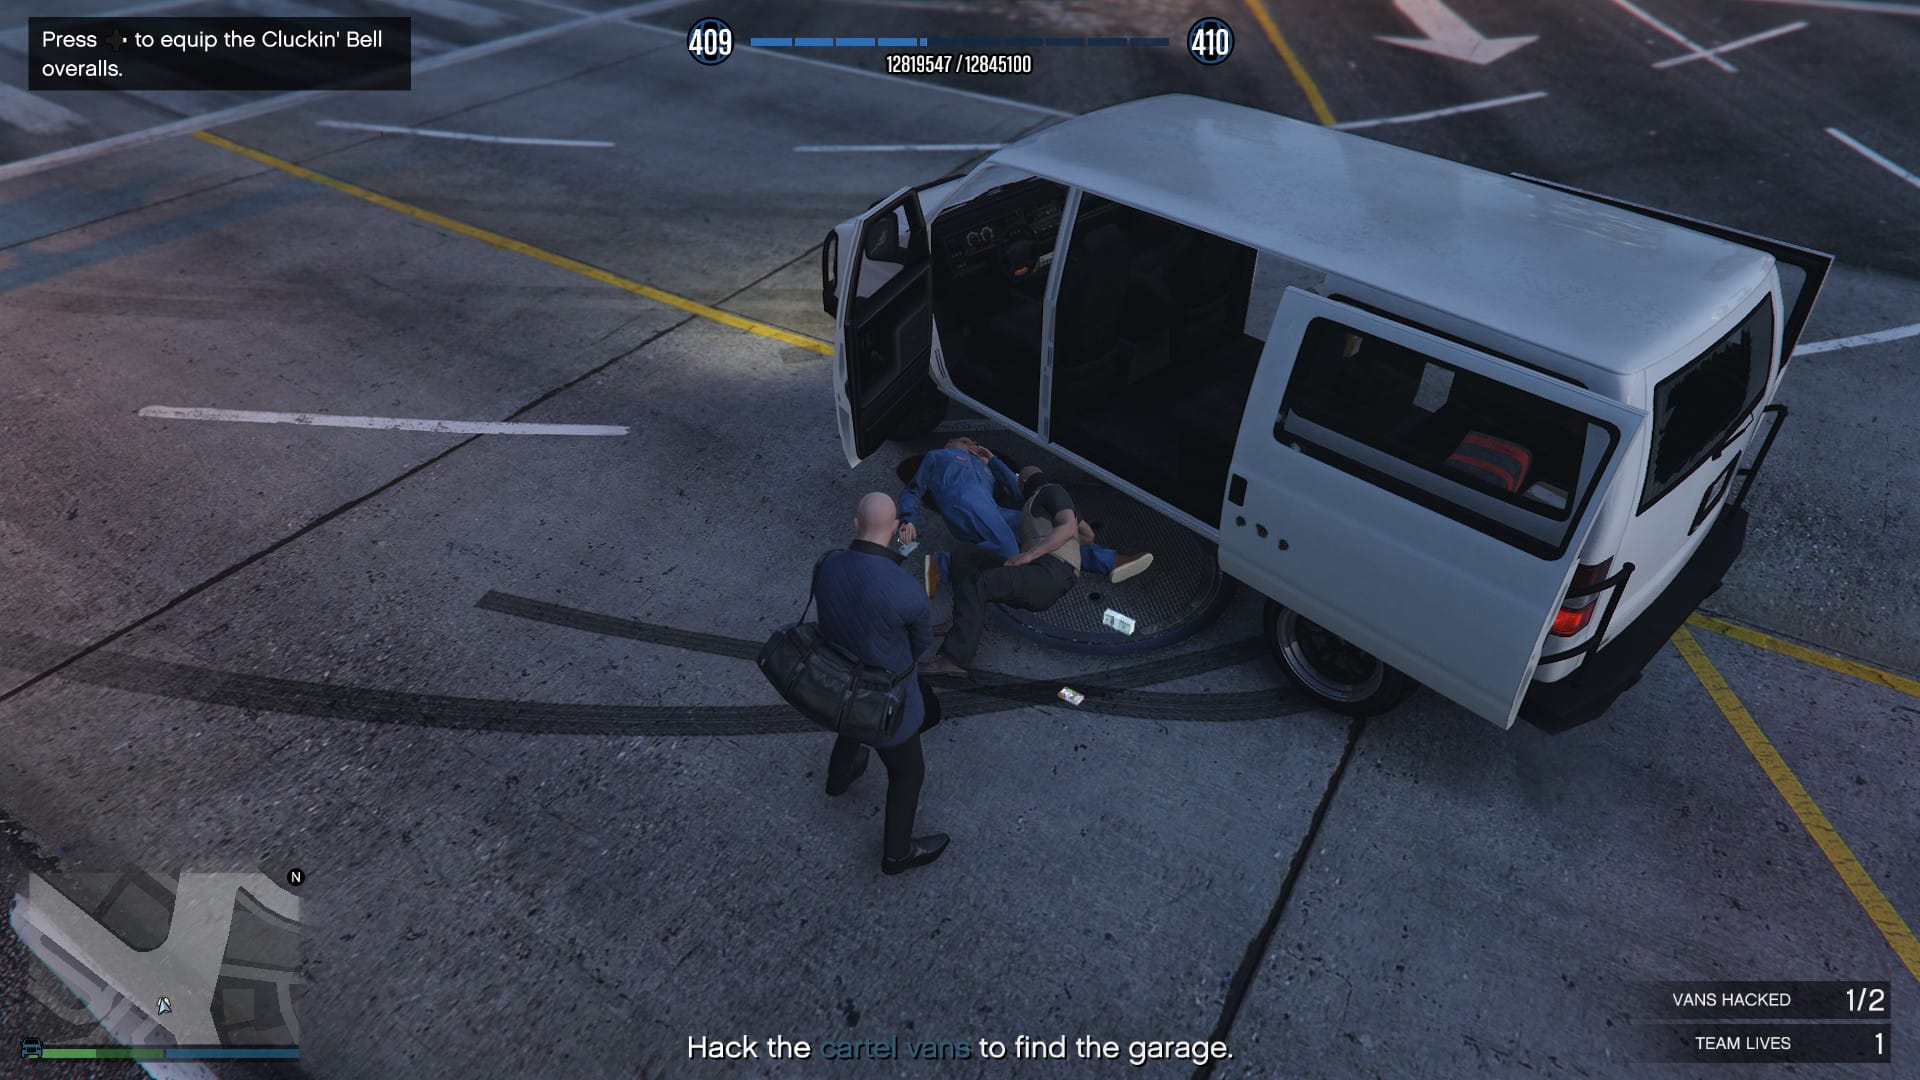
After the hack has finished, you can either take them out and steal the uniform or head to the next van and repeat the process. Once the second van hack has finished, you will get the location of the cartel warehouse. Drive over there and enter to begin the phase of this mission.
1. Wipe the CCTV
2. Sabotage the trucks
3. Leave no witnesses and do not let them call for reinforcements
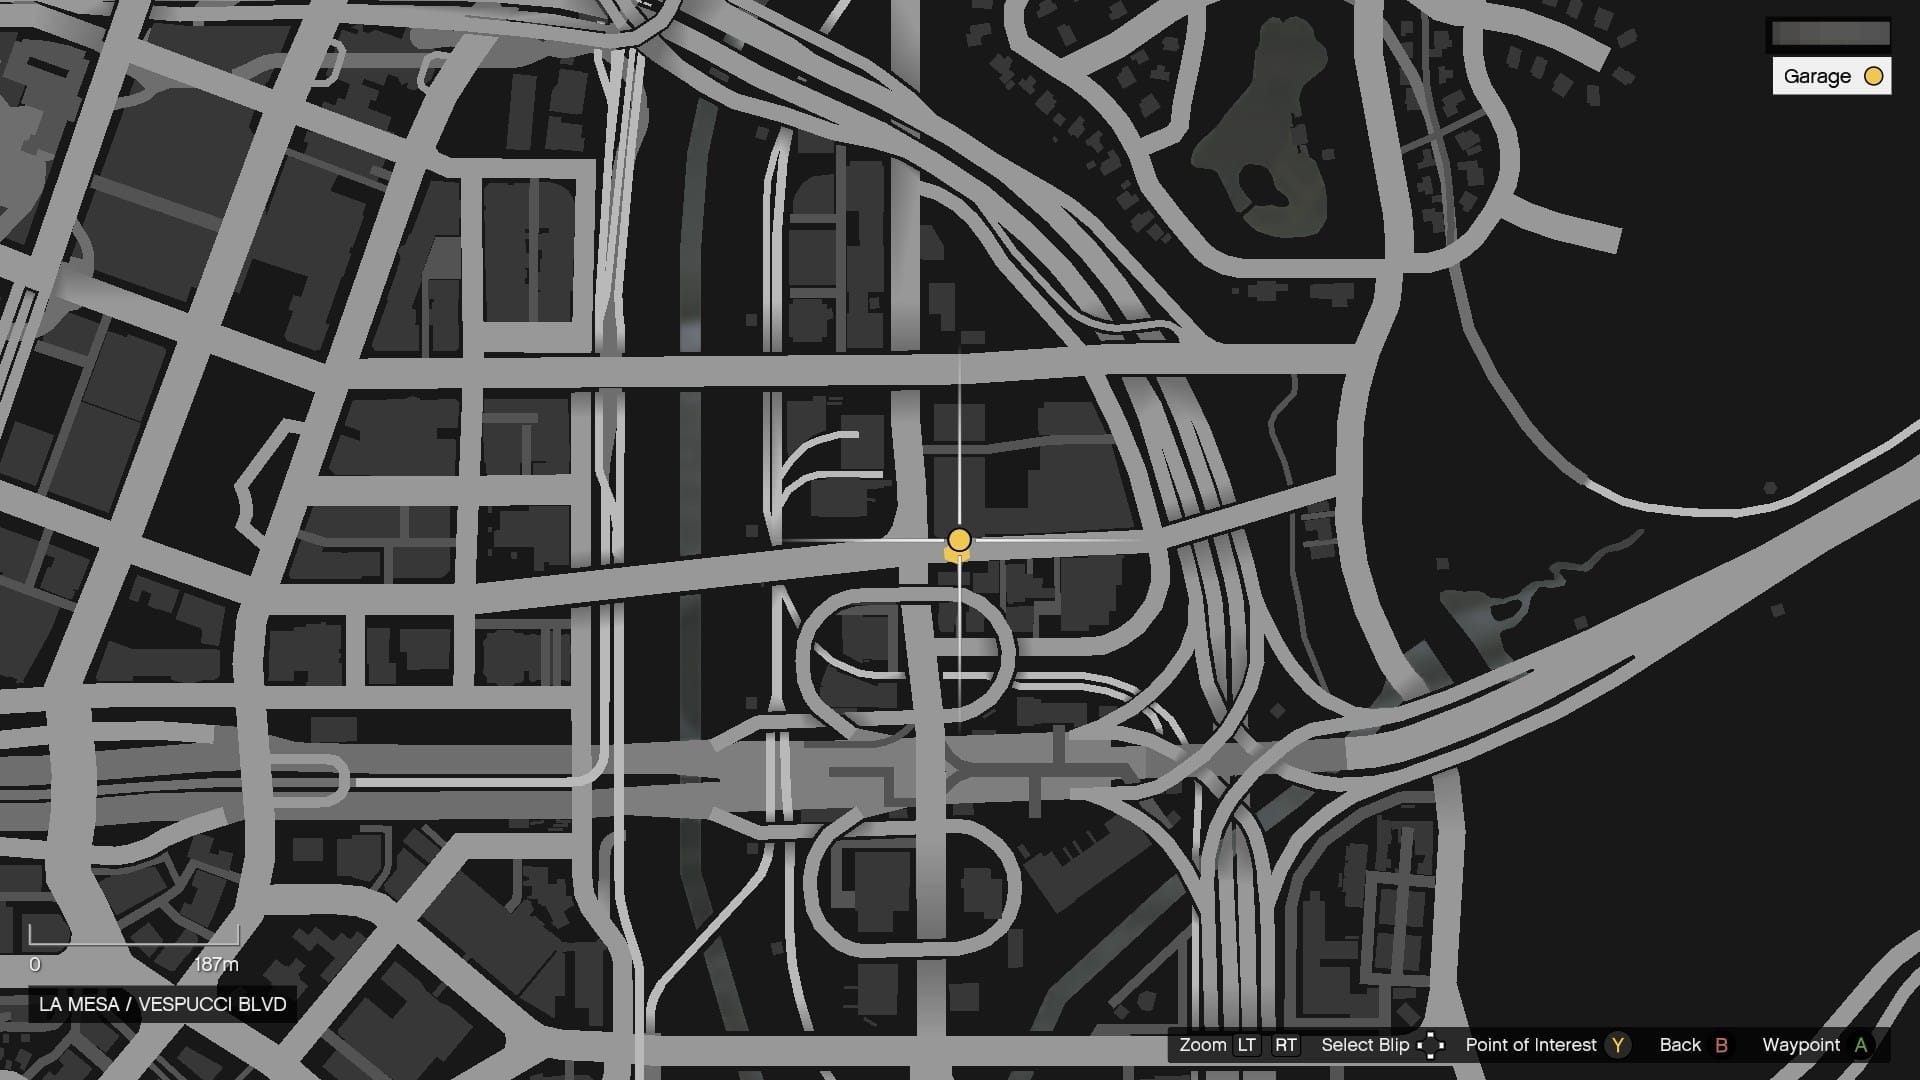
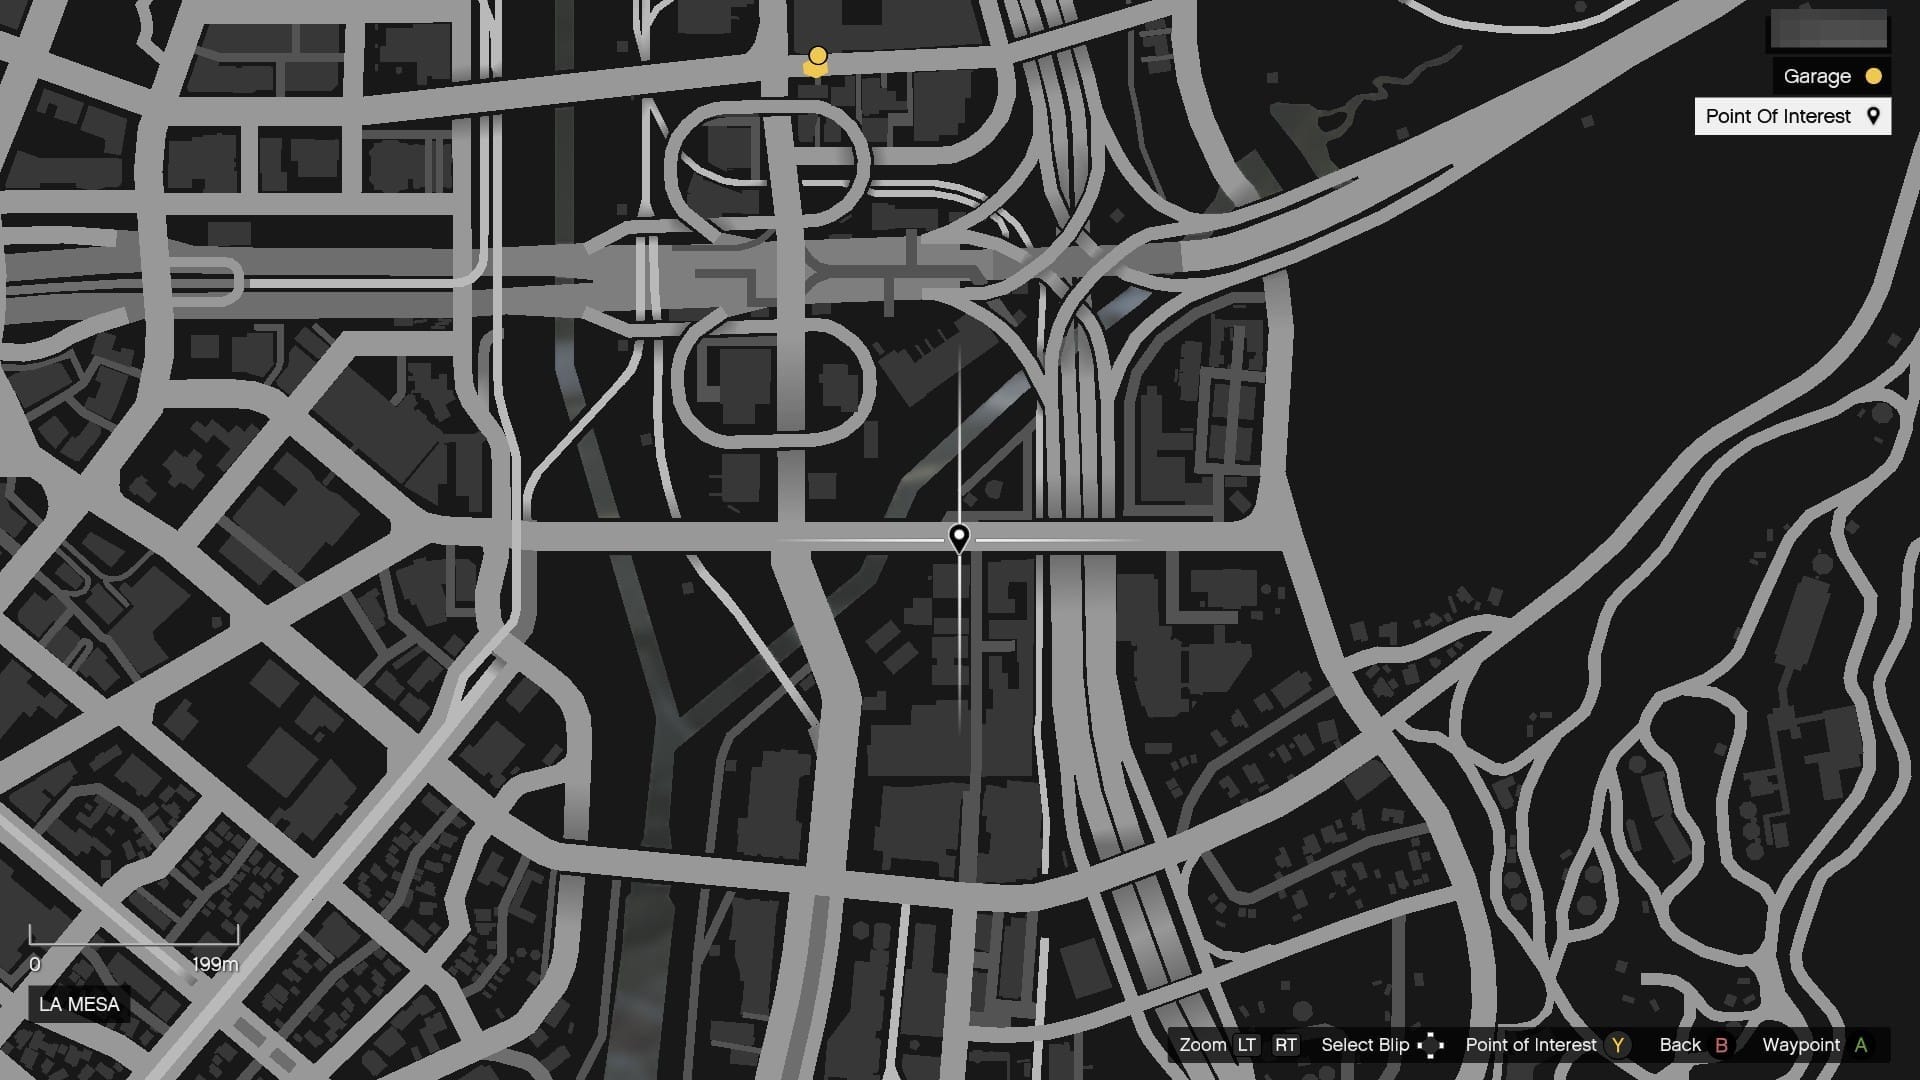
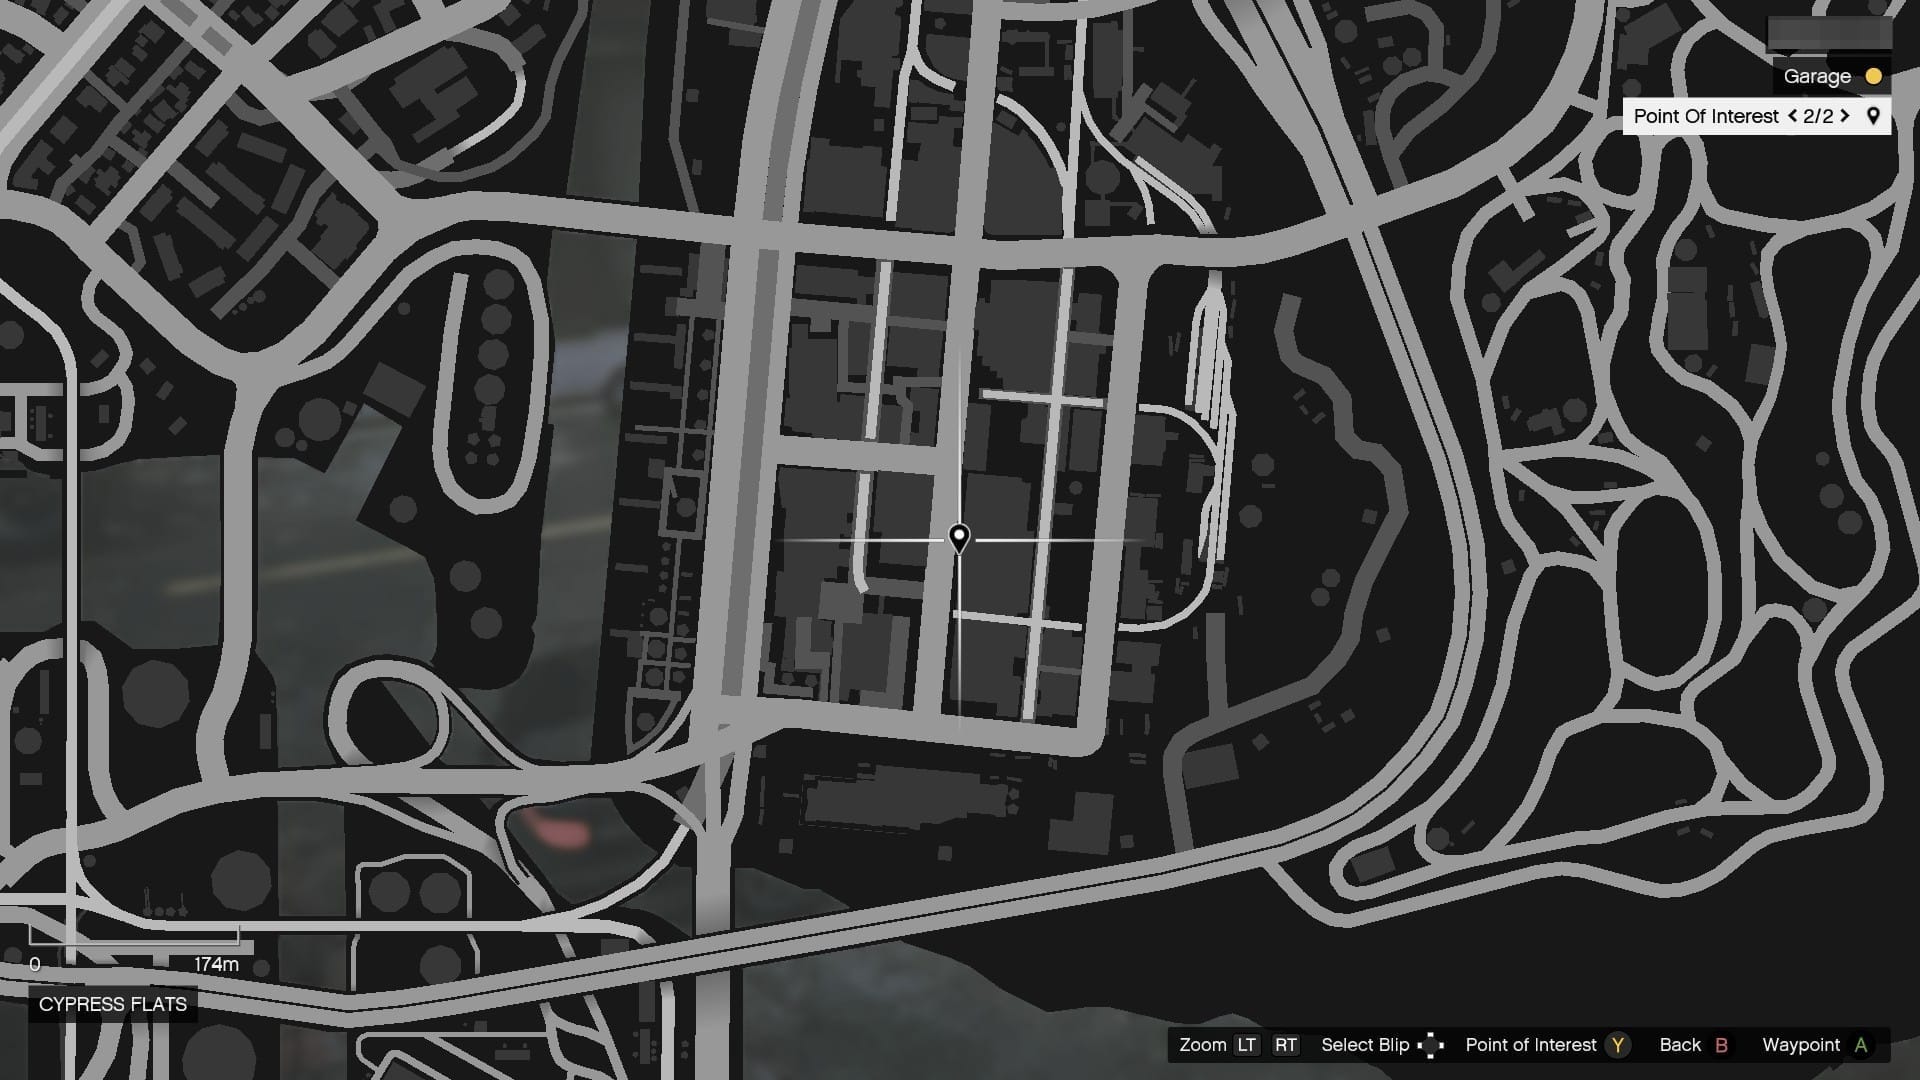
4. Deliver the Flatbed to Vincent's lockup
Below is a quick drawing of an optimal stealth route when in the warehouse. Of course, you can tackle it however you want and especially if you are going in aggressively!
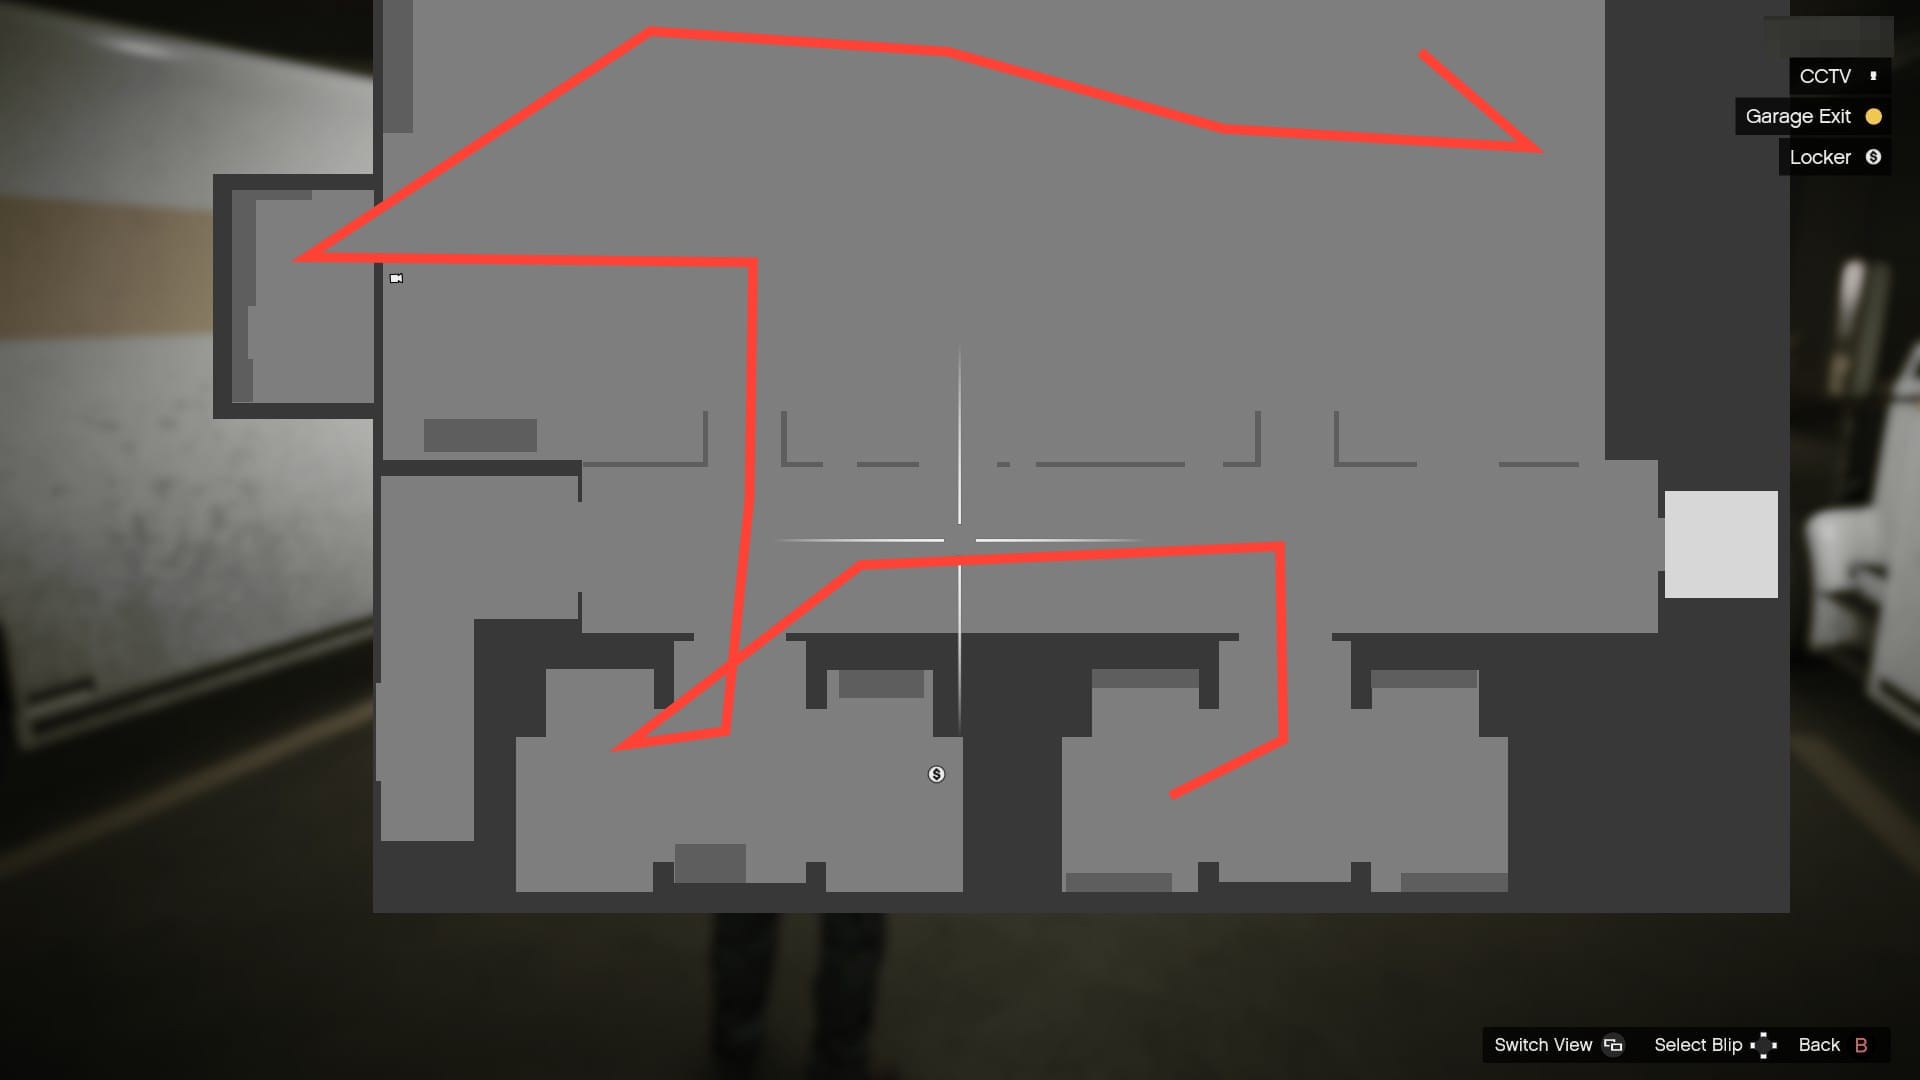
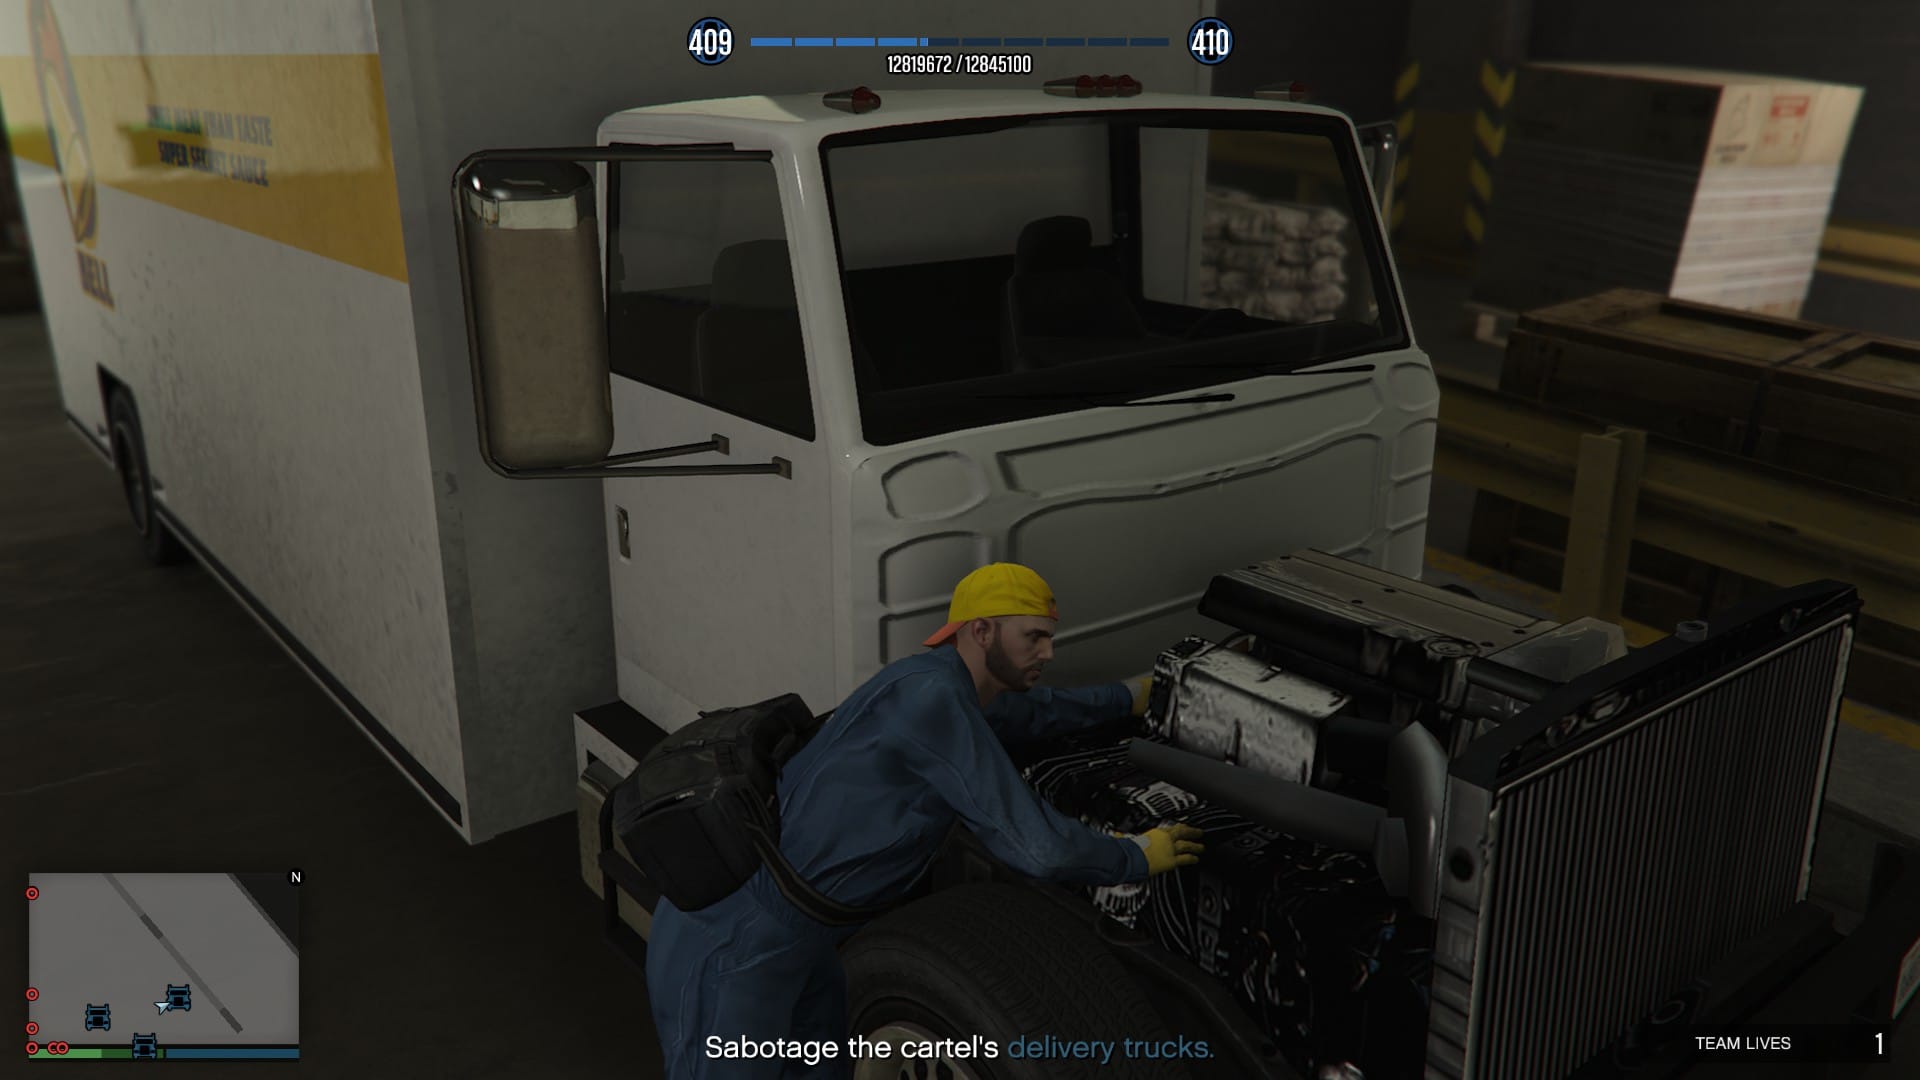
Once you reach the warehouse, you should take a stealthy approach and make your way down the ramp, taking out the guard on the left, then turn around and take down the next guard to the left, who is working on the truck (see below).
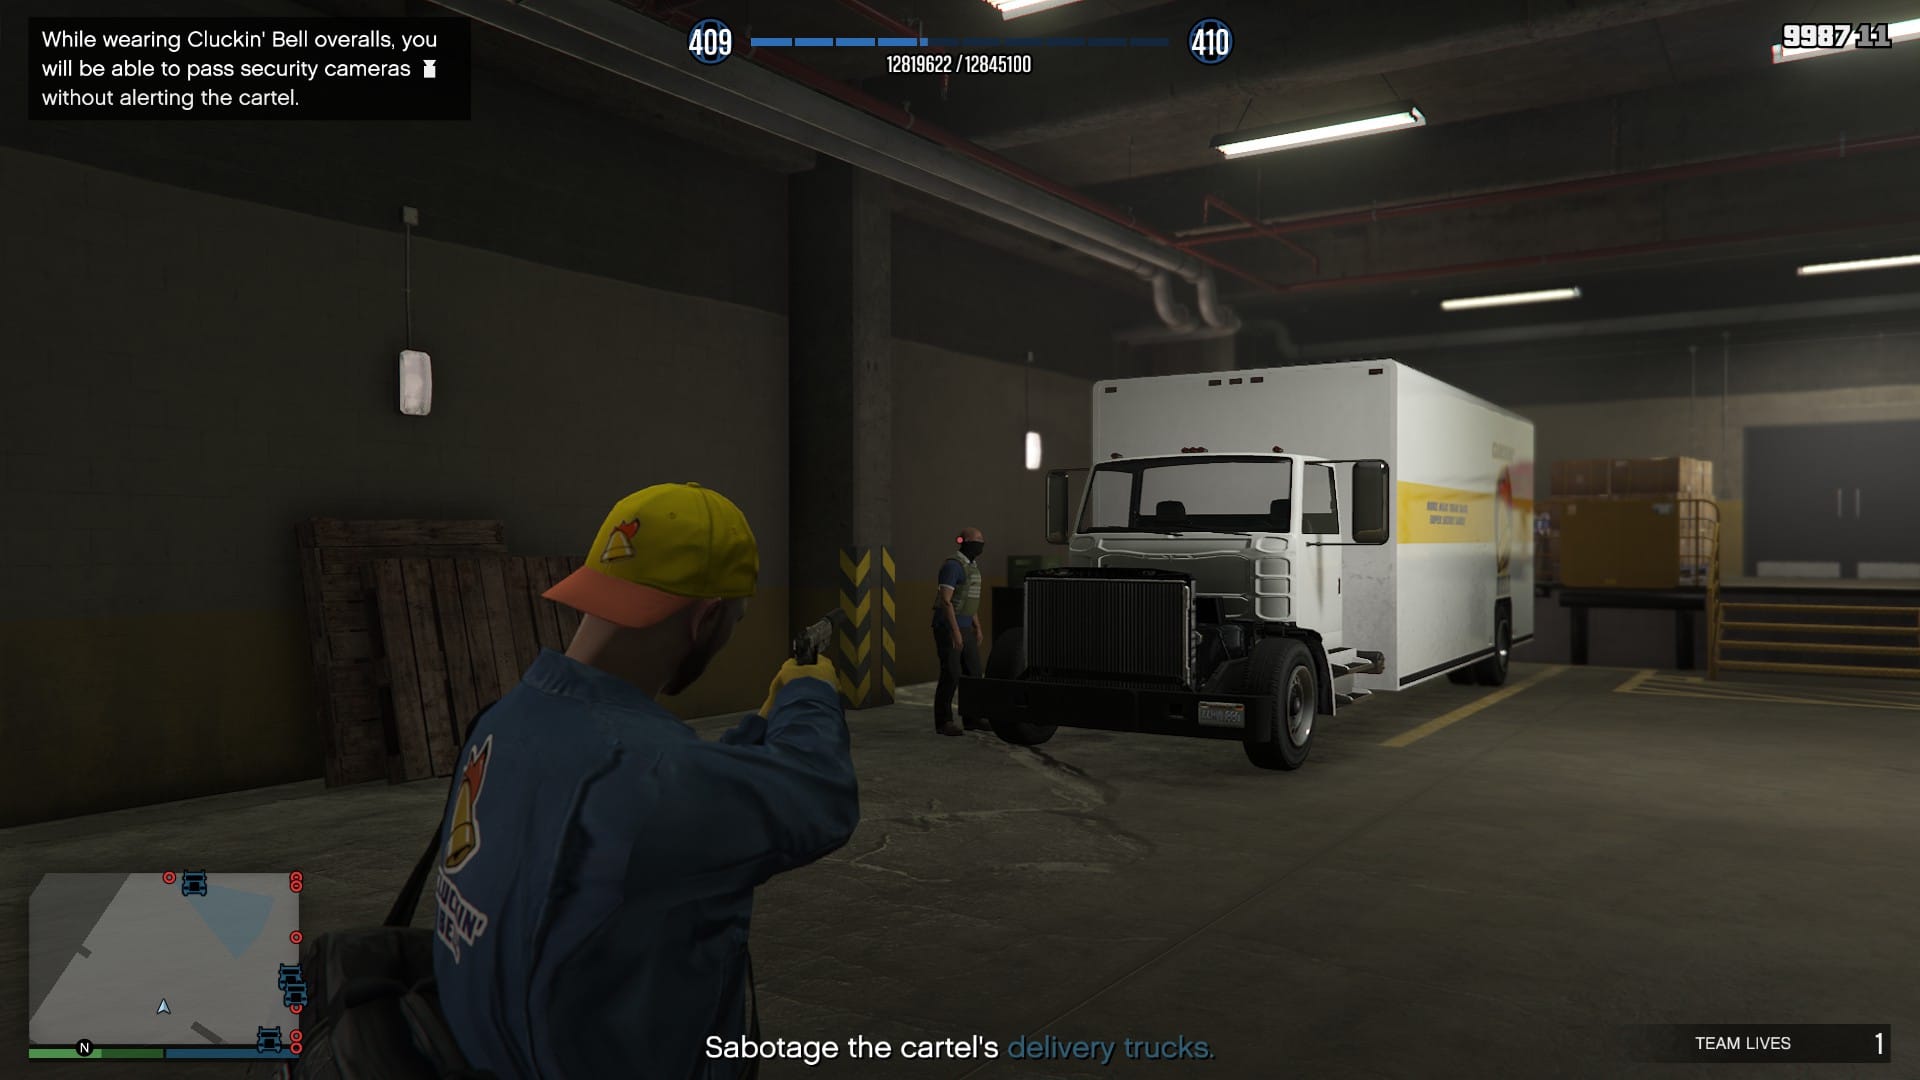
Once again, turn right and start sabotaging trucks while hugging right side of the warehouse. Take everyone on the main floor until you get to the CCTV. From here, you will need to wait for the guard to stop outside of the view of the camera, and then take him down. If you have the Cluckin' Bell outfit, you can walk past the camera and straight into the office.
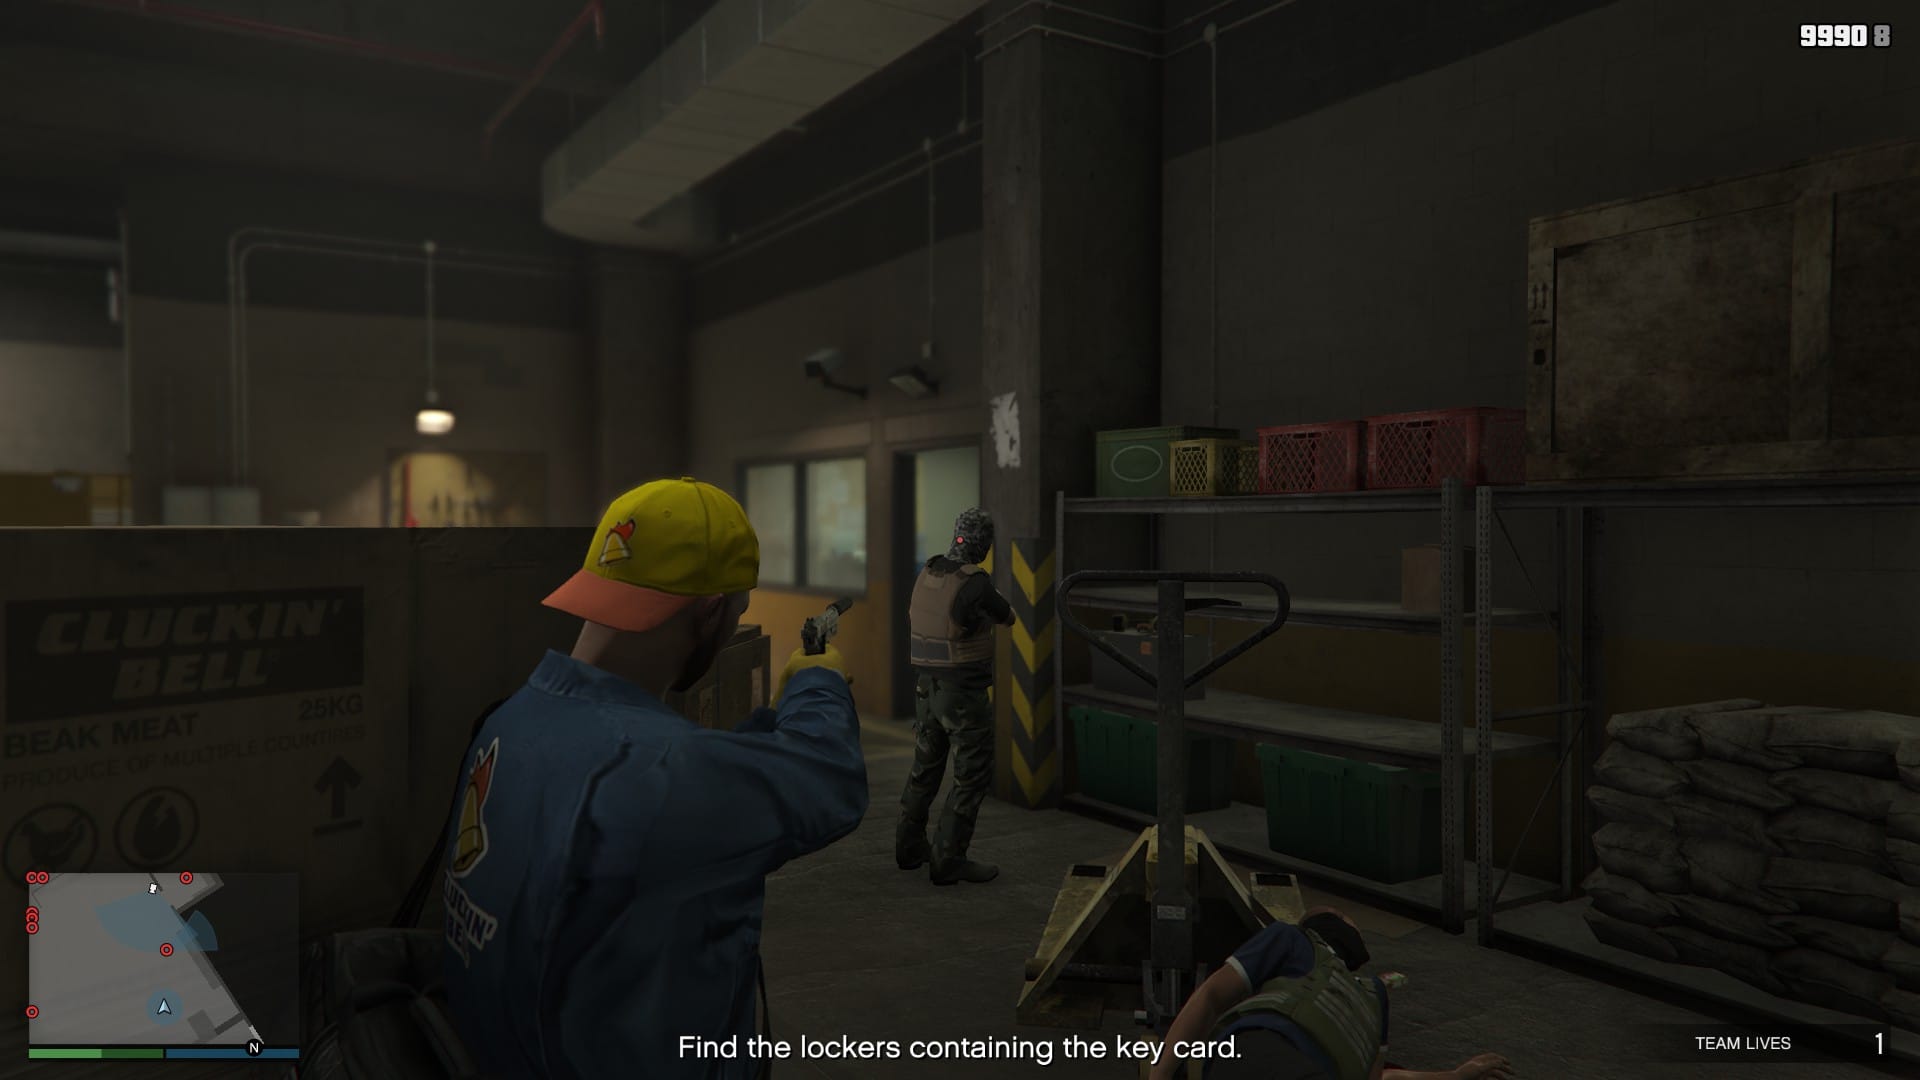
Inside the office, take out the standing guard, wipe the CCTV and keep moving. From here, turn right, go up the stairs and start clearing the ramp section.
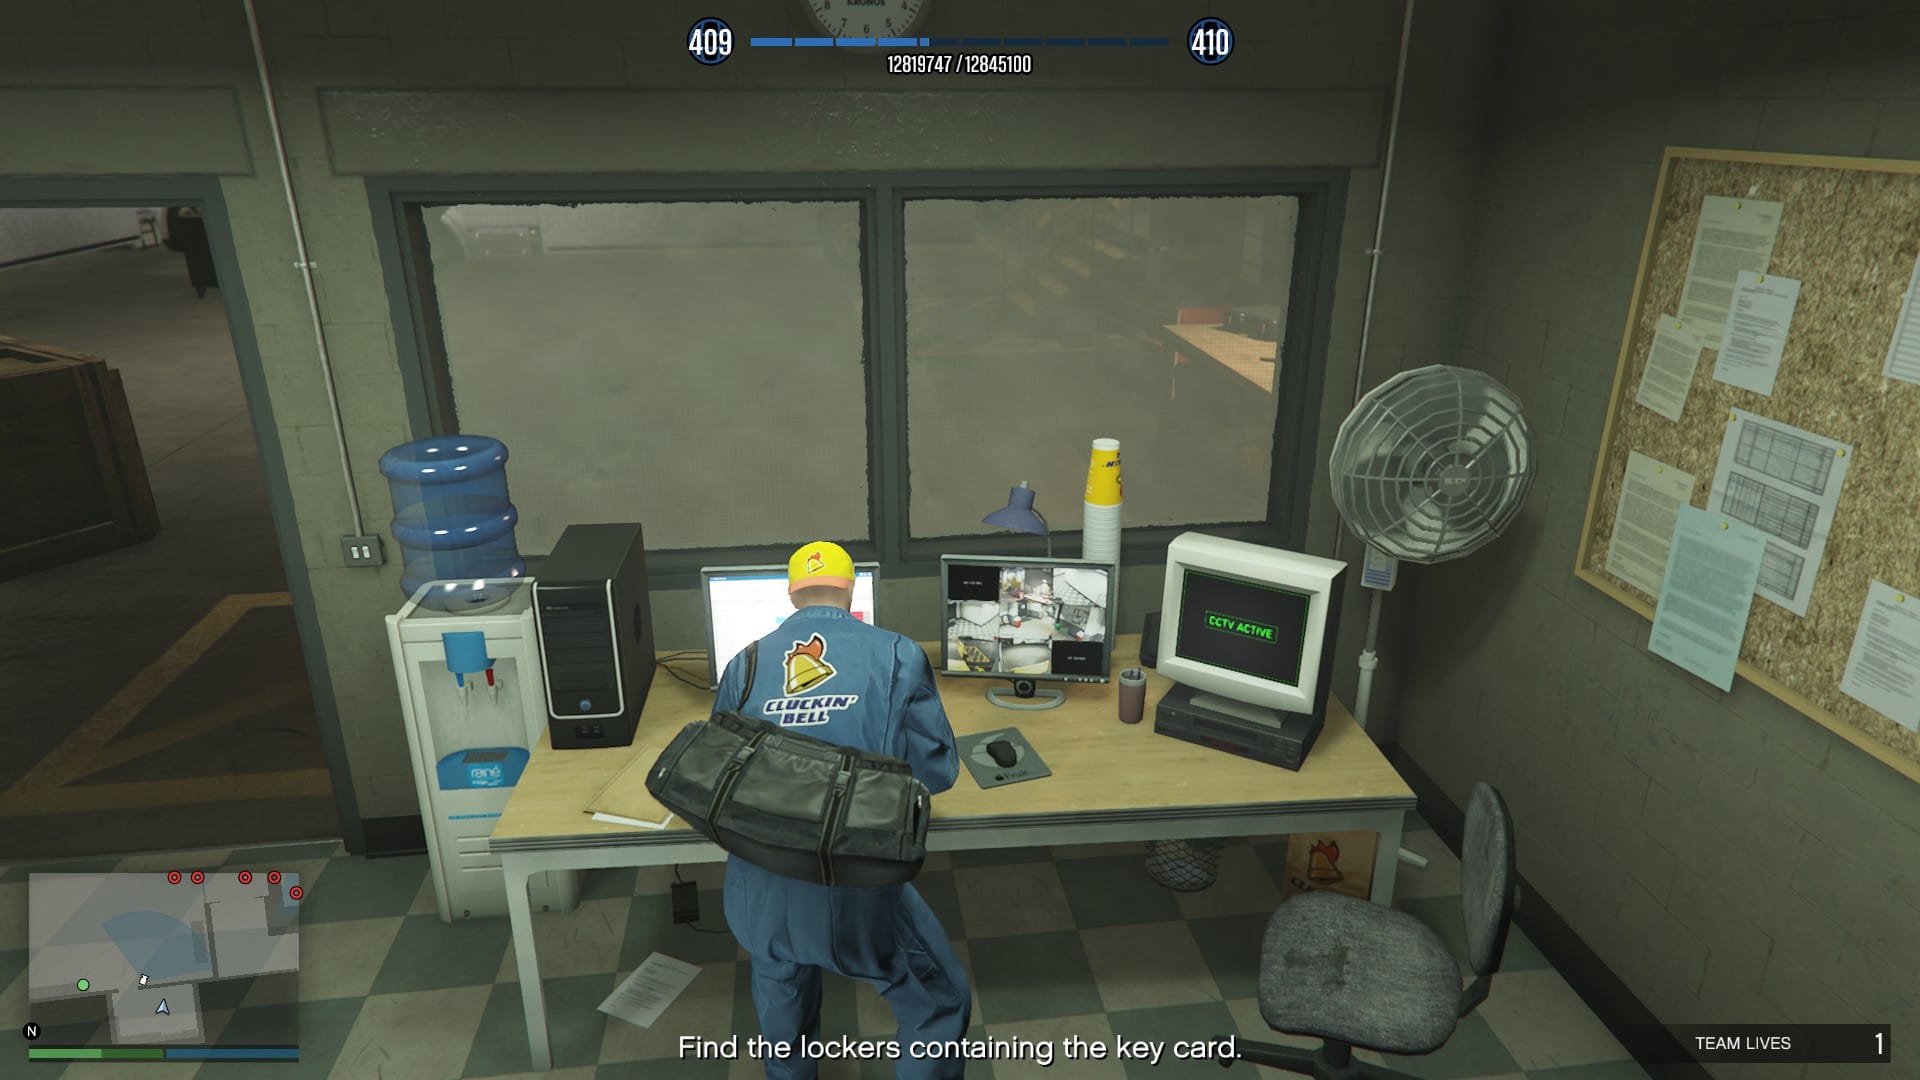
Make your way slowly down, watching for the moving guards. Clear this section before moving to the rooms with closed doors. Enter the first room with your weapon pre-aimed and take down the first guard, swing right and take down the second. Ignore the lockers for now, instead, go back out, go right and approach the second door.
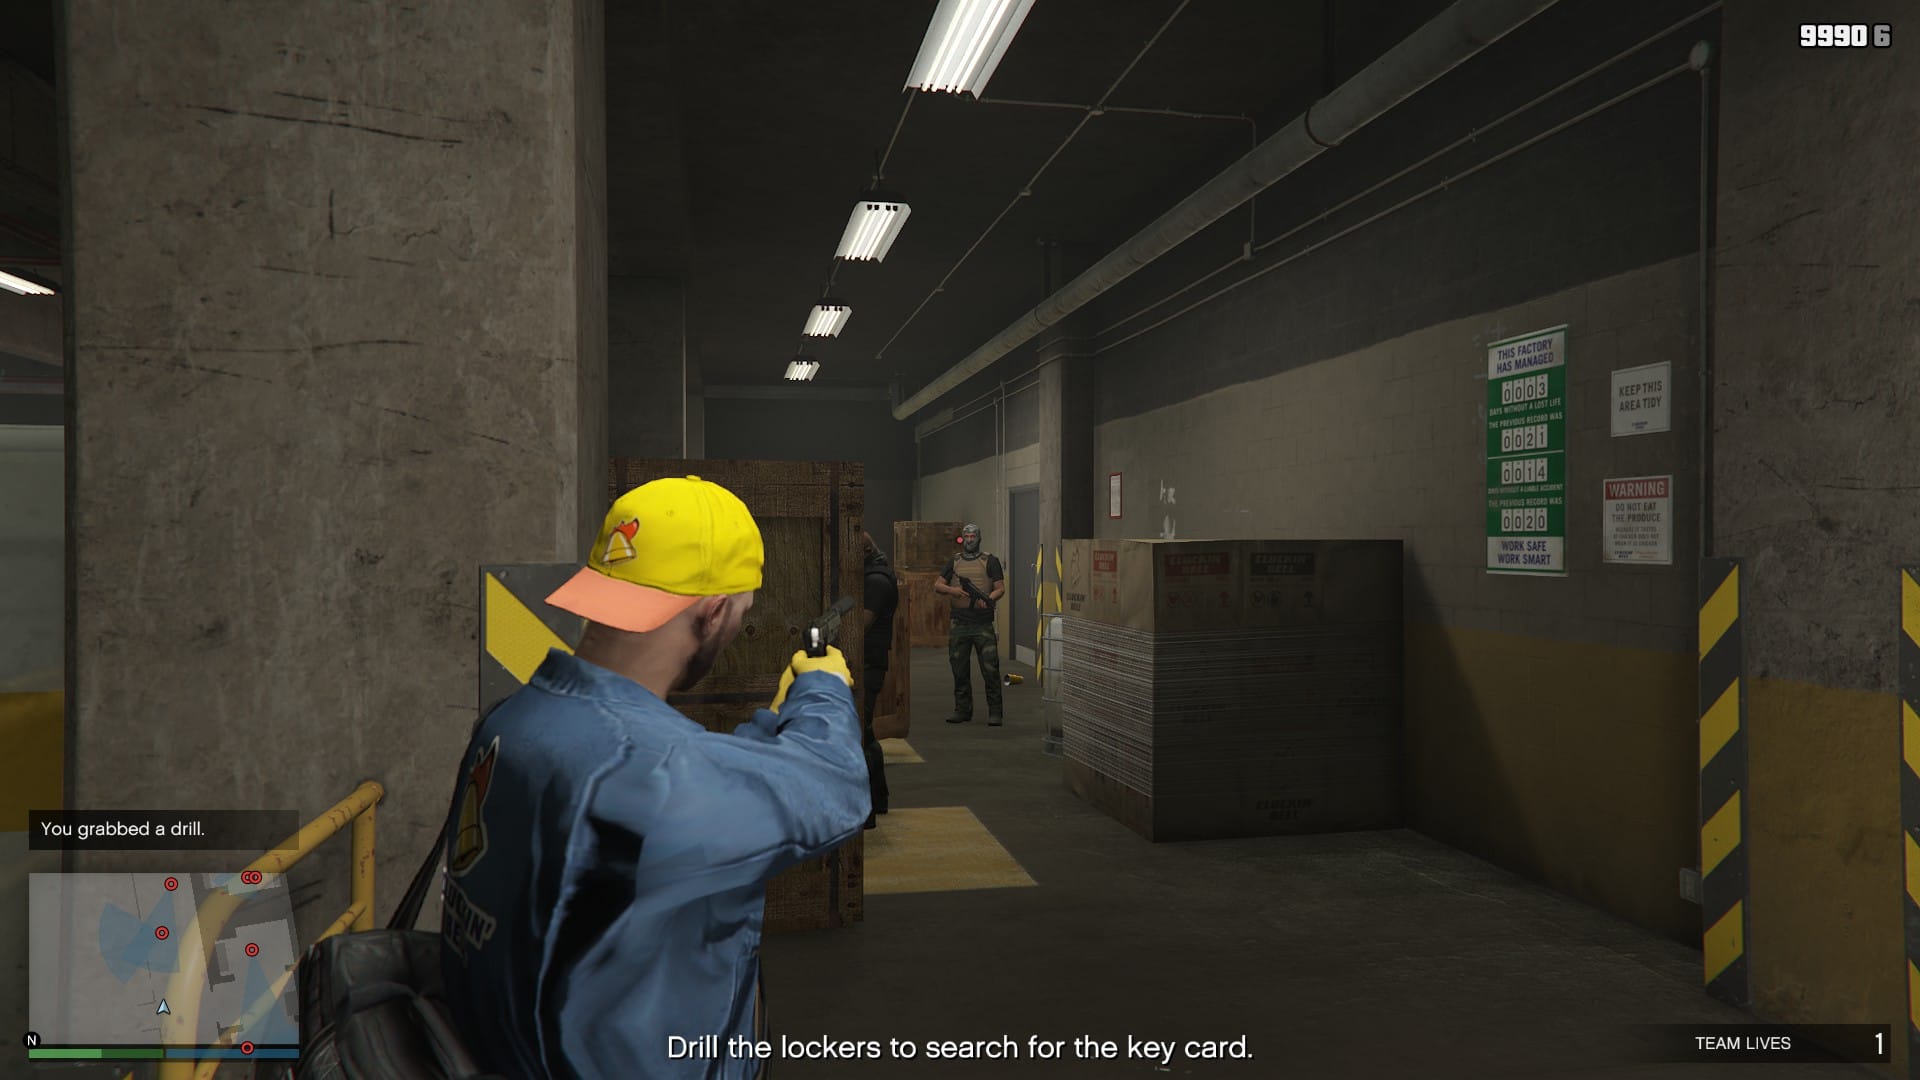
As before, pre-aim and shoot the first guard. Turn right and quickly execute a double kill on these two guards. Now that the warehouse is clear of guards, go find the drill if you haven't already and start drilling the lockers.
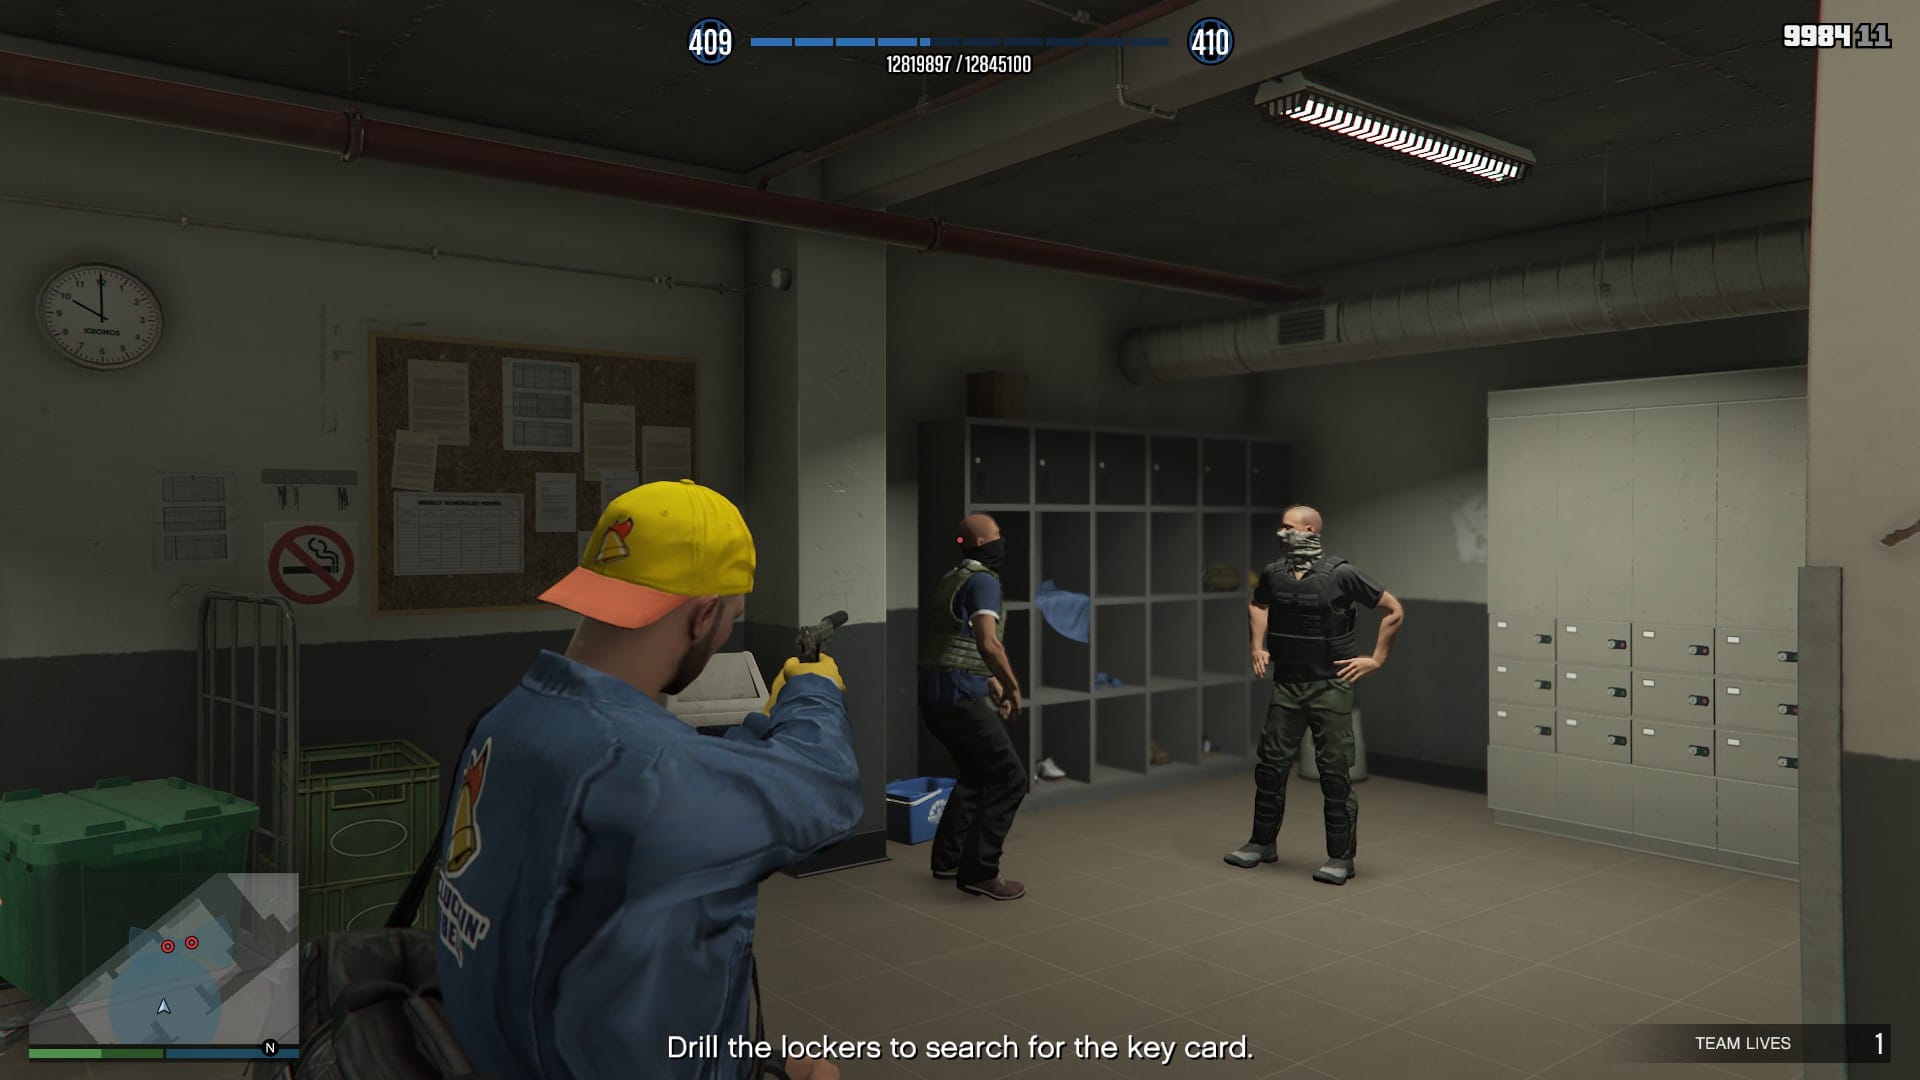
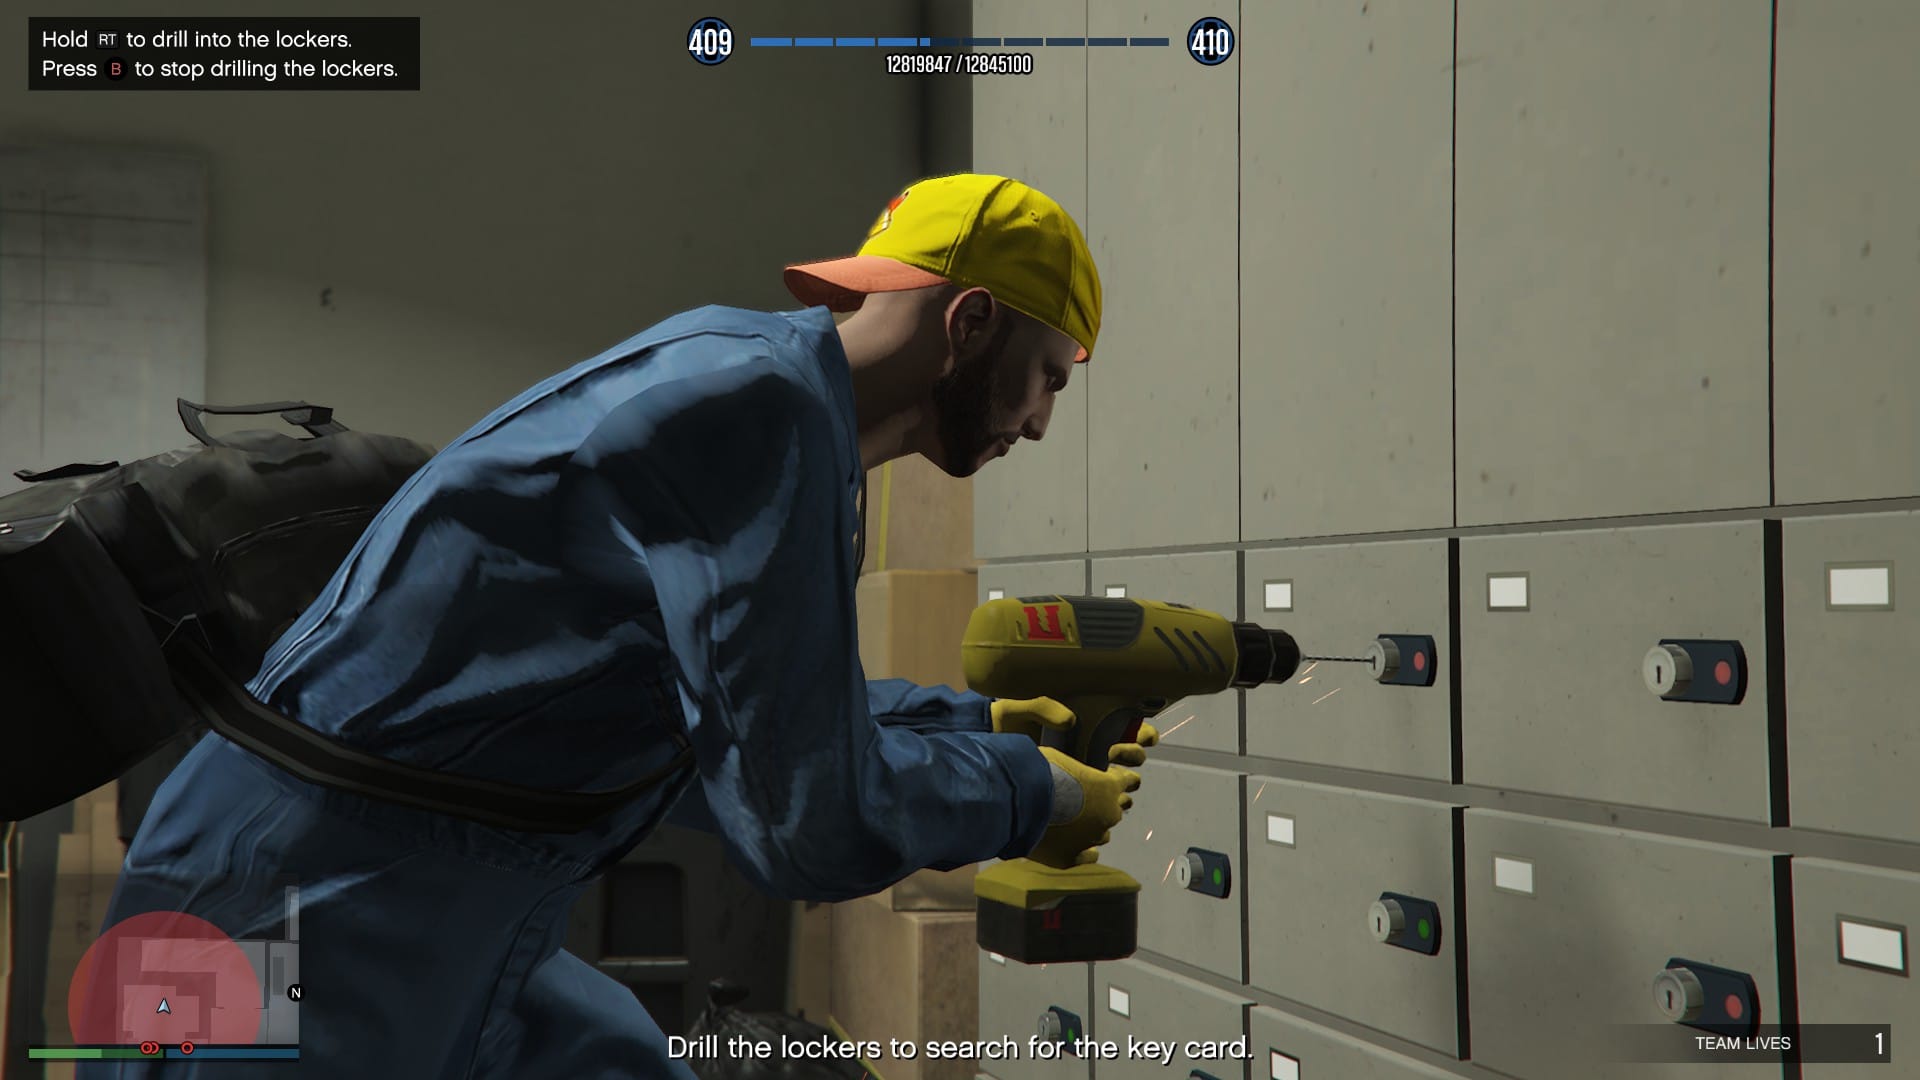
Hold the trigger/button and start drilling any of the four lockers. The key is located randomly in one of the lockers, so, you could get it first go or have to drill all four locations. Once you have it, you can drill the remaining lockers for an additional cash bonus but it is basically peanuts, so skip if you want.
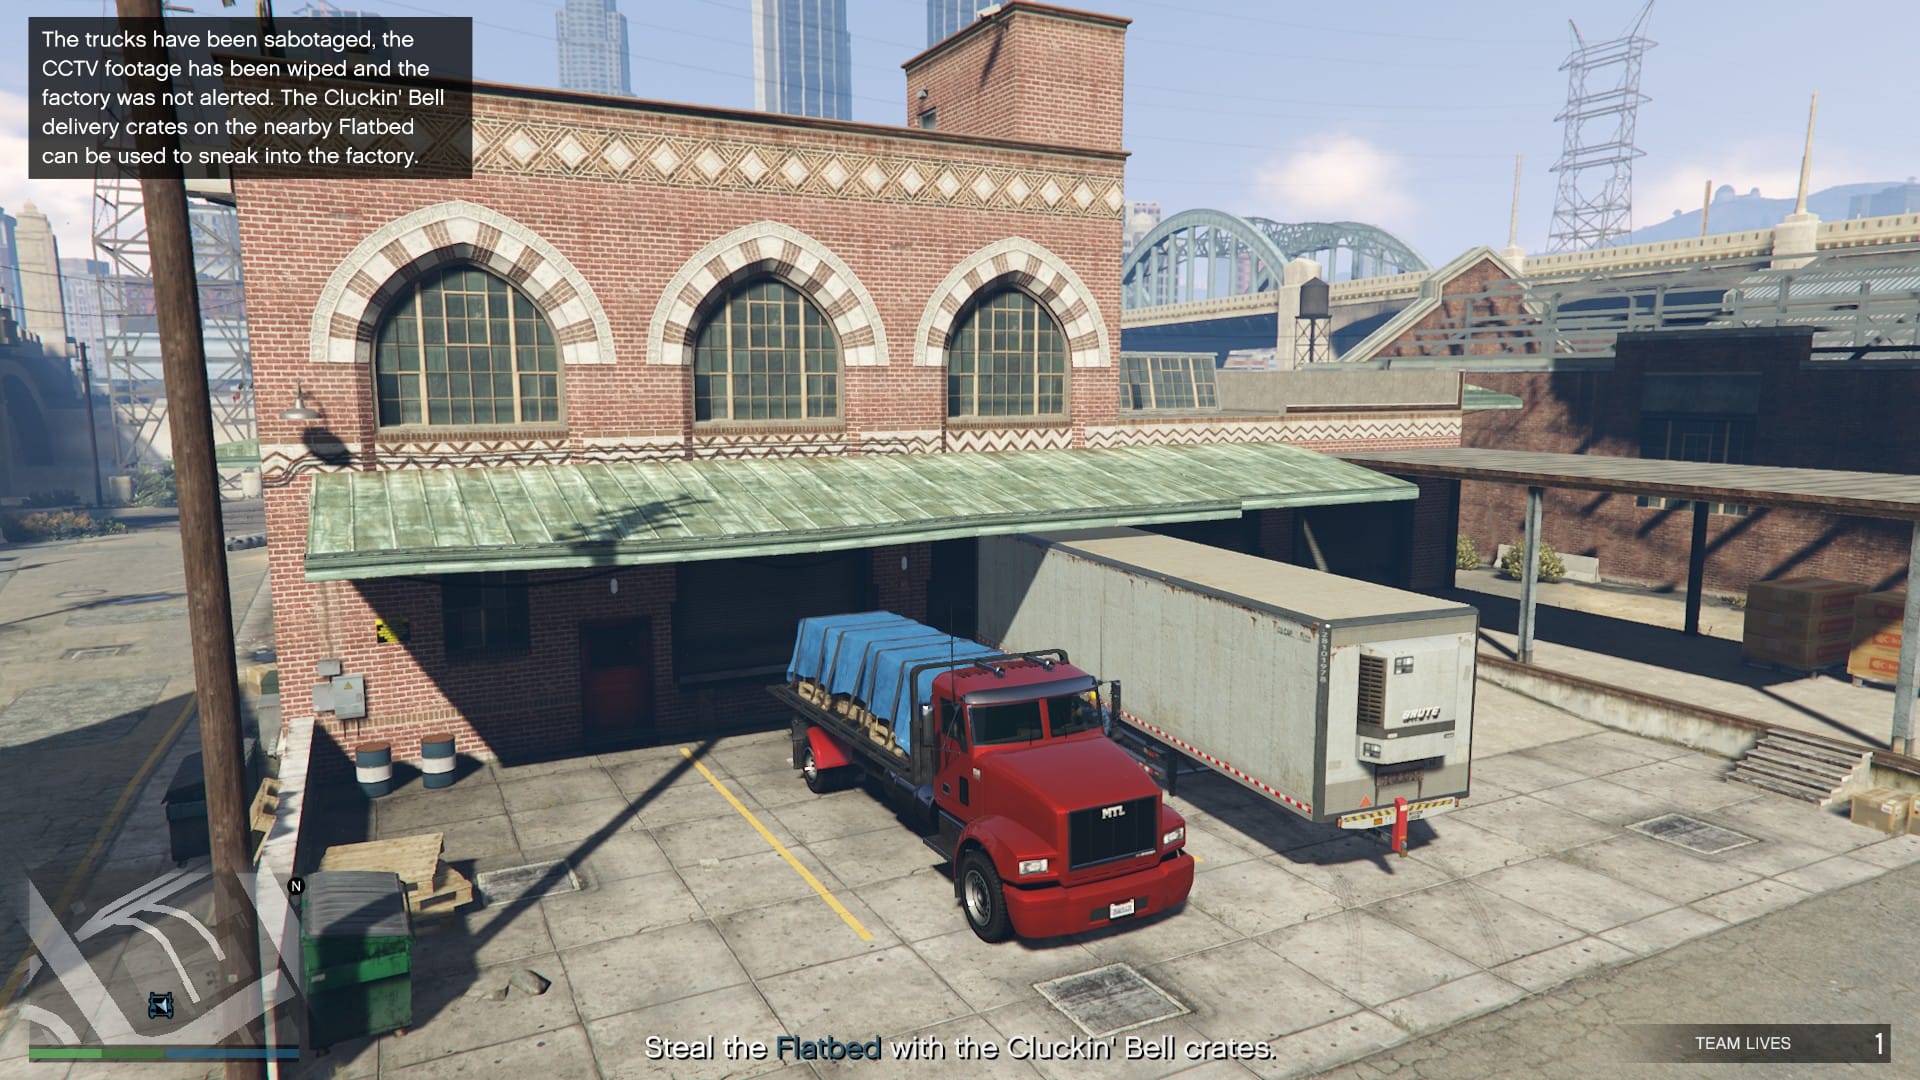
If you did not alert the guards, you wiped the CCTV, sabotaged (not destroyed) the Bensons, you will have activated the stealth approach to the finale. The last thing you will need to do is deliver the Flatbed to Vincent, as you will use the crates to sneak in. Now, if you are taking the aggressive approach, you will need to lose or eliminate some hostiles after leaving the warehouse to finish the mission.
Whether you delivered the Flatbed or eliminated the cartel, the mission will finish and it will be time to start the final!
Scene of the Crime
Cluckin' Bell Raid Mission #6
After watching the train cutscene, you will spawn in a room with three guards. Slide to the right and take down the first guard, move forward and there will be another guard walking left to right on the docking bay and another on the right. Take them both down however you see fit but remember to not alert the guards.
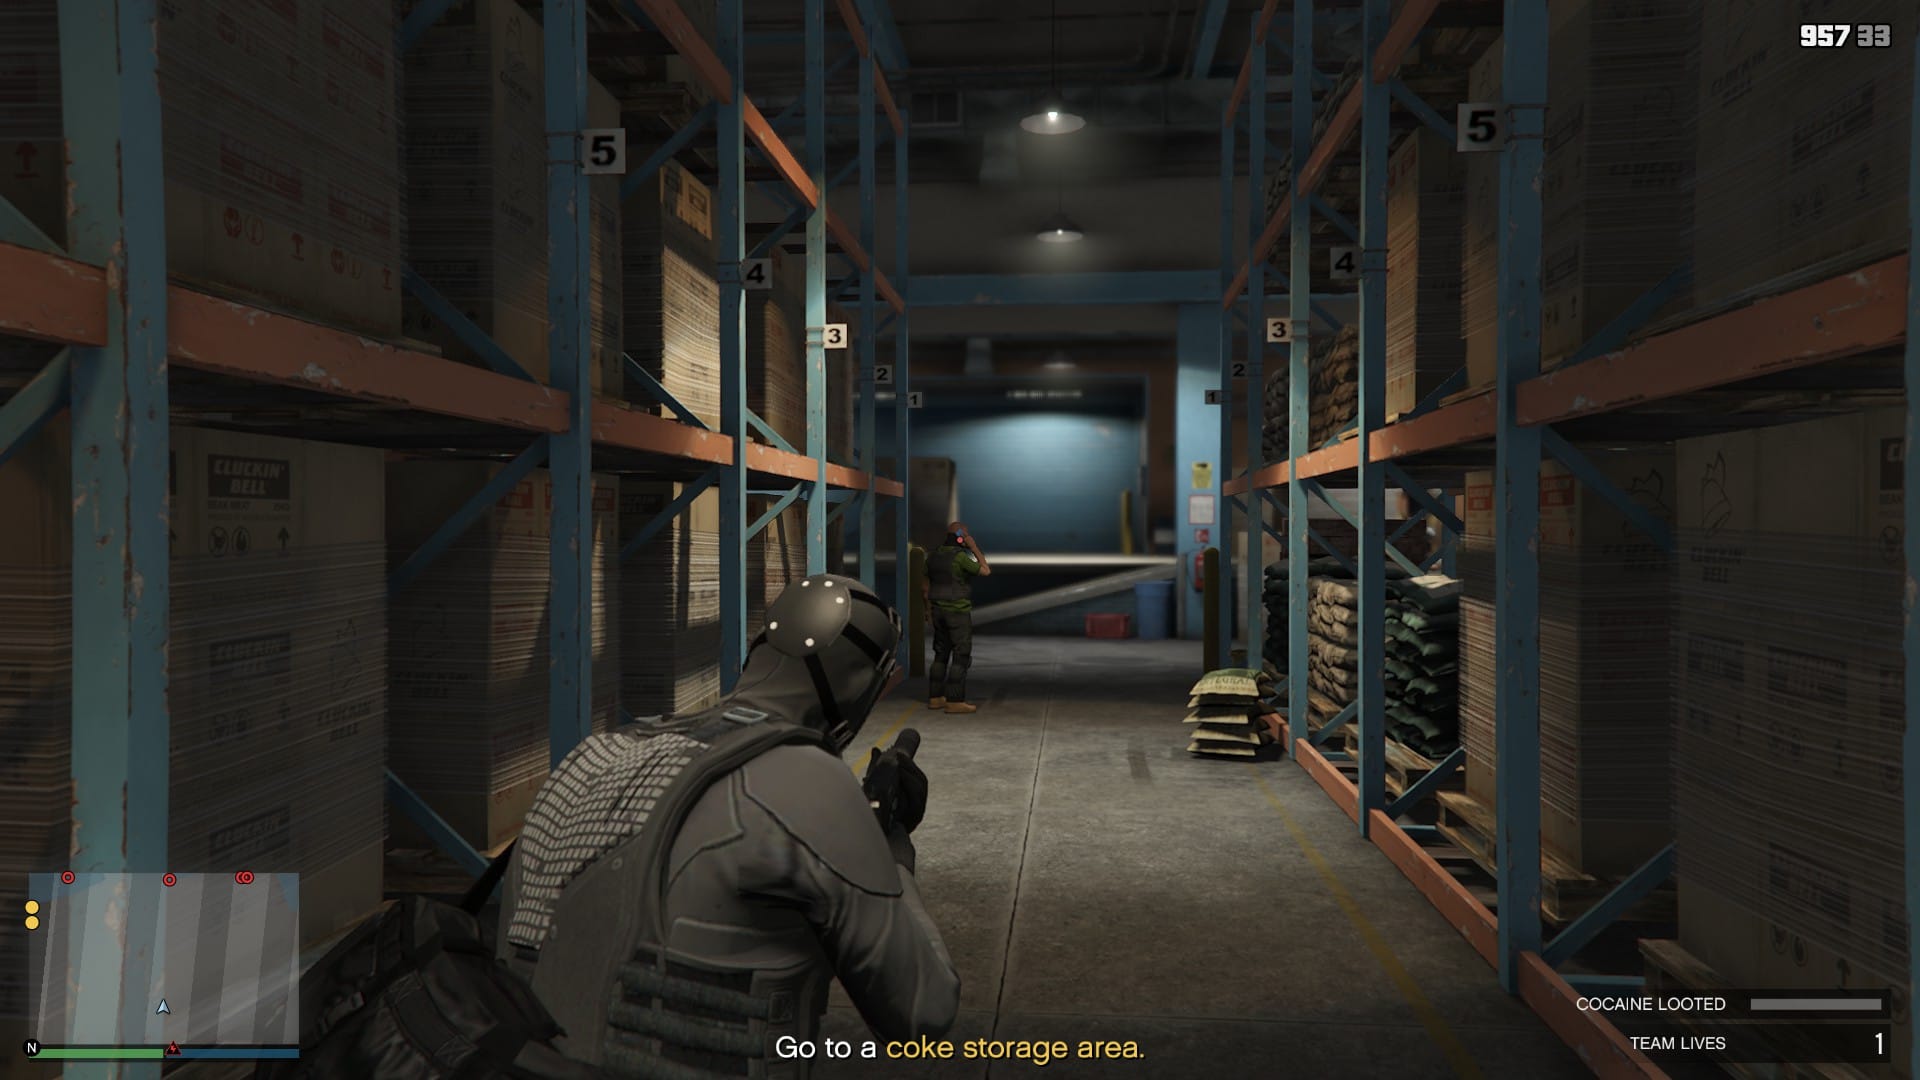
With the three guards dealt with, head back to where you started and look for the fuse box. Shoot it and this will unlock a door below that you can access the other stolen weapons and gear from Mission #3 - Concealed Weapons.
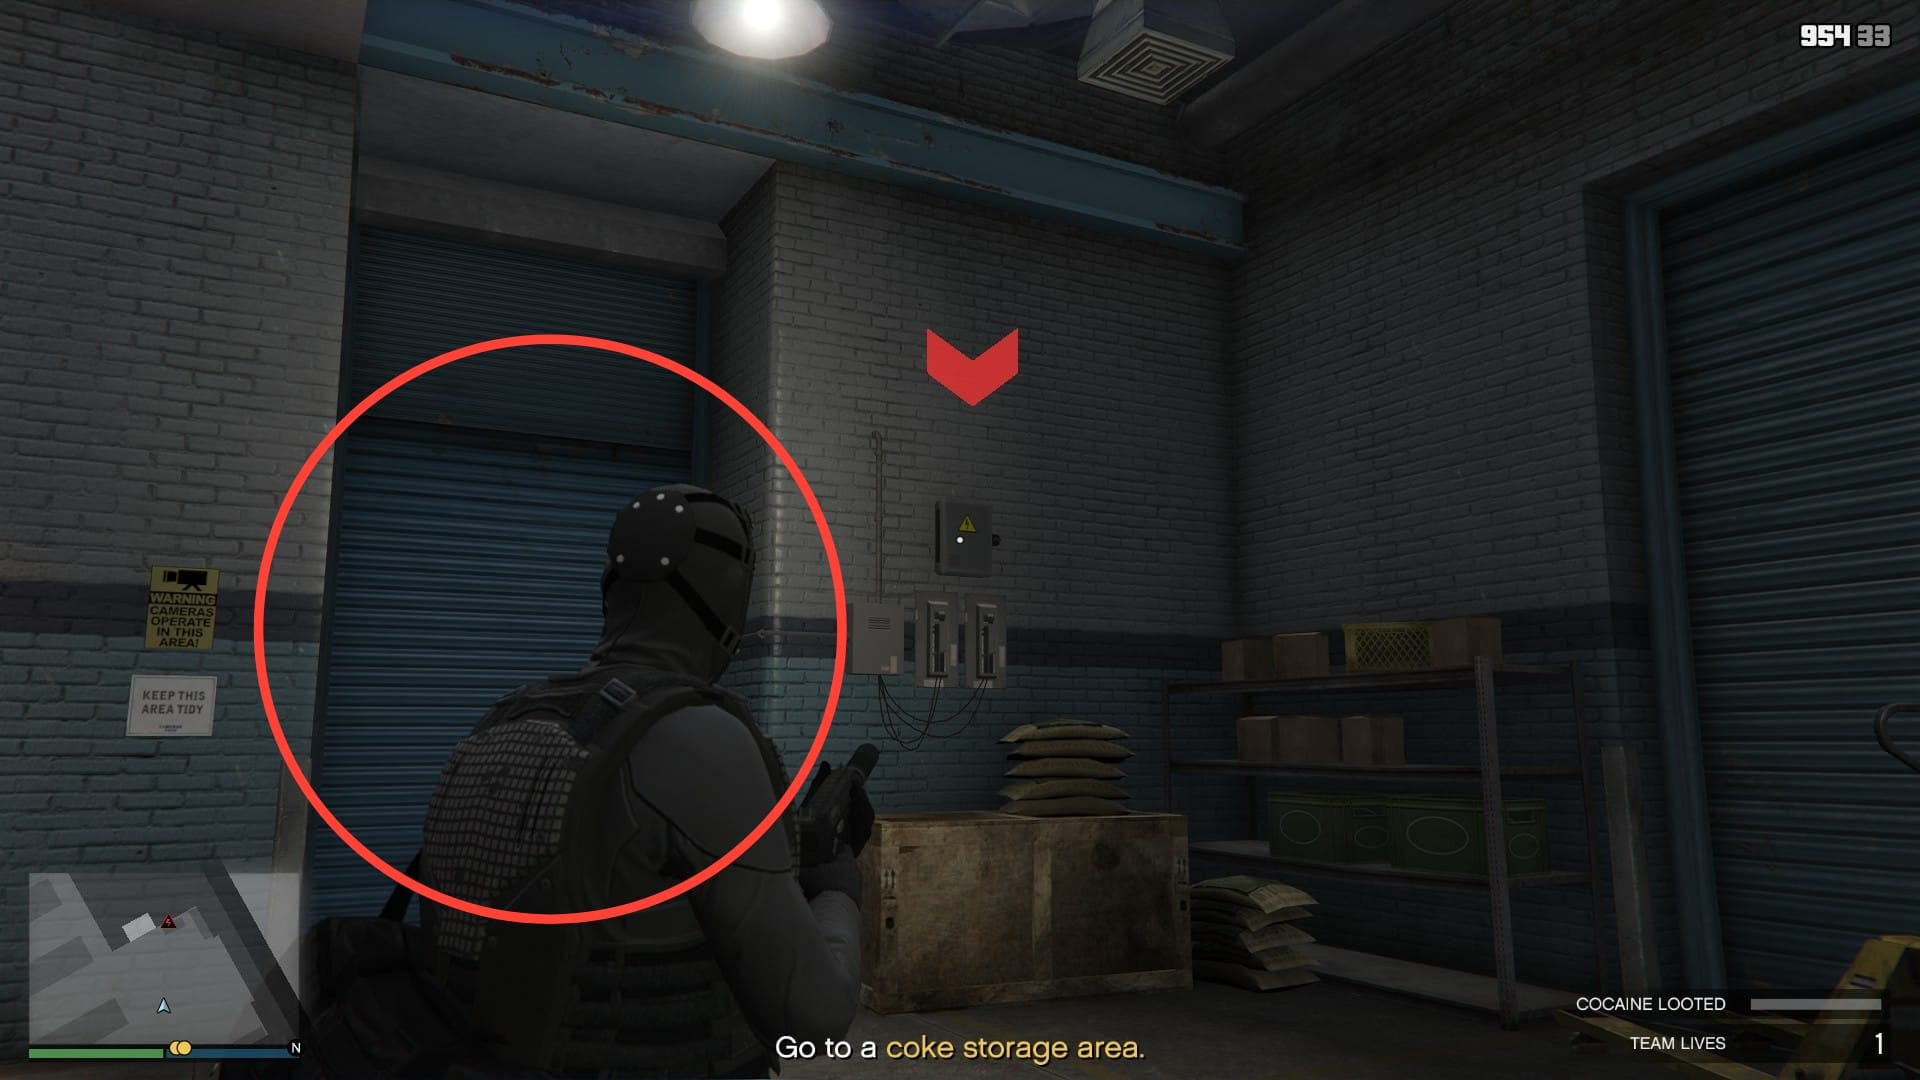
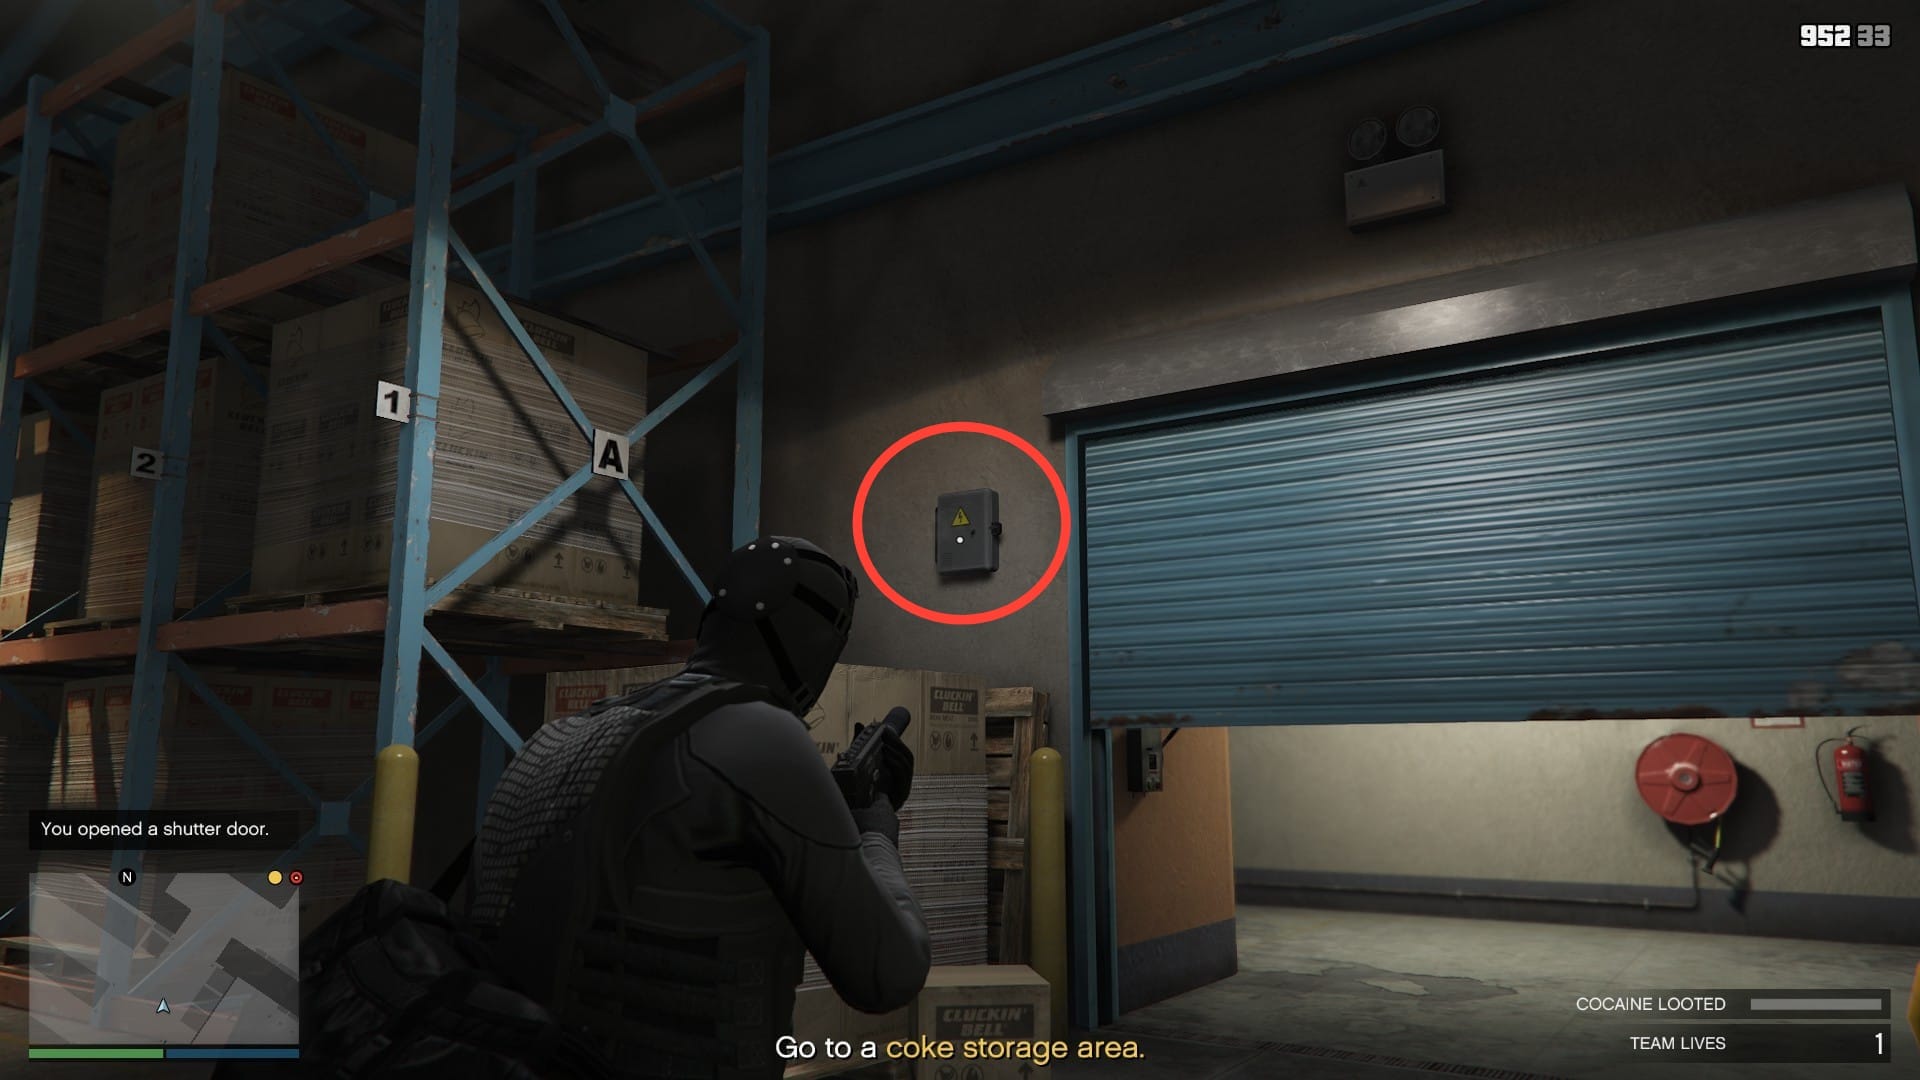
Head back to the loading bay, turn left and shoot the fuse box to open the next door. Do not immediately run out, as there could be a roaming guard. Instead check your map and take note of the guard movement patterns.
As you can see below, this narrow hallway is heavily guarded. There are two ways to approach this, wait for the moving guard to stop closest to us and quickly silence him or follow him from behind and take down everyone along the way.
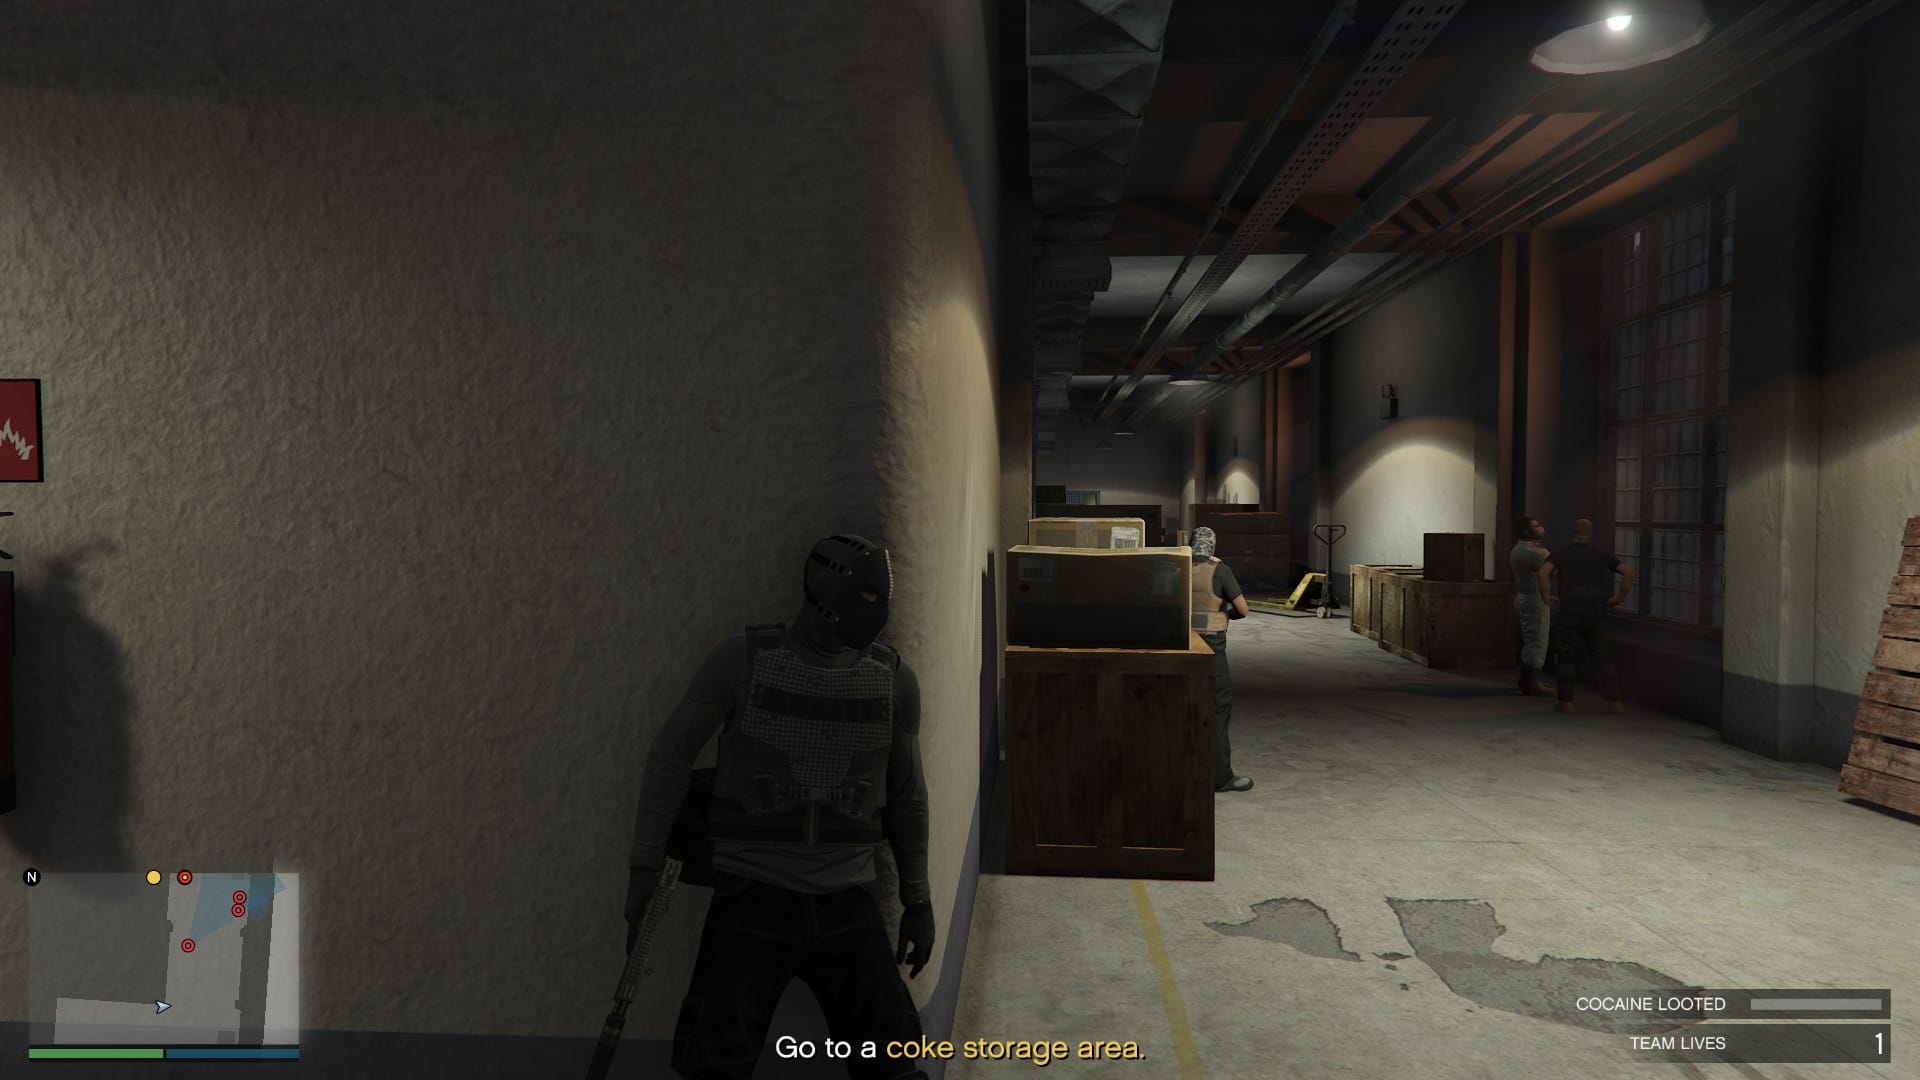
I have found more success in taking the roaming guard out first and making my way up but either option works. Note that this is the hardest section to get through, after this section the guards are spread out and there is more room to move. After clearing the hallway, you will come to the first coke storage area. As you can see below, the guards will not see you, nor will they enter this space.
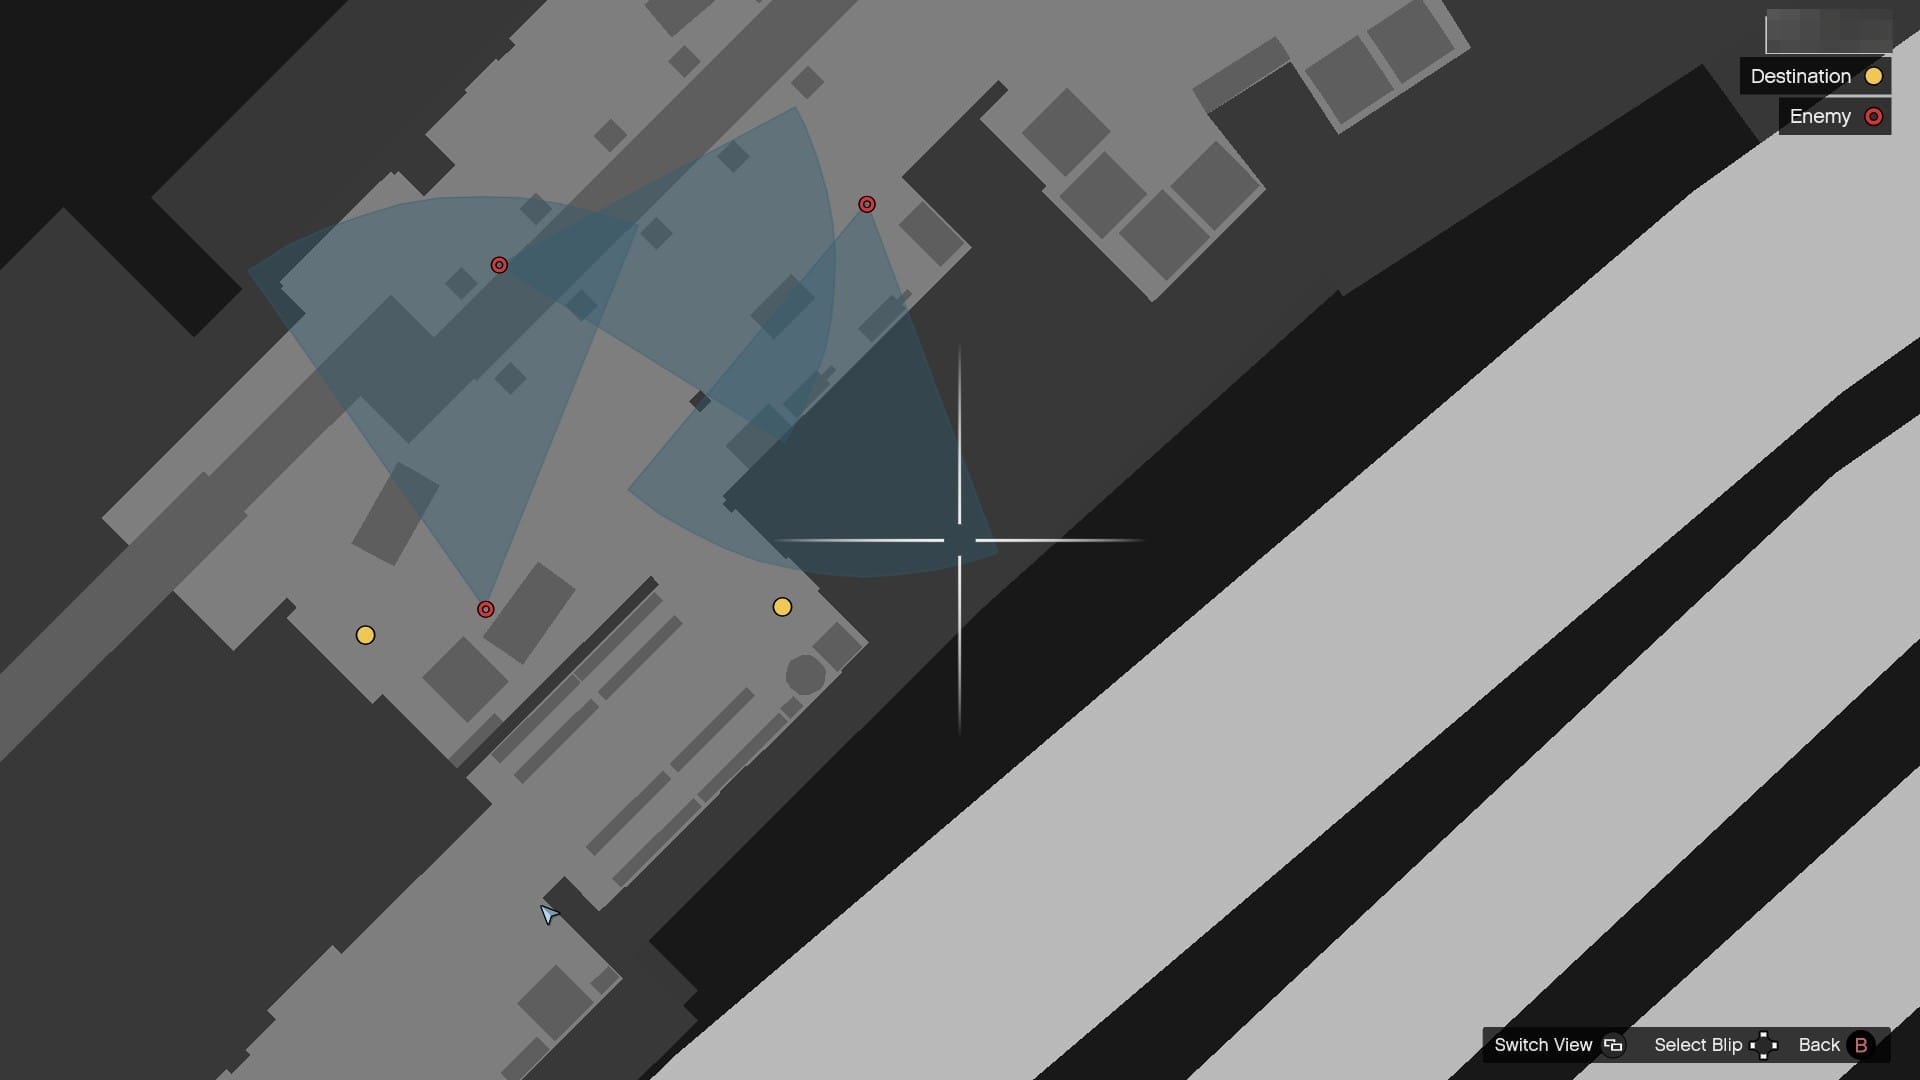
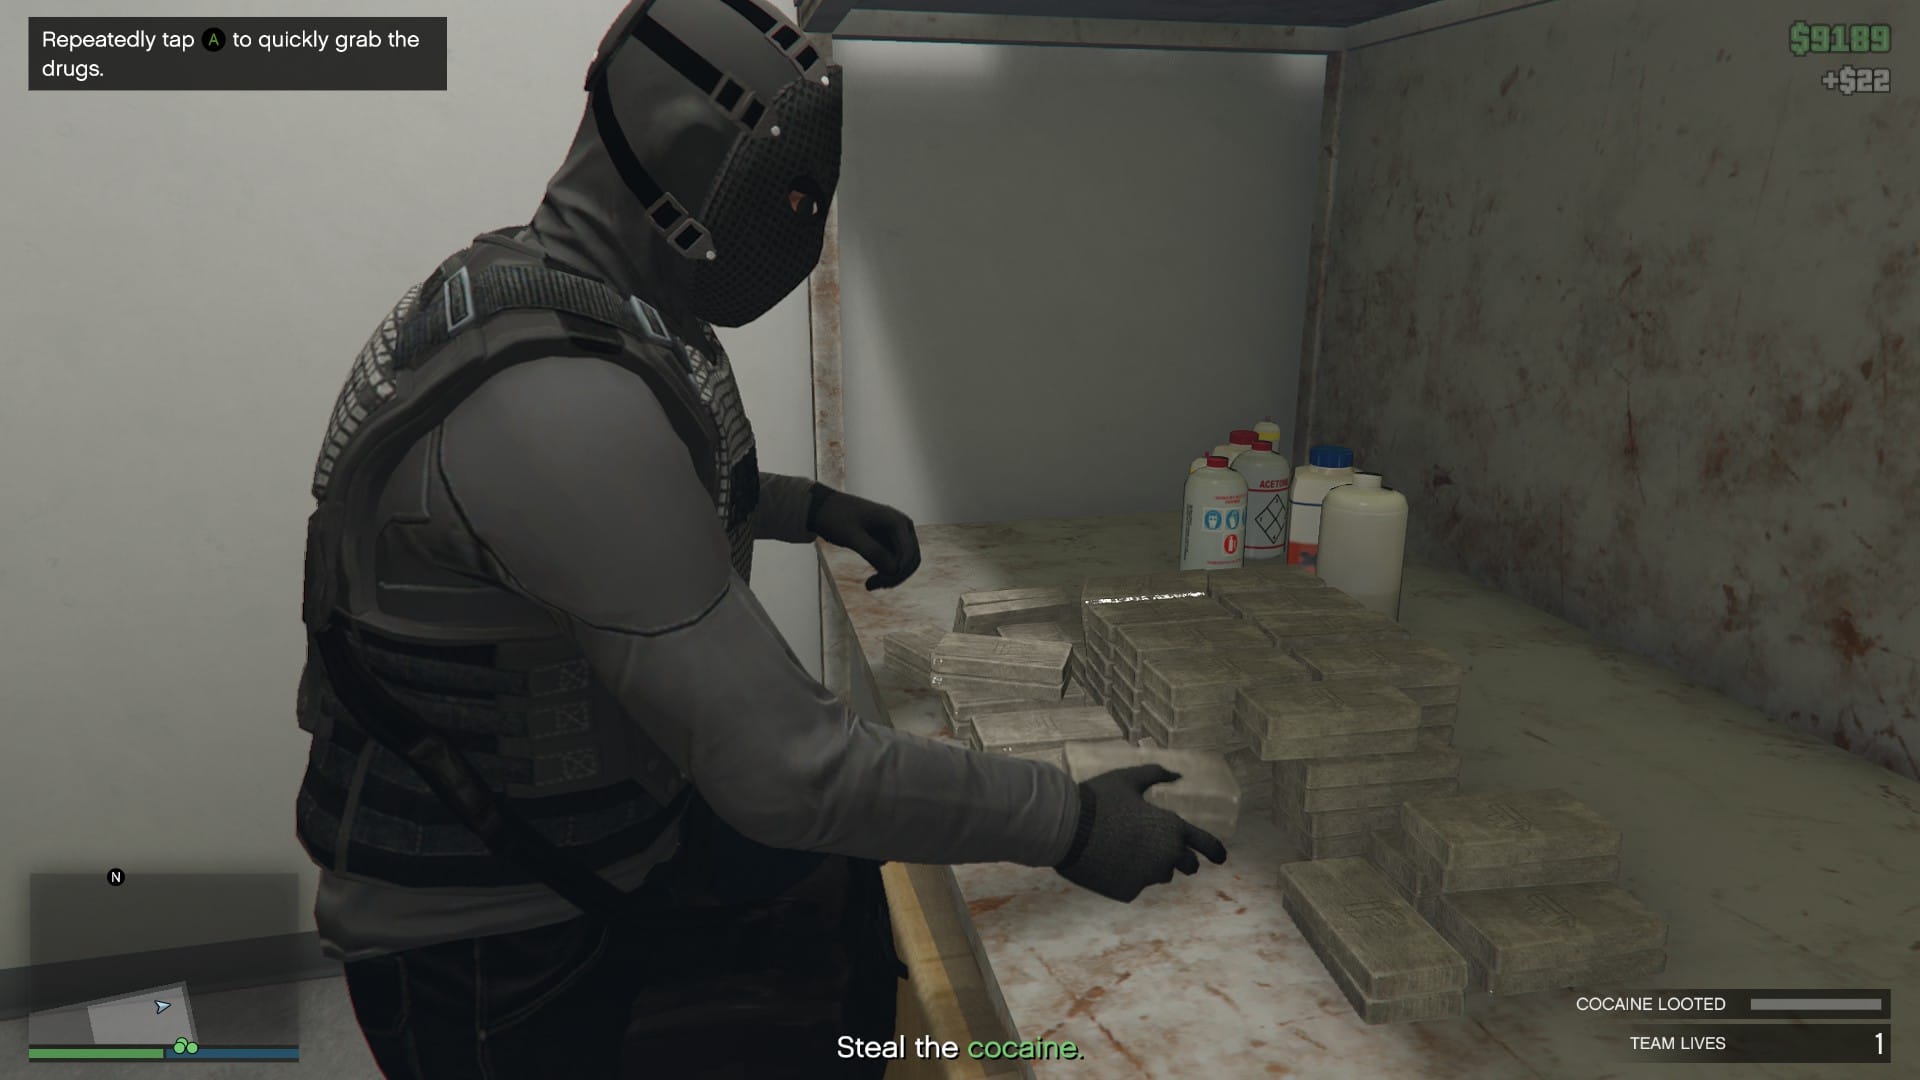
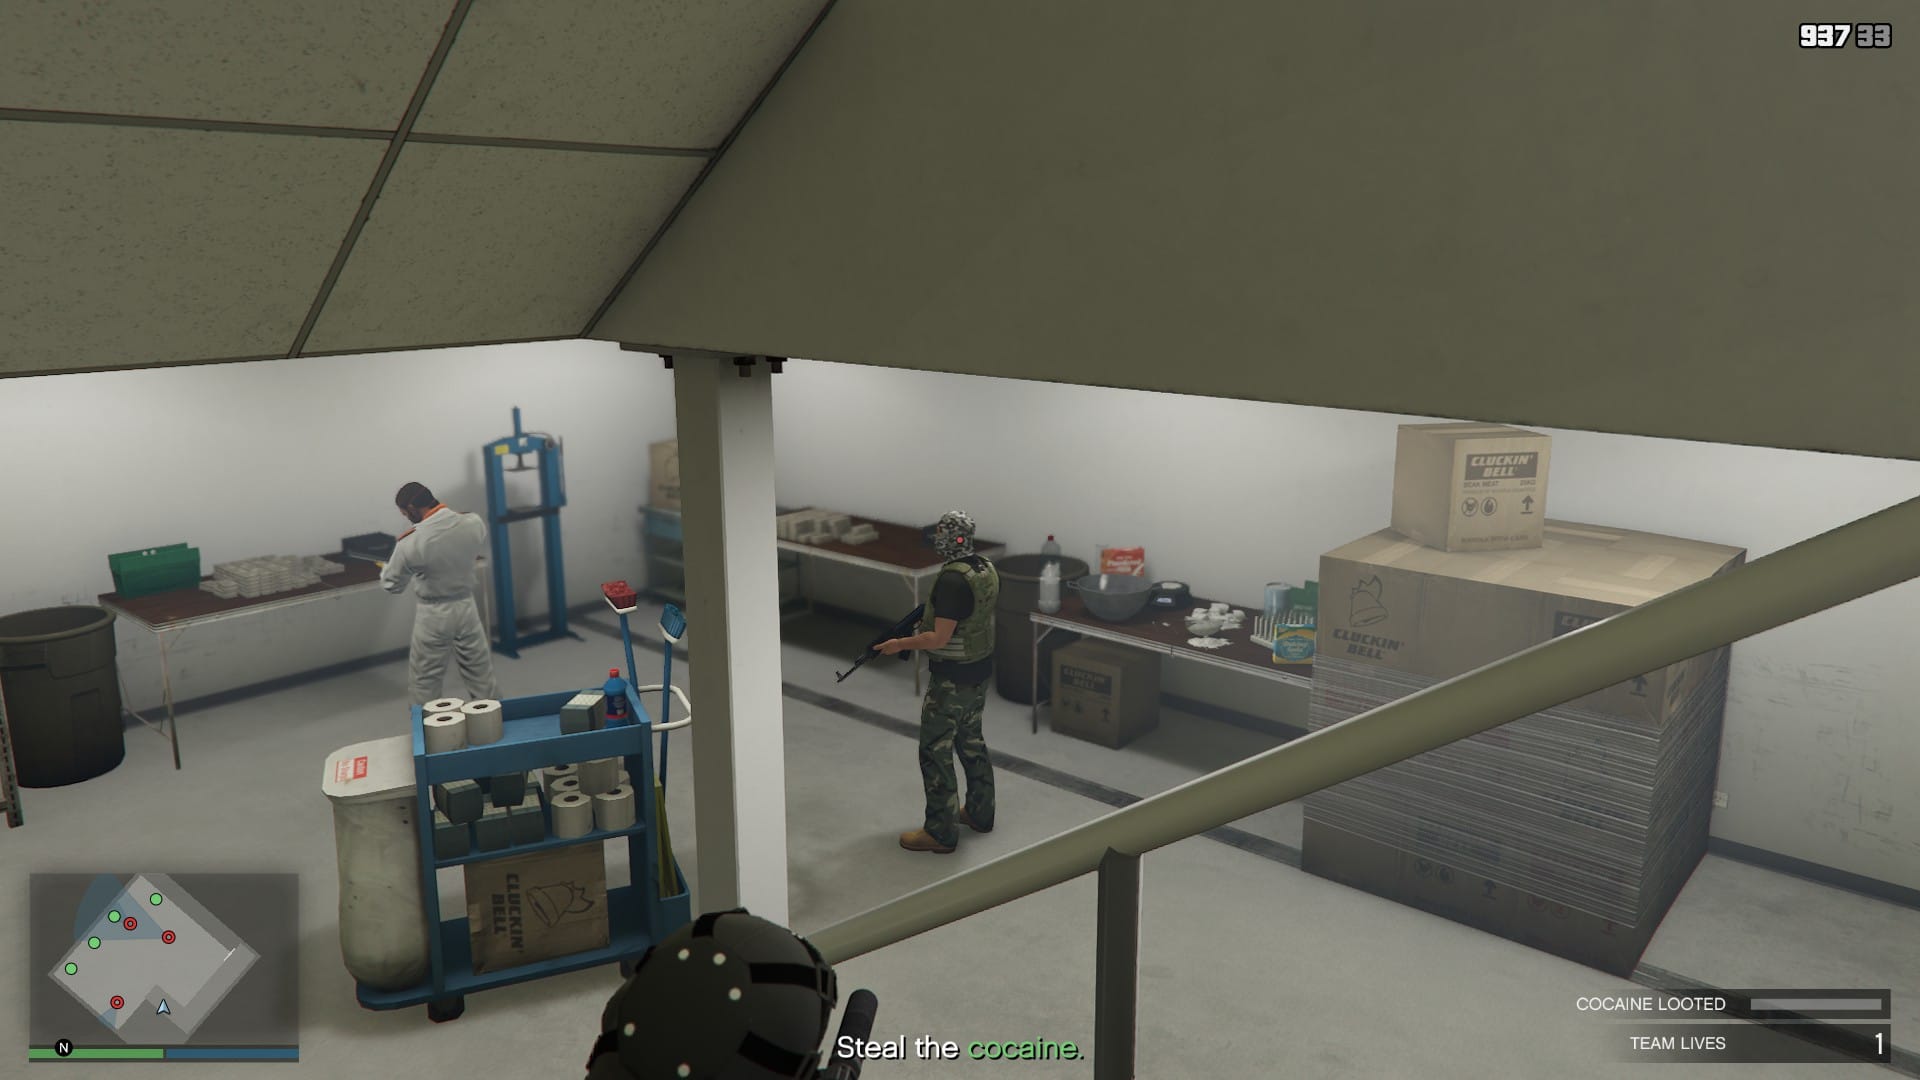
Swipe the access card and head into the storage area. There will be three guards down here and they can all be easily taken care of if you move from right to left. Once they are dealt with, start loading up your bag with coke and head back to the main factory.
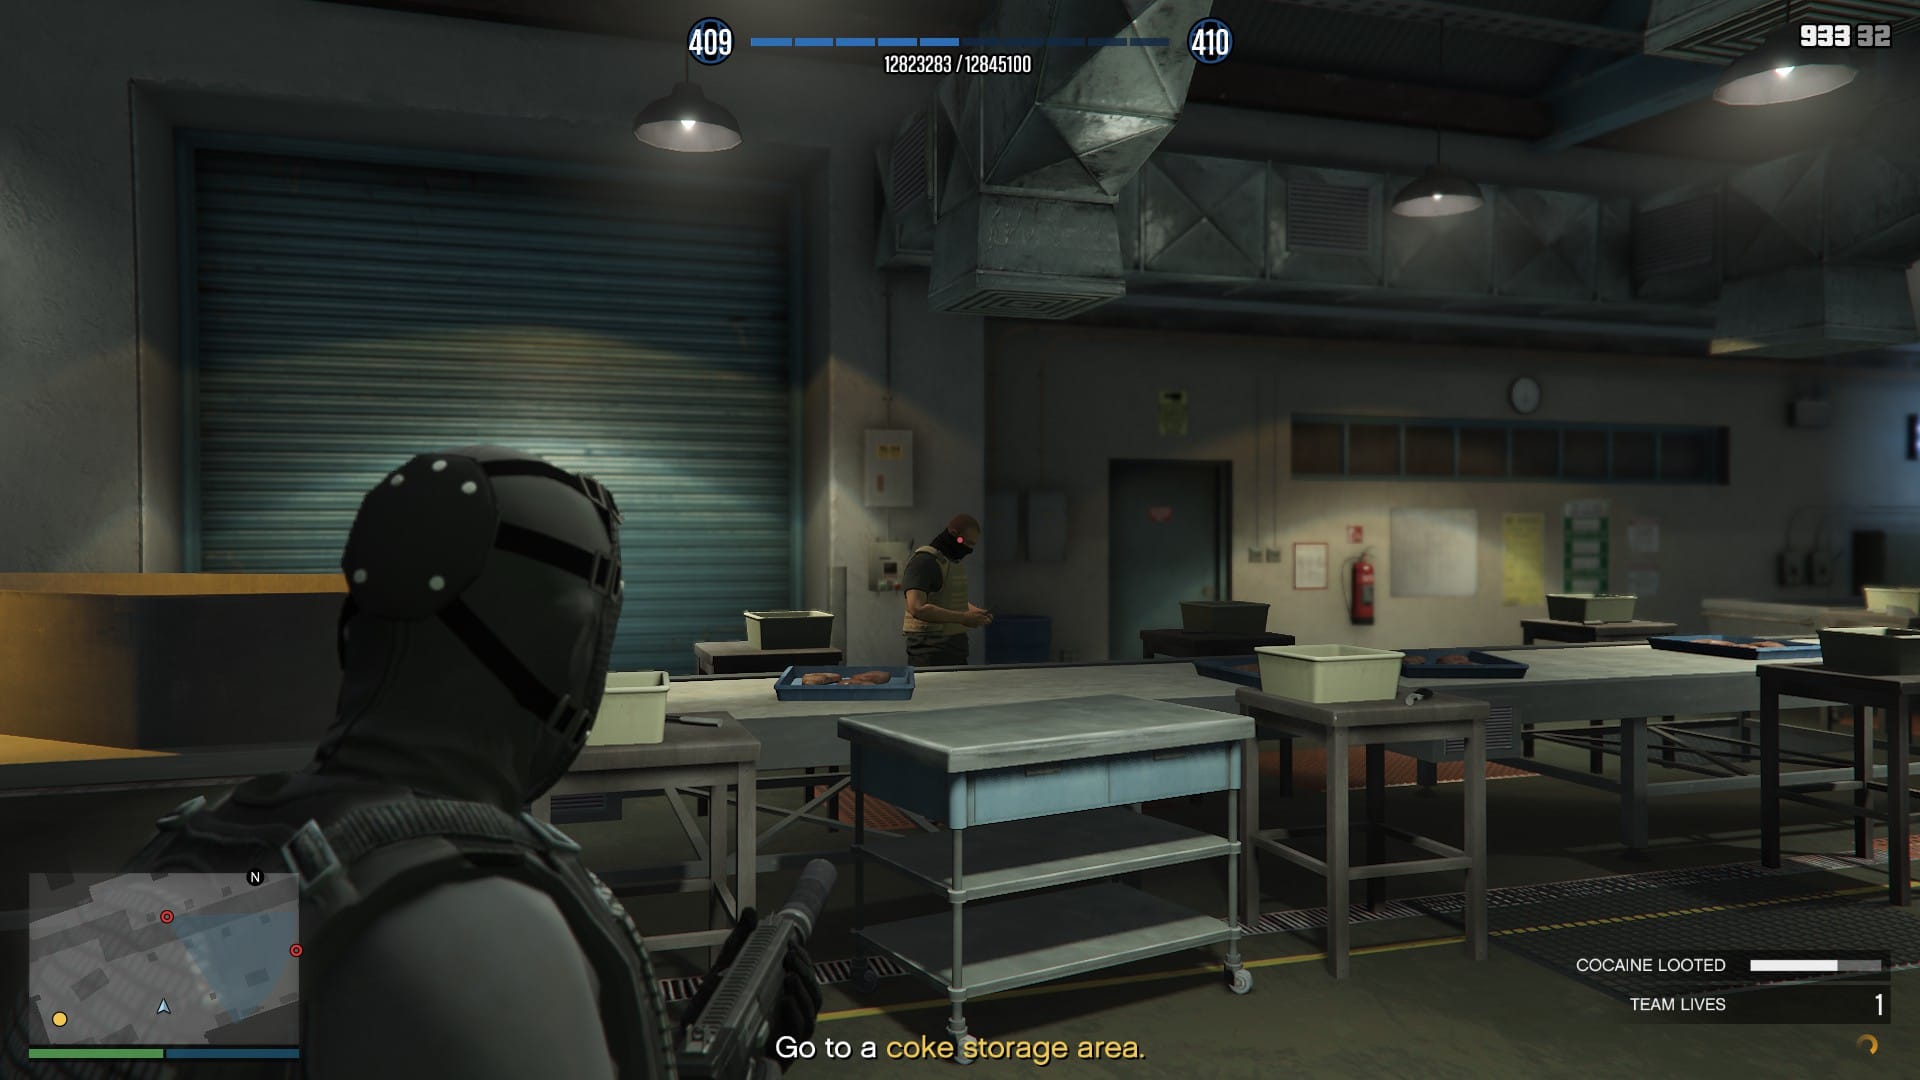
From here, poke your head through the door and take down the guard on the left and then to the right on the other side of the conveyor belt. With them out of the way, turn back to the left and head to the next storage area.
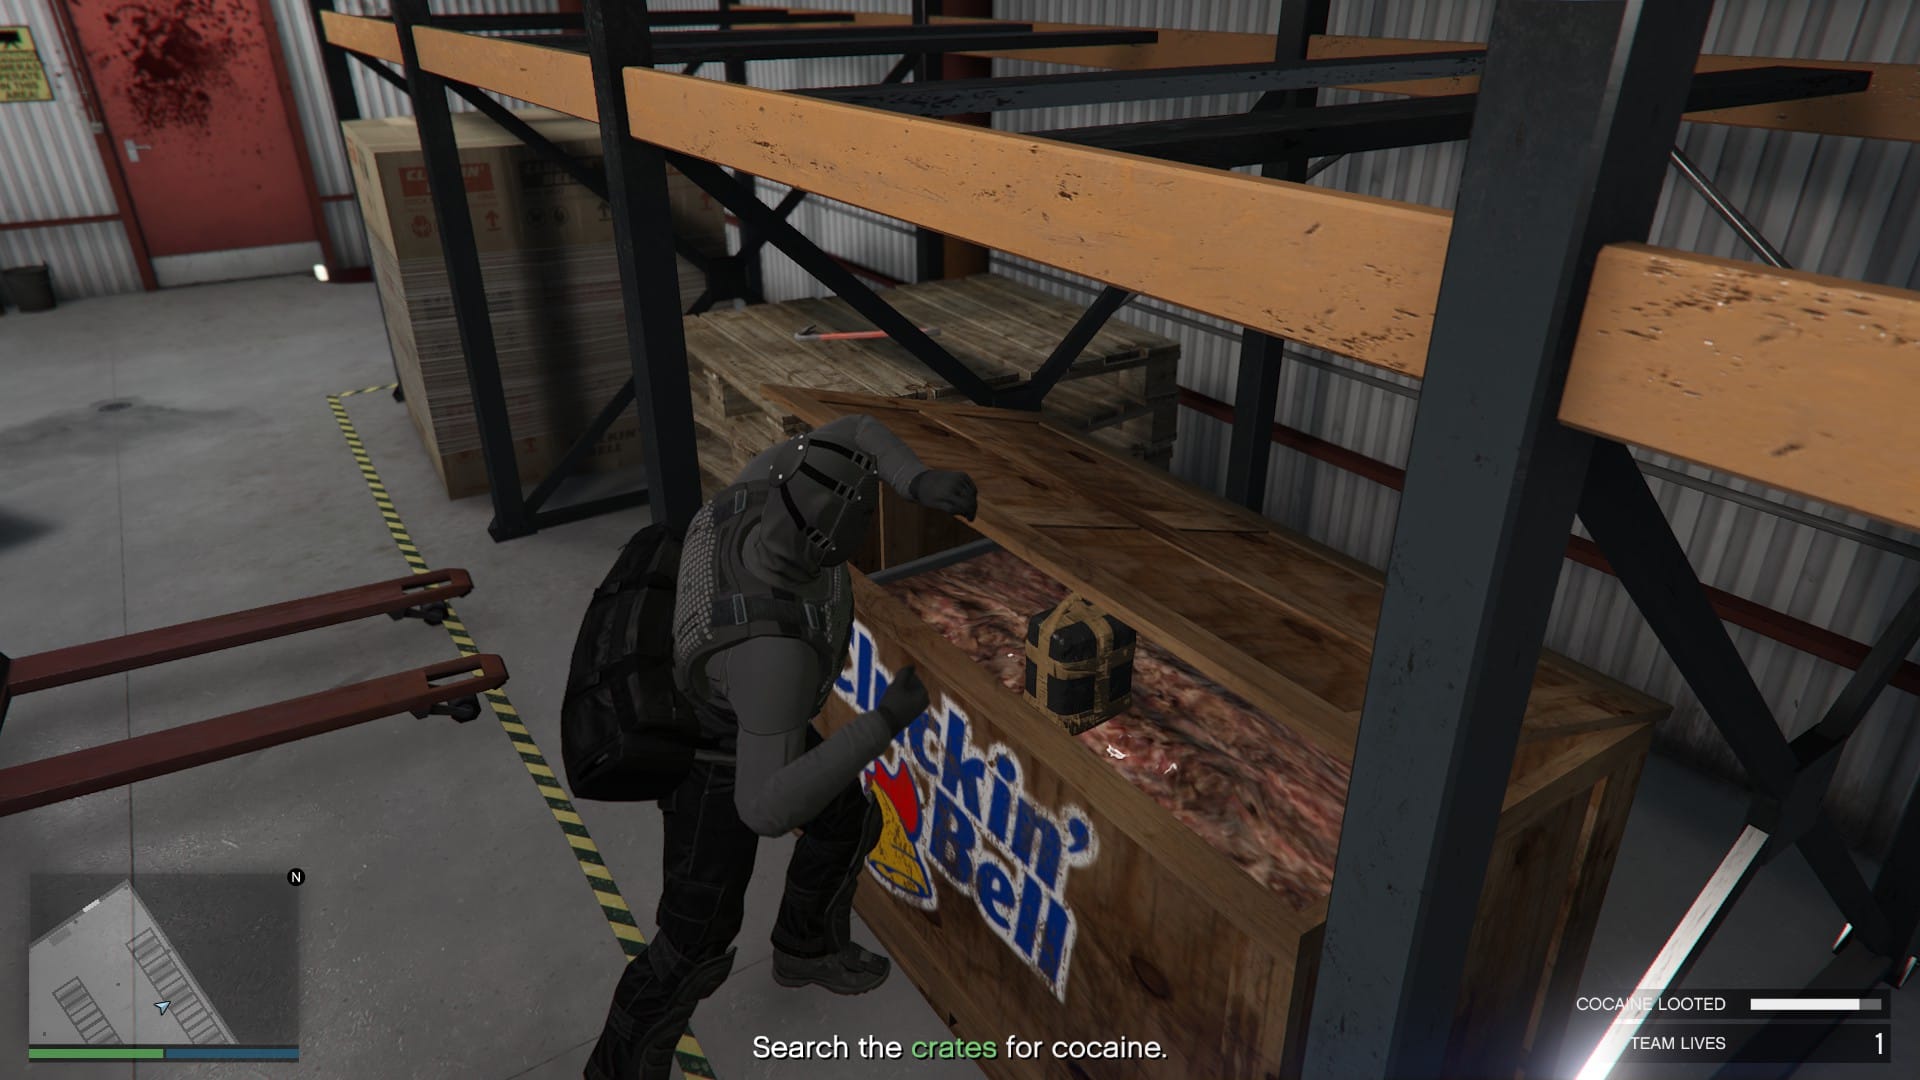
Once inside, there will be two guards, one of the left and one on the right. Take them down and find the crowbar at the back left of the storage area. Use the crowbar to start breaking into the four crates, noting that only two will contain the coke you are looking for.
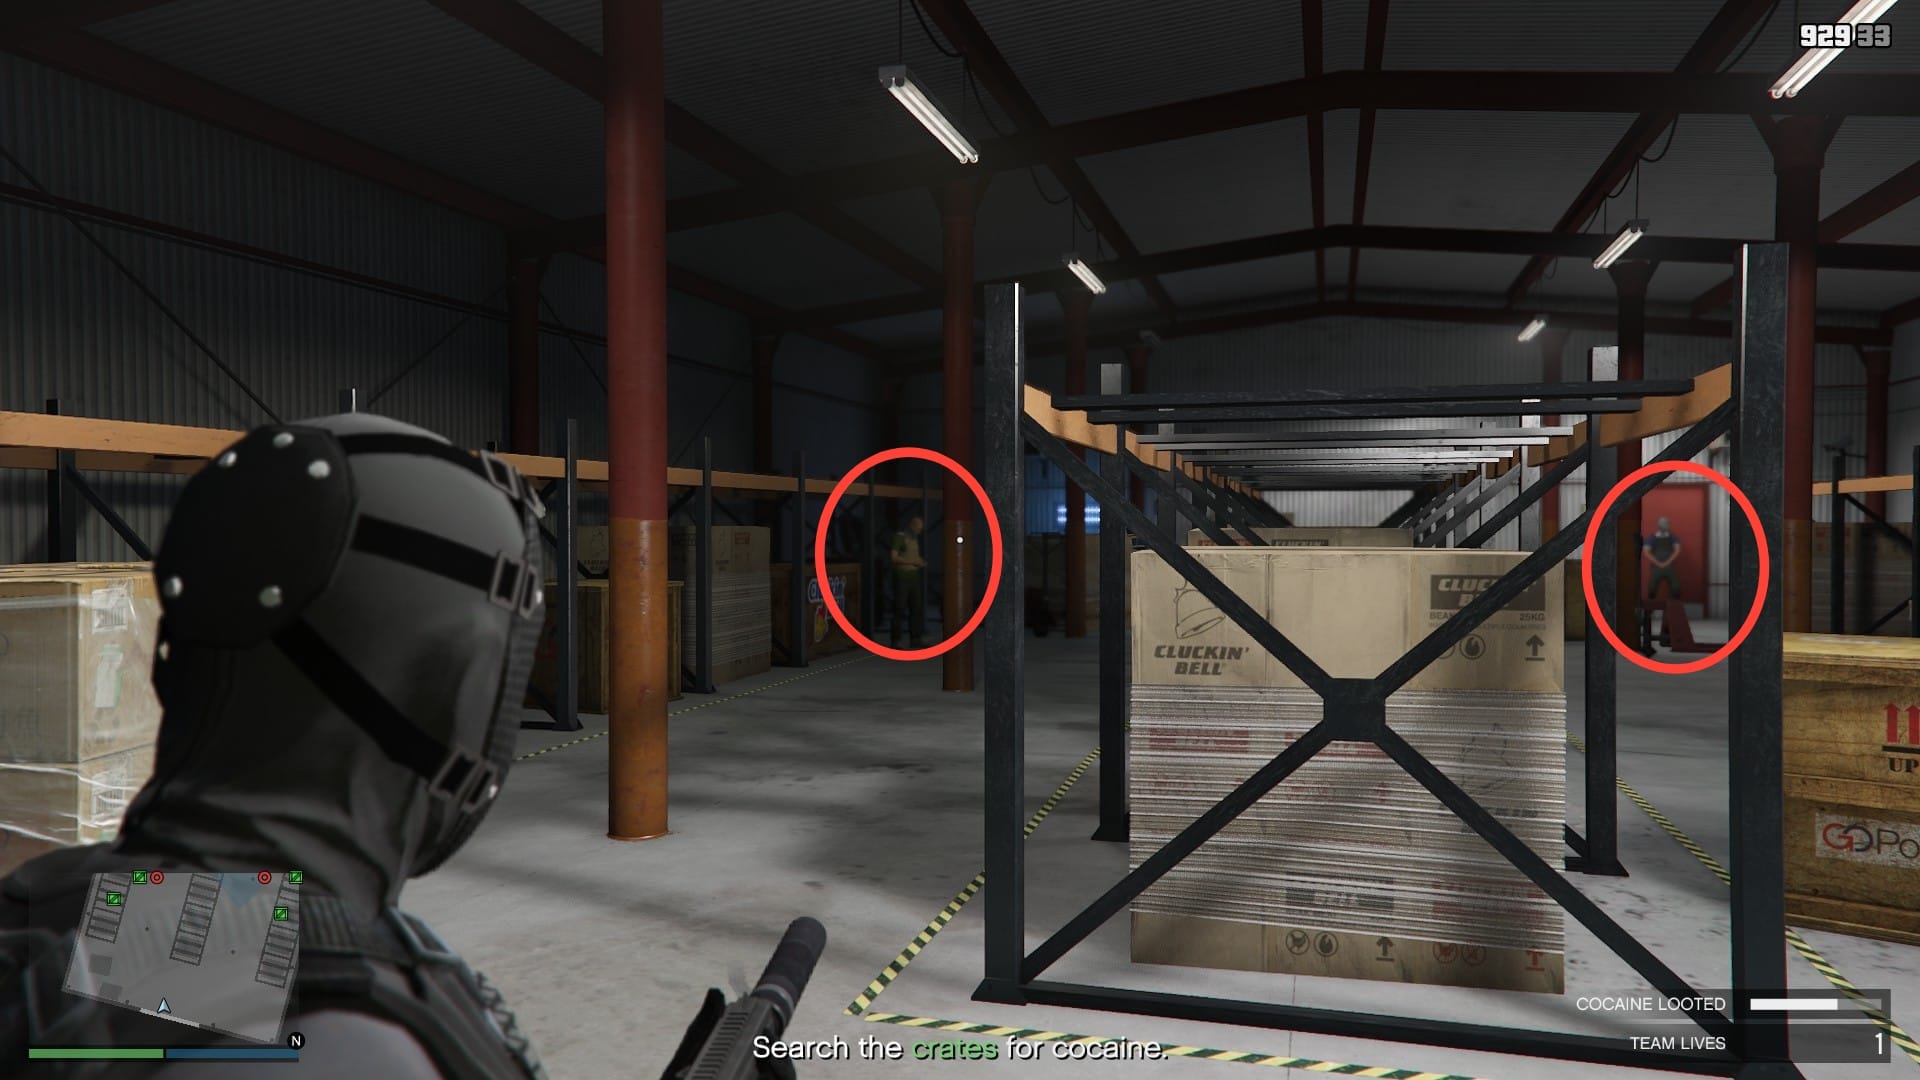
If you are taking the aggressive approach, after you start breaking into crates, additional guards will spawn and need to be dealt with. Once you have collected the two coke packages, you will be able to head back to the factory floor.
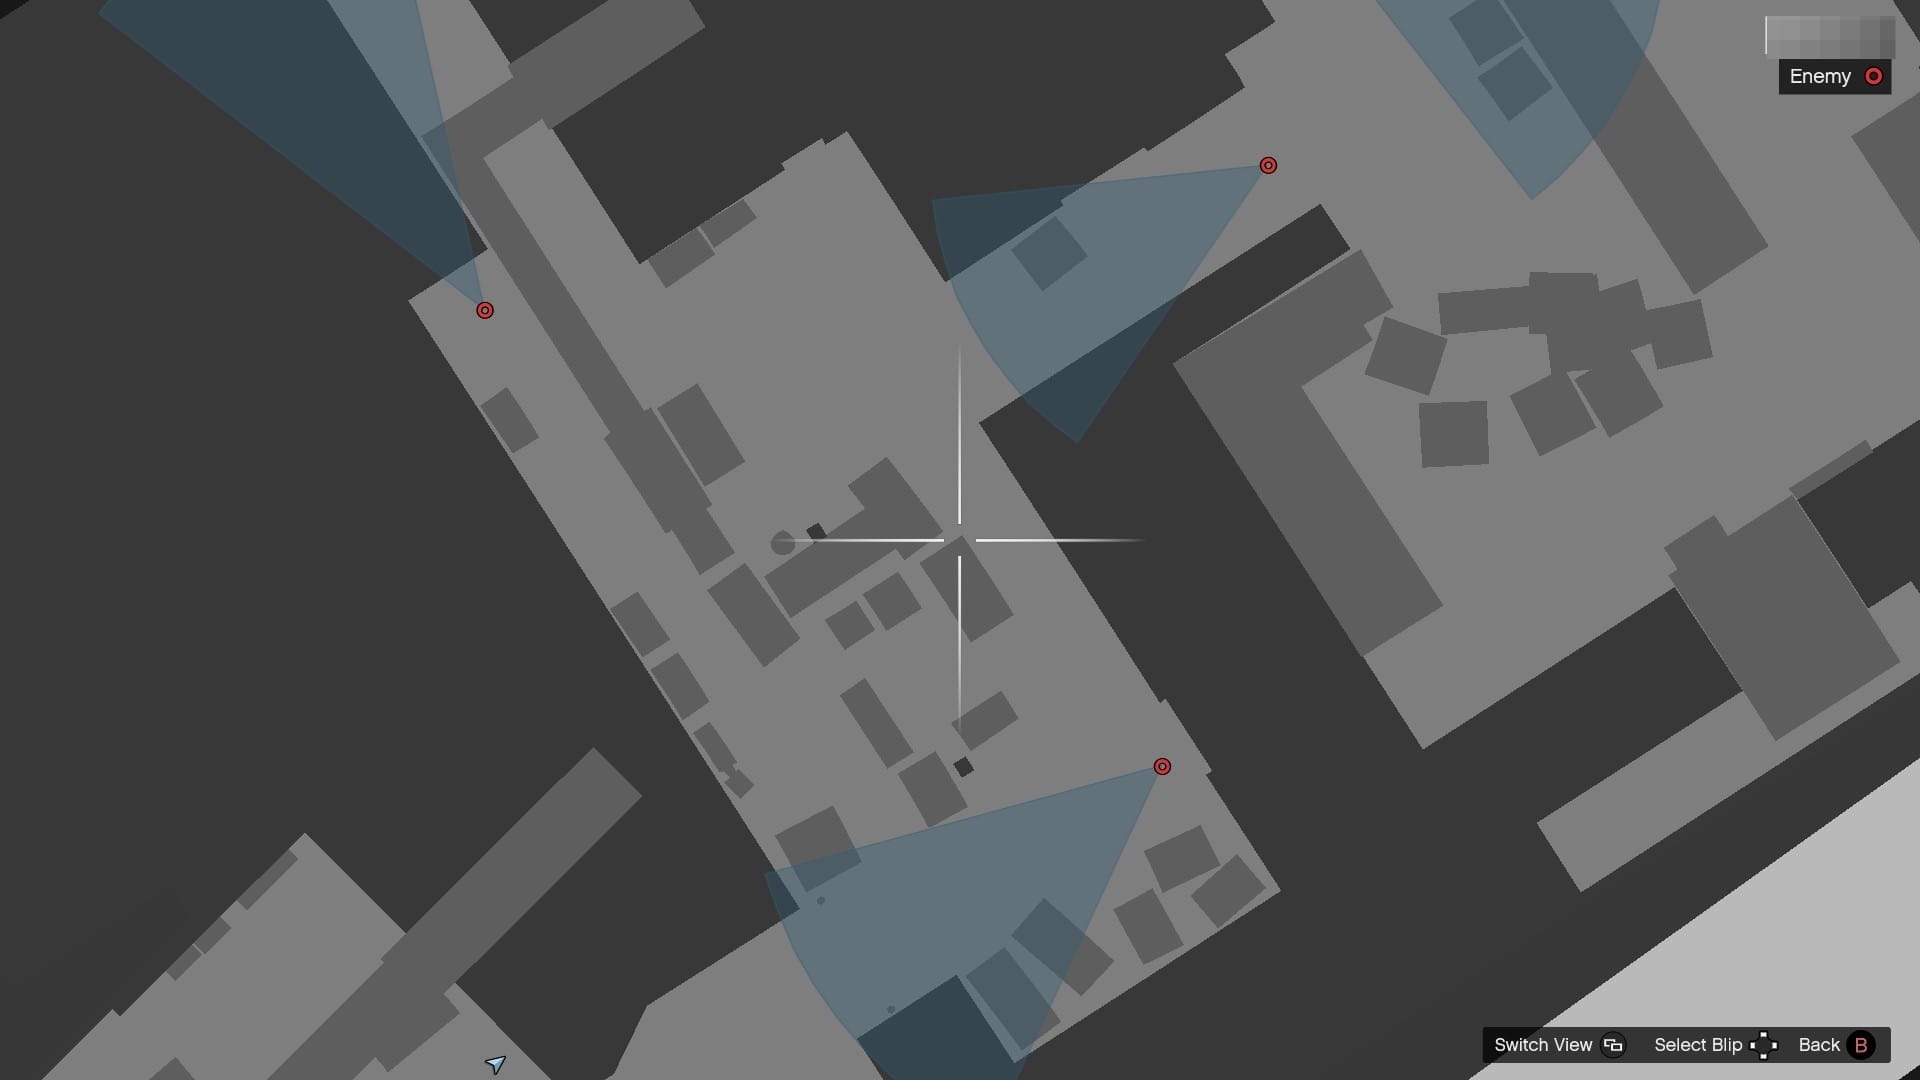
Move forward through the factory and to the next area. For the sake of convenience and protecting the stealthy approach, wait until the guards are in these positions and then take down the guard in front of you and then the one on the left.
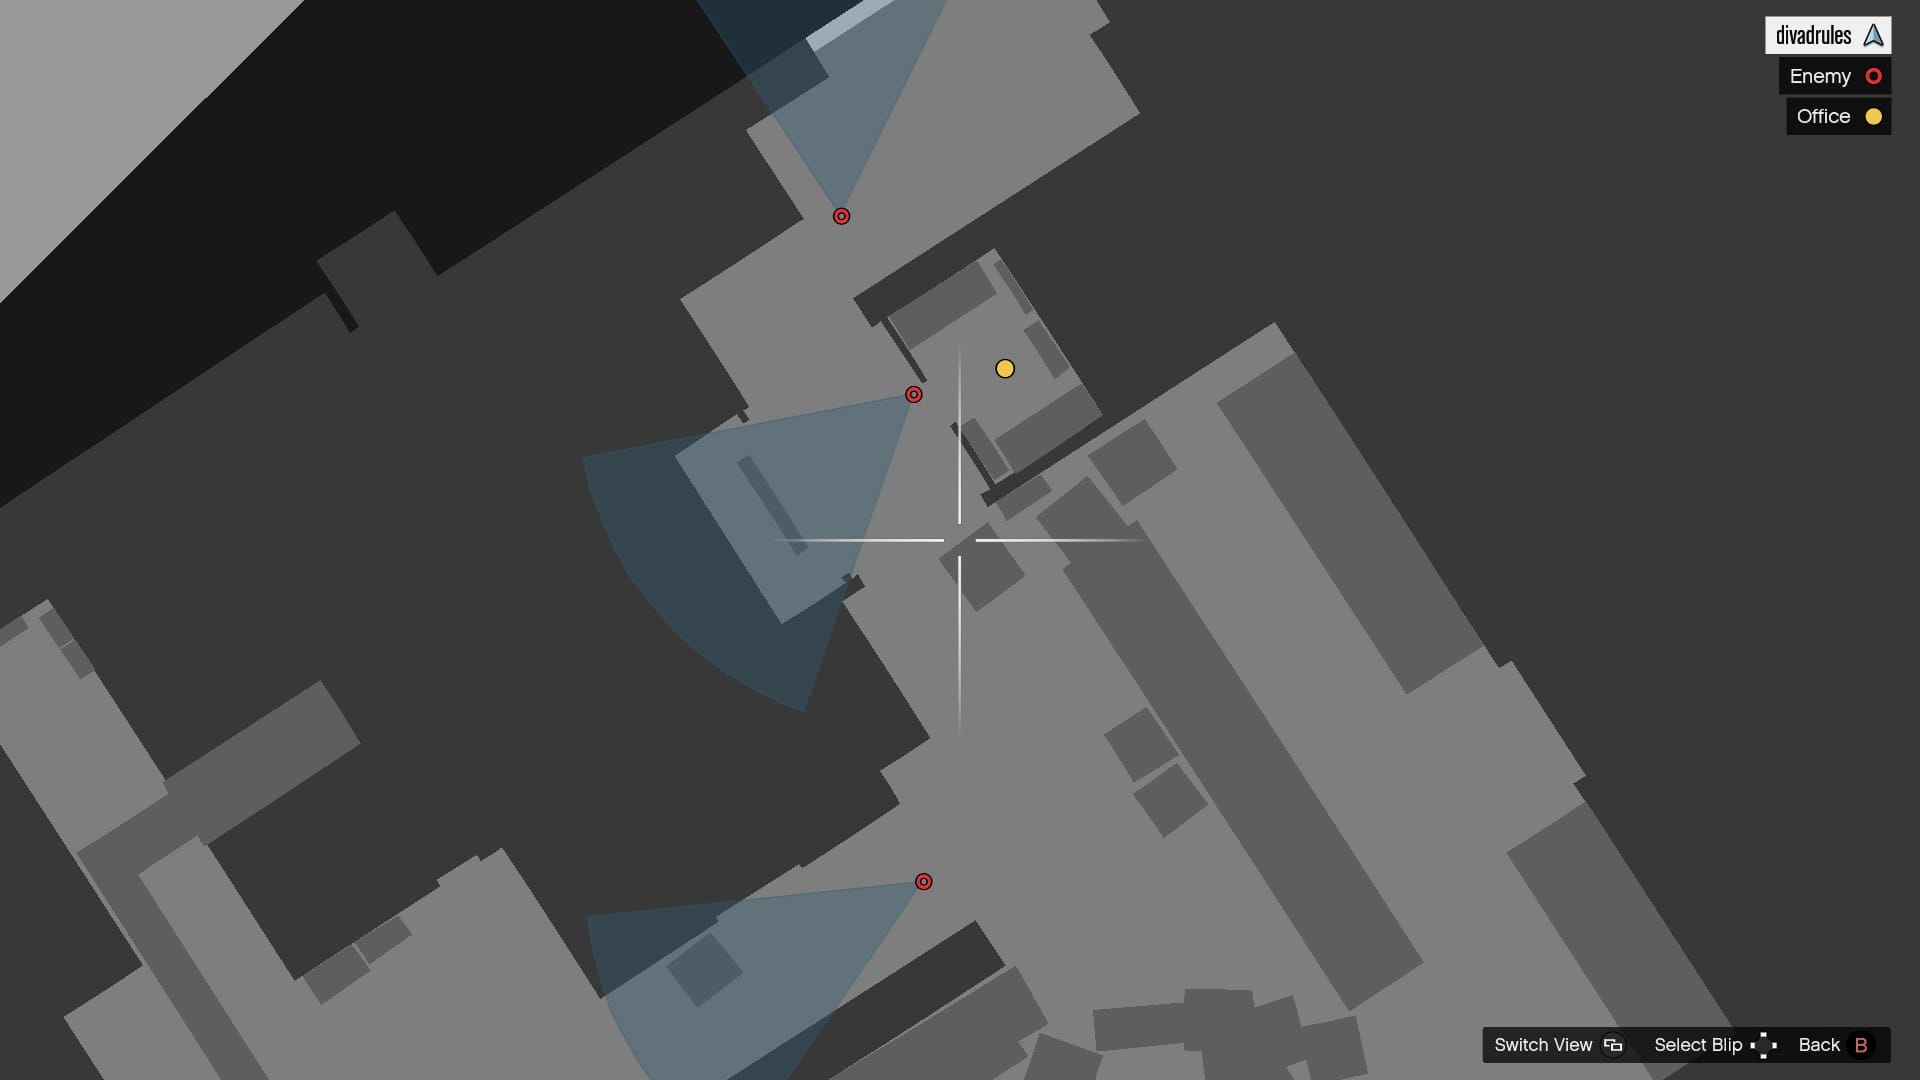
Move to the hallway and await the guards to get into the below position. Take them down in order and then head to the office. From here you will need to find the office keys, which can be found within the factory floor.
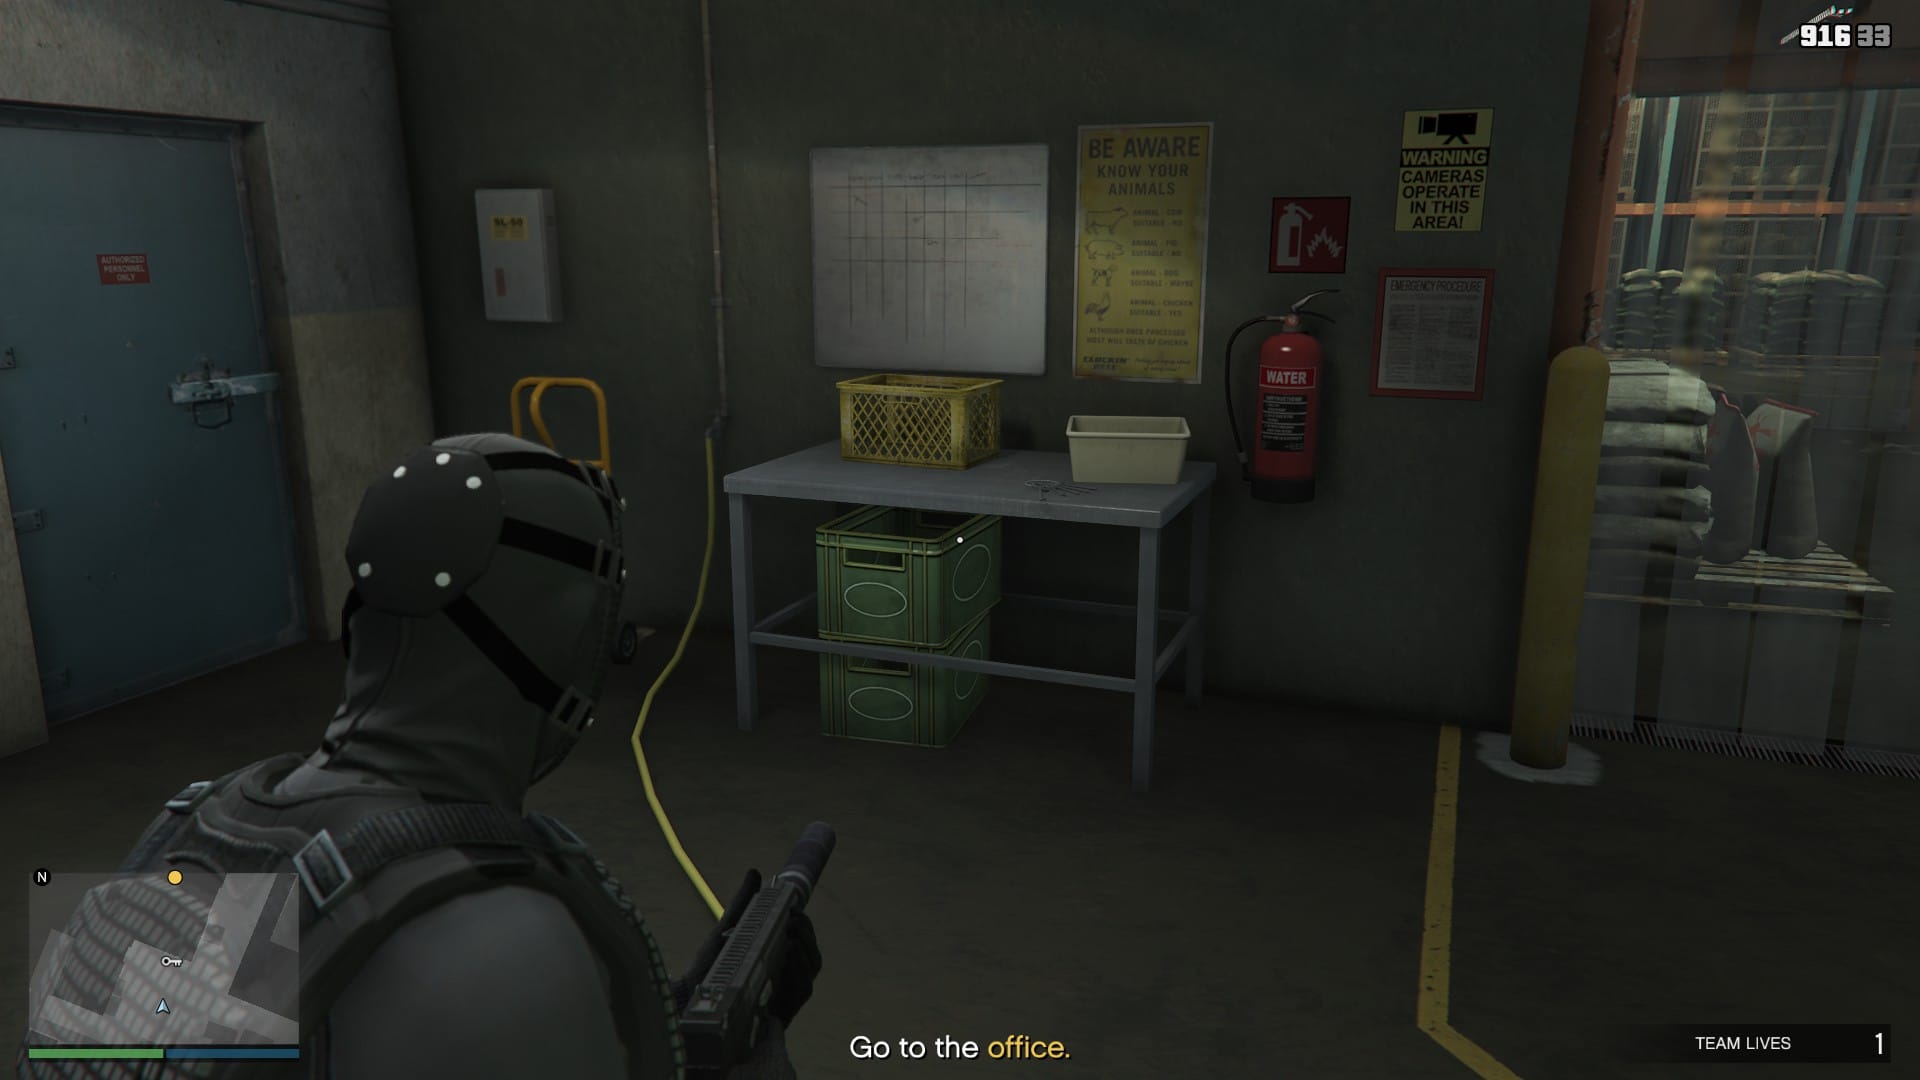
The keys can be found in one of two locations on the factory floor, which are seen below. One in the room we just came from and one in the room back near the second coke storage. Once you have the key, head to the office and unlock the door.
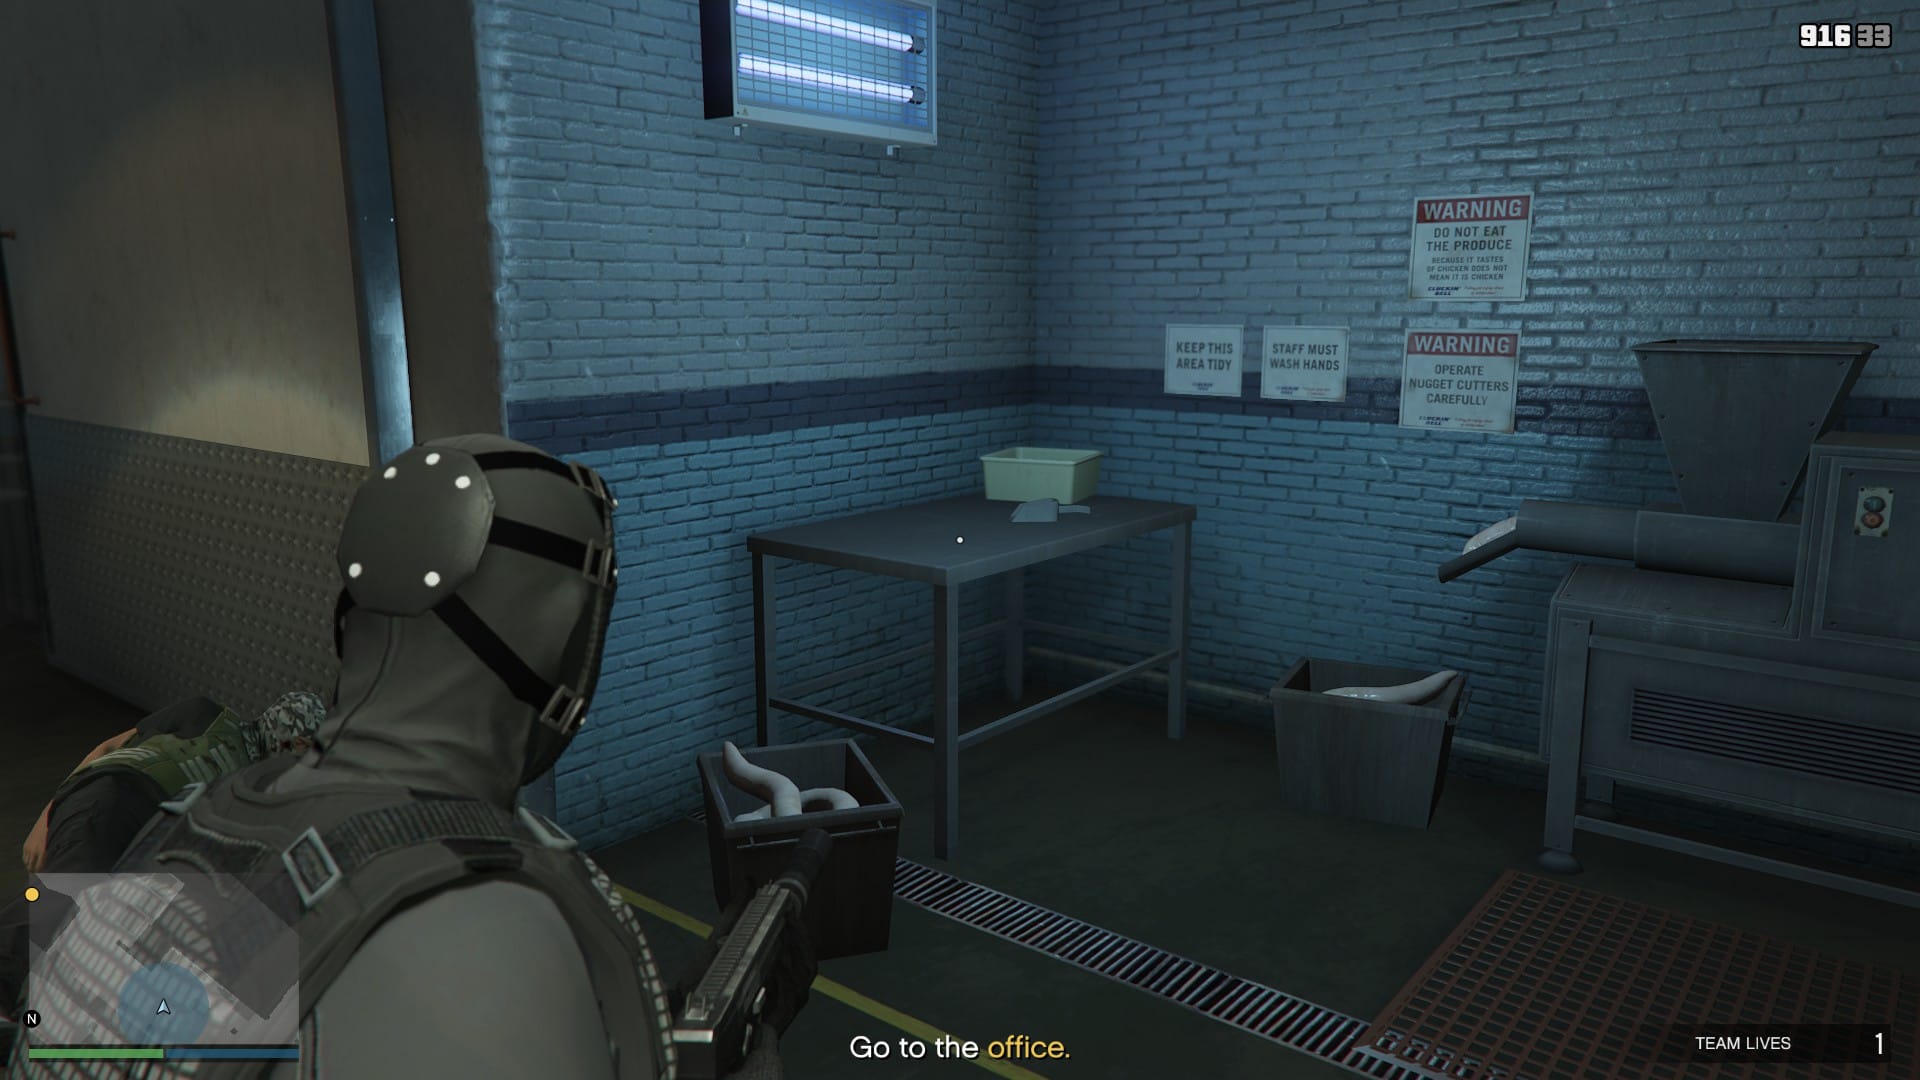
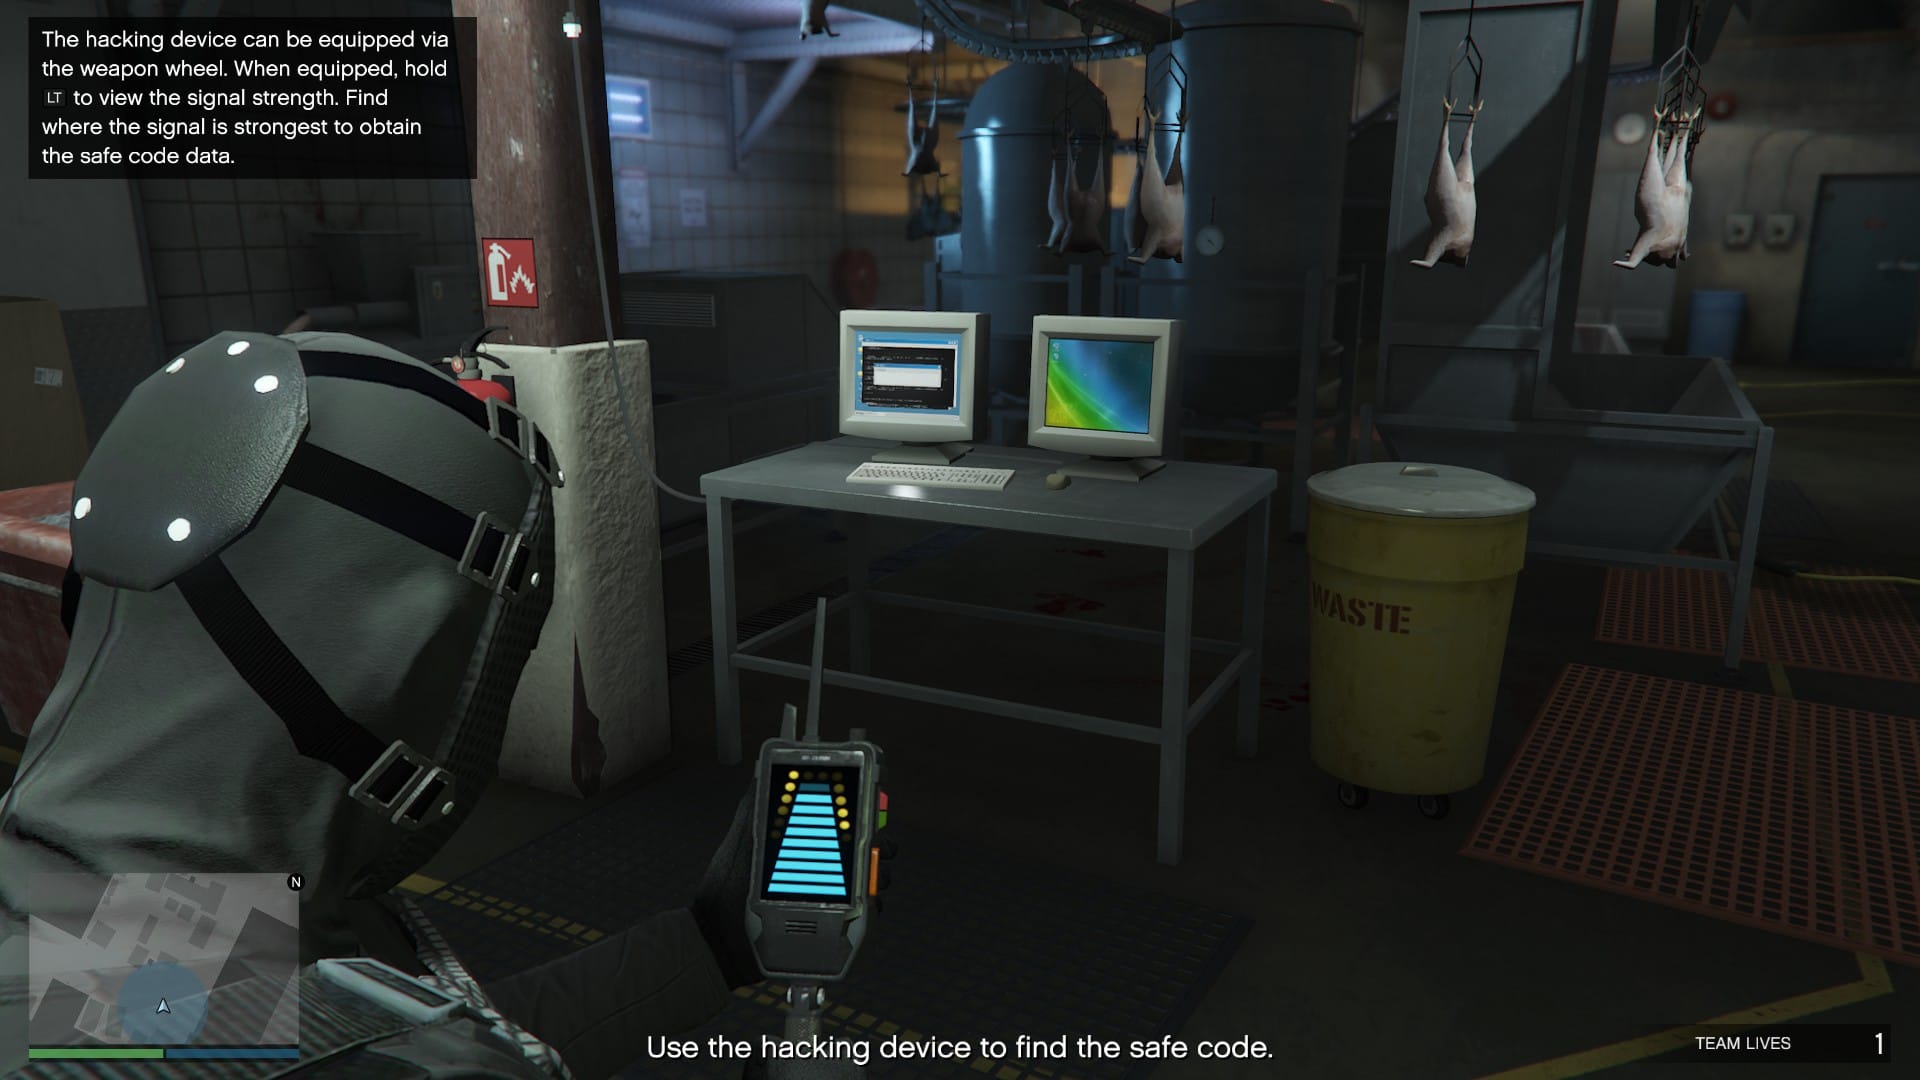
Hack the computer and then bring out the hacking device and begin following the signals. From here, the scanner will turn blue when you are aiming at the correct computer and will turn red when not. The computers will be located within the factory floor and there are three to find. If you are on the aggressive approach, you will need to eliminate slowly respawning guards on your journey.
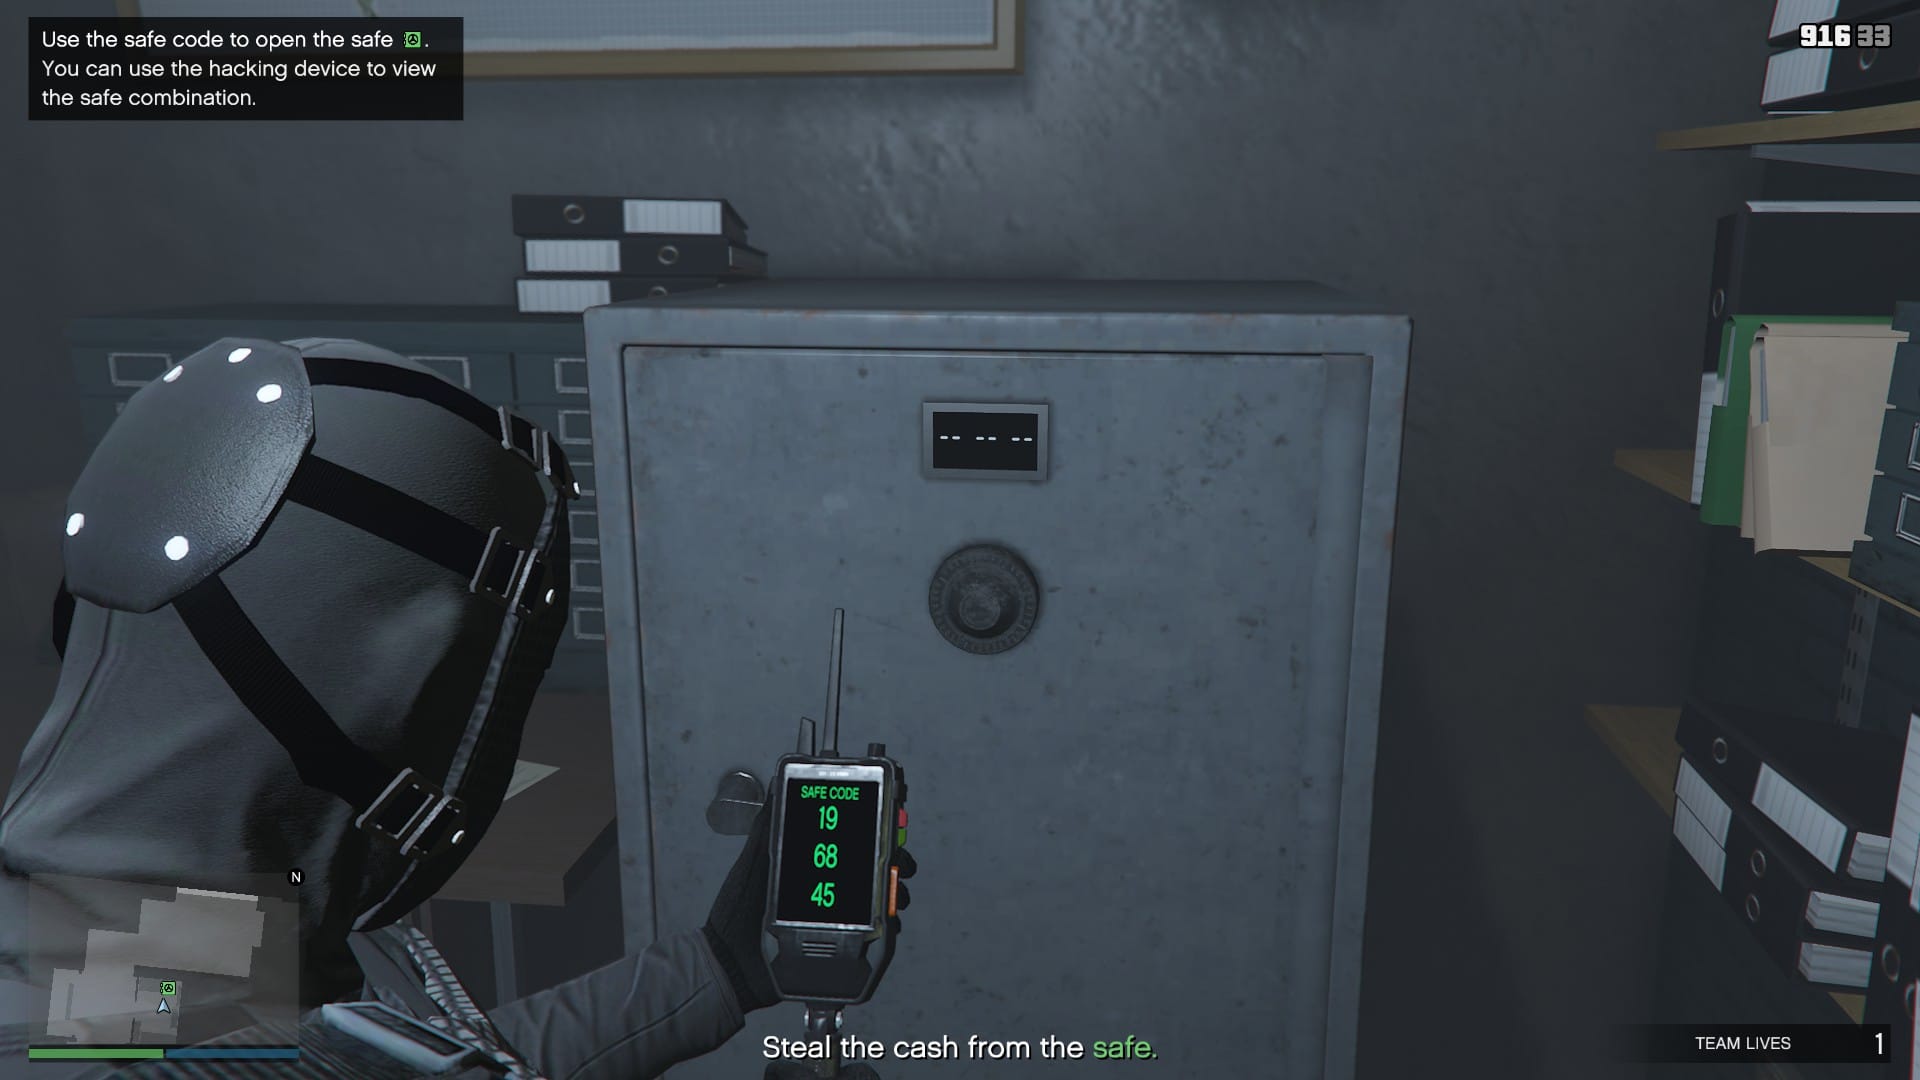
After finding all three computers, head back to the office and use the code on the hacking device to unlock the safe.
After you unlock the safe, head to the marker, shoot the fuse box and head outside, you are so close to escaping! From here, hug the right wall and move your way past the guards. Turn right and take down the guard and keep moving forward.
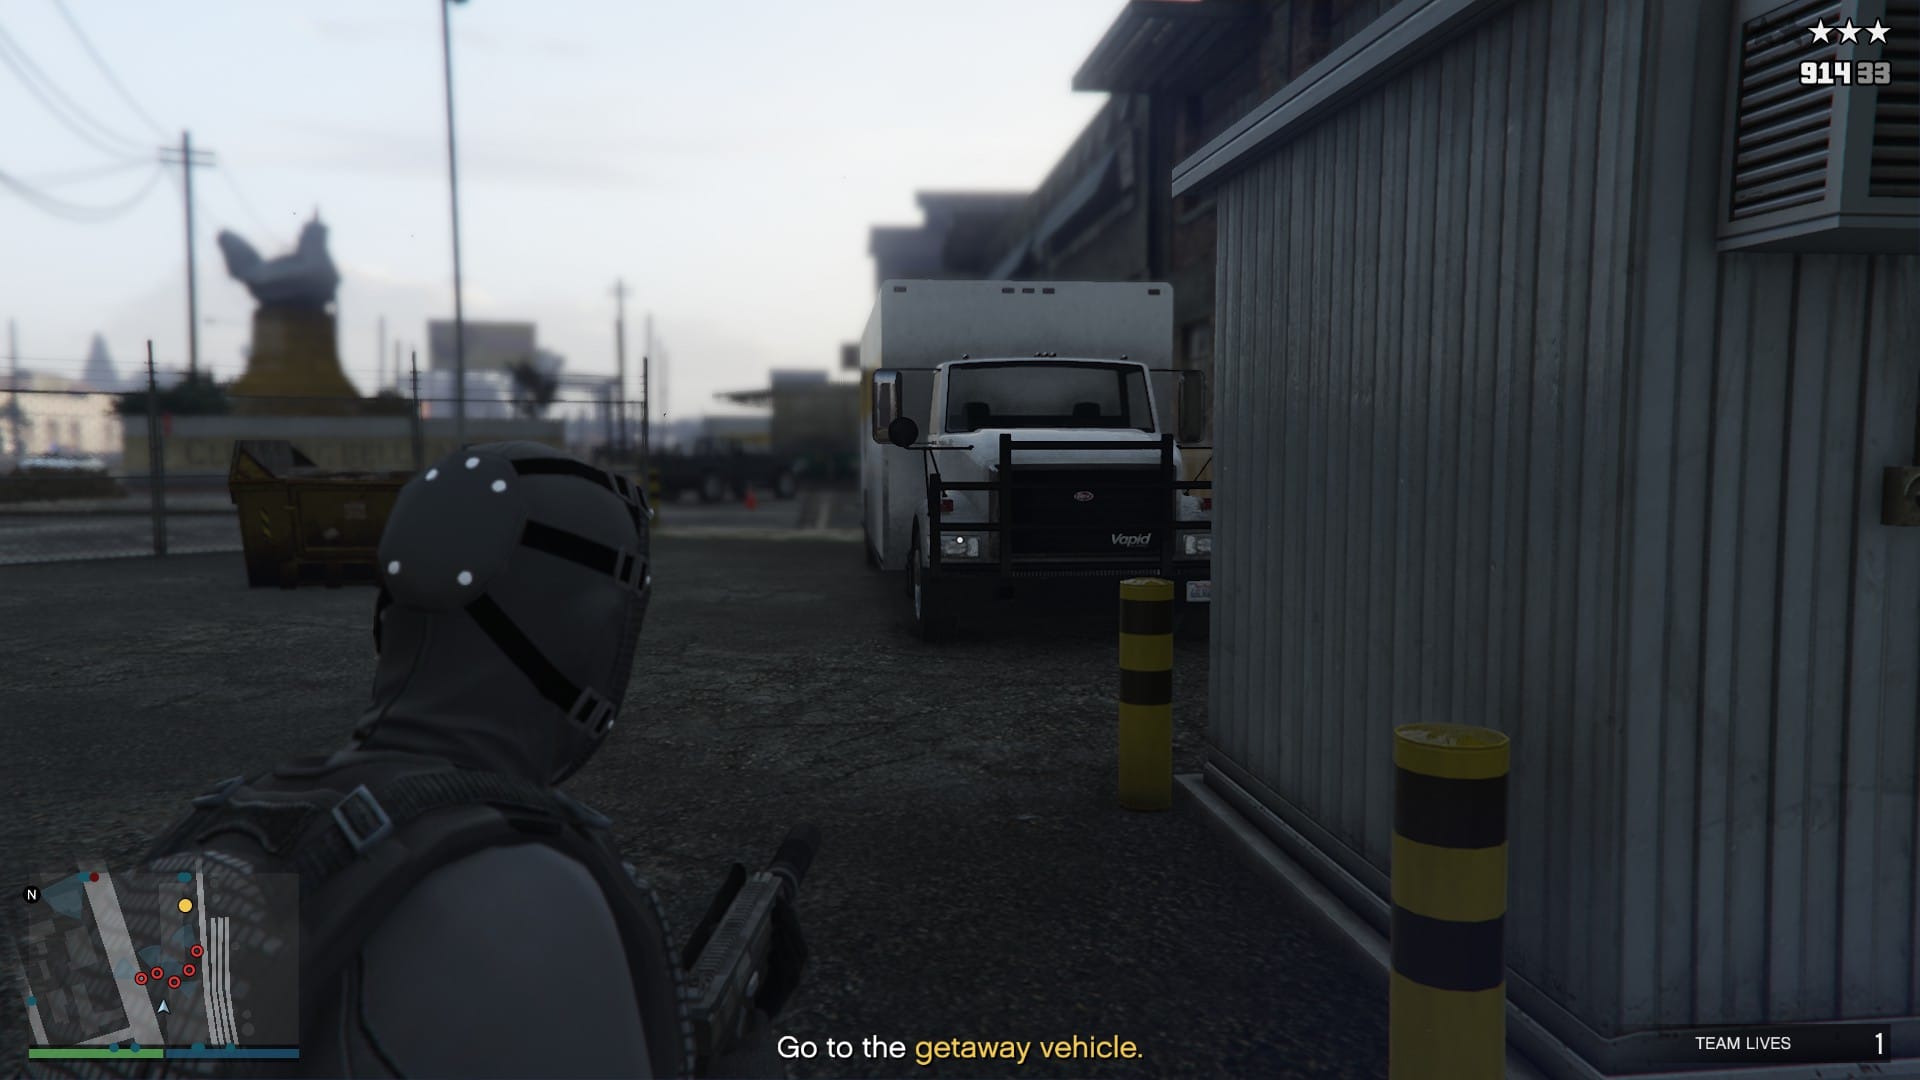
Keep hugging right and take down the below guard, so that you can cross the carpark.
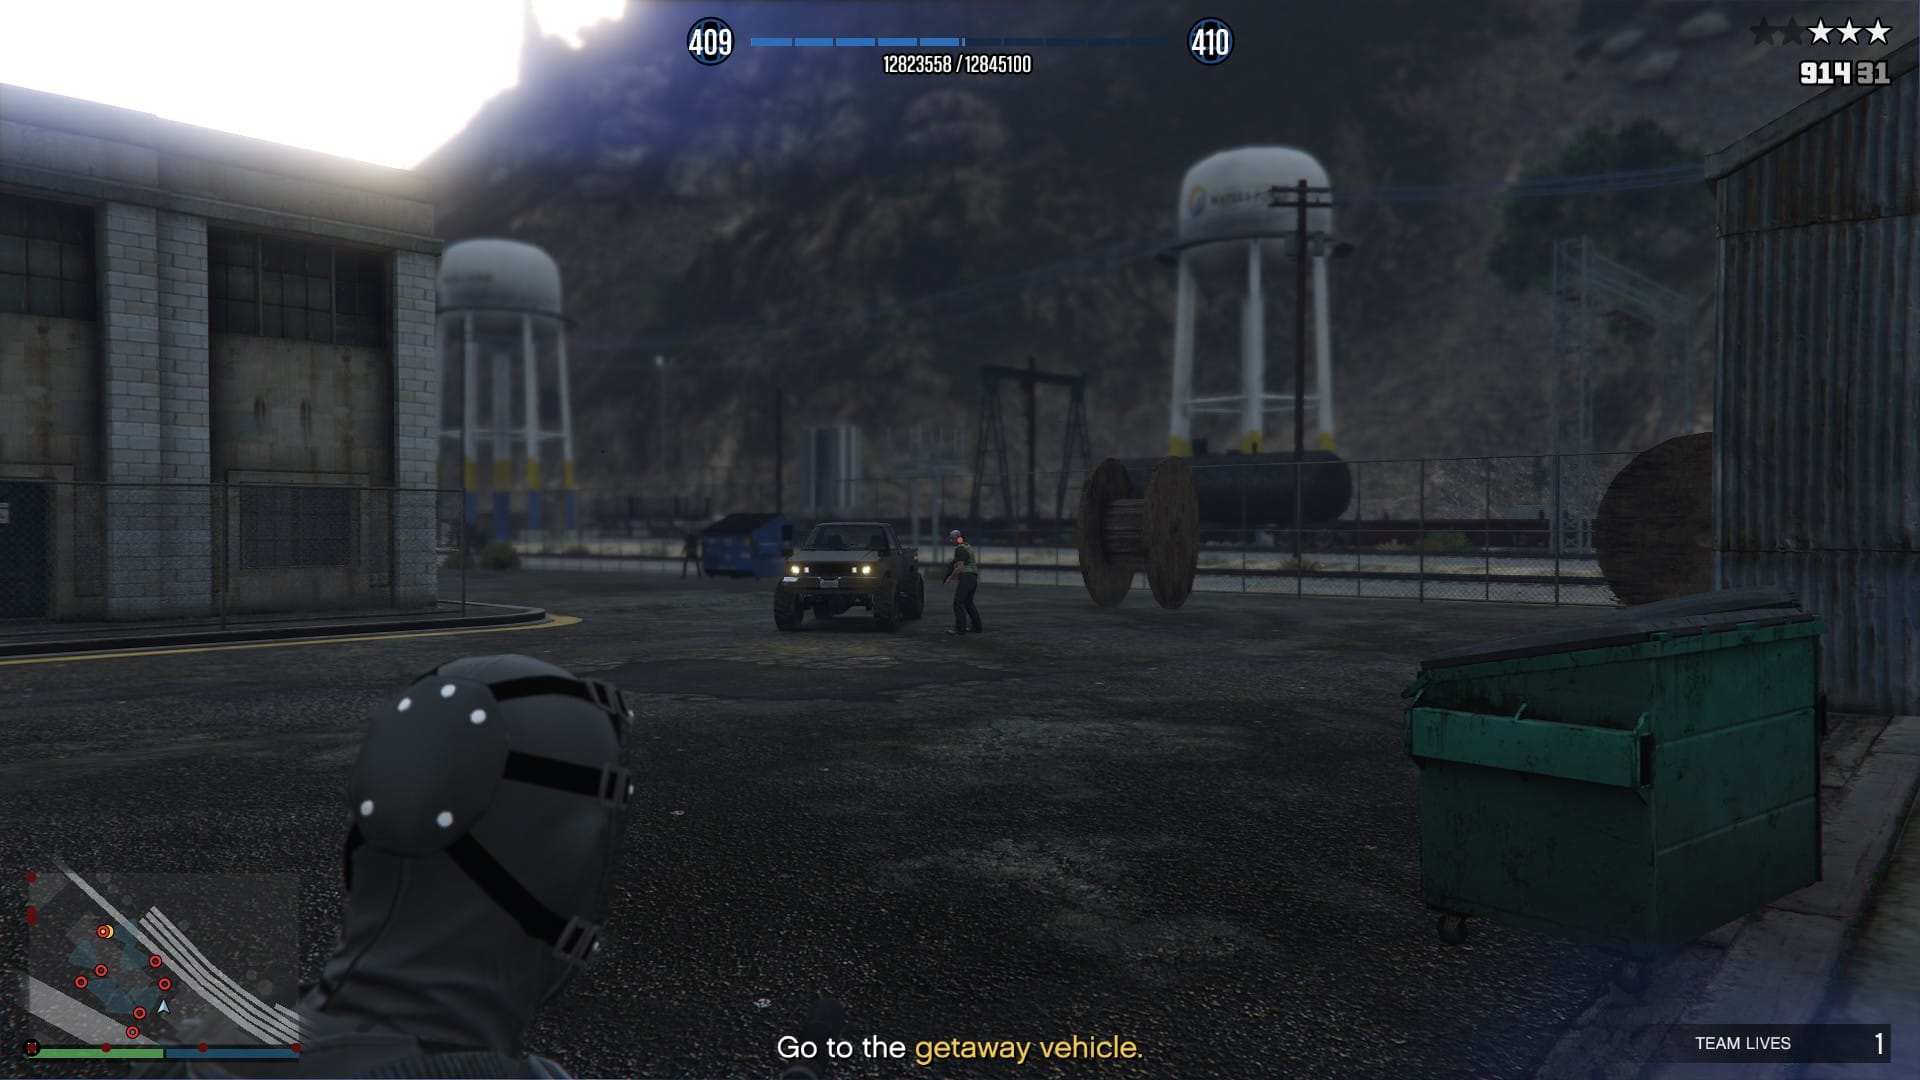
From here, there will be two additional guards in your way and one of them will be moving towards you. Assess the situation and take them down, but it is usually easier to shoot the walking guard and then swing to take out the other.
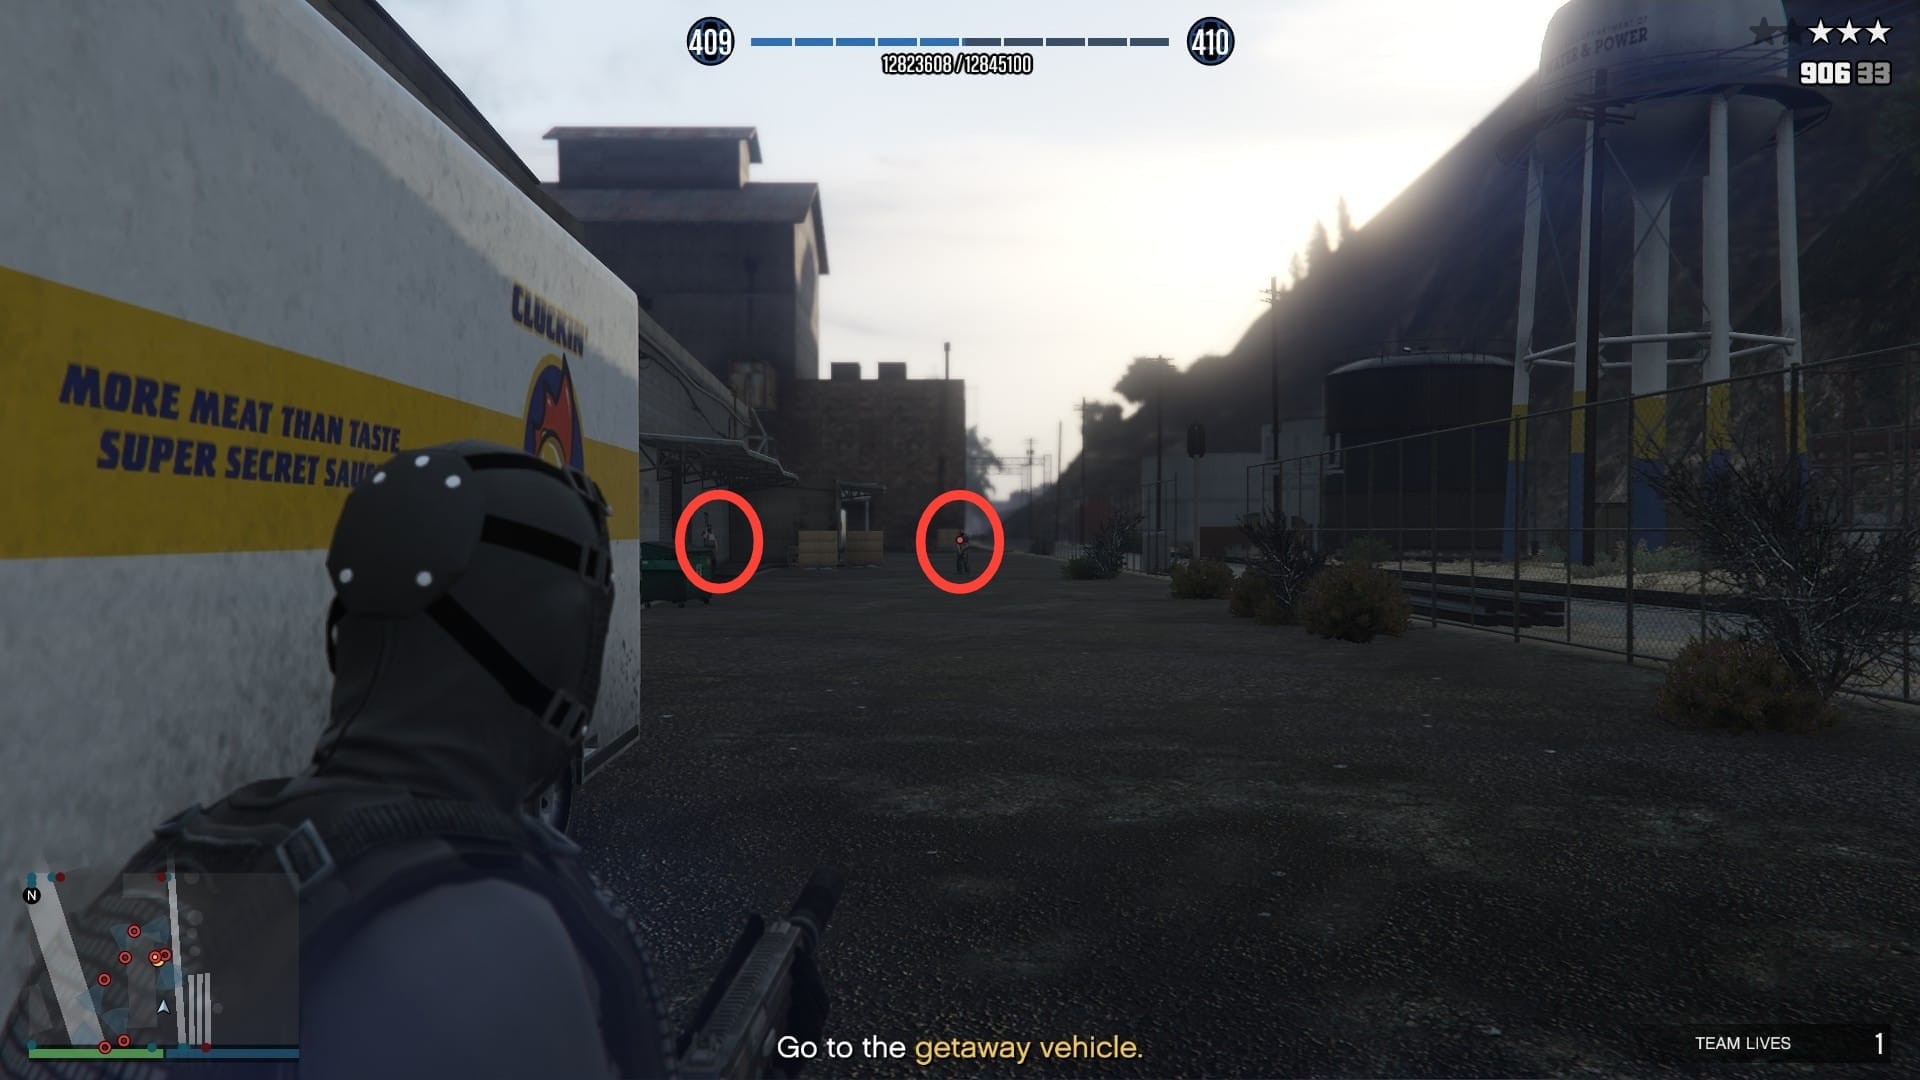
You can finally head to the garage and get into your escape vehicle. If you turn right onto the train tracks, there will only be one police officer to eliminate. So, go right, take them down from a distance and continue to use the train tracks.
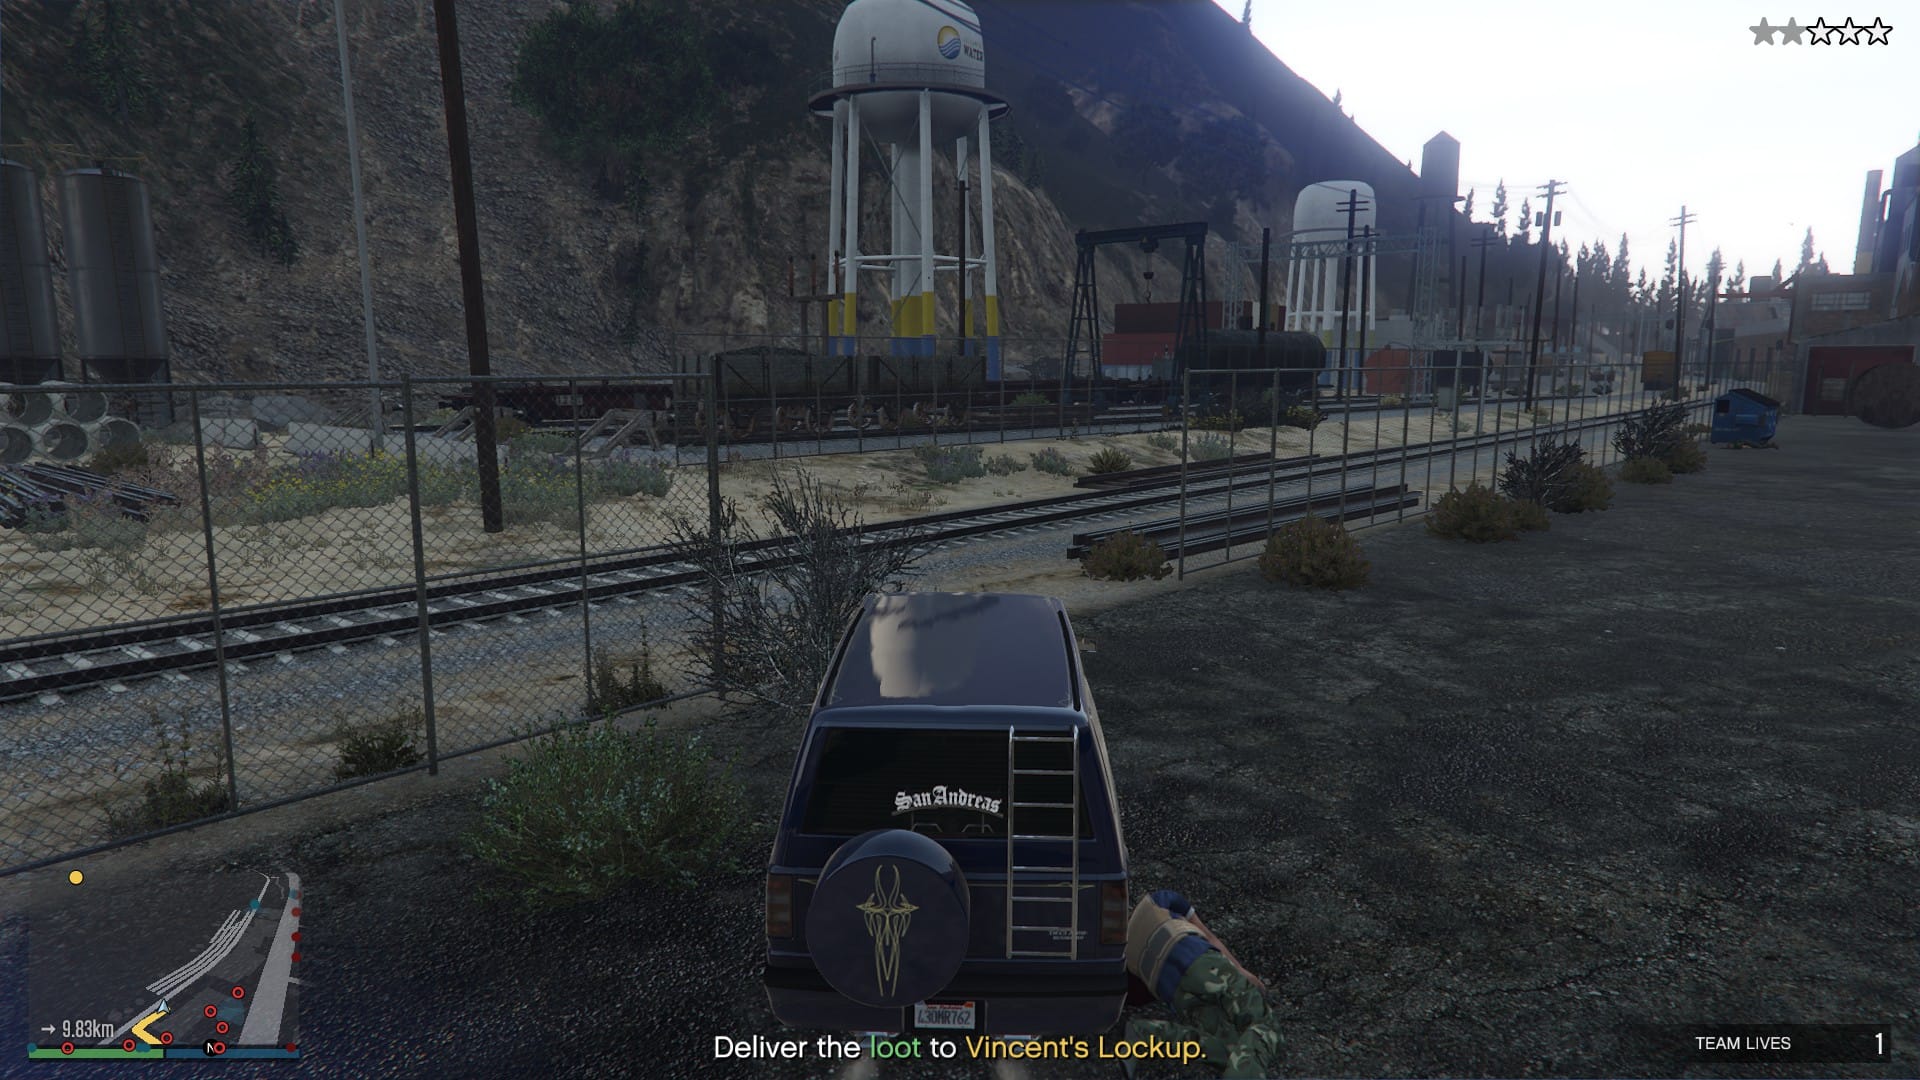
Continue to follow the train tracks all the way into the tunnel and beyond. You will need to wait for Vincent to say "Look at you...", this indicates that you can now lose the wanted level. So, use your preferred methods and avoid being seen by the police. Also, it is worth noting that you can swap to your personal vehicle once you leave the factory. Feel free to swap to your own vehicle if you wish.
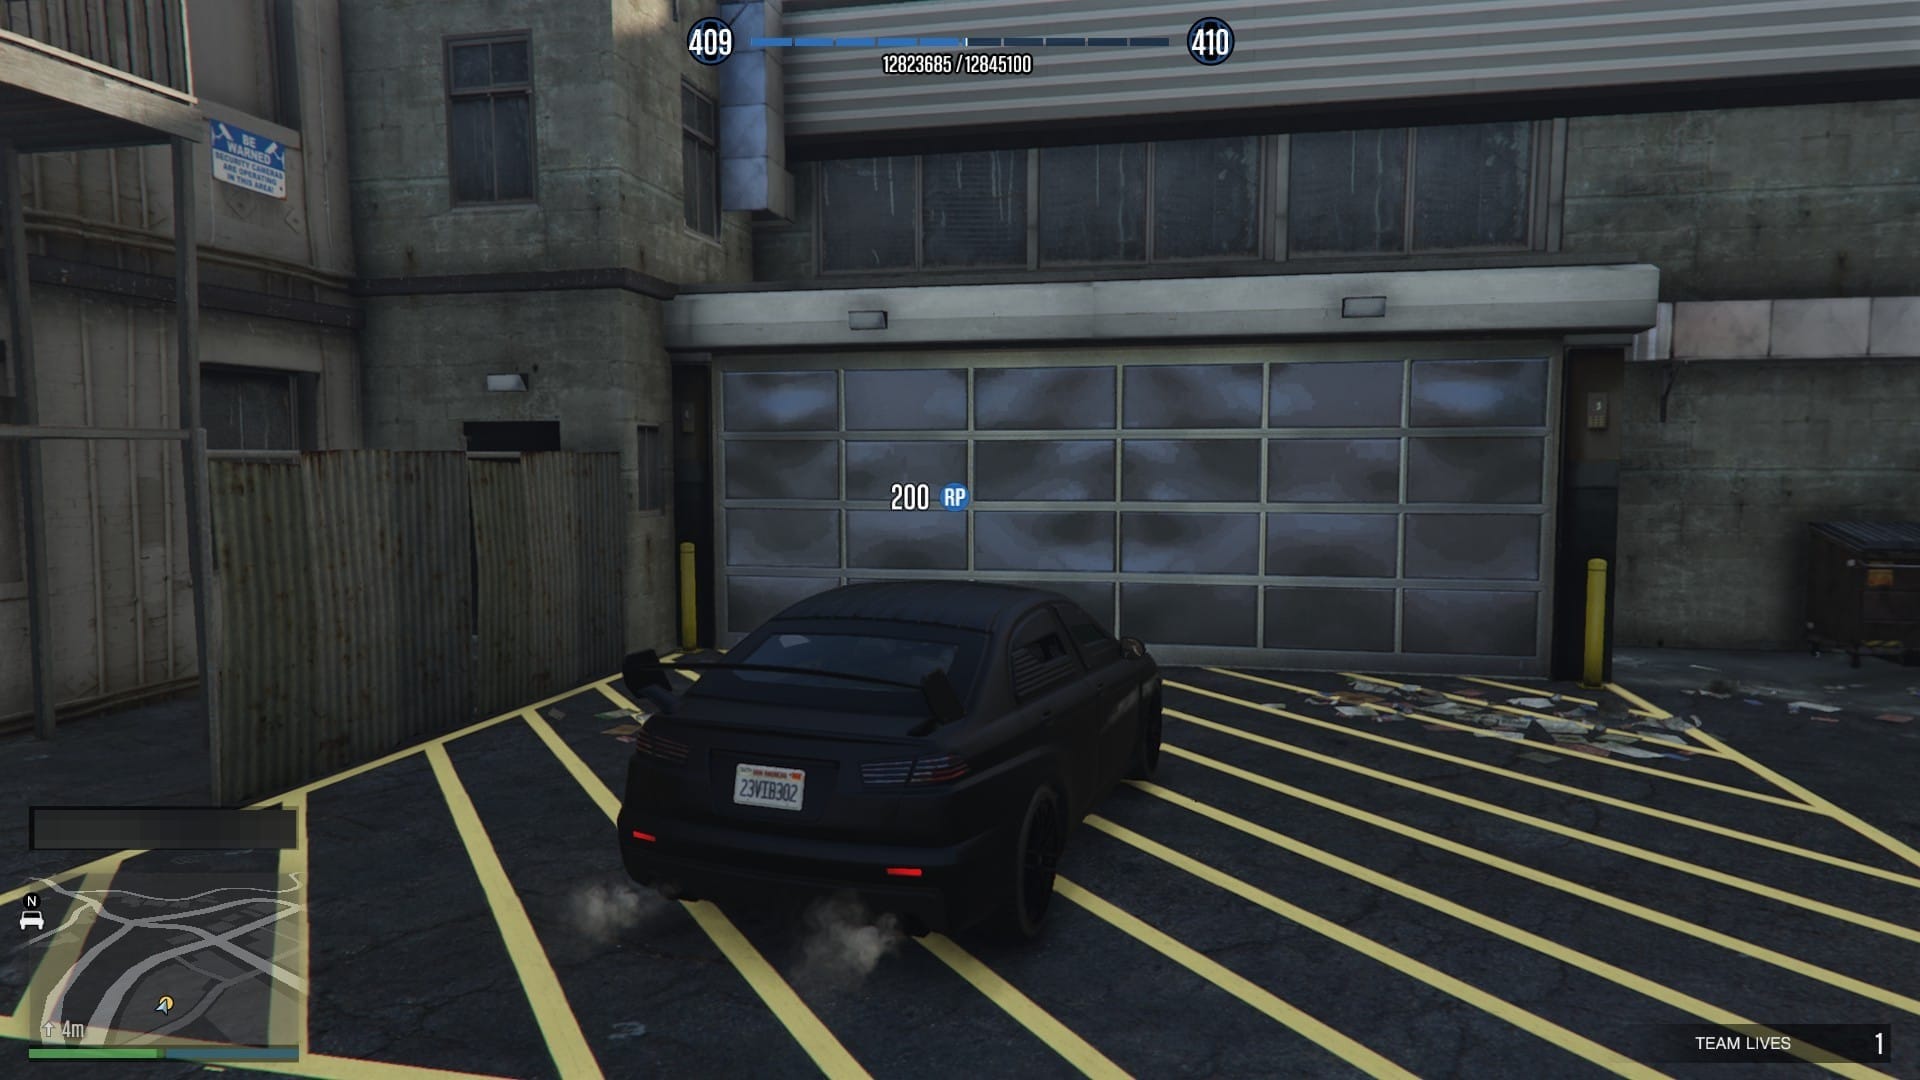
Head to Vincent's lockup, watch the cutscene and reap the rewards for your effort!